INSTRUCCIONES PARA
LA INSTALACIÓN FÁCIL
¡DETÉNGASE!
¿NECESITA
AYUDA?
NO DEVUELVA ESTE PRODUCTO
A LA TIENDA.
Si necesita asistencia de instalación, partes de
repuesto o si tiene preguntas sobre su garantía,
contacte a atención al cliente al
1.866.440.9257
o al
1.775.420.5600
También existe soporte disponible vía correo
electrónico al support@oxygenics.com
Asegúrese de visitar nuestro sitio web en
oxygenics.com
Horario de atención:
De lunes a jueves de 7:00 am a 5:00 pm PST
Viernes de 7:00 am a 4:30 pm PST
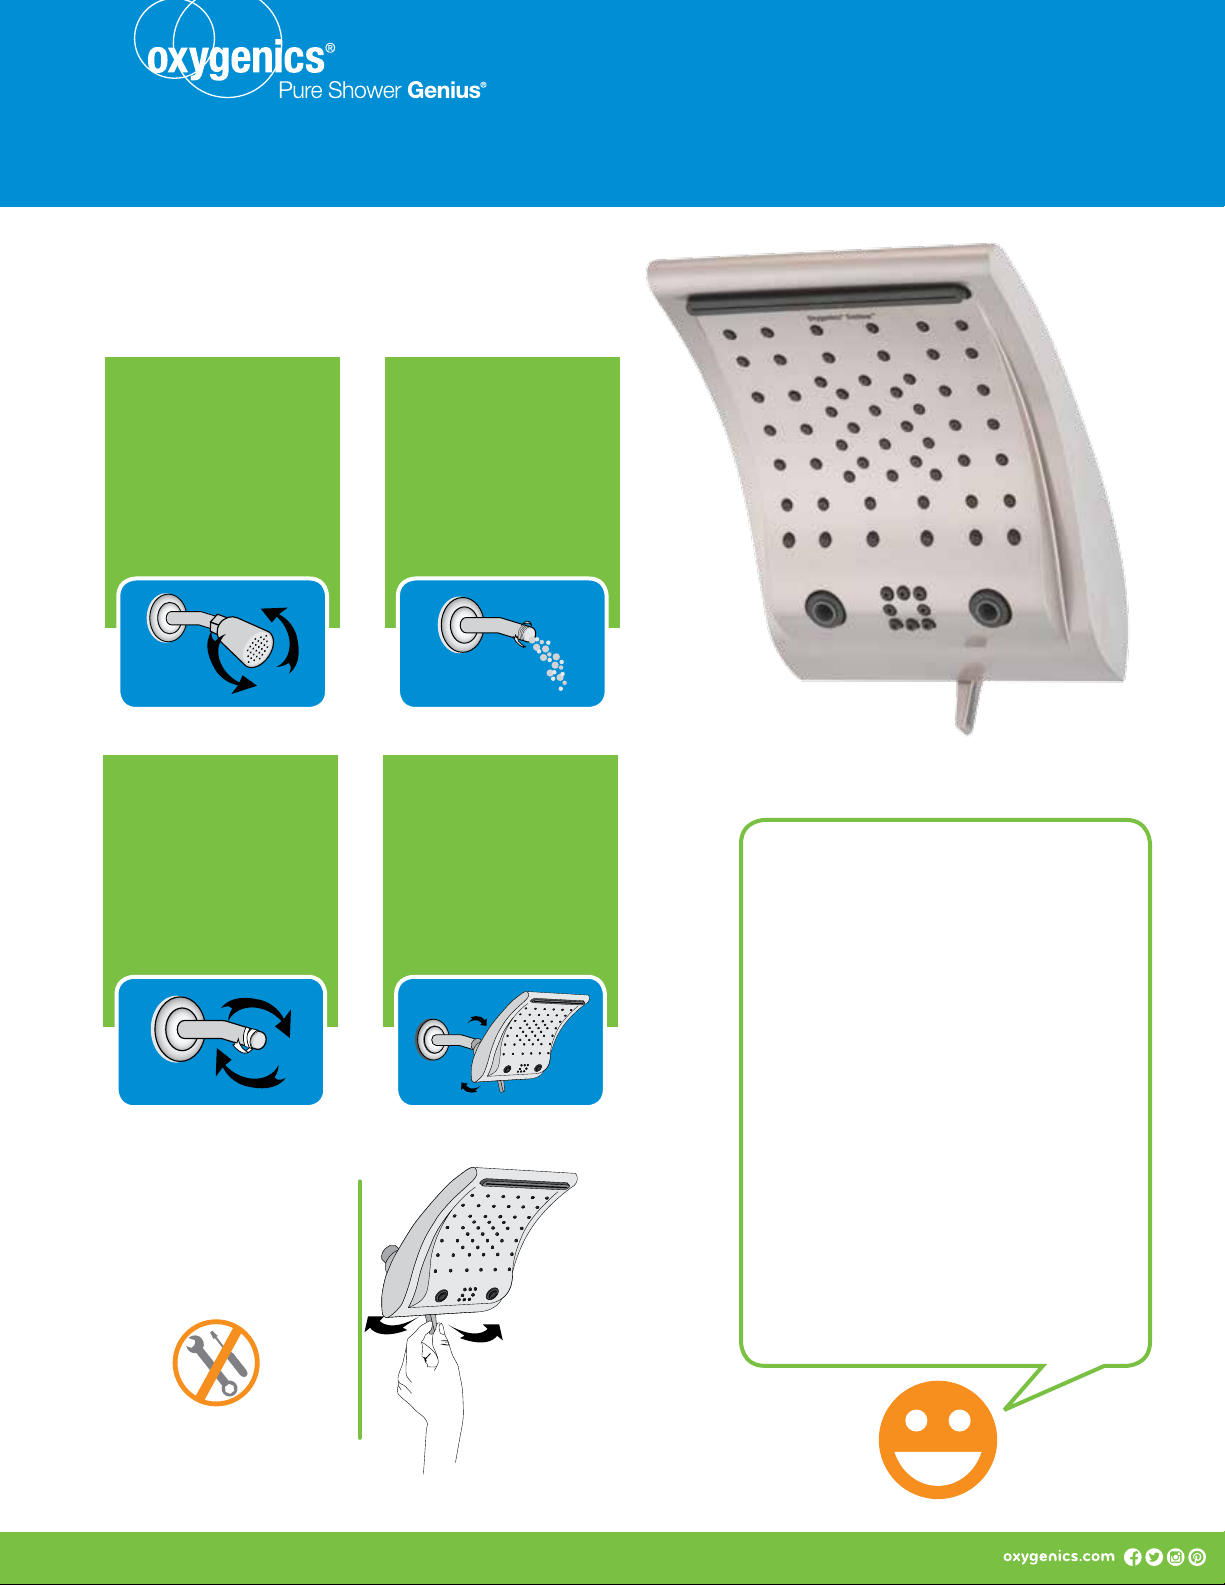
PASO 3: COLOQUE LA
PLACA DE A PARED
Limpiar cuidadosamente la zona
donde se aplicará la placa de
pared.
Retire cuidadosamente la
cubierta roja de las tiras
adhesivas.
Coloque la placa de pared en la
ubicación deseada dentro de la
ducha.
Pulse y mantenga firmemente en
su lugar durante 30 segundos.
Conecte el altavoz a la placa de
pared.
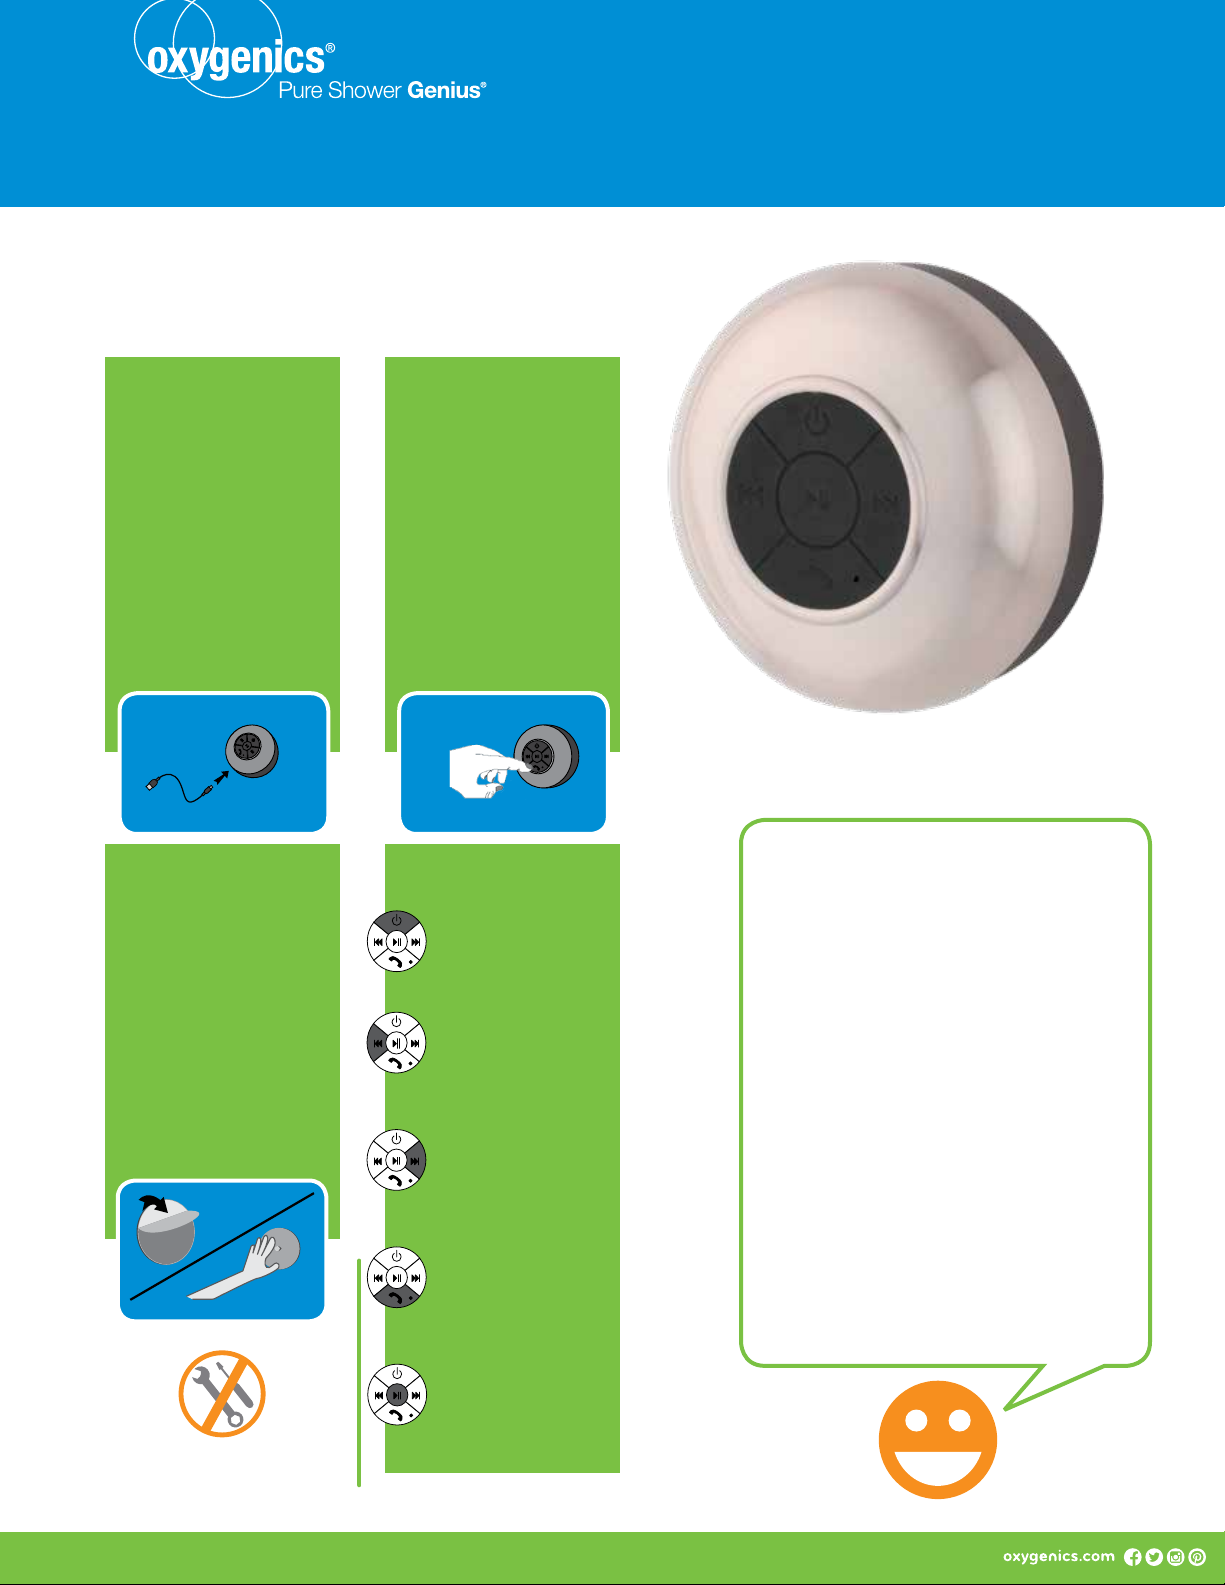
PASO 1: CARGUE EL
ALTAVOZ
Conecte el extremo pequeño
del cable USB en el conector
DC 5V ubicado en el altavoz y
conecte el extremo grande a la
computadora o adaptador AC /
DC
(no incluido)
.
La luz roja indica cuando el
altavoz está cargando. Cuando
la batería está cargada, la luz
roja se apagará.
PASO 2: ALTAVOCES
Y DISPOSITIVO DE
ENSAMBLADO
Encienda el altavoz presionando
el botón de encendido hasta que
suene un timbre.
Encienda el teléfono móvil y active
la función Bluetooth. Buscar
dispositivos Bluetooth disponibles
y seleccione “BTS-06”. Si se
requiere una contraseña, escriba
“0000”. Se emitirá una señal
sonora cuando se complete el
emparejamiento.
BOTÓN DE ENCENDIDO
Presione y mantenga
presionado para activar
o desactivar.
BOTÓN ATRÁS
Pulse para la última
canción. Pulse y
mantenga pulsado para
bajar el volumen.
BOTÓN DE AVANCE
Pulse para ir a la
siguiente canción. Pulse
y mantenga pulsado
para subir el volumen.
BOTÓN DE TELÉFONO
Pulse para contestar
o colgar llamadas
telefónicas.
BOTÓN REPRODUCIR/
PAUSA
Pulse para reproducir o
Pausa musical.
DESCRIPCIONES
DE LOS BOTONES
NO SE NECESITA
HERRAMIENTAS
Water-resistant speaker