4
© Oz inventions
Version 1.2
Provided items
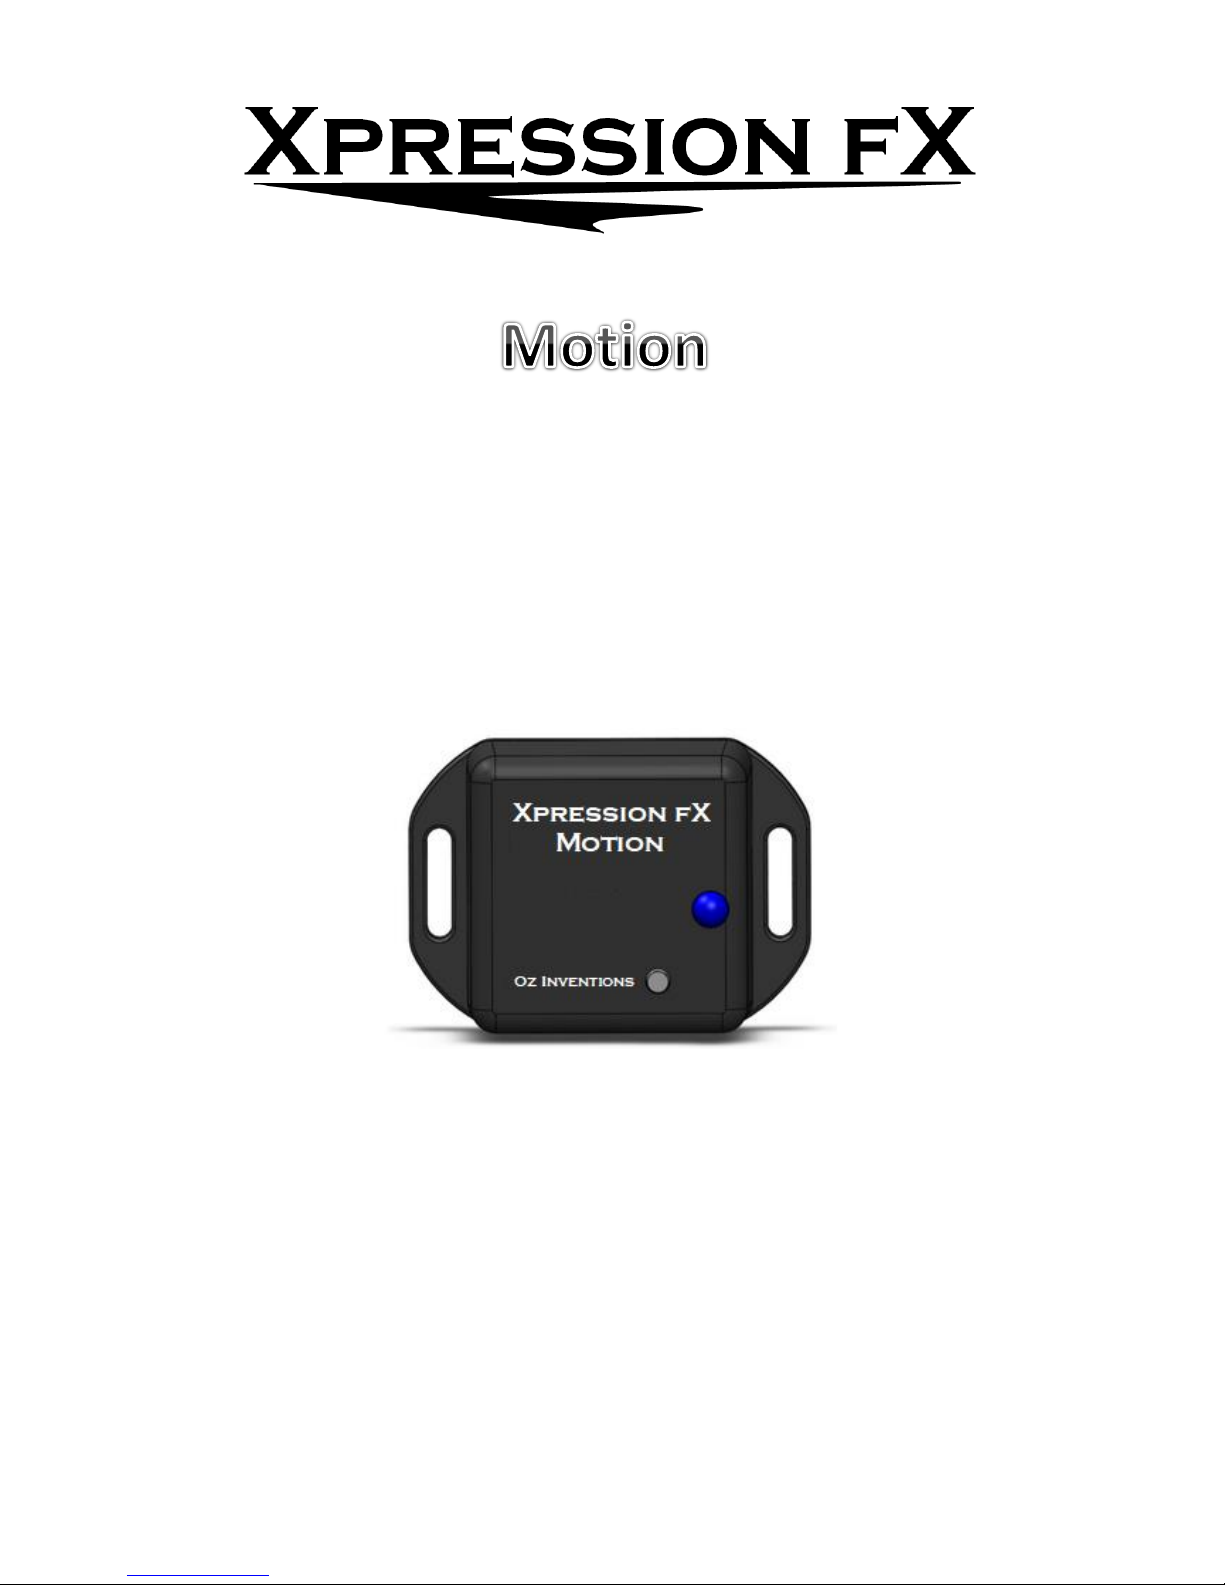
Sensor-transmitter
Screw driver
CR2032 battery
Hook and loop attachments
Quick start manual
Safety and care of sensor-transmitter
When removing or inserting the internal battery, care should be taken to avoid touching internal
components. The Battery must go UNDER the double hooks, NOT on top of the hooks.
A screwdriver is required to remove the cover of the sensor for battery insertion/removal, and also
for removing the battery. Care should be taken with the tools used to remove the base and remove
the battery from its holder.
Proper battery disposal is required. When the battery becomes discharged, dispose of with regards
to the best welfare of the environment. Usually this will mean disposing at a recycle depot.
Dismantling the device further than removing the cover for battery insertion/removal, may damage
the device. Other than the battery, there are no user serviceable parts inside the device.
Only use battery type CR2032. Using other battery types could damage the device and/or present a
safety hazard.
If the device will not be used for long periods of time (months), remove the battery
The device transmits radio frequency energy. The power transmitted is low and presents no safety
hazard. However, precautionary measures require that the device is not worn on the human head.
The device is a low power RF transmitter but transmits on similar wavelengths to WIFI routers, blue
tooth devices and microwave ovens. Should interference be experienced, position the device further
away from the device that is interfering or being interfered with. Interference can also be limited by
operating the device on different radio frequency channels.
Should the device malfunction, a restart or battery removal may resolve the problem. Otherwise the
manufacturer should be contacted. There are no user serviceable parts inside the device.
Avoid contact with, and environments, known to cause adverse effects with electronics and small
moving parts, such as liquids, dust, sand, high humidity, high temperature and vibrations.
The provided adhesive hook and loop tape is to be adhered to whatever the sensor-transmitter is to
be attached to. Consideration should be given to the care of the item receiving the hook section as
the chemical makeup of the securing substance may damage some surfaces. Consideration should
also be given to the circumstance of removal of the hook section as the adhesive may damage the
item it is adhered to, when it is removed.
The bond of the hook and loop sections after being placed together, is secure for general movement,
but avoid aggressive shaking else the sensor may come loose and experience fall damage.
If in doubt with safety or use, contact Oz inventions at contact@ozinventions.com