P1PE P72800A User manual

PETROL PRESSURE WASHER
Models P72800A, P73200A, P73200T, PGP200PWA
& PGX200PWT
User Manual

Page 2
First edition - April 2017

Page 3
First edition - April 2017
CONTENTS
4 - 6
7 - 12
13 - 14
15
16 - 18
19 - 24
25
26
27
28
29
29
29
1. SAFETY
2. QUICK START
3. STARTING PROCEDURE
4. STOPPING - SHUTDOWN PROCEDURE
5. USING THE MACHINE
6. MAINTENANCE
7. TROUBLESHOOTING
8. SPECIFICATION
9. PART LOCATIONS
10. DECLARATIONS OF CONFORMITY
11. RECYCLING & PRODUCT DISPOSAL
12. CONTACT DETAILS
13. MANUAL UPDATES
14. WARRANTY 29

1. SAFETY
1.1. General safety notes.
1.1.1. The operator of the machine is
responsible for, and has a duty of care in
making sure that the machine is operated
safely and in accordance with the instructions
in this user manual. Keep the manual safe and
pass it on if the machine is loaned or sold to
another user.
1.1.2. Please note the following safety
points.
1.1.2.1. The machine should never be left it in
a condition which would allow an untrained or
unauthorised person/s to operate this
machine.
1.1.2.1.1. All due care and diligence
should be taken by the operator for the safety
of, and with regard to those around whilst
using the machine.
1.1.2.1.2. Some or all of the following -
warning signs, symbols and/or PPE pictograms
may appear throughout this manual. You
MUST adhere to their warning/s. Failure to do
so may result in personal injury to yourself or
those around you.
Indicates a hazard, which, if not avoided, could
result in serious injury or death.
Indicates a hazard, which, if not avoided, could
result in serious injury.
Indicates a hazard which, if not avoided, might
result in minor or moderate injury.
Indicates a situation that could easily result in
equipment damage.
READ and keep the manual safe and pass it on
if the machine is loaned or sold to another
user. You MUST fully read instructions to make
sure you use and operate machine safely.
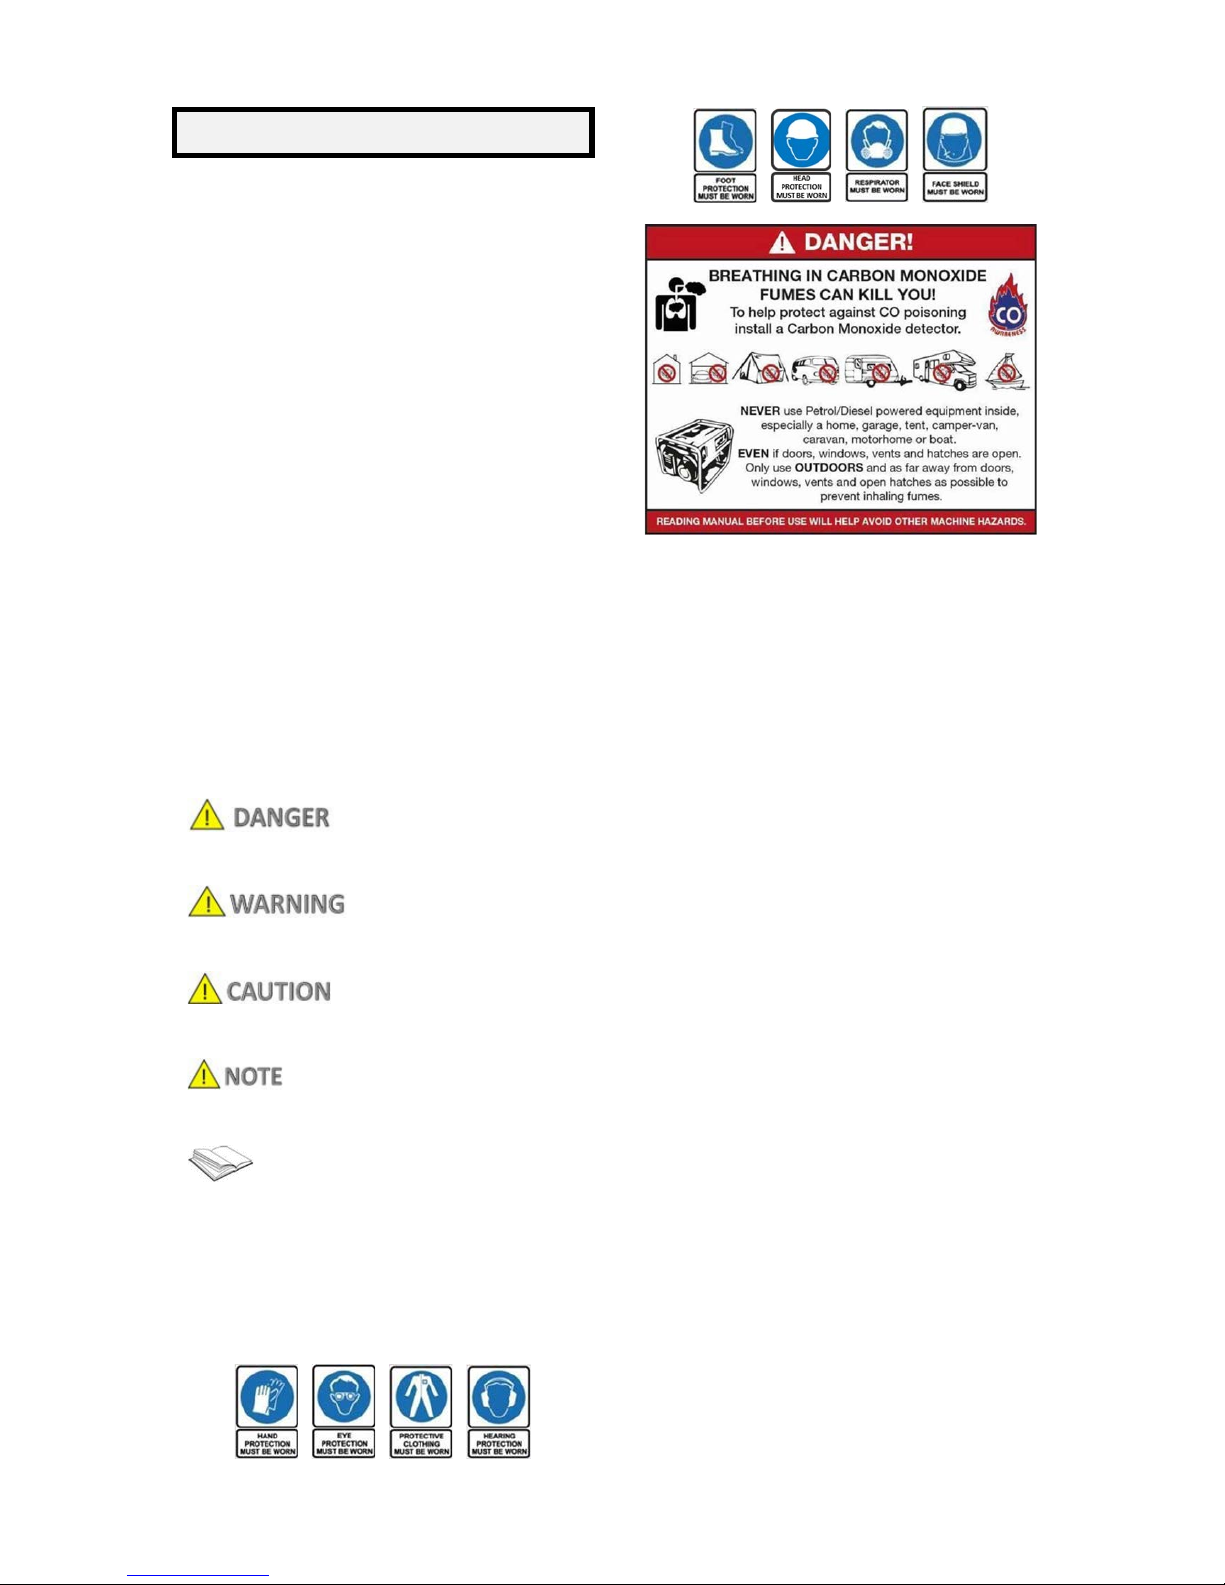
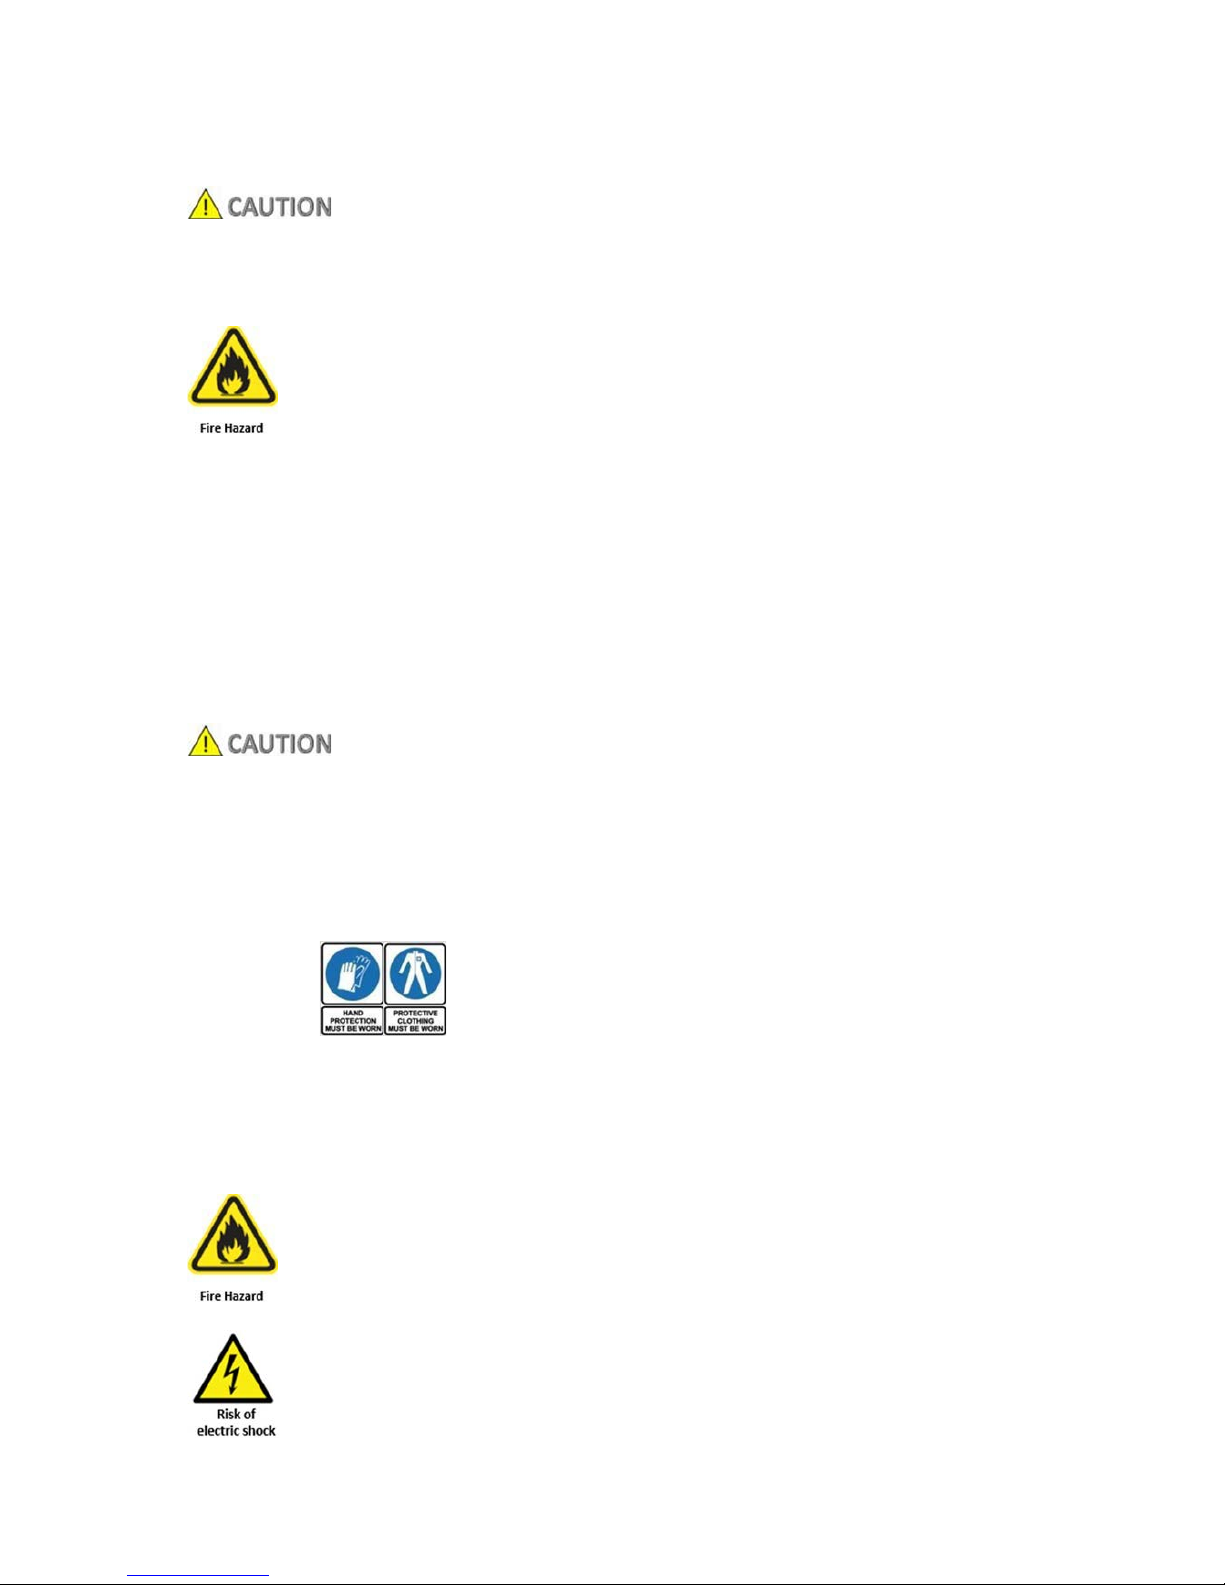
Appropriate Personal Protective Equipment
(PPE), MUST be worn at all times when
Machine is in use or being repaired.
1.2. Carbon monoxide (where applicable).
1.2.1. Carbon monoxide is a colourless and
odourless gas. Inhaling this gas can cause
death as well as serious long term health
problems such as brain damage.
1.2.2. The symptoms of carbon monoxide
poisoning can include but are not limited to
the following; Headaches, dizziness, nausea,
breathlessness, collapsing or loss of
consciousness.
1.2.2.1. Carbon monoxide poisoning
symptoms are similar to flu, food poisoning,
viral infections and simply tiredness. It is quite
common for people to mistake this very
dangerous poisoning for something else.
1.2.2.2. To avoid carbon monoxide poisoning
DO NOT use Petrol/Diesel- powered
equipment inside any of the following; Home,
garage, tent, camper van, mobile home,
caravan or boat.
This list is not exhaustive and if you are in any
doubt contact your dealer.
1.2.3. If you think you have or someone
around you has been affected by carbon
monoxide poisoning;
1.2.3.1. Get them fresh air immediately, by
leaving the affected area or by opening doors
and windows. If safe and practical to do so
make sure that the machine is turned off. DO
NOT enter a room you suspect of having
carbon monoxide present – instead call the
emergency services.
1.2.3.2. Contact a doctor immediately or go to
hospital - let them know that you suspect
carbon monoxide poisoning.
Page 4
First edition - April 2017

1.2.4 DO NOT use in an enclosed area or a
moving vehicle.
1.3. General fuel safety.
ALL FUELS ARE FLAMMABLE
1.3.1. Fire hazard - keep fuel away from all
sources of ignition for example heaters, lamps,
sparks from grinding or welding.
1.3.2. DO NOT carry out hot work on tanks
that have contained fuel it is extremely
dangerous.
1.3.3. ALWAYS keep work area clean and
tidy.
1.3.4. ALWAYS clean up all spills promptly
using correct methods i.e. absorbent granules
and a lidded bin.
1.3.5. ALWAYS dispose of waste fuels
correctly.
1.4. Fueling/De-fueling.
ALL FUELS ARE FLAMMABLE
1.4.1. ALWAYS fuel and defuel in a well-
ventilated area outside of buildings.
1.4.2. ALWAYS wear correct, suitable and fit
for purpose Personal Protective Equipment
(PPE), suggested items are but not limited to
safety gloves and overalls.
1.4.3. When fueling/de-fueling ALWAYS
avoid inhaling fumes
1.4.4. When de-fueling ALWAYS use a
propriety fuel retriever.
1.4.5. ALWAYS carry fuel in the correct and
clearly marked container.
1.5. Electrical safety.
1.5.1. Electricity can kill - NEVER use
pressure washer jet to come into contact with
LIVE or ENERGISED equipment. It can also
cause severe burns.
1.5.2. NEVER work on or near electricity with
wet hands, wet clothing, and wet gloves.
1.6. Vibrations.
1.6.1. Prolonged use of hand held (operated)
machines will cause the user to feel the effects
of/from vibrations. These vibrations can lead
to white finger (Raynaud's phenomenon) or
carpal tunnel syndrome. This condition
reduces the ability of the hand to feel and
regulate temperature, causing numbness and
heat sensations and may cause nerve damage
and circulatory tissue death.
1.6.2. Not all factors that lead to white finger
disease are known, but cold weather, smoking
and other diseases that affect blood vessels
and blood circulation as well as large and long-
lasting impact of shocks are considered factors
in the formation of white finger. Note the
following to reduce the risk the white finger
and carpal tunnel syndrome:
1.6.2.1. Wear gloves and keep your hands
warm
1.6.2.2. Take regular breaks
1.6.3. All of the above precautions may help
reduce the risk of white finger disease but not
rule out carpal tunnel syndrome. Long-term
and regular users are therefore recommended
to observe the condition of your hands and
fingers. Seek medical attention immediately if
any of the above symptoms should occur.
1.8. Noise.
1.8.1. The operating noise of the machine
can damage your hearing. Wear hearing
protection such as earplugs or ear defenders
to protect your hearing. Long- term and
regular users are advised to have hearing
checked regularly. Be especially vigilant and
cautious when wearing hearing protection
because your ability to hear alarm warnings
will be reduced.
1.8.2. Noise emissions for this equipment is
unavoidable. Carry out noisy work at approved
times and for certain periods. Limit the
working time to a minimum. For your personal
protection and protection of people working
nearby it is also advisable for them to wear
hearing protection.
Page 5
First edition - April 2017

1.8.3. See CERTIFICATE of CONFORMITY
section for Outdoor Noise declaration of
conformity.
1.9. Machine specific safety.
1.9.1. NEVER direct the outlet of the
pressure washer jet towards anyone, which
includes adults, children, all pets and livestock
or other objects that can be damaged.
1.9.2. You MUST know how to STOP the
machine quickly. You MUST also know how to
safely bleed the built up pressure.
1.9.3. To reduce the risk of injury, close
supervision is necessary when a product is
used near children.
1.9.4. You MUST be thoroughly familiar with
the controls.
1.9.5. Stay alert – watch what you are doing.
1.9.6. DO NOT operate the product when
fatigued or under the influence of alcohol or
drugs.
1.9.7. Keep operating area clear of all
persons not involved in the pressure washing
process.
1.9.8. DO NOT overreach or stand on
unstable support. You MUST maintain good
footing and balance at all times. Be careful
that you do not slip on any water residue. You
MUST keep working surface free of excess
water
1.9.9. Follow the maintenance instructions
specified in the manual.
1.9.10. DO NOT leave the pump running for
longer than 1 minute without using the pump
will overheat. Damaged caused in this way will
invalidate any warranty.
1.9.11. DO NOT let the unit freeze. You MUST
always empty the machine of all water after
use and before storage – this is especially
important in very cold weather or at times
when the weather gets down to freezing
temperatures.
1.9.12. Only operate the machine outdoors.
1.9.13. NEVER use the pressure washer to
spray dangerous liquids such as petrol, acids
etc.
1.9.14. The exhaust will be HOT during and
shortly after use – You MUST keep all body
parts and flammable materials clear of the
exhaust at all times.
1.9.15. NEVER under any circumstance
attempt to repair the high pressure hose. You
MUST instead replace any damaged hose or
other high pressure components.
1.9.16. Under NO circumstances should you
modify or alter the Pressure Washer in any
way. Modifications can create serious safety
hazards and will also void the warranty.
Page 6
First edition - April 2017

2. QUICK START
2.1. This guide is meant to serve as a quick reference for operating your Pressure washer it is for
convenience and the user should read the safety section first.
FOR OUTDOOR USE ONLY.
This Pressure washer produces carbon monoxide - a poisonous, colourless & odourless gas that can
cause death or serious injury. Petrol is highly flammable, always handle with extreme care and in a
well ventilated area.
Always remove HT lead from spark plug when checking machine or changing parts.
2.2. This product comes partially assembled and carefully packaged and should include, 2 x rubber
feet, 2 x Fixed wheels, 2 x Axles, 2 x Large flange nuts, 1 x Spanner set, 1 x Bracket, 4 x Flange bolts, 4
x Small flange nuts, 1 x Spray gun, 1 x Lance c/w 5 nozzles, 4 x Large washers, 1 x High pressure hose,
User manual, Warranty registration form.
2.3. At this point, check that you have all of the included items listed above. If any are missing or
damaged, call 01646 687 880 oremail service@genpower.co.uk.
2.4. Shipping plug.
Important, do not run the pump with the red transit plug installed, this will void
your warranty!
Remove the red shipping plug (fitted on pump) and install the vented operating plug.
Using a 11/16 inch/18mm spanner carefully remove the red shipping plug from the pump as shown.
Remove the vented plug from the bag attached to the red shipping plug. Install the vented plug as
shown. Install by hand and secure finger tight.
Page 7
First edition - April 2017

2.5. Rubber feet assembly.
Using the bolts supplied attach the brackets with the rubber feet on to the frame. Insert the bolts from
the outside of the unit towards the inside and secure the bolts with the cap nuts provided using 10mm
wrenches. Do not over-tighten. A second person should steady the frame for this step. Repeat the
process for both feet.
2.6. Axle and wheel assembly.
Place large diameter washer on to the axle shaft and insert the axle into the wheel/tyre assembly as
shown, you may have to use a rubber mallet to tap the axle through the wheel opening.
Slide the axle wheel assembly onto the frame assembly and place a washer onto the axle and
secure with a supplied nut. Tighten using suitable spanner and socket. Tighten securely but DO NOT
overtighten. A second person should steady the frame for this step.
Page 8
First edition - April 2017

2.7. Handle assembly.
The handle assembly is folded down for transportation, pull handle upwards and lock into position using
the knob on the right hand side ofthe machine as viewed from the rear of machine. To undo knob pull
outwards,raise the handle and release knob sothat it locates the hole inframe.
2.8. Upper support assembly.
Using the 4 bolts provided, insert the bolts through the front of the frame handle support. Next hold
the Upper support against the back of the frame handle support and secure the bolts using a large
Phillips head screwdriver into the Upper Support. Be careful to make sure the bolt does not cross-
thread into the upper support. Do not over-tighten.
Page 9
First edition - April 2017

2.9. Wand/Gun – trigger assembly.
Attach the wand into the handle as shown below. Start off gently so that you do not cross thread the
attachments. Screw into place in a clockwise direction. Tighten using a suitable spanner but DO NOT
over tighten.
Attach the high pressure hose to gun/trigger as shown below. Start off gently so that you do not cross
thread the attachments. Screw into place in a clockwise direction. Tighten by hand, DO NOT over
tighten.
Attach the high pressure hose to the pump as shown below. Start off gently so that you do not cross
thread the attachments. Screw into place in a clockwise direction. Tighten by hand, DO NOT over
tighten.
Page 10
First edition - April 2017

2.10. Adding engine oil. See adding pump oil section 2.12.
To add oil you must make sure that the machine is on a flat level and stable surface. Remove the oil
filler cap/dipstick. Using a suitable funnel fill with oil to the topofthe oil filler neck thread. From empty the
engine takes 600ml of SAE15W40 oil. Once the engine has been filled with oil securely replace the oil
filler cap/dipstick. Make sure that any spills are properly cleaned up before starting the machine.
2.11. Adding fuel.
To add fuel you must make sure that the machine is ona flat level and stable surface. Remove the fuel
filler cap. Using a suitable funnel fill with fresh unleaded petrol to within 25mm of the top ofthe fuel
tank. From empty the engine takes 3.6L of fresh unleaded petrol. Once the fuel tank has been filled with
petrol securely replace the fuel cap. Make sure that any spills are properly cleaned up before starting
the machine. From empty the engine takes 3.6L.
Page 11
First edition - April 2017

2.12. Adding pump oil (Only onthe following models P73200T/PGX200PWT). See adding engine oil
section 2.10.
Adding pump oil – From empty the pump takes 300ml of SAE15W40. To check oil level view the sight
glass the level should be at the midway point. If the level is low undo the Vent plug and top up with oil
using a suitable funnel. Make sure that any spills are properly cleaned up before starting the machine.
Page 12
First edition - April 2017

3. STARTING PROCEDURE Before starting make sure machine is clear of materials
and all non-essential persons.
The machine is shipped without fuel & oil therefore you MUST fill the engine with fuel & oil before
starting the engine. Failure to do so will result in engine damage which will not be covered by warranty.
3.1. Starting procedure. – from cold i.e. machine has not been run for some time.
Starting procedure for a COLD engine. Move the fuel tap to the ON position, Move the throttle lever to
mid position and the choke lever tothe START position. Turn the engine switch ON. SLOWLYpull the recoil
starter handle until you feelaresistance then pullfirmly with a smooth, steady motion to start. Pull the handle
straight out to avoid excessive rope wear from the starter rope guide. Always pull in the trigger gun when starting.
DONOT let go ofthe recoil starter handle instead allow it to return gently. After the
engine starts slowly move the choke lever to the RUN position until the engine runssmoothly.
NOTE: To extend the life of the recoil starting rope periodically check its condition. If the rope is frayed,
have it replaced immediately.
NOTE - The choke position for starting mayvary depending upon temperatures and other
factors. Once engine isrunning and warm, turn choke to theRUN position
Page 13
First edition - April 2017
The water must be turned on prior to starting the washer, pull the spray trigger to ensure water is
moving the through the lines and out the nozzle without any leaks before starting the unit. Failure to
do this will result in damage to the seals which will not be covered under warranty due to
overheating

Starting procedure for a warm engine. Move the fuel tap to the ON position, Move the throttle lever to
mid position and the choke lever tothe RUN position. Turn the engine switch ON. SLOWLY pull the
recoil starter handle until you feel aresistance then pull firmly with a smooth steady motion to start.
Pull the handle straight out to avoidexcessive rope wear from the
starter rope guide. DO NOT let go of the recoil starter handle instead allow it to return gently.
NOTE: To extend the life of the recoil starting rope periodically check its condition. If the rope is frayed,
have it replaced immediately.
3.3. During use.
3.3.1. Under long, continuous-run operating conditions, be prepared to :
3.3.1.1. Check the fuel ona regular basis. DO NOTre-fuel when the engine isrunning orHOT.
3.3.1.2. Check engine oil level each time you refuel. See engine owner’s manual for more details.
3.3.1.3. Check pump oil level before each use.
3.2. Starting procedure. – from warm i.e. machine has been run recently.
Page 14
First edition - April 2017
The water must be turned on prior to starting the washer, pull the spray trigger to ensure water is
moving the through the lines and out the nozzle without any leaks before starting the unit. Failure to
do this will result in damage to the seals which will not be covered under warranty

NEVER disconnect the high-pressure hose from the pump or spray gun while the system is
pressurised. Relieve pressure by squeezing the spray gun trigger after the engine has been
turned OFF.
4.1. Before stopping/shutting down the machine allow the engine to cool down for a few
minutes, byallowing it to run at low speed.
4.2. You MUST allow the engine to come to a full stop before carrying out any
maintenance onthe machine.
4.3. To stop the machine.
Turn engine switch tothe OFF position. Turn the water supply OFF.
Operate the spray gun trigger to release system pressure. Remove the garden hose and pressure hose.
Remove nozzle from spray gun. Check that the fuel valve is in the OFF position.
If detergents were used, remove detergent injector tube from the pump.
You MUST allow the engine to cool for at least five minutes before storing, a hot engine is a fire hazard.
4. STOPPING – SHUTDOWN PROCEDURE
Page 15
First edition - April 2017

You MUST STOP using the machine if any of the following occur.
•The engine speed changes with nocontrol.
•In case of misfire
•In case of high vibration.
If you arenot familiar with this type of machine youshould seek advice andguidance from your
dealer.
DO NOT attempt to lift or movethe machine while theengine isrunning.
5.1. Machine use.
5.1.1. Position the machine in such a way that it cannot move during use, maintenance, cleaning,
adjustment, assembly of accessories or spare parts, as well as under storage. 5.1.2. DO NOT force
the machine. Use the correct machine for yourapplication. The correct machine will dothejob better
and safer at the rate forwhich it is designed.
5.1.3. DO NOT change theengine governor settings orover-speed theengine. The governor
controls themaximum safe operating speed of the engine.
5.1.4. DO NOT run theengine at a high speed when you are not using it.
5.1.5. DO NOT put hands orfeet near thehigh pressure jet.Failure to observe these safety
instructions could result in serious injury.
5.1.6. Use only attachments andaccessories approved by the manufacturer. Failure to do so can
result in personal injury, andmay invalidate any warranty.
5.1.7. DO NOT allow persons unfamiliar with themachine orthese instructions tooperate it. This
machine isextremely isdangerous inthehands of untrained users.
5.2.Work area.
5.2.1. Thoroughly inspect the area to be worked, keep the working area clean andfree of debris to
prevent tripping. Operate ona flat level ground.
5.2.2. NEVER place any part of your body where it would beindanger if movement should occur
during assembly, installation, andoperation, maintenance, repairing or moving.
5.2.3. Keep all bystanders, children, and pets at least 23m (75feet) away. If you are approached,
stop theunit immediately.
5.2.4. The operator oruser isresponsible forpreventing accidents orhazards occurring to other
people, their property, and themselves.
5.2.5. Start the engine carefully according to instructions.
5.2.6. Before starting the pressure washer, make sure that the area to pressure washed is free of all
obstacles.
5.2.7. Whenever you leave the operating position you MUST always shut down theengine,
disconnect spark plug HT lead, keeping them away from thespark plugs to prevent accidental
starting, andwait for all moving parts to come to a complete stop.
5.2.8. ALWAYS stop theengine before moving the machine.
5.2.9. NEVER cover themachine while theexhaust is still hot.
5.2.10. NEVER operate themachine onslopes.
5.2.11. Move themachine at least 3m away from therefueling point before starting engine.
5.2.12. Inspect that all nuts and bolts are tight and well connected to ensure thesafety and
5. USING THE MACHINE
Page 16
First edition - April 2017
The water must be turned on prior to starting the washer, pull the spray trigger to ensure water is
moving the through the lines and out the nozzle without any leaks before starting the unit. Failure to
do this will result in damage to the seals which will not be covered under warranty

reliability of this machine prior to any operation.
5.2 Using the machine.
ALWAYS Start slowly with half throttle and keep a firm grip on lance.
5.2.1. Before starting the machine you MUST connect to and turn ona water supply and high
pressure hose to themachine, connect the lance and trigger assembly.
5.2.1. Nozzle selection. The machine issupplied with 5 nozzles. Red/Yellow/Green/White and
Black. Withthe exception of the Black (soap nozzle) they all give a different spray pattern.
0°
- Pin point, for use on hard/embedded
dirt/grime on brick/ concrete patios
surfaces
15 °/25 ° - Concentrated to optimize
cleaning power and time, for use on paint
stains, oil, dense dirt and mildew. On
wooden decks, walls, drives and patio
surfaces.
40 ° - Efficient for general cleaning power,
for use on general loose dirt/grime paint
stains, oil, dense dirt and mildew. Can be
used on most surface such as cars, wooden
decks outdoor furniture and patios
Soap injection – Used to apply cleaning
solutions to surfaces recommended by
detergent supplier. Can beused to prepare
all surfaces to provide thorough cleaning.
5.2.2. The quick–release on the lance allowsyou to switch between five different quick-release
nozzles. DO NOT change nozzles whilst the lance trigger isoperated. Pull back the collar on the
quick release mechanism and remove the nozzles andfit the desired nozzle.
5.2.3. Cleaning tips. Before cleaning you areadvised to jet wash a test area first andonly when
you are happy with theresults should you proceed with thecurrent task.
5.2.3.1. For mosteffective cleaning, keep nozzle from 8 to 24 inches away from cleaning
surface.
5.2.3.2. If you get nozzle too close, especially using a high pressure nozzle, you may
damage surface being cleaned.
5.2.4. Using black soap nozzle.
Page 17
First edition - April 2017

NEVER use chemicals or caustic liquids that cause bodily injury and/or property damage. You MUST
always follow the manufacturer’s advice and guidance onhow to use detergents
5.2.4.1. To apply detergent, follow these steps: Fit black soap nozzle, prepare detergent
solution asrequired byjob, place small filter end of detergent siphoning tube into detergent
container. NOTE: Make sure thefilter isfully submerged indetergent while applying detergent. This
washer will onlydraw soap with theblack soap nozzle. The Red, Yellow,Green and White nozzles will
not draw soap.
5.2.4.2. Apply detergents to thesurface using long even and overlapping strokes. Ingeneral
leave thedetergent on thesurface forfive minutes orasadvised bythedetergent manufacturer. DO
NOT allow the detergent to dry onthesurface.
5.4.4.3. Once you have completed the soap application process you MUST flush the
detergent siphoning system after each use byplacing the filter into a bucket of clean water, then
run thepressure washer inlow pressure for1-2 minutes. Failure to do this will result in blocked
siphoning tubes and filter.
Page 18
First edition - April 2017

Always stop the engine and unplug the spark plug before doing any repairs or maintenance.
Never touch the rotating nylon cord or blade.
Check and maintain fuel & oil levels regularly, and maintain the correct levels.
Frequently check at regular intervals for the tightness of all nuts, bolts and screws.
If the machine vibrates badly stop the machine and take it to a service dealer.
Always refuel in a well-ventilated area with the engine off and spark plug HT cap removed.
Whilst carrying out maintenance you must wear appropriate Personal Protective Equipment
(PPE). Suggested PPE Sturdy footwear, work gloves, long trousers and hearing protection.
NEVER use the pressure washer to clean itself. Water can penetrate the power unit and
cause damage the engine. The use of pressure washers will result in shortened life and
reduce serviceability. Shut down the engine, wait for all moving parts to come to a complete
stop, remove HT lead, and then wait for 5 minutes before performing maintenance on the
pressure washer.
Guards and Shields: Make sure all guards and shields are replaced after servicing the pressure
washer. Keep your pressure washer upright: Never lay your pressure washer on its side while
moving, storing, or using it. Oil could leak and damage your pressure washer’s engine and
surrounding areas. You MUST comply with local and current regulations that apply to the use
of your pressure washer. There may be additional regulations that apply if your pressure
washer is used on construction sites.
ITEM FREQUENCY
Remove dust/debris accumulation As needed or required
Inspect fuel and spray system Each use
Clean inlet filter Each use
Check tyre pressures Each use
Perform engine maintenance
(Refer to Engine Owner’s Manual)
Change engine oil: As specified in the Engine Owner’s manual.
•After first 5 hours of use
•Every year or 100 hours of use after first use.
Perform pump maintenance
(Refer to Pump Owner’s Manual)
Change pump oil: As specified in the Pump Owner’s manual.
•After first 50 hours of use
•Every 3 months or 500 hours of use after first use.
PARTS
If a part needs replacement, only useparts that meet the manufacturer’s part number
specifications. Replacement parts that do not meet specifications may result in a safety
hazard or poor operation of the Pressure Washer and will VOID the warranty. Major Service,
including installation or replacement of parts, should be made by a qualified service
technician.
Page 19
First edition - April 2017
6. MAINTENANCE
N.B. AR Axial pump are sealed for life-no oil changes required.

When cleaning filters, you MUST check whether dangerous chemicals have been used with the filter
and take any precautions that may be recommended by the manufacturer of the chemicals and
Material Safety Data Sheet (MSDS). Always dispose of hazardous fluids per local, regional, and
national guidelines.
6.2.1. Unscrew the garden hose from water inlet (if connected). Unscrew inlet filter. Remove filter
screen.
6.2.2. Run water through filter screen to clean. Then Reassemble.
High pressure fluid discharge from leaks (even pin-sized) orruptured components can pierce skin and
inject fluid into the body. Injection injury can result inblood poisoning and/or severe tissue damage
leading toinfection, gangrene, and possibly amputation.
6.1.1. Inspect the spray system for damage and leaks before each use. DO NOT start
pressure washer until all needed repairs have been completed.
6.1.2. NEVER use a finger or skin to check for leaks.
6.1.3. NEVER operate machine with damaged or missing hoses/parts.
6.1.4. NEVER attempt to repair a high-pressure hose orcomponent – Always replace it with
apart that is rated at or above the pressure rating of this machine.
6.1.4.1. Check hoses, fittings, wand, trigger gun and connections forsigns of wear,
cracks, looseness, or leaks. Replace asrequired.’
6.1.4.2. Check and clean the nozzle orifice only when removed from lance.
6.1.4.3. NEVER direct the outlet of the pressure washer jet towards anyone, which
includes adults, children, all pets and livestock or other objects that can be damaged.
6.2. Inlet filter.
6.1. Spray system.
Page 20
First edition - April 2017
This manual suits for next models
4
Table of contents
Other P1PE Pressure Washer manuals
Popular Pressure Washer manuals by other brands

Wilks USA
Wilks USA RX525i operating instructions

cecotec
cecotec HidroBoost 1400 EasyMove instruction manual

Kärcher
Kärcher G 2500 LH Operator's manual

Black & Decker
Black & Decker Linea Pro PW2100 instruction manual

Champion Power Equipment
Champion Power Equipment 75520 Owner's manual & operating instructions

Brute
Brute 3000 MAX PSI quick start guide