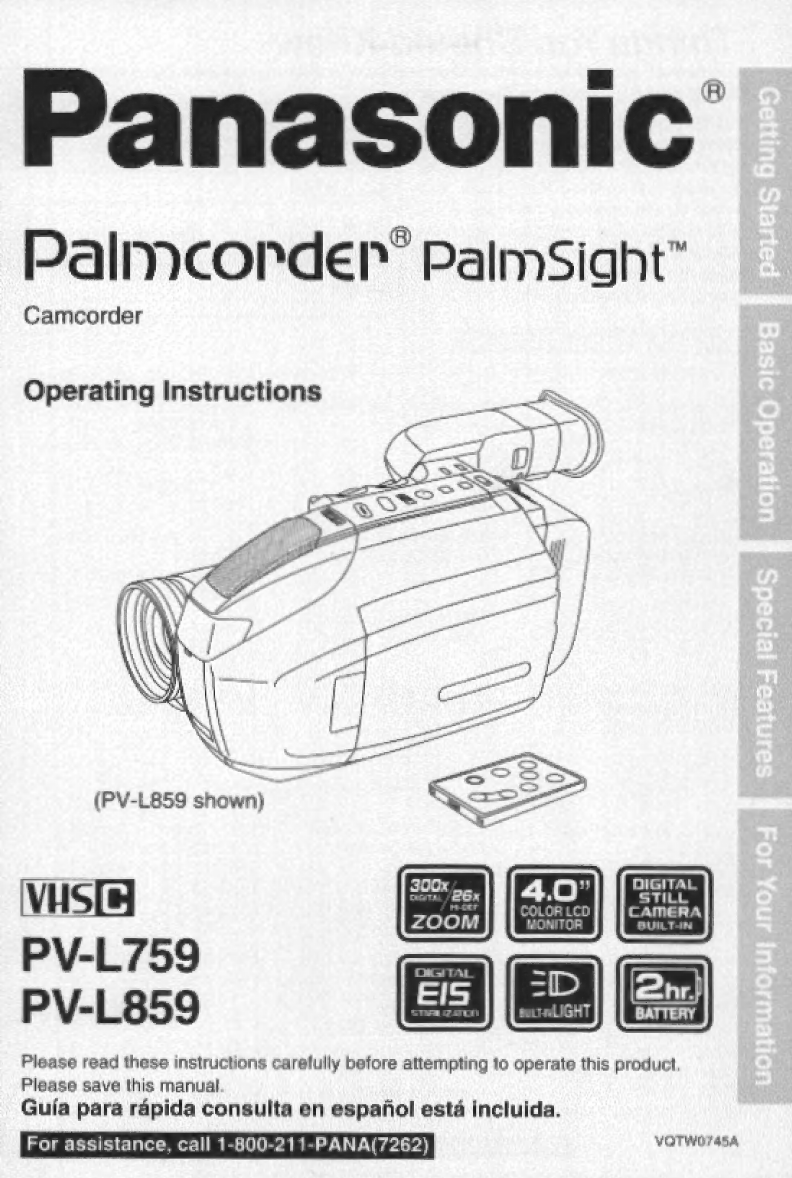
Panasonic Palmcorder Palmsight PV-L759 User manual
Other Panasonic Camcorder manuals

Panasonic
Panasonic AG-DVC80P User manual

Panasonic
Panasonic Palmcorder PV-A206 User manual

Panasonic
Panasonic HC-V700 Technical specifications

Panasonic
Panasonic NV-GS80EB User manual

Panasonic
Panasonic PV-DV52 User manual

Panasonic
Panasonic HDC-HS20P User manual

Panasonic
Panasonic NV-GS60E User manual

Panasonic
Panasonic HDC-SD100PC User manual

Panasonic
Panasonic POVCAM AG-MDC10G User manual

Panasonic
Panasonic HDC-SD40 User manual

Panasonic
Panasonic NV-S85A User manual

Panasonic
Panasonic NV-DS29B User manual

Panasonic
Panasonic NV-RZ1EG/B/E/EN/ENC/A User manual

Panasonic
Panasonic HC-X1 User manual

Panasonic
Panasonic HC-X900 User manual

Panasonic
Panasonic NV-GS250GN User manual

Panasonic
Panasonic AG-HVX202AEN User manual

Panasonic
Panasonic NV-DS35EG User manual

Panasonic
Panasonic HC-V510 User manual

Panasonic
Panasonic SDR-H80A User manual