4
Safety Precautions
Danger
About Prohibition of Heating
■Do not put Electronic Pen in fire, heat it or leave it in places that can get hot.
■Batteries must not be exposed to excessive heat such as sunshine, fire or the like.
Electronic Pen contains a lithium-ion polymer rechargeable battery, so heating may result in combustion or
rupture that may cause burns or fire.
Warning
About Prohibition of Disassembly
■Do not disassemble or modify the Electronic Pen.
When disposing this product, refer “Disposal” (page 24) and disassemble properly for removing the rechargeable
battery.
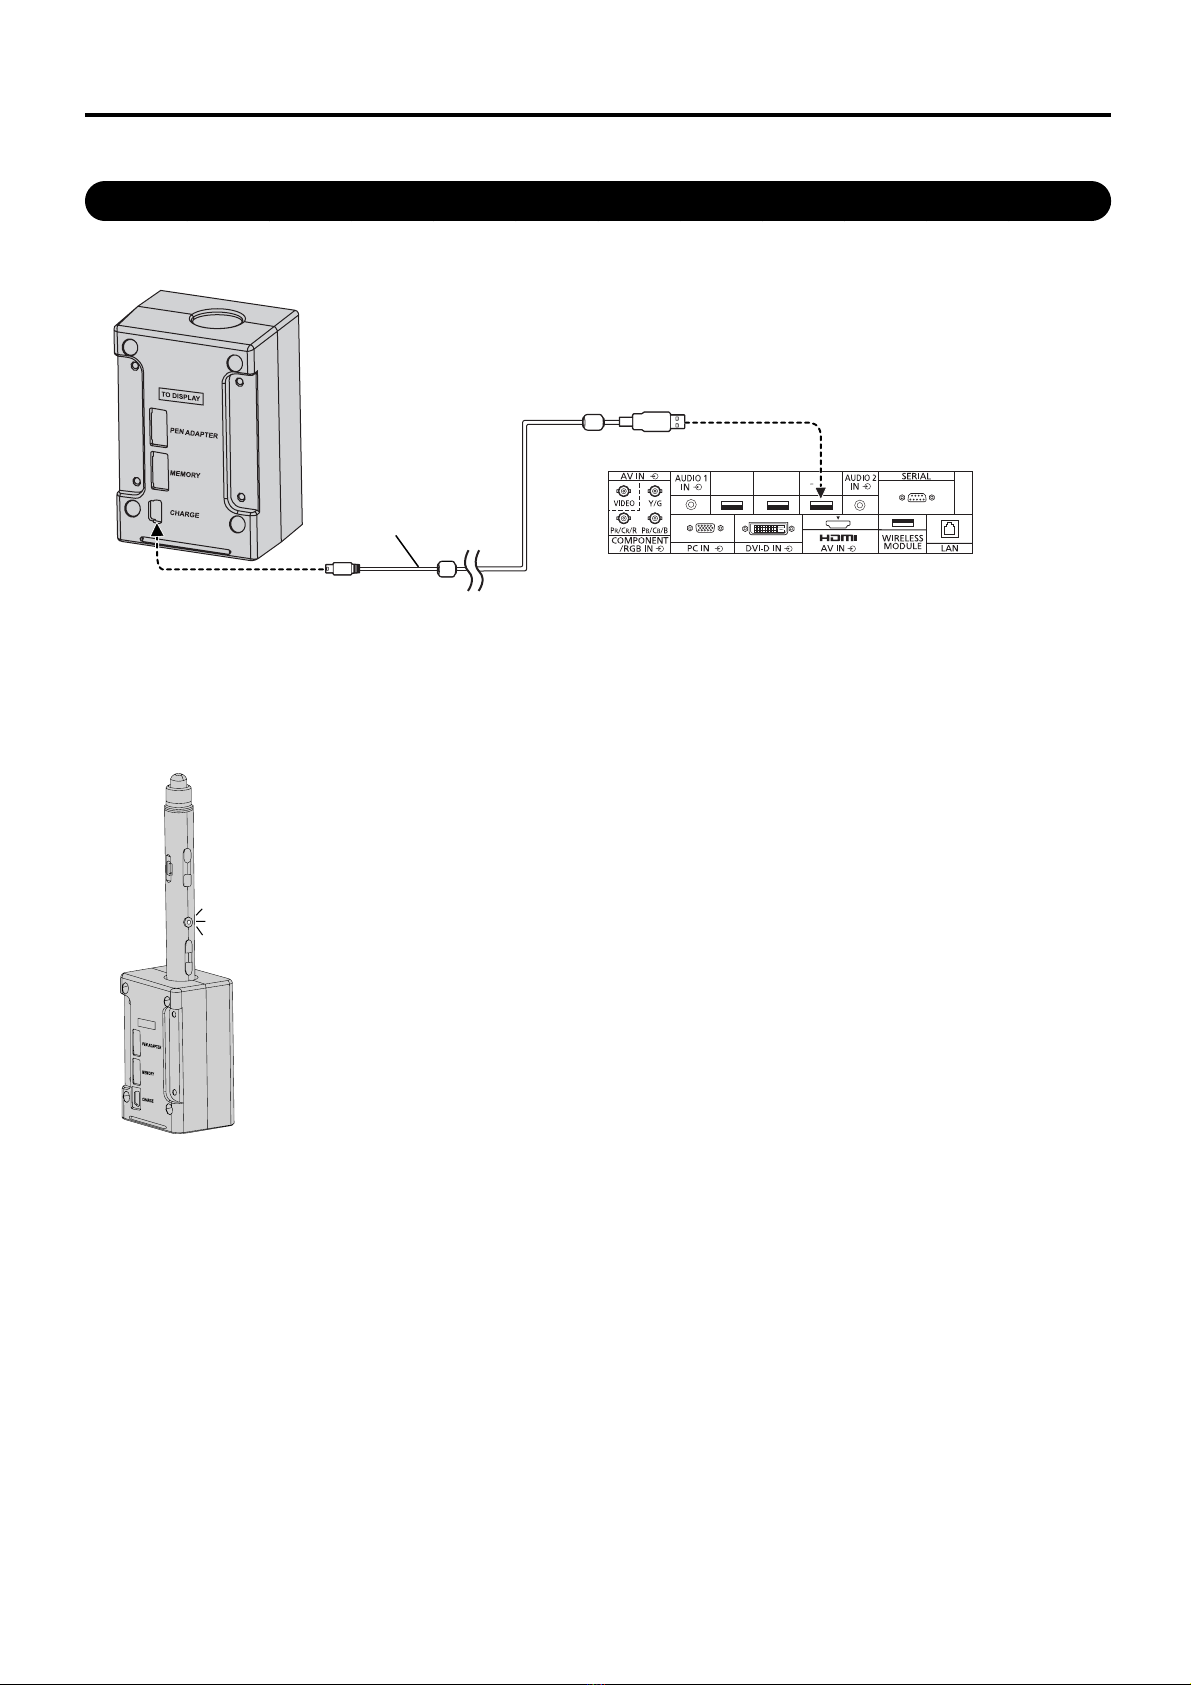
About Charging
■Use the included charger cable and charger for charging.
Charging with other devices may result in battery leakage, heating or rupture.
■Do not use the included charging cable and charger for uses other than charging Electronic Pen.
Doing so may result in heating, combustion or damage.
About Electronic pen, Electronic pen adapter, Charger
■Do not use near medical equipment.
(Do not bring into a surgery room, intensive care unit, critical care unit, etc.)
Electromagnetic waves generated by this device can affect equipment, and can cause equipment to malfunction.
■Do not use near automatic doors, smoke detectors and other automatically controlled equipment.
Electromagnetic waves generated by this device can affect equipment, and can cause equipment to malfunction.
■Use at least 22 cm away from pacemakers.
Electromagnetic waves generated by this device can affect the operation of pacemakers.
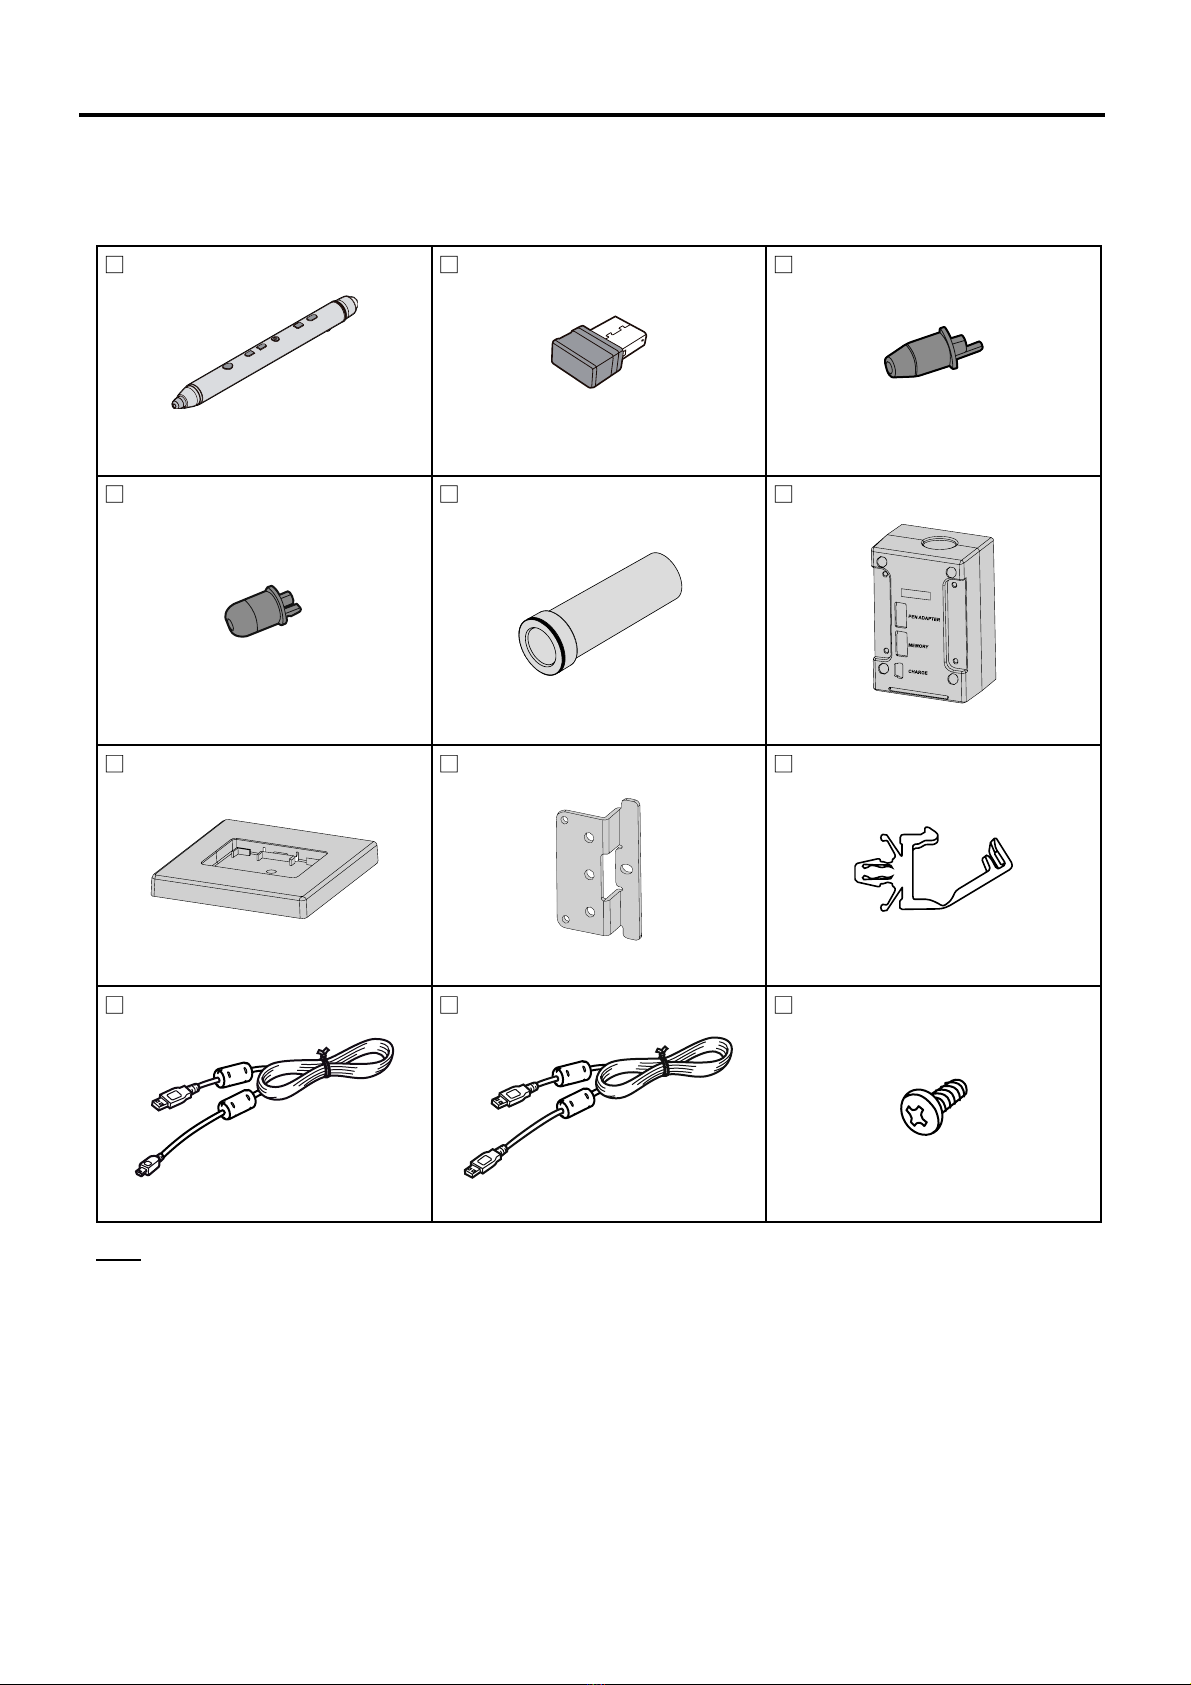
■Keep the pen tip, eraser tip, clamper, electronic pen adapter, optical attachment and screws out of reach
of children to prevent swallowing.
■You must not aim the optical attachment lens at the Sun or an intense light source, or look at the Sun
or an intense light source through the optical attachment lens. To do so may cause vision loss. Never
look at the Sun or other intense light sources through the lens. Also, if you aim the lens at the Sun or an
intense light source, the lens could focus light to a flammable item and cause a fire.
Caution
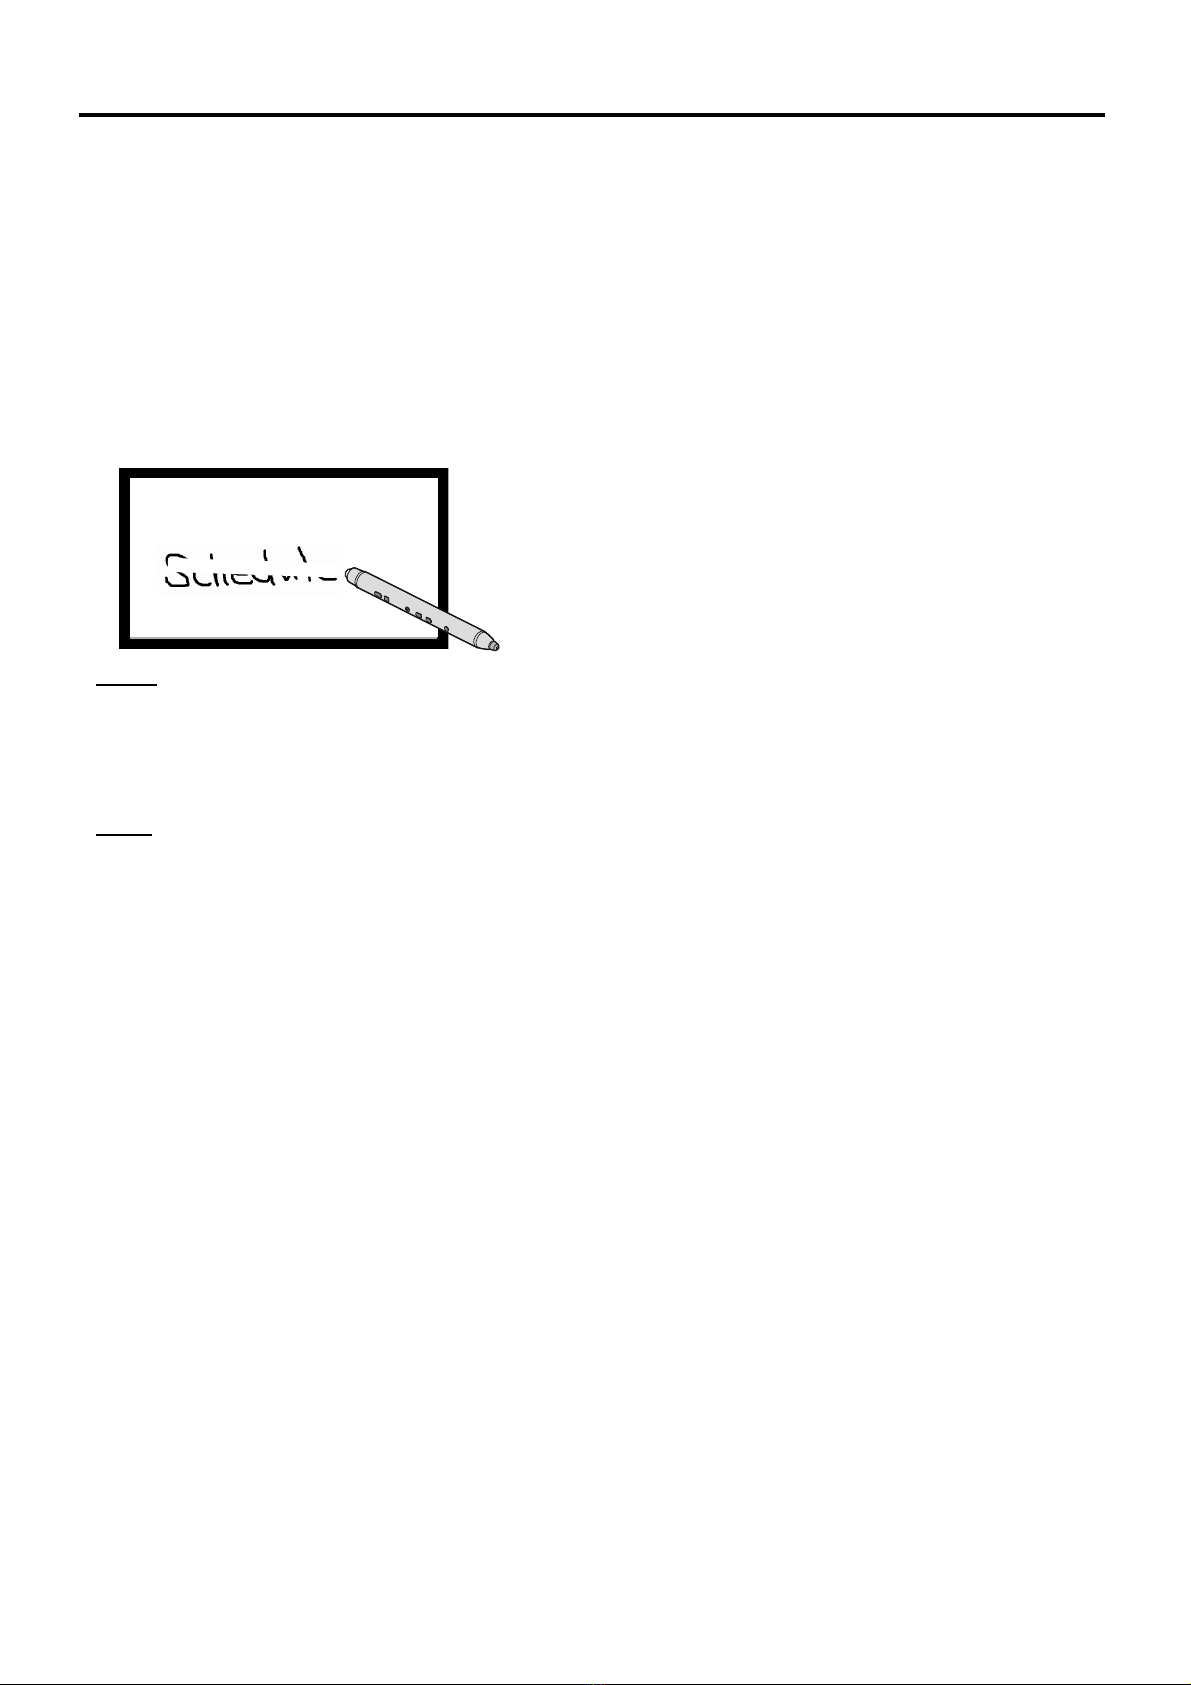
■Do not drop, exert pressure on, or step on the Electronic Pen.
Doing so may damage the Electronic Pen, which may result in injury.
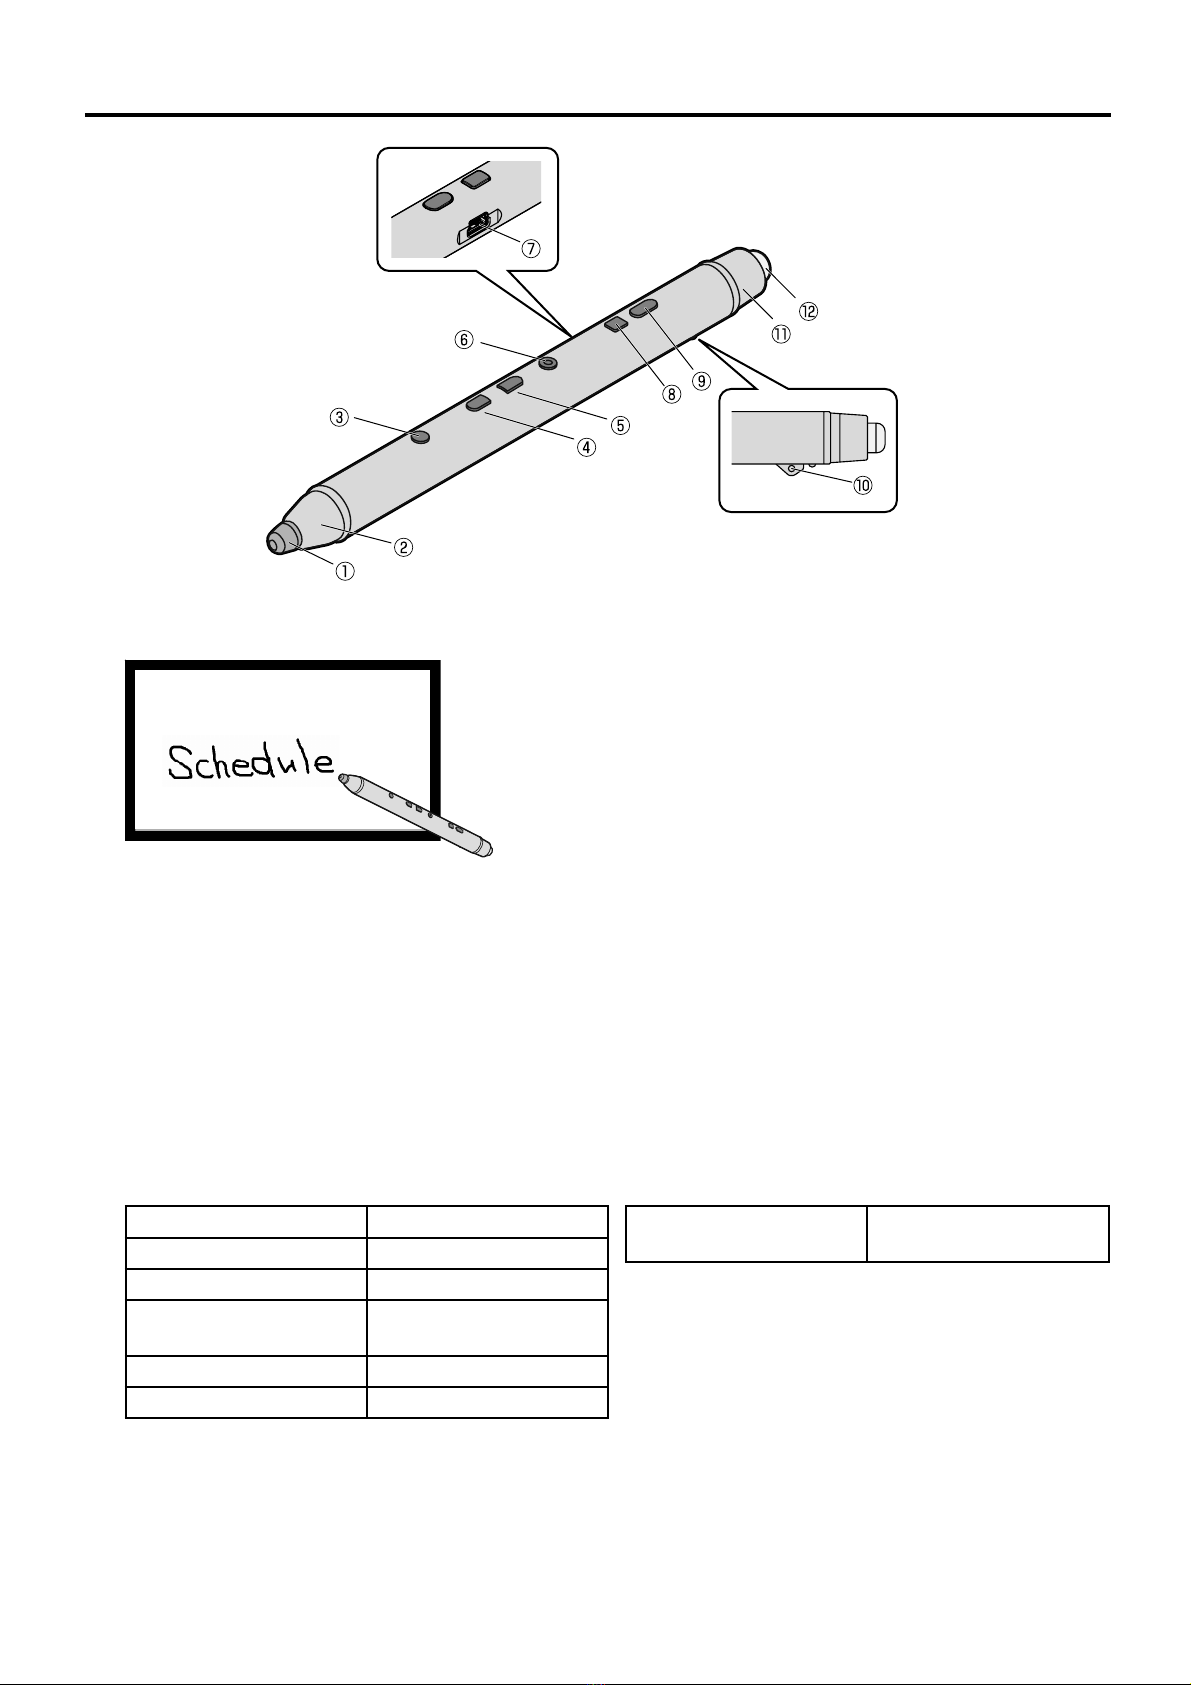
■Be careful of the tips of the Electronic Pen.
Accidentally inserting the tip of the Electronic Pen into the eye may cause injury.
■Always keep the Electronic Pen in a cool, dry place.
Failure to do so may cause fire or electric shock.
■Do not bring magnetically susceptible objects (e.g. cash card, passbook) close to the charger
The magnetic line from the charger may make magnetically susceptible objects unusable.