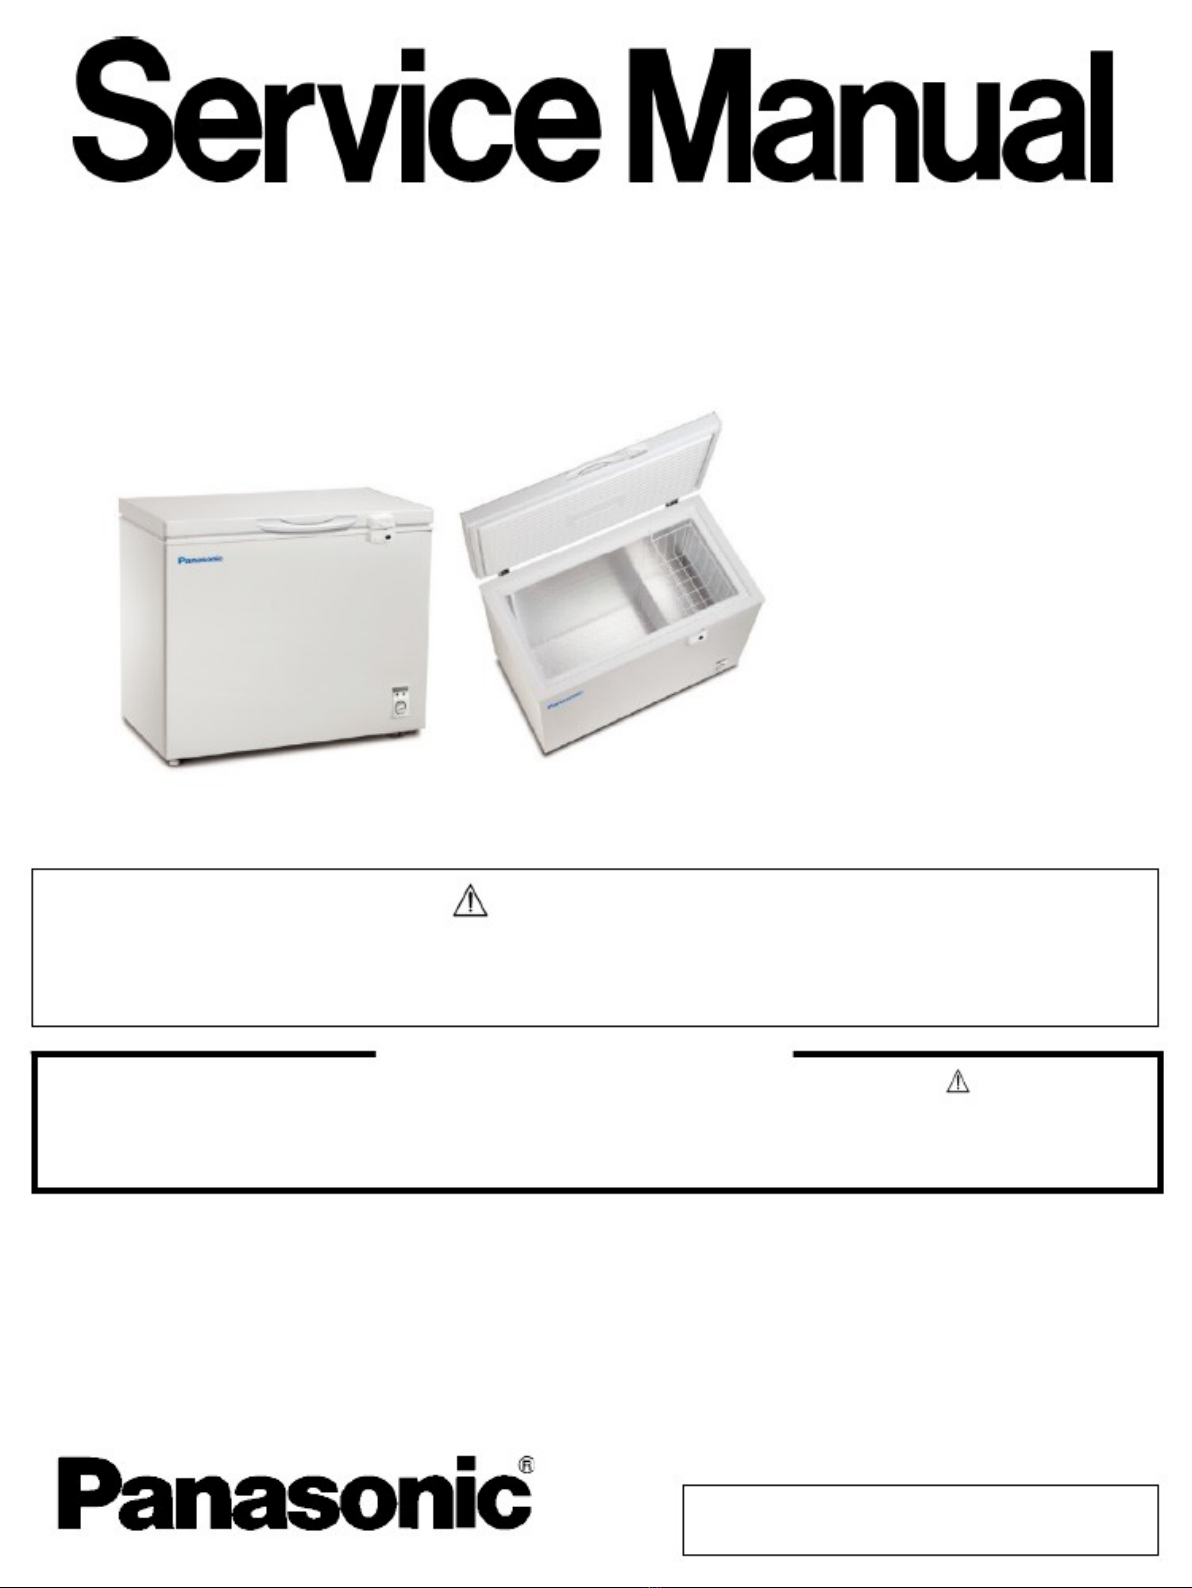
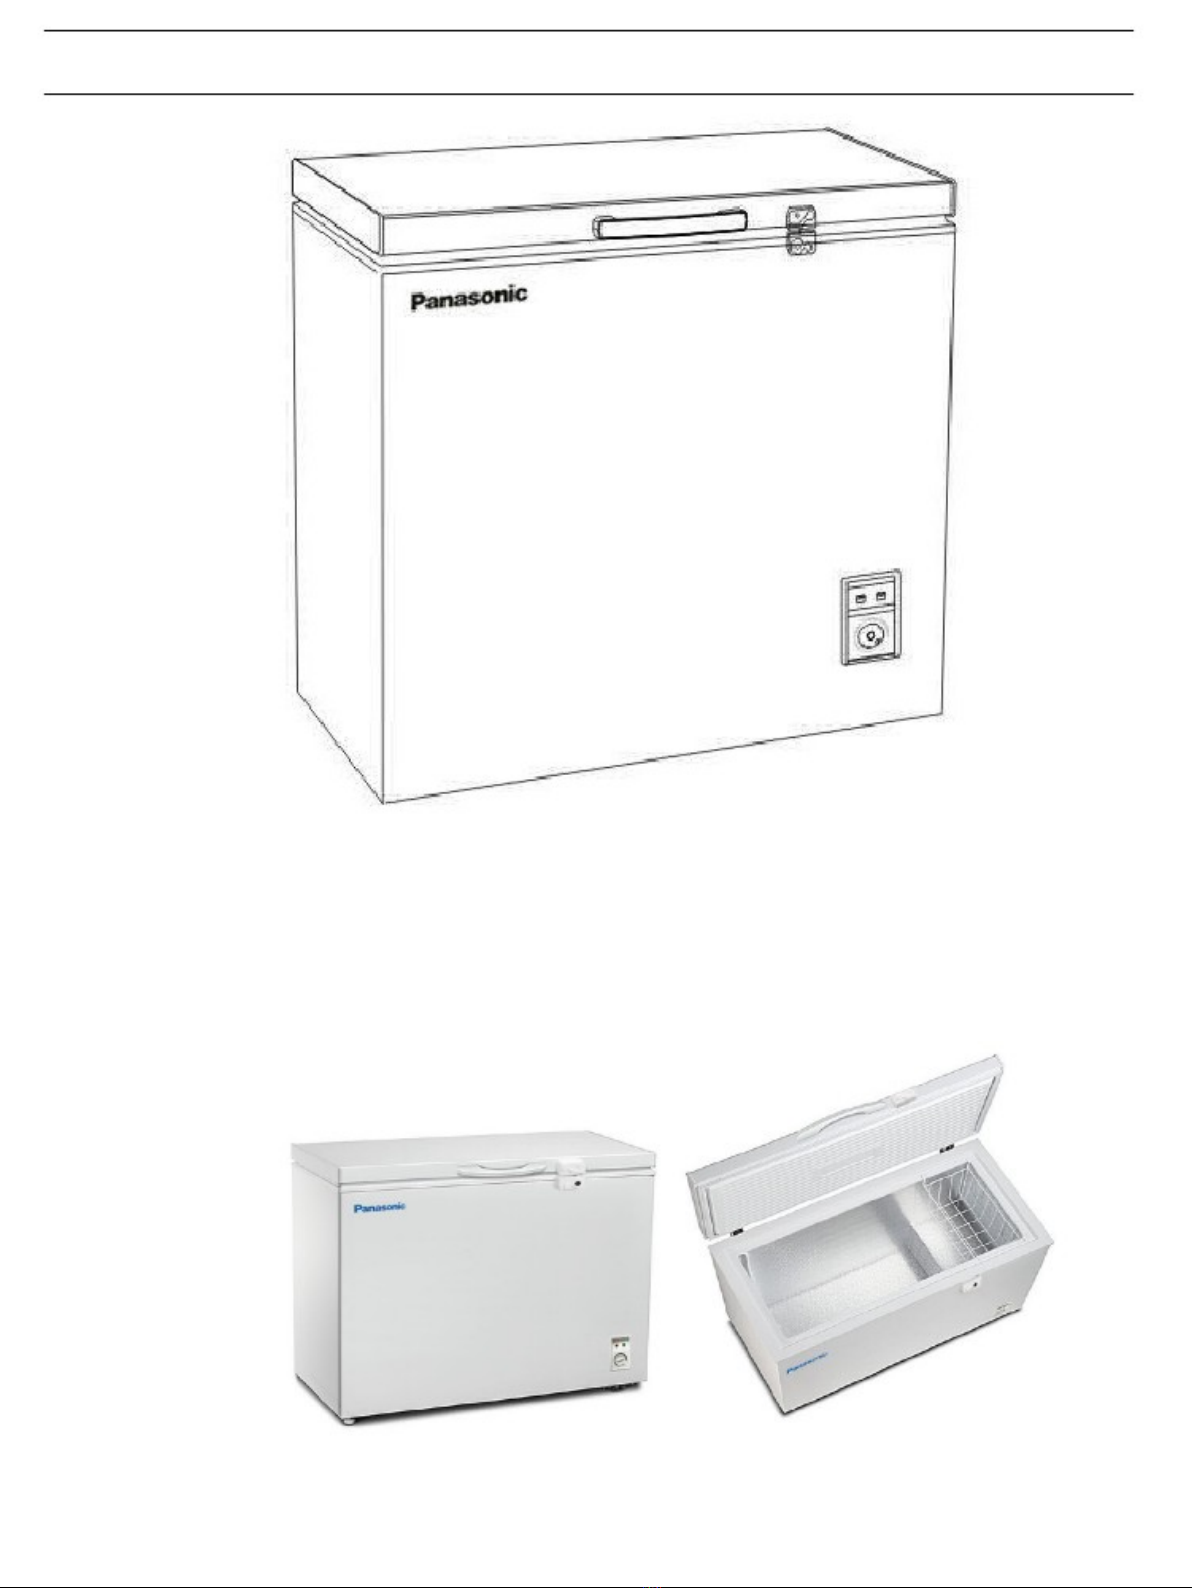
Panasonic SCR-CH100H User manual
Other Panasonic Freezer manuals

Panasonic
Panasonic MDF-DU702VH User manual

Panasonic
Panasonic MDF-U76VA User manual

Panasonic
Panasonic SCR-CH500H User manual

Panasonic
Panasonic MDF-U54V Series User manual

Panasonic
Panasonic MDF-U74V User manual

Panasonic
Panasonic MDF-U731M User manual

Panasonic
Panasonic MDF-U7586SC User manual

Panasonic
Panasonic MDF-U4186S Series User manual

Panasonic
Panasonic SCR-CH150H User manual

Panasonic
Panasonic MDF-237 User manual

Panasonic
Panasonic MDF-U7386S User manual

Panasonic
Panasonic MDF-DC700VXC User manual

Panasonic
Panasonic MDF-594C User manual

Panasonic
Panasonic KM-DU73Y1 User manual

Panasonic
Panasonic MDF-594 User manual

Panasonic
Panasonic MDF-U76V User manual

Panasonic
Panasonic MDF-U700VX-PB User manual

Panasonic
Panasonic MDF-DU900V User manual

Panasonic
Panasonic MDF-137 Series User manual

Panasonic
Panasonic MDF-U33V User manual