14 po /35.6 cm
3-3/8 po
8.6 cm
48 po / 121.9 cm
CAU ION: ounting brackets are
made of galvanized steel. Edges
may be sharp.
INSTALLATION Du BOÎTIER ARRIÈRE BX-82SQ
ET Du CAISSON DE SOuS-GRAVES
ÉTAPE 2
REMARQUE IMPOR AN E : La quantité adéquate d’i olant acou tique e t inclu e et di po ée correctement dan le boîtier arrière. NE PAS enlever
l’i olant, le compacter, ni en ajouter. NE PAS ajouter d’i olant acou tique au plafond directement derrière le boîtier arrière.
ÉTAPE 1
Pour éviter que de vibration
ou ré onance modifient le
ignal, centrer le boîtier entre
de olive —le boîtier ne doit
pa toucher aux olive .
INSTALLATION DE
L’ENCEINTE
DIMENSIONS Du
BOÎTIER ARRIÈRE
REMARQUE :
La boucle pour
filage doit être fixée à l’aide
de la vi inclu e.
MISE EN GARDE :
Le upport de
fixation ont en acier galvani é. Le
rebord peuvent être coupant .
INSTALLATION DES
SuPPORTS
PIÈCES COMPRISES :
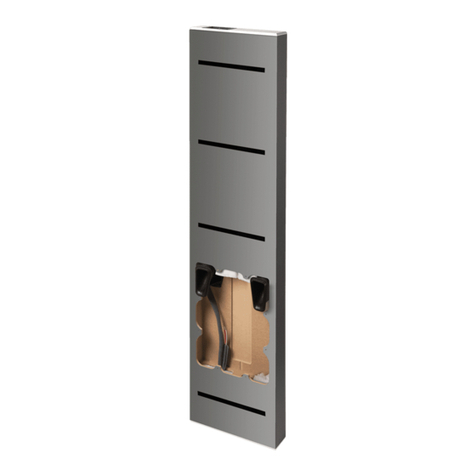
• 1 – Boîtier arrière
• 2 – Supports de pré-construction • 1 – Boucle pour filage avec vis
REMARQUE : NE PAS PERCER NI RETIRER LA PELLICULE PLASTIQUE QUI
PROTÈGE L'ORIFICE D'INSERTION DU CAISSON DE SOUS-GRAVES AVANT
D'ÊTRE PRÊT À INSTALLER CE DERNIER.
NÉCESSAIRE, NON COMPRIS :
• 16 – vis à bois no8
(8 pour fixer les supports au boîtier; 8 pour fixer le boîtier au plafond)
PARADIGM NE FOURNI PAS LES VIS POUR LE MON AGE DU BOÎ IER
AU PLAFOND. CHOISISSEZ LES VIS APPROPRIÉES SELON LE PLAFOND
E LE POIDS DU BOÎ IER AVEC L’ENCEIN E
BOÎ IER ARRIÈRE BX-82SQ : 17,6 lb / 8 kg
CAISSON DE SOUS-GRAVES PCS-82SQ : 8,8 lb / 4 kg
POIDS O AL : 26,4 lb / 12 kg
EN CAS D’HÉSI A ION QUAN À LA PROCÉDURE D’INS ALLA ION, COMMUNIQUER
AVEC UN INS ALLA EUR PROFESSIONNEL.
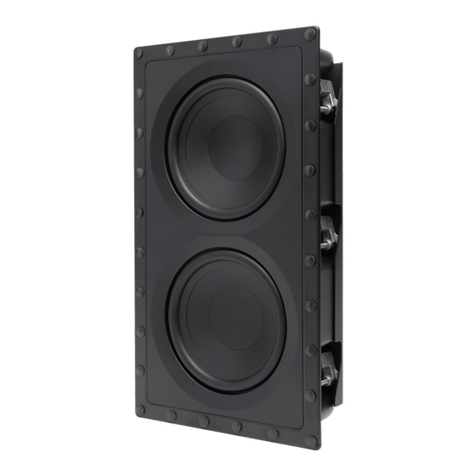
INSTALLING SuBwOOFER
a) Holding the subwoofer’s front lip with your thumbs and index fingers, push the
4 mounting screws toward each other with your other fingers, so the mounting
brackets can fit through the hole with an “up-and-in” motion. Release the
screws and gently push the subwoofer into the backbox.
Snake wire through wire loop then along wall to amplifier location before drywalling.
NOTE: Remove grille before painting
DRYwALLING
INSTALLING GRILLE
STEP 6 STEP 7
STEP 5
8-1/8 in / 20.6 cm
15-5/8 in / 39.6 cm
ÉTAPE 3
RED (+)
BLACK (–)
wIRING
STEP 4
180˚
La borne va ici.
IMPORTANT! Le boîtier arrière a été
inver é. NE l’in tallez PAS dan cette
po ition, voir la bonne po ition à l’étape 2.
