6GB
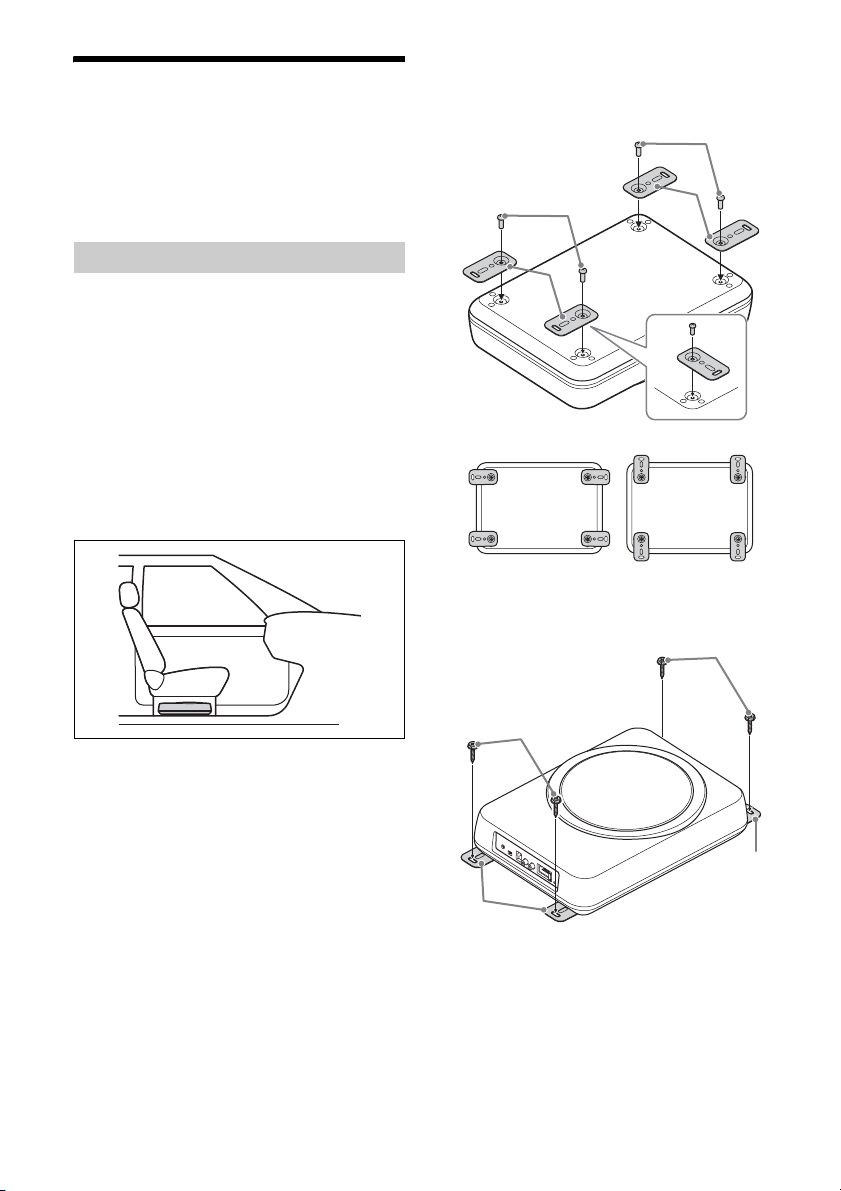
Making power connections
Connect the power supply leads to the POWER/
HIGH LEVEL INPUT connector on the subwoofer.
Ground (earth) lead
•The ground (earth) lead (GND) is the black lead.
•Be sure to connect the ground (earth) lead
securely to a bare metal ground (earth) point on
the car chassis. A loose connection may cause the
unit to malfunction.
•During full-power operation, a current close to
15 A will run through the system. Therefore, make
sure the wires to be connected to the ground
(earth) lead of this unit are at least 14-Gauge
(AWG-14) or have a sectional area of more than
2 mm² (3/32 in²).
Battery extension lead
• The battery extension lead (BATTERY) is the
yellow lead.
• Connect the battery extension lead to the car
battery’s +12 V power supply lead with a 15 A fuse
attached.
•During full-power operation, a current close to
15 A will run through the system. Therefore, make
sure the wires to be connected to the battery
extension lead of this unit are at least 14-Gauge
(AWG-14) or have a sectional area of more than
2 mm² (3/32 in²).
• All power wires connected to the positive battery
post should be fused within 450 mm (17 3/4in) of
the battery post before they pass through any
metal.
•Make sure the wires connecting from the car
battery to the metal ground (earth) point on the
car chassis are of a wire gauge at least equal to
that of the +12 V power supply lead connected
from the battery to the subwoofer.
•If the amperage rating of the fuse used on the
+12 V power supply lead of your car battery is less
than 15 A (e.g., 10 A), connect to a car system with
at least 15 A, or connect the battery extension lead
directly to the positive post of the car battery to
avoid short circuits.
Remote turn-on lead
• The remote turn-on lead (REMOTE TURN-ON) is
the blue/white lead.
• Be sure to connect the remote turn-on lead to the
remote turn-on output of the car audio unit.
•If your car audio unit does not have a remote turn-
on output, connect the remote turn-on lead to the
ACC power supply of your car. Power will be
supplied to this lead when the ignition switch of
your car is set to the ACC position.
• With high level input connection (page 7), the
subwoofer can also be activated without the need
for a remote turn-on connection. However, this
function is not guaranteed for all car audio units.
*1 Not supplied
*2 Ground (earth) to chassis.
*3 For car audio unit without a remote turn-on output,
connect to the ACC power supply of the car.
Black
to a metal ground (earth) point
on the chassis
Yellow
Blue/White
Fuse (15 A)
+12 V car battery
Car audio*1
to the remote turn-on output*3
of the car audio
*1
*2
less than 450 mm (17 3/4in)
 User manual")