10
Installing and Setting Up a Model 9128-II in Leased Line Mode
It is assumed that frame relay service may not be available at the site and the unit will
be set up in Leased Line mode.
1. Select the Easy Install feature.
Main Menu
→
Easy Install
2. Change the Service Type to Leased Line.
3. Set TS Access to DLCI, then select a DLCI on the network interface that will
be used for the troubleshooting access link.
4. If the Ethernet port will be used, select the Ethernet Port Options Screen and
configure the following:
– Enable Interface Status. If the NMS will be on a different subnet than the unit,
enter Yes at the Would you like to set the Node’s Default IP
Destination to Ethernet? prompt. Otherwise, enter No.
– If the IP Address and Subnet Mask are unique to the interface, enter them for
the port; otherwise, the Node IP Address and Subnet Mask will be used and can
be entered when you return to the Easy Install screen.
– Enter the Default Gateway Address; the IP Address that will be used for packets
without a route.
– Enable Proxy ARP if the unit will proxy for downstream FrameSaver units
learned via the proprietary RIP (Routing Information Protocol) feature.
– Press the Esc key to return to the Easy Install screen.
5. Select the Time Slot Assignment screen to manually assign the user data port to
network interface time slots (see
Assigning Time Slots/Cross Connections
in
Configuration
of the User’s Guide).
6. Configure the T1 network interface options to match the service provider’s settings.
7. Save the configurations.
8. Install the network cable (see
Connecting to the Network
on page 17).
9. If the DSX-1 interface will be used, install the DSX-1 cable (see
Connecting to the
DSX
on page 19).
10. Install the DTE cables (see
Connecting to the DTE (Router or FRAD)
on page 20).
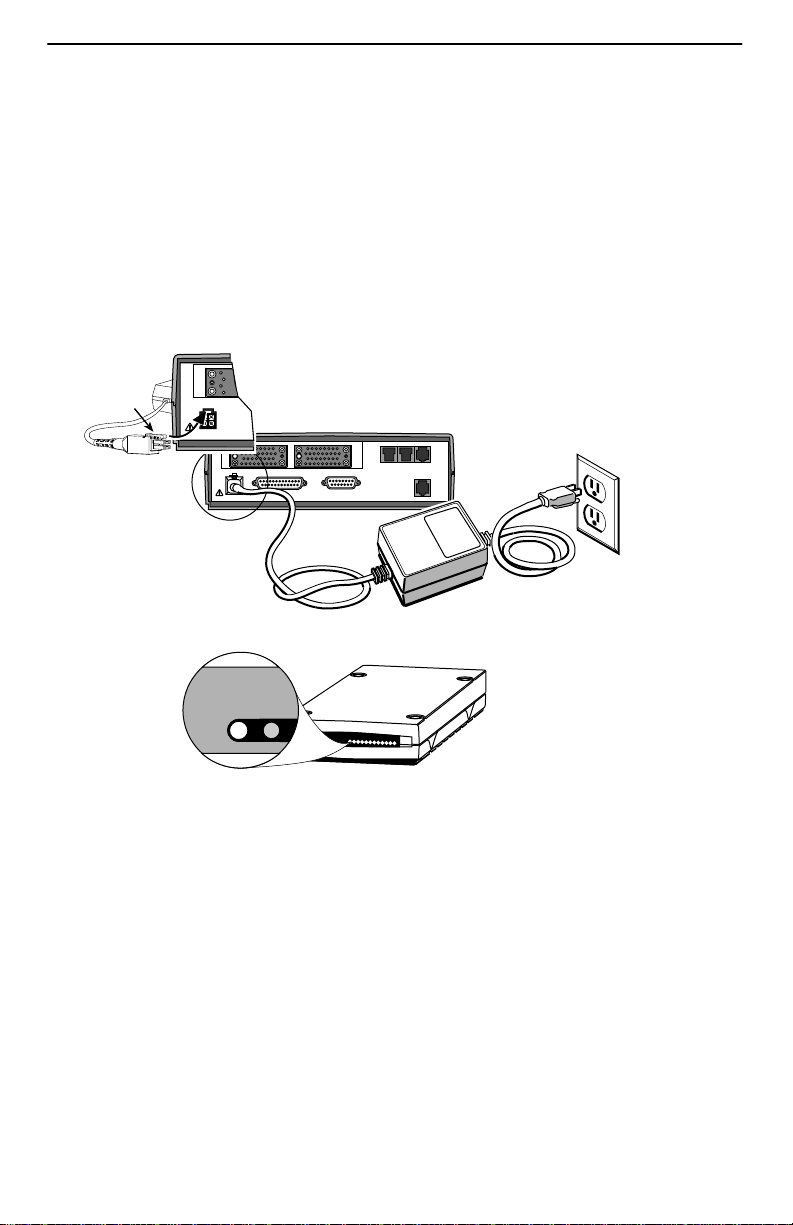
11. Install the modem cable (see
Connecting the Modem
on page 21).
12. If the unit is equipped with an ISDN DBM, install the ISDN DBM cable (see
Connecting to the ISDN
on page 22).
13. If the Ethernet port will be used for management, install the Ethernet cable (see
Connecting to the Ethernet
on page 23).
Physical installation of the unit is complete; the NOC can now remotely access the unit
for additional configuration.