-2-
A Note on Moisture Condensation and Dew
If your C/DC-1500 is brought directly from a cold location to a warm room or if it is placed in a very
damp room, moisture may condense on the laser lens within the unit. If this occurs, the changer will not
operate. Remove the disc and leave the changer in a warm, dry place for about an hour so the moisture
can evaporate.
Connecting Your C/DC-1500
Before making any connections, turn off the power to your power amplifier. This will avoid an
accidental “blast” of sound which could damage your speakers.
Use the cables supplied between the ANALOG LINE OUT jacks on your C/DC-1500 and any high
level input jacks on your preamplifier, amplifier or receiver marked CD, AUX or TAPE PLAY.
Connect the RIGHT and LEFT channels according to their markings on both units. Make certain that
all your connections are secure and that there is no tension on the cables which could cause them to pull
loose in the future.
You may connect the output of your C/DC-1500 directly to a power amplifier which has input level
controls, however you may require the additional gain of a preamplifier to reach adequate listening
levels.
You may prefer to try premium audio interconnect cables which are available from your Parasound
dealer. The benefits of these are debated among audio hobbyists, and we cannot guarantee you will
always hear an audible improvement to justify their cost.
Once the inputs have been connected, plug the AC cord into any convenient outlet or into an outlet on
the rear panel of your preamplifier or receiver. Try to run the AC cord in a perpendicular direction to
the audio cables to minimize hum.
External Remote Control Connector
Your C/DC-1500 accepts the input of any popular infrared repeater system to facilitate remote control
operation from another room or when your changer is installed within a closed cabinet. This connector
is a popular 3.5 mm mini jack and its center conductor is +, the outer is - . For further details contact
your Parasound dealer or custom installer.
Digital Connections
Your C/DC-1500 is equipped with an RCA jack for 75 Ω coaxial connection to an external D-A
converter. You must use a digital cable which will minimize data reflections within the cable. A
standard audio interconnect cable will not produce optimum results. We recommend the Parasound
Data Bridge digital cable for this purpose.
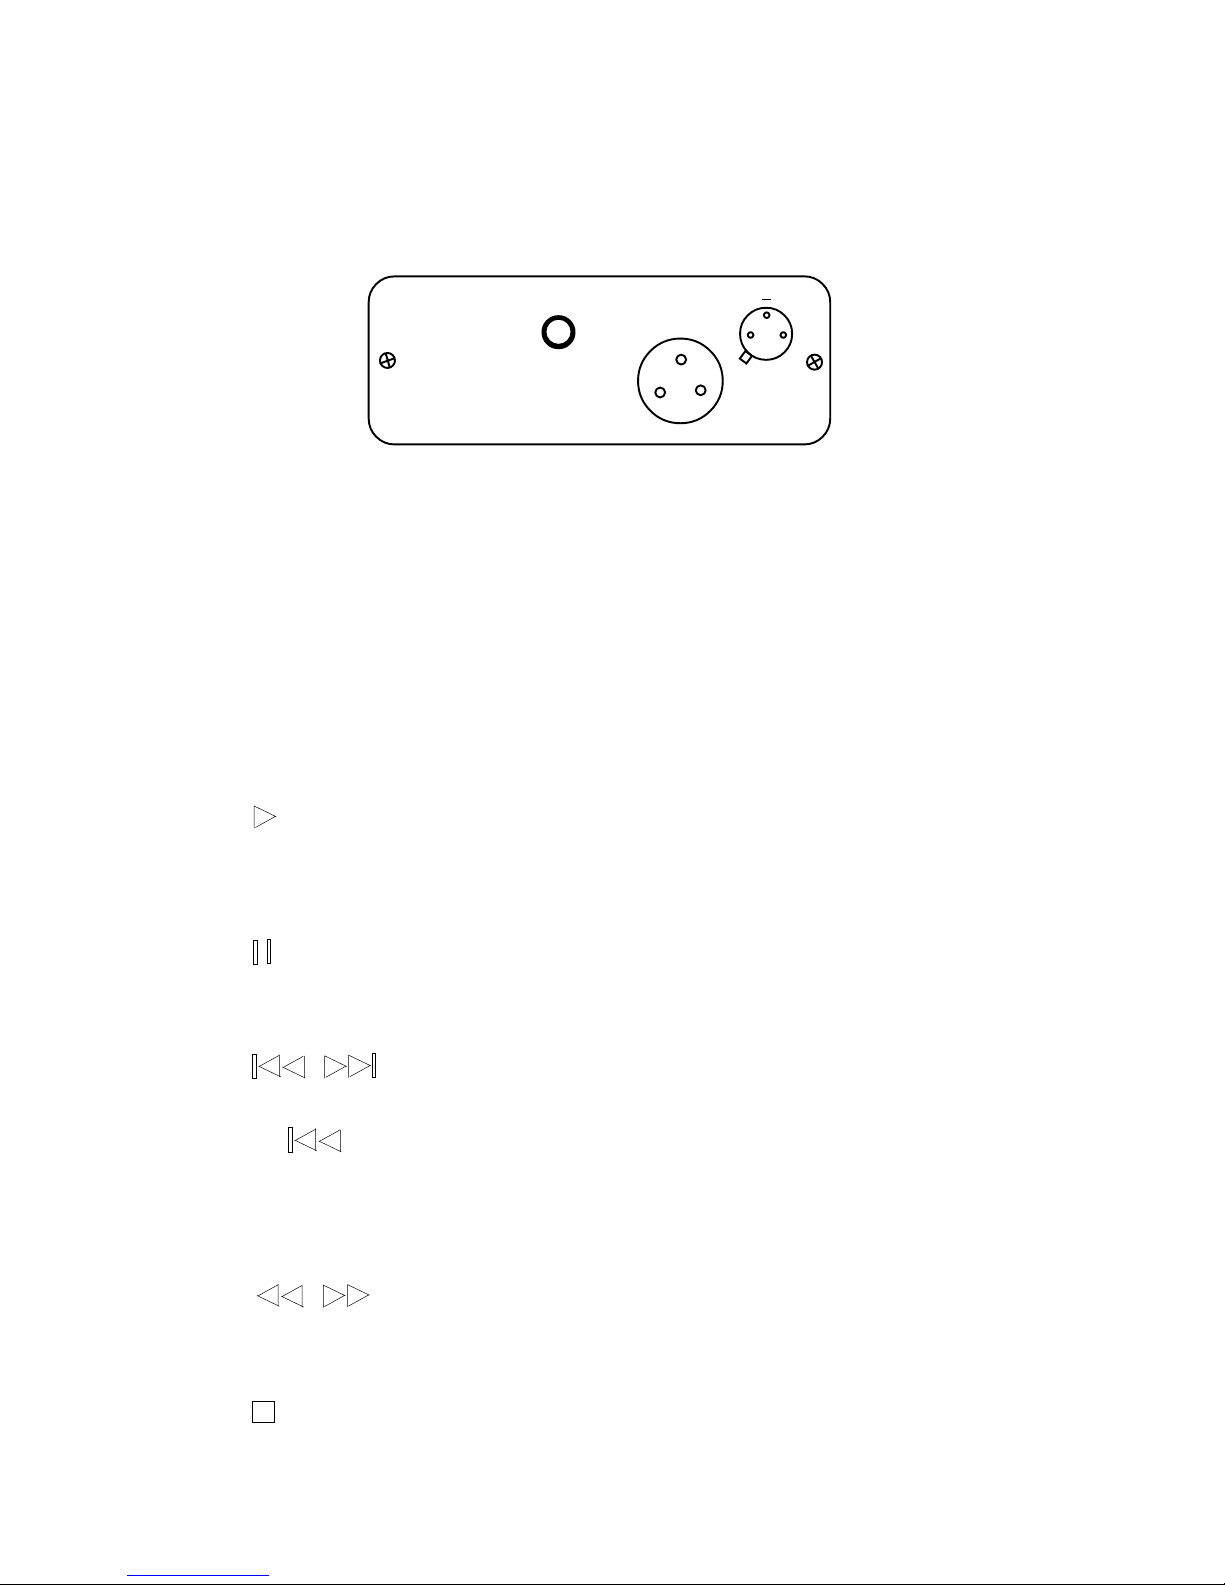
Advanced Digital Adapter Module (ADAM)
An optional Advanced Digital Adapter Module (ADAM) is available from your Parasound dealer or
custom installer. The ADAM features both an AT&T standard glass fiber ST module and an AES/EBU
standard 3 pin XLR connector. Either of these will provide superior sound if your D-A converter is
equipped to accept them. The advantage of the AT&T glass fiber optic connection is that it electrically
isolates your changer-transport from the rest of your system, potentially improving overall signal to
noise ratio. The AES/EBU output offers a balanced digital output with a separate ground.
It's very easy to install the ADAM yourself. First, insure that the C/DC-1500 is unplugged before
attempting to install the ADAM. Remove the two phillips head screws at either side of the cover plate
near the left side of the rear panel on your C/DC-1500. The ADAM is attached to a plate which
replaces the one you just removed.