PawTrax PATmicro User manual
The PAT
micro
from PawTrax
(PawTrax Animal Tracker)
USER GUIDE
V3.5 21/11/2011

Thank you for purchasing The-PATmicro
The-PATmicro uses GSM (Mobile Phone) and GPS (SATNAV) echnology enabling you
o FIND, TRACK and SECURE your pe 24/7/365
The PATmicro was designed o work using your mobile phone wi hou he need o
have access o a PC.
I is simple o opera e - if you can send an SMS you can easily use he PATmicro.
Commands o con rol The PATmicro are sen as SMS messages from your phone.
Replies are sen from The PATmicro o your phone via SMS.
General
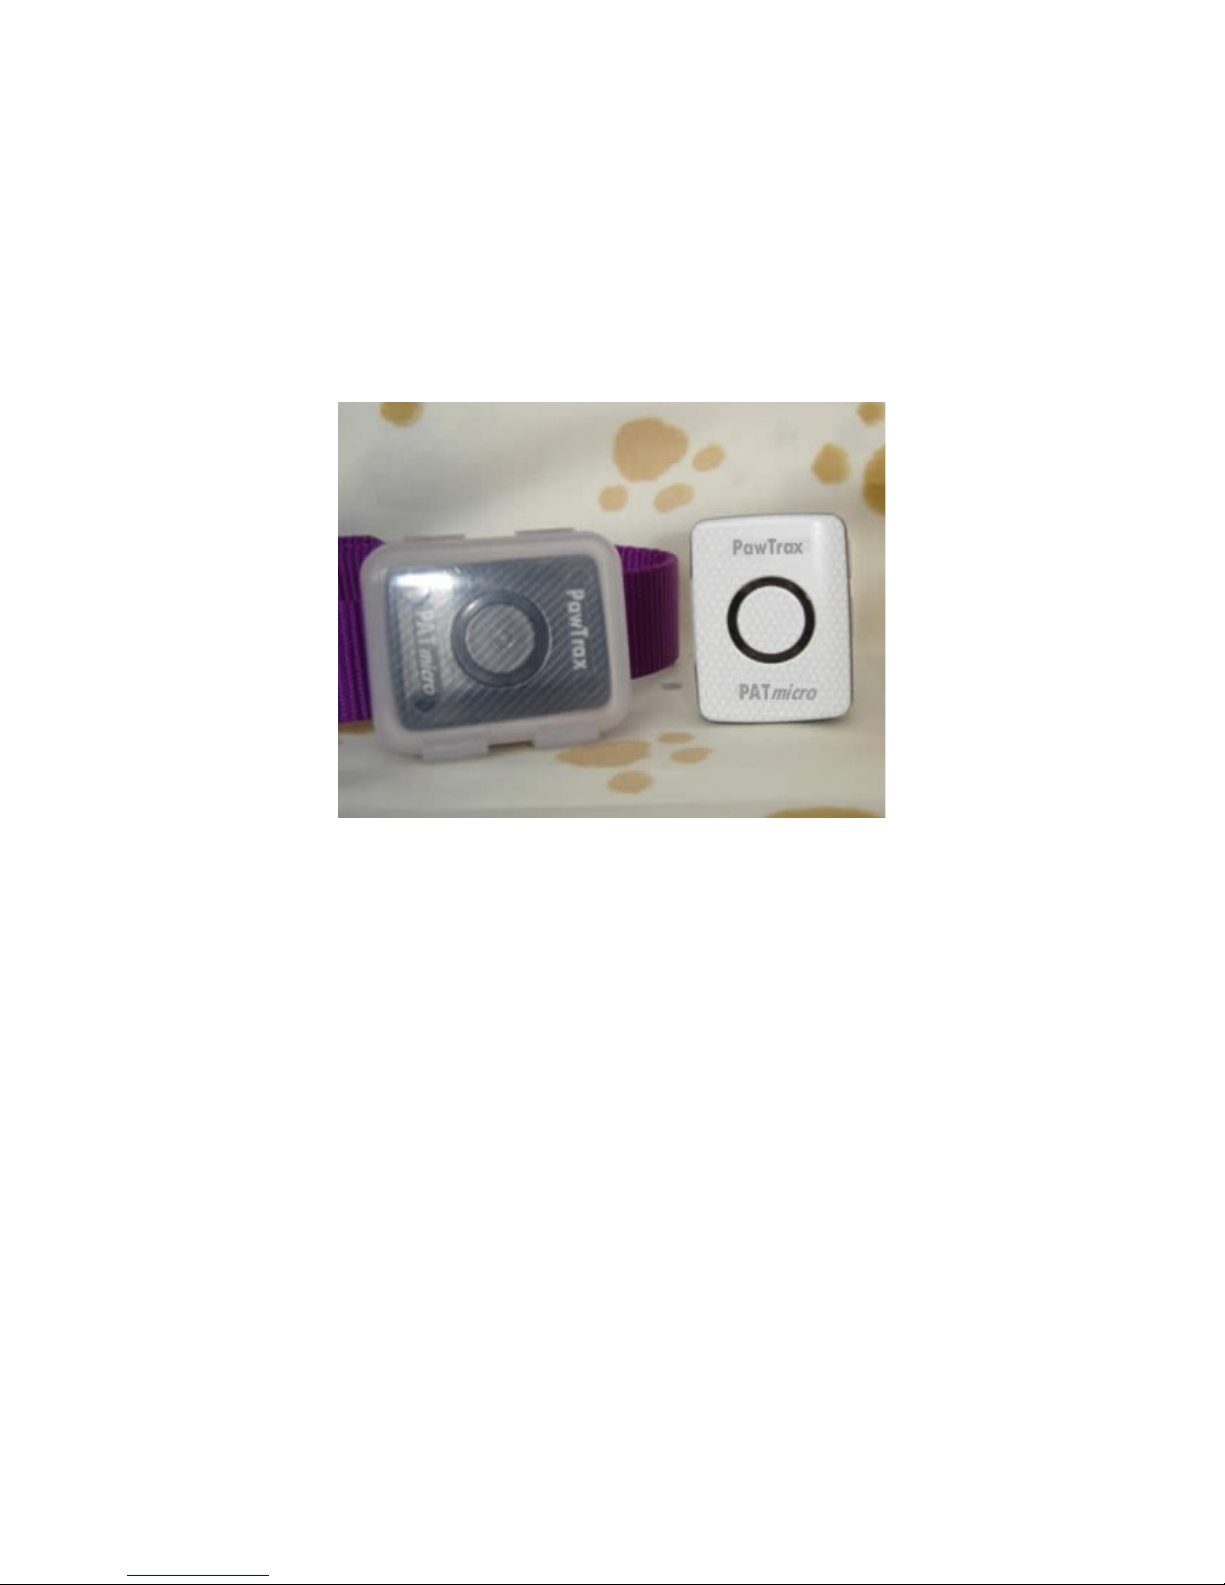
Let’s have a quic loo at The PATmicro
a) LED Window Displays status
b) SOS Button Send SOS Message
c) Power Button Turn On and Off
d) USB Port Battery Charger using USB cable
e) SIM Card Slot Inserting your SIM Card
f) Reset Button Resets your device
PawTrax
PATmicro
Charging the battery
Before using The PATmicro for he firs ime you will need o fully charge he ba ery.
Plug he supplied charging cable in o he charging socke and he USB plug in o your
PC or lap op or a USB wall/car charger.
The LED on he USB charger cable will illumina e red whils charging and change o
green when ba ery is fully charged.
To fully charge he ba ery from discharge will ake approx 4-5 hours depending on
ba ery condi ion.
I is be er, bu no essen ial, o power off The PATmicro before and during charging.
PawTrax recommends, ha o ensure maximum capaci y, keep charging for 4 hours
a leas even hough he LED indica or may have changed o green af er a couple of
hours.
We also recommend comple ely charging and discharging for a few imes when using
for he firs ime.
Inserting SIM Card
This device will no work wi hou a SIM card. The SIM card mus also be ac iva ed.
This can be done ei her a place of purchase or as per ins ruc ions from SIM card
provider. This usually involves pu ing he SIM in a mobile phone and making a
single call.
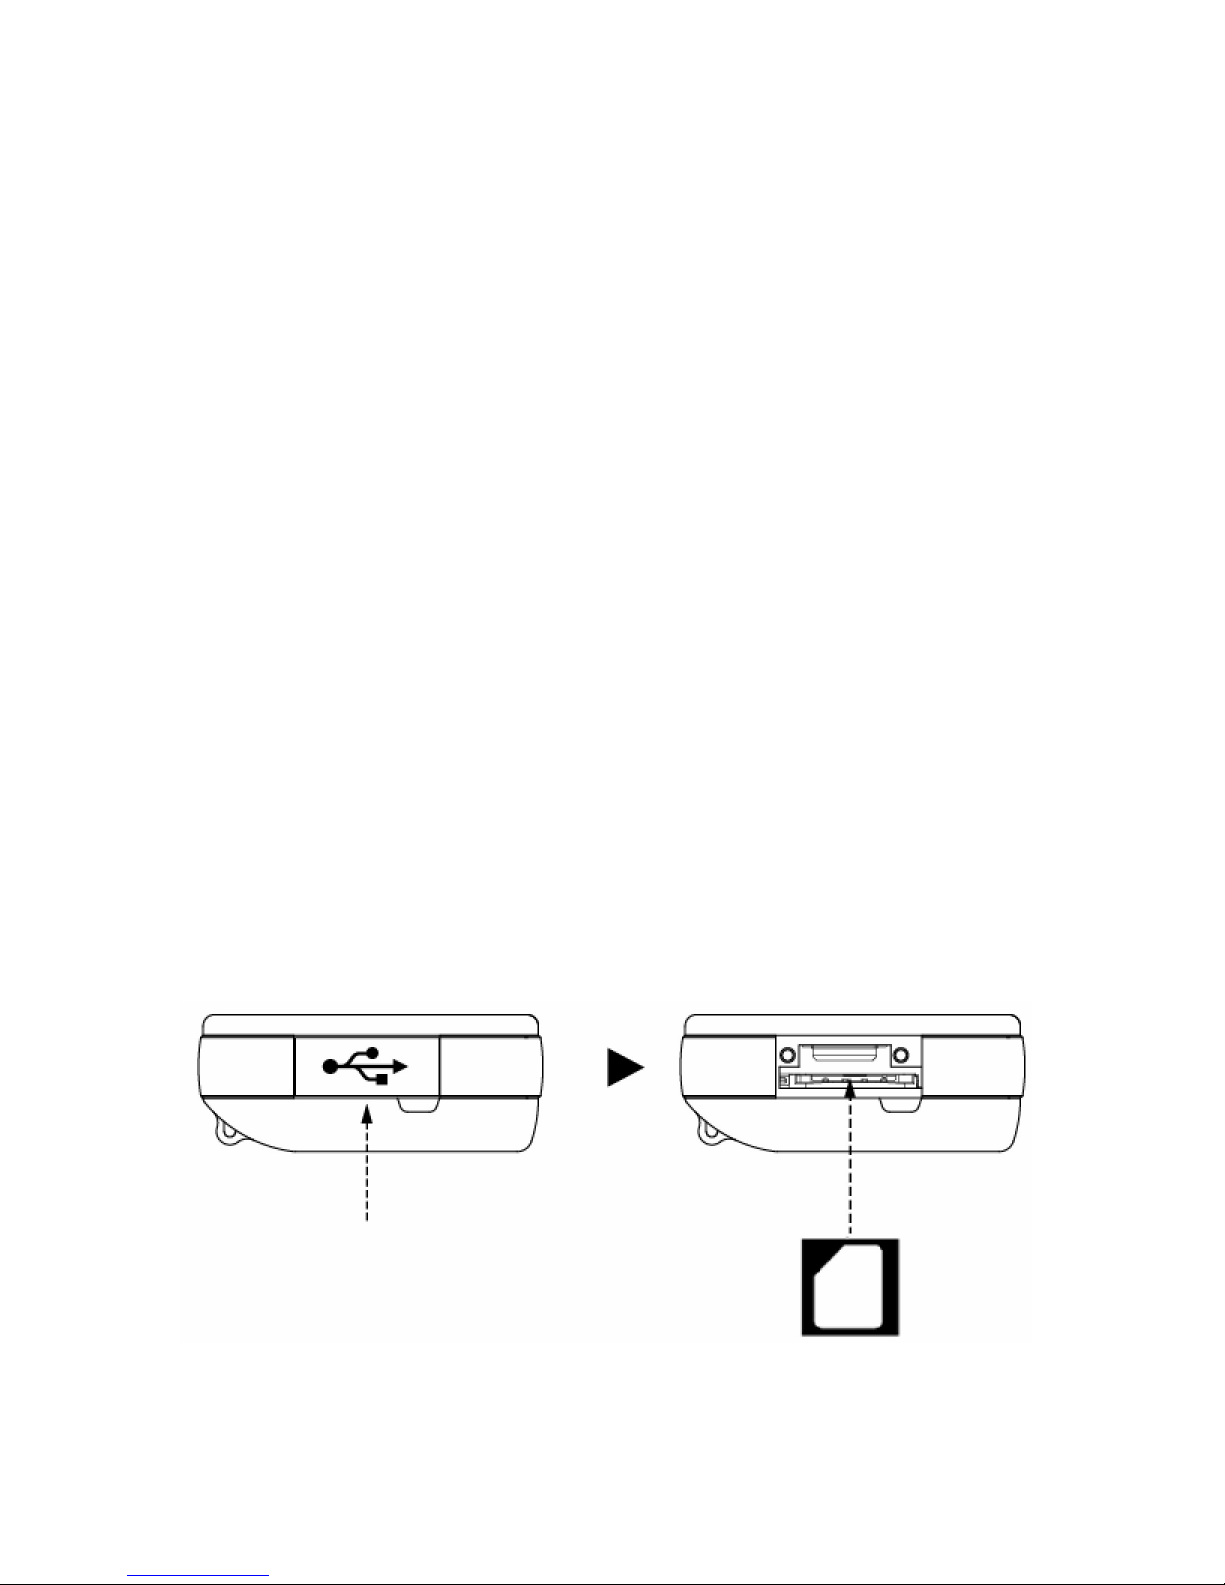
You should ensure ha he device is powered off before inser ing he SIM card. Open
he rubber cover on he side and slide he SIM card in o he SIM Card slo benea h
he USB slo .
Slide SIM card in o he slo in he direc ion shown

The PATmicro will work wi h any ac iva ed 2G or 2G+3G SIM card. (PAYG or
Con rac ). It will not wor with a 3G only networ SIM.
a) Some carriers provide SIM cards ha require a PIN code before you s ar
using hem for he firs ime or when you urn on he power.
b) The PATmicro will only work wi h his PIN code disabled. You can check his
by inser ing he SIM in o a mobile phone. If a PIN is required en er he PIN
code given o you by he carrier and disable he PIN code func ion from he
menu of he phone. How his is done will vary be ween phone manufac urers.
If here is a problem wi h he SIM he yellow LED will illumina e when you urn on
The PATmicro
Starting Up
Switching your device on and off
A) Power On
Press and hold ‘power bu on’ for 5 seconds. Each LED will urn on and blink 3 imes
in sequence. You can release he power bu on once he LED’s s ar blinking.
B) Power Off
Press and hold ‘Power Bu on’ for 5 seconds. All LED’s will blink 3 imes. You can
release he Power Bu on when he LED’s s ar blinking. Power is OFF when all LED’s
are off.
In normal use all LED’s are off and only come on a ‘wake up’ in ervals. To check
s a us of device press and immedia ely release power bu on. If he blue LED flashes
once hen he device is on. If all 3 LED’s come on, i is off. If no LED’s come on i
requires charging.
PawTrax
PATmicro

All commands o The PATmicro are sen via SMS ex messages from your mobile
phone.
You need o ell i wha mobile phone number you wan o use o con rol i and o
receive loca ion reques s and ba ery low warnings e c
When you urn on The PATmicro for he firs ime he Blue LED may remain
illumina ed depending on he ype/providers SIM. If on, once you have regis ered
your mobile phone ( he con rol phone) wi h he PATmicro, his will urn off.
1) Register
To regis er your ‘con rol phone’ send he following regis ra ion command by sms o
The PATmicro.
* SMS Command o The PATmicro : R 1 0000 XXXX
* The-PATmicro will reply wi h his SMS o your phone : HP=D001=REGISTERED
No es for command:
“1” is a sequence ID of your device – his can be be ween 1 and 9 (used for ease of
iden ifica ion should you wan o con rol more han one PATmicro from your phone.
“0000” is he defaul PIN/passcode (numeric 0)
“XXXX” is your own PIN/passcode of choice (subs i u e XXXX wi h 1234 if you wan
your new PIN o be 1234, or 9876 or 4444 e c)
** you should allow a space be ween command le er and each password as shown
above
You can change he con rol phone a any ime jus by regis ering he new phone
using he above command and appropria e PIN numbers

2) Set Up Local Time Zone
The fac ory defaul ime is se up as GMT and you should change i o your own local
ime.
Example: Local ime for each coun ry shall be as per below from GMT
-08 USA, Canada
-03 Brazil……..
+00 GMT
+01 Wes ern Europe, Germany, France, I aly…….
+09 Korea, Japan
You se up he local ime by he following command.
* SMS command o The PATmicro : T +01 (in case of Wes ern Europe)
* The PATmicro will reply wi h his SMS : HP=D001=SET TIME
No es for command: You should allow a space be ween T and +
3) First Fix of your PATmicro
When you s ar he PATmicro for he firs ime, PawTrax s rongly recommends for
you o place i in a wide open sky area for abou 10 mins a leas o fix for he firs
ime.
Once i has fixed i s ini ial GPS da a subsequen fixes will be ob ained a lo quicker,
known as ‘Ho S ar ’.
4) Cold Starts
Whenever he PATmicro is swi ched on from off, or af er charging i will always
perform a ‘Cold S ar ’ o ensure i has an ini ial fix and is ready for whenever you
reques a posi ion. This cold s ar can ake be ween 10 – 20 mins
We herefore recommend ha i is placed ou side wi h a clear view of he sky when
swi ching back on from an off condi ion.
IMPORTANT
PLEASE ENSURE THAT THE DEVICE HAS BEEN SET UP AND IS OPERATING
CORRECTLY AND SENDING LOCATION CO-ORDINATES BACK TO YOUR
PHONE BEFORE PUTTING IT ON YOUR PET. THIS CAN BE DONE SIMPLY BY
SENDING THE 'C' COMMAND – SEE BELOW
CHECK FOR CORRECT OPERATION EVERYTIME YOU PUT IT ON YOUR PET TO
ENSURE IT IS WORKING CORRECTLY.

Functions
How to find your lost pet.
You can check he curren loca ion of your pe whenever you wan by sending his
simple SMS command.
* SMS command o The PATmicro: C
* Reply:
HP=D001=LOCATION=DATE-06/09/2009=TIME-23:59:59=SPD-110=DIR-359=
Da e Time Speed (Km/h) Direc ion
http://mapsgoogle.com/maps?q=+22.36600,+114.11977&%z=14
Then ei her:
click on he link and if you have a sui able phone ha can connec o he web a map
will open on your phone wi h he loca ion plo ed or
en er he co-ordina es (+22.36600,+114.11977) on o Google mobile maps on your
phone or
en er he co-ordina es in o Google maps/ear h or any mapping sof ware on your
PC/Lap op or
a he PawTrax websi e free.paw rax.co.uk
Important note when viewing maps on a PC – recent changes by Google can
sometimes result in Google maps 'snapping' to the nearest point of
interest/road name/house number rather than the actual location of the
trac er.
In order to wor around this please enter the prefix loc: in front of the co-
ordinates in the search box. (loc: +22.36600,+114.11977)
There may be imes when The PATmicro sends back loca ion co-ordina es and he
ime/da e s amp displays 00/00/0000 , 00:00:00.
This indica es ha i was unable o ge a loca ion fix a he ime of reques and i has
re urned i s las know posi ion

You can se The PATmicro o au oma ically send you a loca ion a prese in ervals
By defaul your PATmicro has been se up o wake from sleep mode every 10
minu es o figure ou where i is and remember i bu no repor i . The period of
wake up can be changed by he following command. This can be se from 1 minu e
o 1380 mins
By sending he following command he PATmicro will wake up, ob ain i s loca ion and
send i o your phone in an sms
* SMS command o The PATmicro: P Y 9 (in case of repor ing every 9 mins)
* Reply from PATmicro: HP=D001+SET POINT SEND TIME OK
No es for command - You should allow a space be ween P and Y and also af er Y
If you jus wan o change he ime period bu do no wan a posi ion sen o you
hen follow up wi h he following command.
* SMS command: P N
* Reply: HP=D001+SET POINT SEND TIME OK
No es for command. You should allow a space be ween P and N
Before you send he command o cancel period repor , we recommend ha you send
ano her command P Y 10 o change he ‘wake-up’ ime back o defaul s a us of
every 10mins. This will ensure ha The PATmicro is opera ing under he mos
efficien mode. You hen follow his wi h he P N command o s op au oma ic
sending.

Setting up a Safe Zone
By se ing up a Safe Zone area you will receive a ZONE OUT sms repor whenever
he PATmicro moves ou of his designa ed area.
You can se up he radius as wide as you wan in incremen s of 10 me res.
Before se ing up he safe zone we recommend ha you firs le he PATmicro repor
i s curren loca ion by using he C Command o ensure ha i has GPS da a.
You will have o ob ain he co-ordina es of he cen re of he safe zone if i is differen
from your curren loca ion.
You can ob ain hese co-ordina es from Google Ear h. When you drag and poin o
he cen re of your required safe zone you will see he La /Lon co-ordina es a he
bo om of he Google Ear h window.
These co-ordina es are hen used in he following command.
In order o ac iva e he Safe Zone func ion, he PATmicro mus be awake while i is
loca ed in he Safe Zone area so ha i can recognize ha i has en ered in o he
Safe Zone. Once i has recognised ha i is wi hin he zone i will repor by sms
whenever i goes ou of he zone.
* Command o se up he Safe Zone : S Y 100 +22.36600 +114.11977
* Reply :
HP=D001=SET SAFE ZONE=DATE-06/09/2009=TIME-23:59:59=SPD-
110=DIR-359=
http://mapsgoogle.com/maps?q=+22.36600,+114.11977&%z=14
No es for command: You should place a space be ween each le er and number and
also be ween la i ude and longi ude. 100 s ands for 1 Km
No es for reply : The PATmicro shall reply whe her i ge s GPS da a or no and wi h
or wi hou da e and ime informa ion.

Cancel Safe Zone
*Command: S N
* Reply :
HP=D001=SET SAFE ZONE=DATE-06/09/2009=TIME-23:59:59=SPD-
110=DIR-359=
http://mapsgoogle.com/maps?q=+22.36600,+114.11977&%z=14
Setting up My Zone
My Zone is a emporary boundary or geofence. I is no necessary o send an sms
command. This is se up by pressing he power and SOS bu ons a he same ime.
The radius is au oma ically se a 300 me res.
To se up MY ZONE, press and hold he power and SOS bu ons for 3 seconds a he
poin you wan o se up as he cen re of he MY ZONE. The Blue LED will blink 2
imes while he PATmicro is working ou i s loca ion and sending i o your phone as
an sms in he following forma .
HP=D001=START MY ZONE=DATE-06/09/2009=TIME-23:59:59=SPD-
110=DIR-359=
http://mapsgoogle.com/maps?q=+22.36600,+114.11977&%z=14
The PATmicro will send you a ZONE OUT sms when i moves ou of he MY ZONE
area.
HP=D001= ZONE OUT=DATE-06/09/2009=TIME-23:59:59=SPD-110=DIR-
359=
http://mapsgoogle.com/maps?q=+22.36600,+114.11977&%z=14
Cancel My Zone
To cancel he MY ZONE press and hold he power and SOS bu ons for 3 seconds and
he blue LED will blink 2 imes and hen send he following sms.
HP=D001=FINISH MY ZONE=DATE-06/09/2009=TIME-23:59:59=SPD-
110=DIR-359=
http://mapsgoogle.com/maps?q=+22.36600,+114.11977&%z=14

LED Indications
1) Defaul s a us before regis ra ion by using he R command
a) Ready - Blue LED shall remain on un il receip of he R command
b) PIN code or error wi h SIM Card
2) S a us af er regis ering by R command
a) Opera ing Indica ion – Blue LED will blink 1 or 2 imes when PATmicro is in
opera ion.
•Blinks once when woken up by quick press of any bu on or when
responding o SMS command or repor ing any even .
•Blinks wice when MY Zone func ion s ar ed or s opped.
b) GSM Error – Yellow LED will blink if GSM error (no ne work e c)
c) Sleep Mode – No LED on
d) Low Ba ery – RED LED will urn on a each ‘wake up’ in erval when
ba ery is low
e) SOS indica ion Blue and Yellow LED will blink for 30 seconds when
SOS bu on pressed and held for a few seconds

Other Features
The-PAT will au oma ically send a ba ery warning SMS when i requires recharging.
1) You will receive a BATTERY WARNING repor when remaining ba ery level drops
o 3.65V.
Depending on ba ery condi ion as well as se ing of wake-up period (periodic
repor ). This repor may be sen from a couple of imes up o several imes.
2) PawTrax recommends ha you recharge as soon as you receive he BATTERY
WARNING repor .
BATTERY WARNING REPORT
HP=D001=BATTERY WARNING =DATE-06/09/2009=TIME-23:59:59=SPD-
110=DIR-359=
http://mapsgoogle.com/maps?q=+22.36600,+114.11977&%z=14
3) You will receive a LOW BATTERY repor when remaining ba ery level drops o
3.2v
The PATmicro will only send his repor if he remaining ba ery level is enough o
ob ain a fix and send he message. If he ba ery level drops rapidly lower han 3.2V
due o GSM ne work condi ions or poor GPS signal you may no receive his repor .
LOW BATTERY REPORT
HP=D001=LOW BATTERY =DATE-06/09/2009=TIME-23:59:59=SPD-
110=DIR-359=
http://mapsgoogle.com/maps?q=+22.36600,+114.11977&%z=14

SOS
By pressing he SOS bu on for 3 seconds he Blue and Yellow LED’s shall blink for 30
seconds while working ou i s loca ion and hen send an SOS repor o your phone.
HP=D001=SOS!=DATE-06/09/2009=TIME-23:59:59=SPD-110=DIR-359=
http://mapsgoogle.com/maps?q=+22.36600,+114.11977&%z=14
Ta e Care
In order to avoid accidental damage to the plastic ‘tabs’ on the waterproof
case please ta e care when opening.
Please lift the tabs in an upward and parallel direction. Do not lift from the
corners in a diagonal or oblique angle.

Warranty Limitations
PawTrax warran s ha The PATmicro shall be free from defec s for a period of 12
mon hs. We canno accep any liabili y under he 12 mon h warran y if The PATmicro
is modified, opened or ampered wi h by you or any hird par y. Misused or damaged
in an acciden , as a resul of unreasonable use or as a resul of your negligence.
Declaration of Compliance
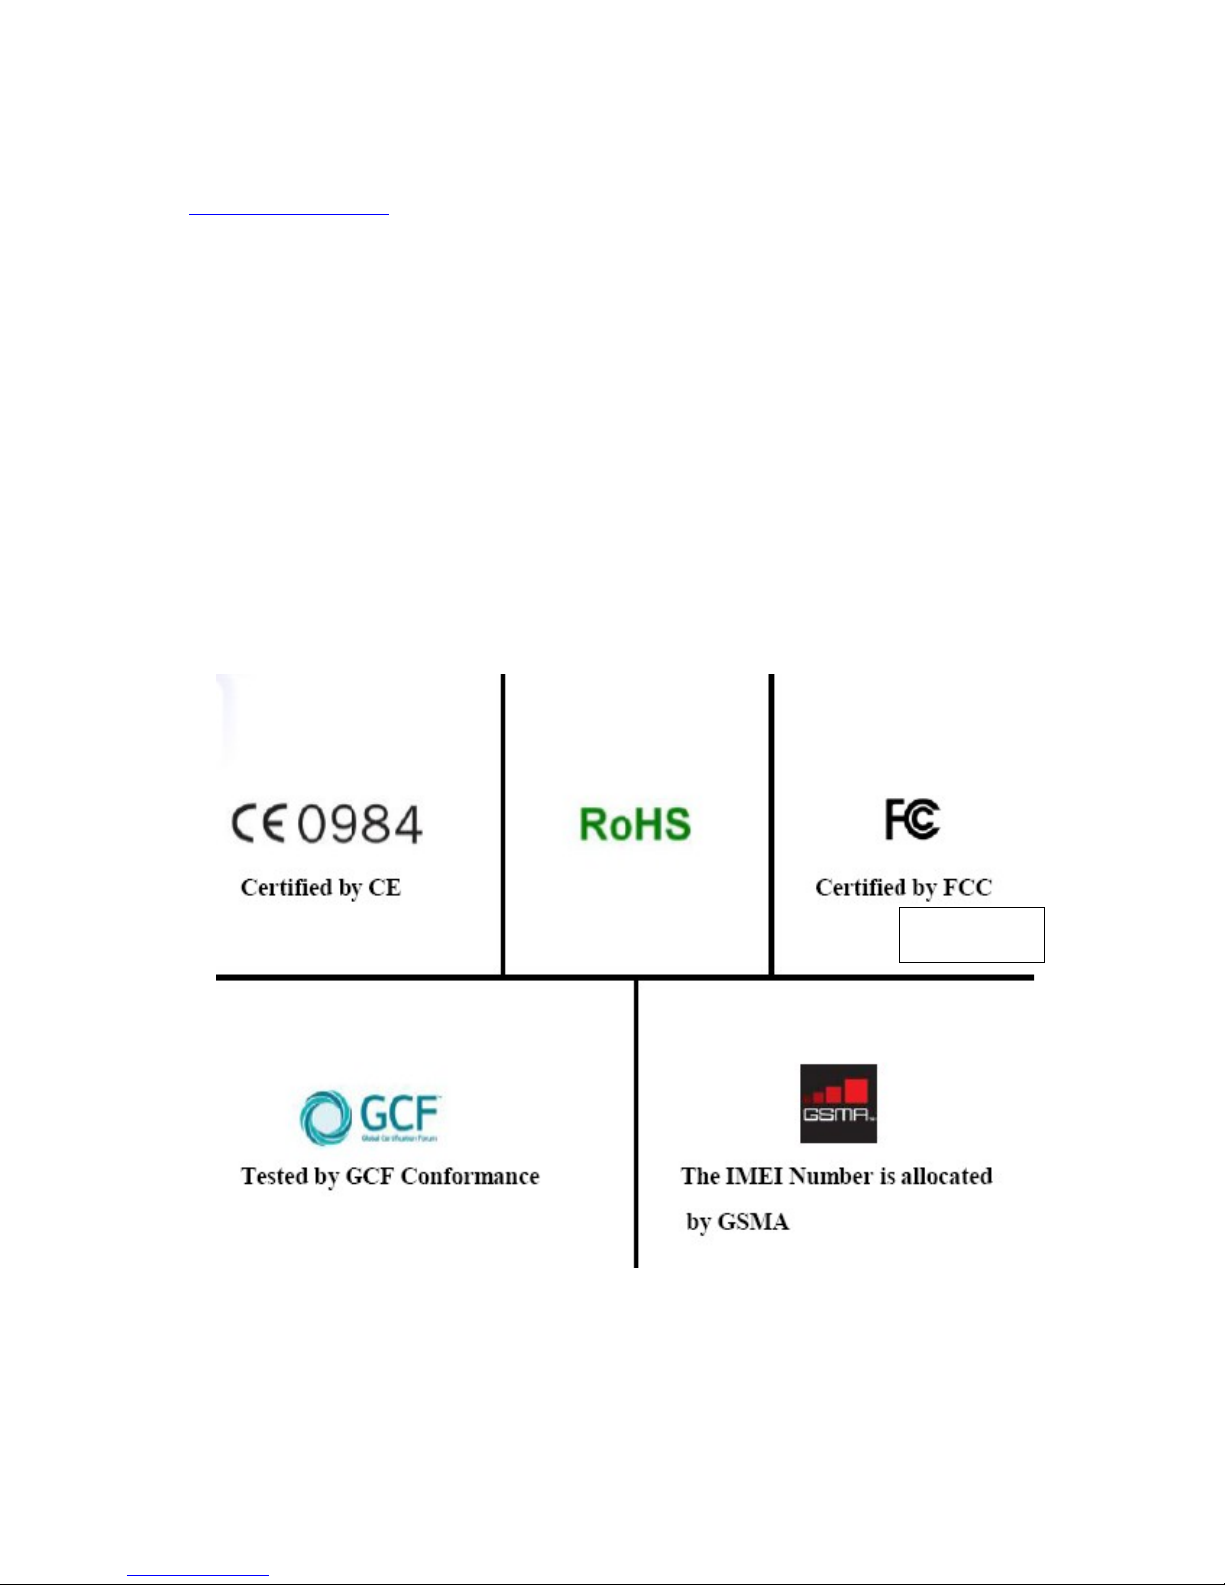
PawTrax declares ha The PATmicro is in compliance wi h all he necessary CE
requiremen s and is also RoHS complian .
Technical Specification
GSM Module Quad Band GSM Module (GSM850/900/1800/1900)
GPS Module ATHEROS AR1511
Accuracy 1 – 5m
Charge Vol age 4.5 – 5V
Ba ery 3.7 V Rechargeable Li hium Poly (450 mAh)
Opera ing ime S and-by ime : max 115 hours
Full working ime : max 7 hours
Size 45mm x 34.5mm x 21mm (excluding wa erproof case)
Weigh 25g wi hou wa erproof case – 40g wi h case

Battery Capacity Table
The ba ery capaci y depends on opera ing condi ions including GSM ne work, GPS
level and/or repor ing period e c. By defaul The PATmicro is se o wake up every 10
mins o fix GPS and check GSM ne work, au oma ically upda ing for he mos ideal
opera ing condi ion.
Below able indica es expec ed opera ing ime dependan on periodic repor iming.
(P Y Value)
Repor ing Period S andby and working ime
1 Minu e 7 Hours
10 Minu es 35 Hours
30 Minu es 70 Hours
1 Hour 80 Hours
2 Hours 90 Hours
4 Hours 100 Hours
23 Hours 110 Hours
Notes and Cautions
•Do no open The PATmicro
•Do no le your pe chew The PATmicro
•Don’ le The PATmicro opera e in empera ures below -20C or above 60C.
•Performance maybe limi ed depending on GSM and GPS signal
•During imes of peak use on he GSM ne works he ime for an sms o be
re urned could be unusually long.
•May no always work indoors.
•Complies wi h CE/RoHS/WEEE requiremen s
•Should he device s op opera ing a any ime press he rese bu on
•The PAT micro uses GSM and GPS echnology. Bo h mus be presen for i o
opera e
•Keep checking he websi es www. he-pa .ne or www.paw rax.co.uk for
upda es o his guide
•We reserve he righ o change he specifica ion/func ions a any ime wi hou
prior no ice
•Please ake care when placing he PATmicro in he wa erproof case. I will
only fi one way. Ensure ha he small key ring loop si s in he recess before
rying o snap shu he case.
•Please ensure The PATmicro is fi ed o your pe s collar/harness in such a way
as o no cause harm, discomfor of s ress o your pe . PawTrax canno be
held responsible for any harm ha may come o your pe as a resul of
wearing he PATmicro
The PATmicro should not been seen as a substitute for good training and
obedience. Please seek expert advice if your pets recall skills are poor.
This produc is powered by a non user replaceable Li hium Poly Ba ery. Should he
ba ery require replacing please con ac PawTrax Limi ed by email
(info@paw rax.co.uk) for de ails on re urning he device.
When his produc reaches end of life he ba ery mus be removed and disposed of
separa ely from household was e.
To remove he ba ery unscrew he 2 small cross headed screws on he back of he
uni and remove he cover.
Carefully cu he black and red wires connec ing he ba ery o he circui board and
remove ba ery.
Ba ery should be disposed of according o local au hori y regula ions and in a
manner ha pro ec s human heal h and he environmen .
TBA

TOP TIP
Get unlimited tracking for just £5 per month (Orange/T-Mobile Net orks only)
Here is a tip for those of you that use your PawTrax on a regular basis - approx. more
than 50 location/texts per month
uy an Orange PAYG sim from an Orange store for £5
Get the store assistant to activate the sim on the 'Monkey' plan and ensure that the top up
swipe card is 'paired' to the sim
What you need to do next depends on wether or not you have an unlocked mobile phone
or one that is on the Orange/T-Mobile network
If YES,
Insert the sim in your phone and wait for it to connect to the network.
Send TEXTS 5 as an sms to 6620
You will then receive a text from Orange confirming that you have unlimted texts for one
month (make a note of the expiry date sent in the message)
Remove sim and insert into your PawTrax and switch on. Your PawTrax can now send
unlimted messages to your mobile for one month
When your one month expires just top up by £5 using a voucher or swipe card, as you
would any PAYG sim and repeat the process.
If NO,
Insert sim into PawTrax
Call Orange customer services on 07973 100 450 and ask them to activate the unlimited
texts for £5 package (make a note of the expiry date they give you)
When your 1 month expires just top up by £5 using a voucher or swipe card, as you
would any PAYG sim and repeat the process.
Websites
www.paw rax.co.uk
www. he-pa .ne
www.gpsdog racker.co.uk
email
info@paw rax.co.uk
E & O E – PawTrax Limi ed, PawTrax is he regis ered Trademark of PawTrax Limi ed
Other PawTrax Pet Care Product manuals


