manuals.online logo
Brands
  1. Home
  2. •
  3. Brands
  4. •
  5. Payne
  6. •
  7. Heat Pump
  8. •
  9. Payne PH13 Owner's manual

Payne PH13 Owner's manual

SAFETY CONSIDERATIONS
Improper installation, adjustment, alteration, service,
maintenance, or use can cause explosion, fire, electrical shock,
or other conditions which may cause death, personal injury, or
property damage. Consult a qualified installer, service agency,
or your distributor or branch for information or assistance. The
qualified installer or agency must use factory-authorized kits
or accessories when modifying this product. Refer to the
individual instructions packaged with the kits or accessories
when installing.
Follow all safety codes. Wear safety glasses, protective
clothing, and work gloves. Use quenching cloth for brazing
operations. Have fire extinguisher available. Read these
instructions thoroughly and follow all warnings or cautions
included in literature and attached to the unit. Consult local
building codes and National Electrical Code (NEC) for special
requirements.
Recognize safety information. This is the safety-alert symbol
/_ When you see this symbol on the unit and in instructions or
manuals, be alert to the potential for personal injury.
Understand these signal words: DANGER, WARNING, and
CAUTION. These words are used with the safety-alert
symbol. DANGER identifies the most serious hazards which
will result in severe personal injury or death. WARNING
signifies hazards which could result in personal injury or
death. CAUTION is used to identify unsafe practices which
may result in minor personal injury or product and property
damage. NOTE is used to highlight suggestions which will
result in enhanced installation, reliability, or operation.
ELECTRICAL SHOCK HAZARD
Failure to follow this warning could result in personal
injury or death.
Before installing, modifying, or servicing system, main
electrical disconnect switch must be in the OFF position.
There may be more than 1 disconnect switch. Lock out
and tag switch with a suitable warning label.
THERMOSTAT
Your Heat Pump is controlled by the thermostat mounted on your
wall. The thermostat is a highly sensitive low voltage device and
is available in several different configurations from different
manufacturers. The details listed below are typical for most
installations. Ask your dealer for more specific information re-
garding the model of thermostat installed.
Heating Mode
Set the system selector switch to HEAT. The heat pump will run
until the actual room temperature is raised to the point you have
selected.
NOTE: you may see steam (looks like "smoke") coming from
the outdoor unit during cold weather. This is normal as frost is re-
moved from the coil during the defrost cycle.
Cooling Mode
Set the system selector switch to COOL. The air conditioner will
run until the actual room temperature is lowered to the point you
have selected.
Temperature Control
Set the temperature selector to your desired room temperature.
For heating, the heat pump will run any time the actual room tem-
perature falls below the point you have selected. For cooling, the
heat pump will run (as an air conditioner) any time the actual
room temperature rises above the point you have selected.
Fan Control
The fan selector switch allows you to run the fan continuously or
cycle it automatically with the heating or cooling system. Set the
selector switch to ON for continuous operation or to AUTO for
automatic cycling. For maximum comfort satisfaction, continu-
ous fan operation throughout the year is recommended (selector
switch set to ON).
WHAT TO DO IF YOUR SYSTEM DOES
NOT WORK
Before Requesting a Service Call:
1. Check thermostat settings. Make sure to select a temperature
below the actual room temperature. Make sure the system se-
lector switch is in the COOL position.
2. Inspect your return air filter. Replace a dirty filter or clean a
reusable type filter.
3. Check circuit breakers and/or fuses. Reset breakers or replace
fuses as necessary.
4. Inspect the coils and fins on the outdoor unit. Clean away any
obstructions (grass clippings, leaves, dirt, dust, or lint).
Check that branches, twigs, or other debris are not obstructing
the fan blade.
If your system still does not operate,
contact your servicing dealer.
Have the Model and Serial Numbers of the indoor and outdoor
units available and be sure to describe the problem.
REGULAR MAINTENANCE
REQUIREMENTS
Your system should be regularly inspected by a qualified service
technician. Between visits, there are some routine maintenance
_rocedures you can do to help keep your system operating at peak
_erformance.
ELECTRICAL SHOCK HAZARD
Failure to follow this warning could result in personal
injury or death.
Turn OFF all electrical power to both the indoor and
outdoor units before performing any maintenance or
removing any panels or doors. There may be more than
one electrical disconnect switch
Air Filter
Inspect air filters at least monthly and replace or clean as re-
quired. Disposable type filters should be replaced. Reusable type
filters may be cleaned by soaking in mild detergent and rinsing
with cold water. Install filters with the arrows on the side pointing
in the direction of air flow.
Dirty air filters are the most common cause of inadequate
cooling performance, and of compressor failures.
Condensate Drain
The indoorcoil condenses water from the air, andthis water must
be disposed through an appropriate drain system. During the
cooling season check at least monthly for free flow of drainage
and clean if necessary.
Outdoor Unit Coils
Grass clippings, leaves, dirt, dust, lint from clothes dryers, and
fall-off from trees can be drawn into coils by movement of the
air. Clogged outdoor coils will lower the efficiency of your unit
and could cause damage to the compressor. Clean debris away
from the outdoor coils.
Use a soft bristle brush with light pressure only. Do not damage
or bend coil fins. Damaged or bent fins may affect unit operation.
Painted Surfaces
In geographical areas where the water has ahigh concentration
of minerals (calcium, iron, sulfur, etc.) it is recommended that
lawn sprinklers not be allowed to spray on the unit. Spraying this
type of water on the unit may result in premature deterioration of
the paint finish and metal components.
Never use aweather cover over the outdoor unit unless it is a ven-
tilated type or made of breathable fabric that will allow moisture
to evaporate rapidly. A cover that holds moisture in the unit will
cause more rust build-up and damage than normal exposure to
weather.
REGULAR DEALER MAINTENANCE
In addition to the routine maintenance that you perform, your
home comfort system should be inspected regularly by a properly
trained service technician. The inspection (preferably twice each
year, but at least once every year) should include the following:
• Routine inspection of air filter(s). Replacement or cleaning
as required.
• Inspection and cleaning of the blower wheel, housing, and
motor as required.
• Inspection and, if required, cleaning of indoor and outdoor
coils.
• Inspection of the indoor coil drain pan, plus the primary
and secondary drain lines. If supplied, the auxiliary drain
pan and line should be inspected at this time. Service
should include cleaning if required.
• A check of all electrical wiring and connections.
• A check for secure physical connections of individual
components within units.
• Operational check of the heat pump system to determine
actual working condition. Necessary repair and/or
adjustment should be performed at this time.
Your servicing dealer may offer an economical service contract
that covers seasonal inspections. Ask for further details.
FOR THE RECORD
Record the model, product, and serial numbers of your new
equipment. This information, along with the other ready refer-
ence facts requested, will be necessary should you ever require
information or service.
Copyright 2008 Payne Heating & Cooling *7310 W. Morris St. *Indianapolis, IN 46231 Printed in U,S,A, Edition Date: 03/08
Manufacturer reserves the right to change, at any time, specification8 and design8 without notice and without obligations,
Catalo[ No: OG-PAYHPR22-01
Replaces: New

Other Payne Heat Pump manuals

Payne PH10 Guide

Payne

Payne PH10 Guide

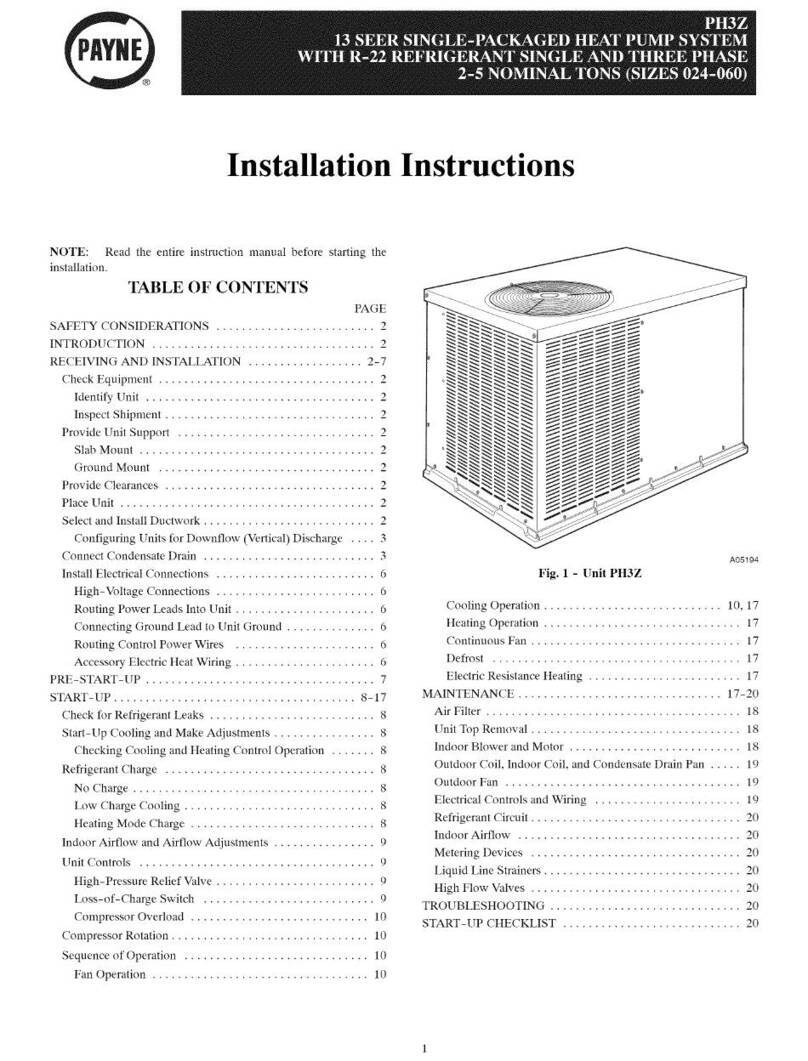
Payne PH3Z User manual

Payne

Payne PH3Z User manual

Payne 541B User manual

Payne

Payne 541B User manual

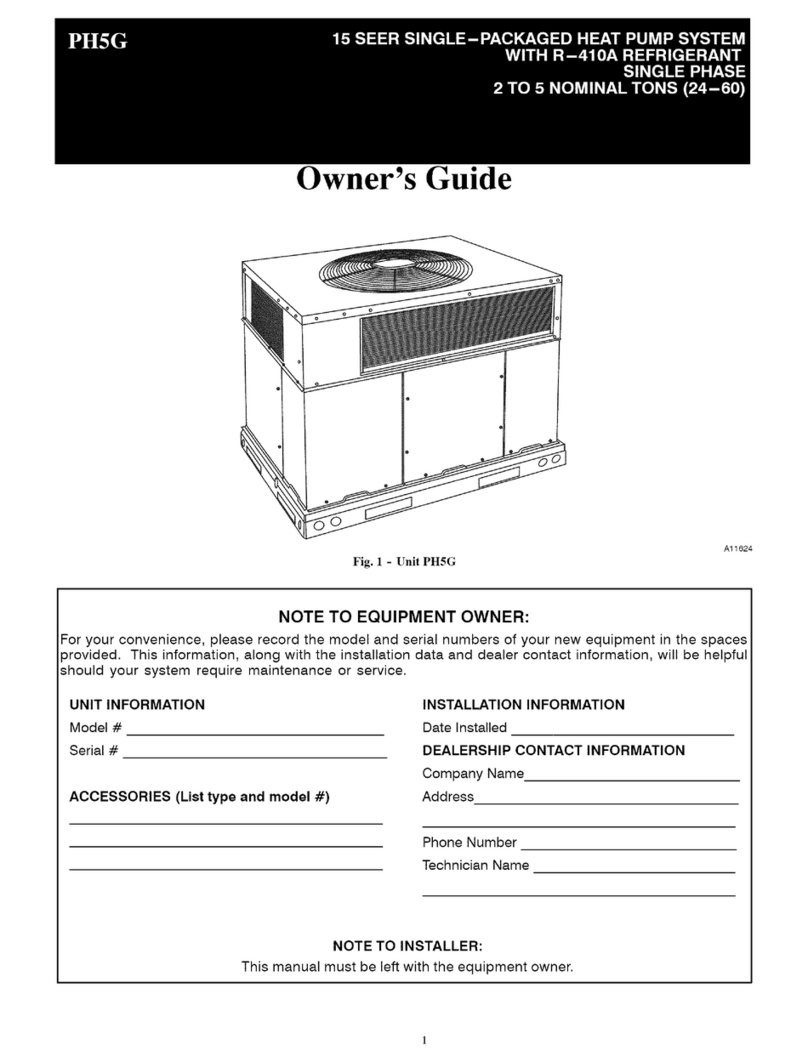
Payne PH5G User manual

Payne

Payne PH5G User manual

Payne PH3G User manual

Payne

Payne PH3G User manual

Payne PH10 User manual

Payne

Payne PH10 User manual

Payne Heat Pump User manual

Payne

Payne Heat Pump User manual

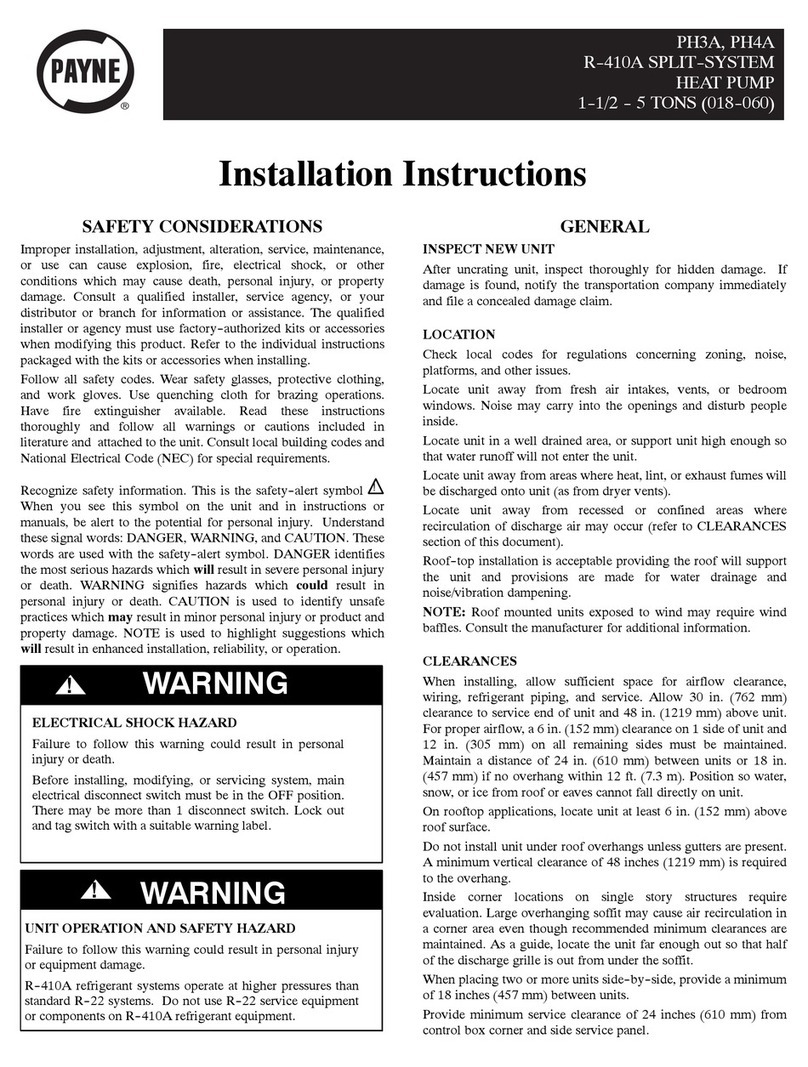
Payne PH3A User manual

Payne

Payne PH3A User manual

Payne PH4GNAB24000AA User manual

Payne

Payne PH4GNAB24000AA User manual

Payne PH13NR Owner's manual

Payne

Payne PH13NR Owner's manual

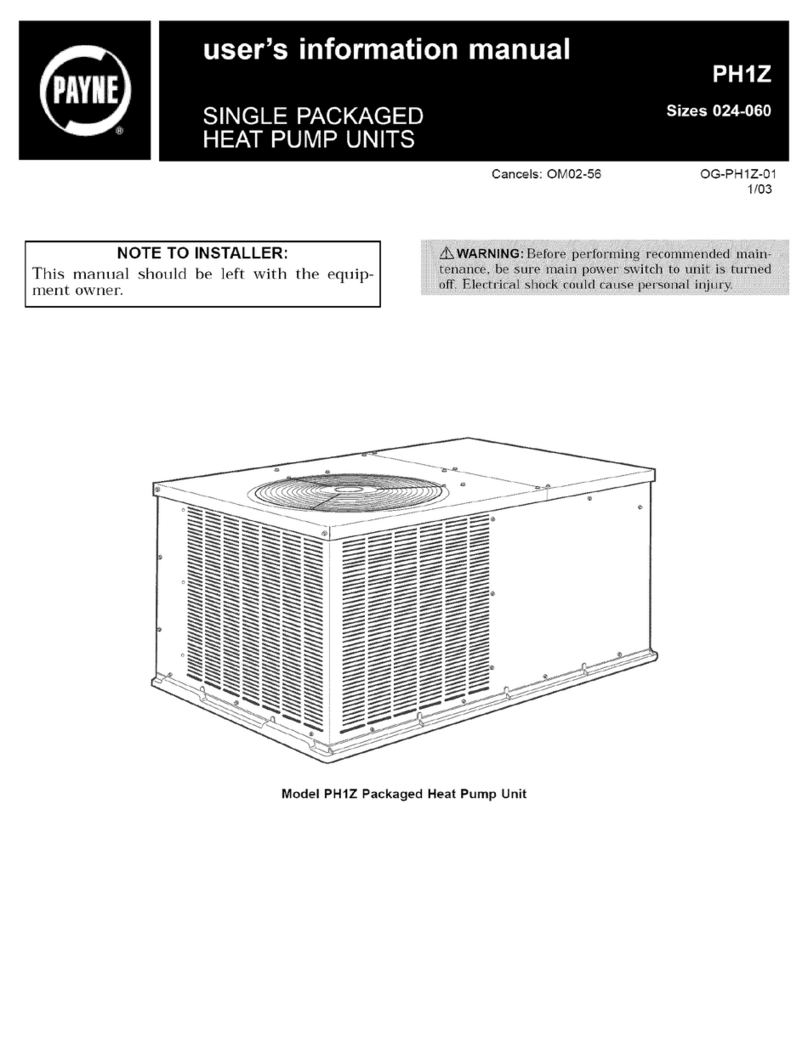
Payne PH1Z024 User manual

Payne

Payne PH1Z024 User manual

Payne PH10JA User manual

Payne

Payne PH10JA User manual

Payne PH1Z Series Guide

Payne

Payne PH1Z Series Guide

Payne PH3Z Series User manual

Payne

Payne PH3Z Series User manual

Payne Heat Pump User manual

Payne

Payne Heat Pump User manual

Payne PH2P024 Guide

Payne

Payne PH2P024 Guide

Payne PH4G B Series User manual

Payne

Payne PH4G B Series User manual

Payne PH1P018 Installation manual

Payne

Payne PH1P018 Installation manual

Payne PH3Z Series Instruction Manual

Payne

Payne PH3Z Series Instruction Manual

Payne PH14 B Series Quick start guide

Payne

Payne PH14 B Series Quick start guide

Payne PH3G----A Operation manual

Payne

Payne PH3G----A Operation manual

Payne PH1S User manual

Payne

Payne PH1S User manual

Payne PH3Z024 User manual

Payne

Payne PH3Z024 User manual

Payne PH4G B Series User manual

Payne

Payne PH4G B Series User manual

Popular Heat Pump manuals by other brands

Mitsubishi Heavy Industries HMA100V1 Technical manual

Mitsubishi Heavy Industries

Mitsubishi Heavy Industries HMA100V1 Technical manual

Nulite NL-BKDX30-95II/R32 Installation and operation instruction

Nulite

Nulite NL-BKDX30-95II/R32 Installation and operation instruction

Baxi Ambiflo User operating instructions

Baxi

Baxi Ambiflo User operating instructions

Luxaire THGD18 Technical guide

Luxaire

Luxaire THGD18 Technical guide

York FC Technical guide

York

York FC Technical guide

LG Multi V SE Series installation manual

LG

LG Multi V SE Series installation manual

Daikin VAM 2000GJVE Operation manual

Daikin

Daikin VAM 2000GJVE Operation manual

Daikin McQuay RKS25F2V1B Service manual

Daikin McQuay

Daikin McQuay RKS25F2V1B Service manual

Bard PH11242 installation instructions

Bard

Bard PH11242 installation instructions

AZURO XP03Hs-Capillary user manual

AZURO

AZURO XP03Hs-Capillary user manual

Mitsubishi Electric PUHZ-W50VHA Service manual

Mitsubishi Electric

Mitsubishi Electric PUHZ-W50VHA Service manual

BAC FXV-0806-12D Series Operation & maintenance manual

BAC

BAC FXV-0806-12D Series Operation & maintenance manual

Daikin EKHBRD-ACY1 installation manual

Daikin

Daikin EKHBRD-ACY1 installation manual

Allied ELXP Series Unit information

Allied

Allied ELXP Series Unit information

LG THERMA V owner's manual

LG

LG THERMA V owner's manual

Sunjet ZLHW-3T250DF user manual

Sunjet

Sunjet ZLHW-3T250DF user manual

Toshiba HWS-P804XWHM3-E1(TR) Service manual

Toshiba

Toshiba HWS-P804XWHM3-E1(TR) Service manual

Mars HRG14 P Series installation instructions

Mars

Mars HRG14 P Series installation instructions

manuals.online logo
manuals.online logoBrands
  • About & Mission
  • Contact us
  • Privacy Policy
  • Terms and Conditions

Copyright 2025 Manuals.Online. All Rights Reserved.