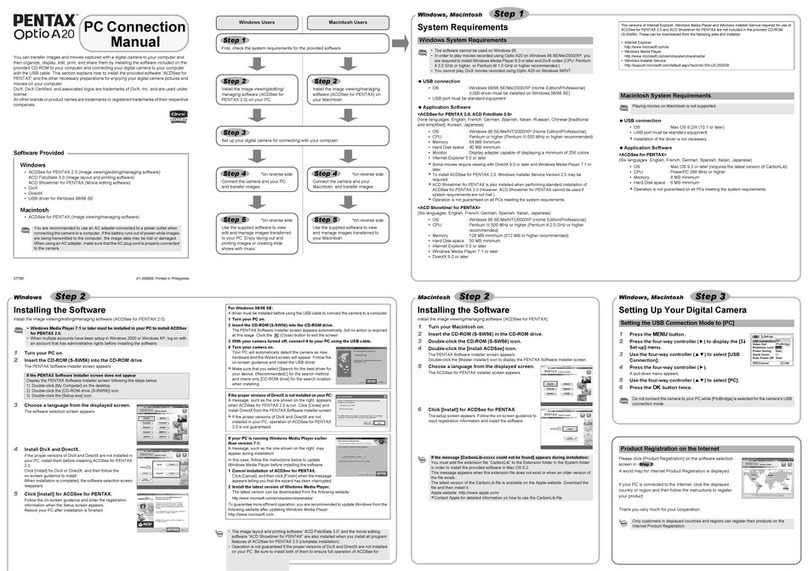
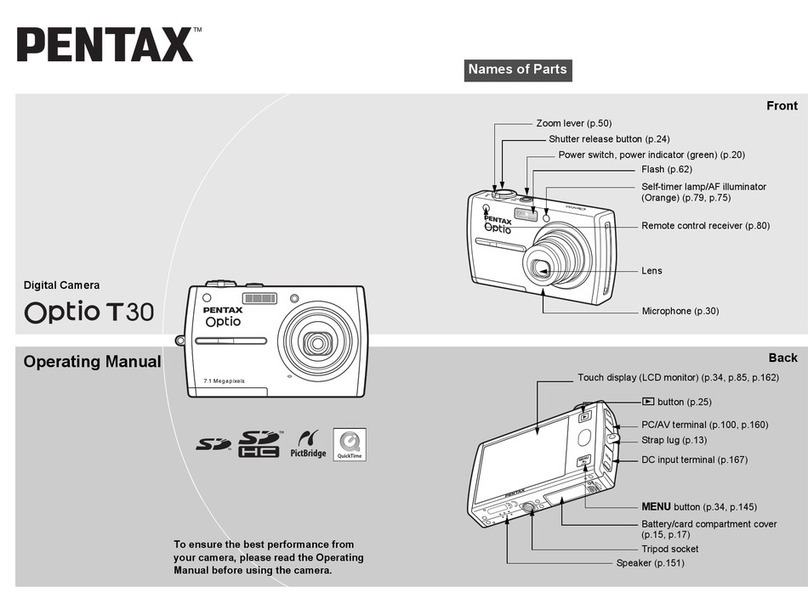
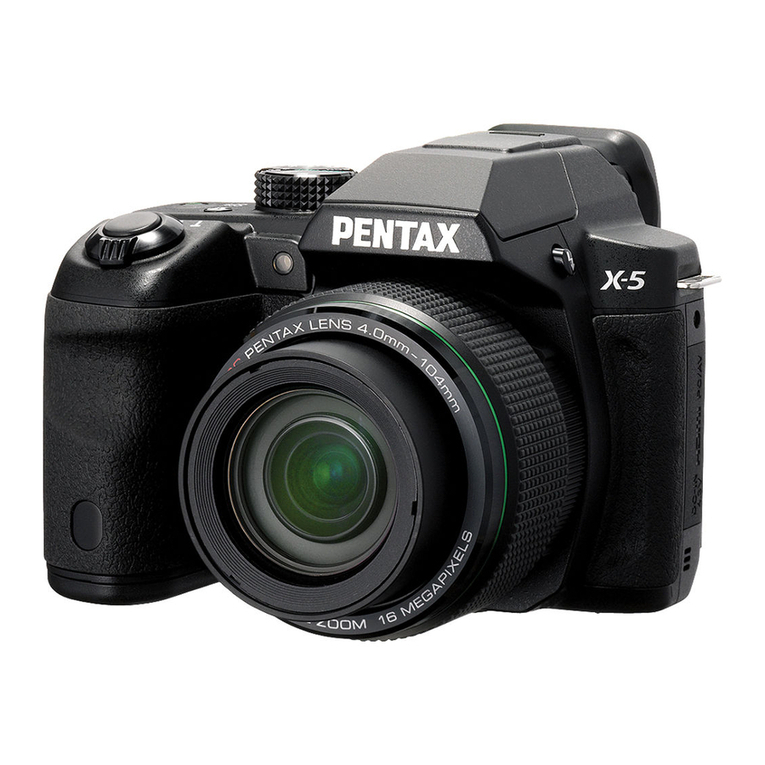
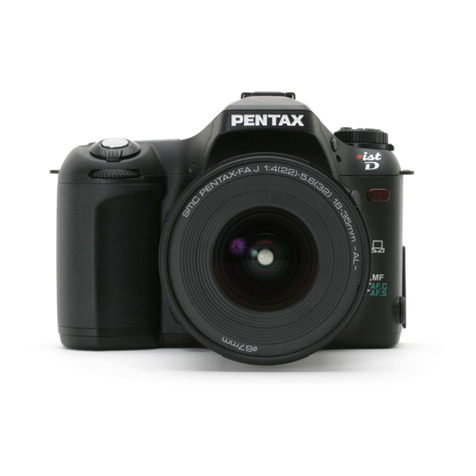
Pentax K-7 User manual

SLR Digital Camera
m
Operating Manual

You can focus with the following methods.
The camera automatically focuses on the subject when
AF Autofocus the shutter release button is pressed halfway.
MF Manual focus Manually adjust the focus.
Using the Autofocus
You can also choose the autofocus mode from AES (Single mode) where
the shutter release button is pressed halfway to focus on the subject and
the focus is locked at that position, and ARC (Continuous mode) where
the subject is kept in focus by continuous adjustment while the shutter
release button is pressed halfway. The factory default setting is AES.
4
/Turn the focus mode lever to AF.S
or C.

2
ARS
(Single
mode)
ARC
(Continuous
mode)
When the shutter release button is pressed halfway to focus
on the subject, the focus is locked at that position.
• The focus is locked while II is lit. To focus on another
subject, take your finger off the shutter release button first.
• The shutter cannot be released until the subject is in focus, tf
the subject is too close to the camera, move back and take
the picture. Adjust the focus manually if it is difficult to focus
on the subject (p.70). (p.126)
• Press the shutter release button halfway. The AF assist light
will flash automatically, making it easier to focus on the
subject if the subject is in a dark area. (Effective range: up to
5 m)
The subject is kept in focus by continuous adjustment while
the shutter release button is pressed halfway. Even if the
subject is not in focus, the shutter can be released when the
shutter release button is pressed fully.
• When the shutter release button is pressed halfway to focus,
the camera automatically tracks the subject if it is determined
to be a moving object. The lens will automatically operate and
continuously focus on the subject.
Look through the viewfinder
and press the shutter release
button halfway.
Focus Indicator
iiiiiiiiiiiiiiiiiiiiiiiiiiiiiiiiiii
iii'i
iiiiiii iiiiiiiiiiiiiiiiiiiiiiiiiiiiiiiiiiiiiiiiiiiiiiiiiiiiiil
iiii!ii_i;i;i;i;i;i;i;i;i;i;i;i;i;i;i;i;i;i;i;i;i;
iii11i_!i_((((((((((((((((((((_:
The focus indicator II appears in the
viewfinder and you will hear a beep
when the subject comes into focus.
(When blinking, the subject is not in
focus.)
_*_Subjects that are Difficult to Focus
on (p.70)

You can set the camera so that the focusing is performed when the AF
button is pressed.
ISelect [Enable AF] in [13. AF
Button Function] in the
[C Custom Setting 2] menu.
2 Cancel AF I
2
3
Auto focusing is performed by using the AF button or the
Enable AF shutter release button. (default setting)
MF appears in the viewfinder while the AF button is
Cancel AF pressed. Autofocus does not activate when the shutter
release button is pressed. (Take your finger off the AF
button to return to normal autofocus mode.)
Press the AF button.
Auto focusing is performed.
When the subject is focused by pressing
AF.S (Single mode) the AF button, the focus lock is activated
while the button is pressed.
The subject is kept in focus when the AF
AEC (Continuous mode) button is pressed.
Press the shutter release button.
The picture is taken.

]ust eni
You can adjust the AF focusing position.
I
2
3
* Be sure to use [AF Adjustment]only when necessary' Care should be
taken as adjusting the autofocus may make it difficult to capture
images with the appropriate focus.
; Any camera shake during test shooting may make it difficult to obtain the
accurate focusing positioni Therefore always use a tripod when taking test
shots.
Select [36. AF Adjustment] in the [C Custom Setting 61
menu and press the four-way controller ( •).
Use the four-way controller (A T) to select [On] and press
the four-way controller ( •).
The [AF Adjustment] screen appears.
Use the four-way controller (A T) to select [Apply All] or
[Apply One].
Apply All Applies the same adjustment value to all lenses.
This item wilt appear on the display only when the tens ID is
Apply One obtained. Saves and applies an adjustment value for each
lens type. (Up to 20 lens types)
4Press the four-way controller ( •)
and adjust the value with the rear
e-dial (;,,_,,_) or the four-way
controller ( • • ).
Available operations
Apply One Unset
,.... ,.... | .... ,.... ,
Reset
Four-way controller (1_) or Adjusts the focus to a closer position.
rear e-dial (',,,_,,,') to the right (O_)
Four-way controller (• ) or Adjusts the focus to a farther position.
rear e-dial (',,,_,,,') to the left ([])
(_ (Green) button Resets the adjustment value to +0.

8
Press the OK button.
The adjustment value is saved.
Press the MENU button.
The camera returns to the Capture mode.
Take a test picture.
You can easily check the focusing position by enlarging the image during
Live View (p.156) or Digital Preview (p.131).
' Even When an adjustment Value has been saved using [Apply one], if You
press the OK button with [Apply AI!] selected in Step 3, the [Apply All] value
is used !nstead of the [Apply One] value.
, To reset a saved adjustment value, select [Reset] inStep 3.
Choose the part of the viewfinder to set focus to. The factory default
setting is AuTo_ (Auto).
The selected AF point lights red in the viewfinder (Superimpose AF Area).
F:q Center Sets the focusing area to the center of the viewfinder.
SEL Select Sets the focusing area to one of the eleven points in the AF area.
The camera selects the optimum AF point even if the subject is
Auto
AUTO not centered.
Set with the AF point switching dial.
, AF point is not displaYed in the viewfinder When [Oft] is selected for [i5.
Superimpose AE Area] in the [C Custom Setting 3] menu (p.86).
, The AF point is fixed to I-:q regardless 0f this setting when using lenses other
than DAI DA LI D FAI FA J, FA or F lens. (p.292)

SEL. / |
2Look through the viewfinder and check the position of the
subject.
3
4
Press the OK button.
E_ appears in the viewfinder and the AF
point can be changed.
J
Use the four-way controller
(A • < •) to select the desired
AF point.
i
The AF point lights red in the viewfinder
(Superimpose AF Area) and you can
check where you set the AF point.

• The position of the changed AF point is stored even if the camera is turned
off or the focusing area is switched to F:q or _.
• When any of the following operations are performed, changing of the AF
point (in Step 3) is canceled.
- The main switch is turned off
- The mode dial is turned
- The AF point switching dial is turned
- The OK button, r-€l button. MENU button. INFO button or [] button is
pressed
Fixing the Focus (Focus Lock)
If the subject is outside the range of the focusing area, the camera cannot
automatically focus on the subject. In this situation, you can aim the
focusing area toward the subject, use the focus lock and recompose the
picture.
1' Turn the focus mode lever to AES.
Frame the desired composition
for your picture in the viewfinder.
Example:
The person is out of focus
and the background is
focused instead.

3
4
Center the subject to focus in the
viewfinder and press the shutter
release button halfway.
The focus indicator II appears in the
viewfinder and you will hear a beep when
the subject comes into focus. (When
blinking, the subject is not in focus.)
Lock the focus.
Keep the shutter release button pressed halfway. The focus will remain
locked.
Recompose the picture while
keeping the shutter release
button pressed halfway.
' The focus is locked While the focus indicator m is displaye&
, Turning the zoom ring with the focus locked may cause the subject to be out
of focus.
,The beep that sounds when the image is focused can be turned off. (p.257)

Set [5. AE-L with AF Locked] in the
[O Custom Setting 1]menu (p.85) to lock the
exposure value while the focus is locked.
1 Off Exposure is not locked when the focus is locked. (default setting)
2 On Exposure is locked when the focus is locked.
Adjusting the Focus Manually (Manual Focus)
When you adjust the focus manually, you can use either the focus
indicator or the matte field in the viewfinder.
The focus indicator m appears in the viewfinder when the subject is in
focus even during manual focus.
You can manually adjust the focus using the focus indicator O.
1Turn the focus mode lever to MF.

2Look through the viewfinder,
press the shutter release button
halfway and turn the focusing
ring.
The focus indicator O appears in the
viewfinder and you will hear a beep when
the subject comes into focus.
Focus Indicator
• Adjust the focus manually using the matte field in the viewfinder when the
subject is difficul t to focus (P-70) and the focus indicator wi!! not stay !it.
, The beep that sounds when the image is focused canbe turned off, (p,257)
You can manually adjust the focus using the matte field in viewfinder.
ITurn the focus mode lever to MF.
iiiiiiiiiiiiiiiiiiiiiiiiiiiiiiiiiii
iiiiiii iiiiiiiii!iiii!ii!ii!ii!ii!ii!ii!ii!ii!ii!ii!ii!ii!ii!!
iiiiiii i!ii!ii!ii!ii!ii!ii!ii!ii!ii!ii!ii!ii!ii!ii!ii!ii!ii!ii
iiiiiiiiii_ii!_i_i_i_i_i_i_i_i_i_i_i_i_i_i_i_i_i_i_!i_!_i_i!!!
iiiiiiiiiiiiiiiiiiiiiiii
ii

2Look through the viewfinder and
turn the focusing ring until the
subject is clearly visible on the
focusing screen.
_j,__iiiiiiiiiiiiiiiiiiiiiiiiiiiiiiiiiiiiiiiiiii!i!iii!i!ii:!i!ii!iii:_ _ iI
Shooting in Catch-in Focus Mode
When [35. Catch-in Focus] in the [C Custom Setting 5] menu (p.87)
is set to [On], if the focus mode is set to AF.S and one of the following
types of lenses is attached, catch-in focus shooting is available and
the shutter is released automatically when the subject comes into
focus.
•Manual focus lens
• DA or FA lens that has a AF/MF switching on the lens (the setting
on the lens must be set to MF before shooting)
• How to Take Pictures
1 Attach a proper lens to the camera.
2 Turn the focus mode lever to AES.
3 Set the focus on a position the subject will pass.
4 Press the shutter release button fully.
The shutter is released automatically when the subject comes
into focus in the set position.

Youcanusethepreviewfunctiontocheckthedepthoffield,composition,
exposureandfocusbeforetakingapicture.
Therearetwopreviewmethods.
Preview Method' Description
Optical Preview For checking the depth of field with the viewfinder.
For checking the composition, exposure and focus on the
Digital Preview monitor.
You can a!so use the Live View function to display a rea!,time image on the
monitor and change the shooting function settings during display and check the
settings by enlarging the image. Refer to p.156 for details.
Choose whether to use Optical Preview or Digital Preview when the main
switch is turned to the preview position O(_).
The default setting is Optical Preview.
I
2
3
Select [Digital Preview] in the [1_1 Rec. Mode 3] menu and
press the four-way controller ( •).
The [Digital Preview] screen appears.
Press the four-way controller ( •).
Use the four-way controller (• •)
to select [Off (Optical Preview)]
or [On].
Selecting [On] activates Digital Preview.
Press the OK button.

8
When [On] is selected in Step 2, use the four-way
controller (• •) to select [Histogram] or [Bright/Dark
Area], and use the four-way controller ( • • ) to select _or
C].
Press the MENU button twice.
_ While setting Multi-exposure or shooting with Live View, or during interval
"_J' shooting, Optical Preview is used regardless ofthesetting.
1Position the subject inside the AF
frame and press the shutter
release button halfway to focus
on the subject.
2
3
Turn the main switch to Owhile
looking through the viewfinder.
You can check the depth of field in the
viewfinder while the main switch is set to
the position O.
During this time, no shooting information
is displayed in the viewfinder, and the
shutter cannot be released.
Take your finger off the main switch.
Optical Preview is ended and the camera is ready to take a picture.

IFocus on the subject, then
compose the picture in the
viewfinder and turn the main
switch to O.
The icon (O) appears on the monitor
during preview and you can check the
composition, exposure and focus.
2
Available operations
Rear e-dial (',,,_,,,")
AE-L button Enlarges the preview image. (p.214)
Saves the preview image. Select [Save as]
and press the OK button.
Press the shutter release button halfway.
Digital Preview is ended and the autofocus system operates.
#_er,6 The maximum display timefo[ Digita! Preview is 60 seconds,
iiiiiiiiiiiiiiiiiiiiiiiiiiiiiiiiiiiiiiiiiiiiiiiiiiiiiiiiiiiiiiiiiiiiiiiiiiii!i!

Using the Shake Reduction Function
The Shake Reduction function reduces camera shake that occurs when
the shutter release button is pressed. This is useful for taking pictures in
situations where camera shake is likely to occur. The Shake Reduction
function allows you to take pictures at approximately 4 steps slower
shutter speed without the risk of the camera shake.
The Shake Reduction function is ideal when taking pictures in the following
situations.
• When taking pictures in dimly lit locations, such as indoors, at night,
on cloudy days and in the shade
• When taking telephoto pictures
Blurred picture Picture taken with
the Shake Reduction function
The Shake Reduction function can be used to reduce horizontal and
vertical camera shake or keep the image level.
• The Shake Reduction function does not compensate for blurring caused by
subject movement. To take pictures of a moving subject, increase the shutter
speed.
• The Shake Reduction function may not fully reduce camera shake when
taking close-up shots. In this case. it is recommended that the Shake
Reduction function be turned off and the camera be used with a tripod.
• The Shake Reduction function will not fully work when shooting with a slower
shutter s peed, for example when shooting a moving subject or night scenes.
In this case. it is recommended that the Shake Reduction function be turned
off and the camera be used with a tripod.

Use the four-way controller ( • • )
to select ((,llP))or L_'¢_). ColorSpace sRGB
((4MI)):Uses Shake Reduction. (default RAWFile Format PEF
RAW Button
setting) Memory
£'('_): Does not use Shake Reduction. USER
S_ k
input Focal Length
Press the MENU button.
The screen that was displayed before selecting the menu appears again.
Aim the camera at the subject and press the shutter
release button halfway.
(NilI)) appears in the viewfinder and the
Shake Reduction function is activated.
l
2
3
Select [Horizon Correction] in the [1_1 Rec. Mode 3] menu.
Use the four-way controller ( • • )
to select _or _. Movie
Live View
Status Screen
Digital Preview []
instant Review _,_1
Electronic Level _J_'_
Press the MENU button.
The screen that was displayed before selecting the menu appears again.

4Aim the camera at the subject and press the shutter
release button halfway.
The following indicators appear on the status screen.
((,llll_: Shake Reduction On + Horizon Correction On
({_: Shake Reduction Off + Horizon Correction On
• Set [Shake Reduction] to (C,1l_(Off) when using the camera with a tripod or
when this function is not needed.
• [Shake Reduction] is automatically set to _-_LtJ)3(Off) and cannot be selected
in the following situations.
- Self-timer shooting
Remote control shooting
- Bulb shooting
- HDR Capture
- Mirror lock-up shooting
- Wireless mode with an external flash
, The Shake Reduct on function Will not fully Work (for about 2 seconds) right
after turning on the camera or restoring from Auto Power Off. Wait for the
Shake Reduction function to become stable before gently pressing the sh utter
release button to take a picture. When you press the shutter release button
halfway and if ((4111))appears in the viewfinder, the camera is ready to take a
picturel
• The Shake Reduction function is available with any 1_"-7 compatible
PENTAX !ens. However; when the aperture ring is set to other than the A
(Auto) position or a lens without an A position is used, the Camera does not
operate unless [37: Using Aperture Ring] inthe [C Custom Setting 6] menu
is set to [Permitted]. Set this beforehan& However, in such cases some
functions are restricted. Refer to !!Notes on [37. Using Apertu re Ring]" (p.294)
for details.

The Shake Reduction function operates by obtaining the lens information
such as focal length.
If the camera uses a DA, DA L, D FA, FA J, FA or F lens, the lens
information is automatically obtained when the Shake Reduction function
is activated.
The [Input Focal Length] setting screen appears when the camera is
turned on with [Shake Reduction] set to ((,1111))(On) and a type of lens that
does not support automatic obtaining the lens information such as focal
length (p.292)is mounted.
Set the focal length manually in the [Input Focal Length] setting screen.
; The [Input E0ca! Length] setting screen does not appear When using a lens
that supports automatic obtaining the lens information such as focal !ength_
When using a lens without the A position on the aperture or with the aperture
set to a Position other than the A position; set [37: Using Aperture Ring] in
the [C Custom Setting 6] menu to [Permitted]. (p.294)
IUse the four-way controller ( • • )
or the rear e-dial (;,,_,,¢) to set the
focal length.
Select from the following 34 focal length
values. (The default setting is [35].)
2
, If the focal length for Your !ens is not listed abovel select the Value Closest to
the actual focal lengt h (example; [18] for 17 mm and [100] for !05 mm).
• When using a zoom lensl select the actual focal length at the zoom setting in
the same manner:
Press the OK button.
The camera returns to the status screen and is ready to take a picture.

, TO change the focal length sett ngl use [Input E0cal Length] in the [1_1Recl
Mode 4] menu (p.84).
• Effect of Shake Reduction is influenced by the shooting distance as well as
focal length informati0n, The Shake Reduction functi0n may not work as
effectively as expected when shooting at close ranges.
Shooting with the Self-timer
This camera has the following two types of self-timers.
Shutter will be released after about 12 seconds. Use this mode to
include the photographer in the picture.
A mirror pops up immediately after shutter release button is pressed.
_ Shutter is released after about 2 seconds. Use this mode to avoid
camera shake when the shutter release button is pressed.
1Mount the camera onto a tripod.
2
3
Press the four-way controller (A) in Capture mode.
The [Drive Mode] screen appears.
Use the four-way controller ( • • )
to select _.
Other manuals for K-7
5
Table of contents
Other Pentax Digital Camera manuals

Pentax
Pentax IQZoom 140 User manual

Pentax
Pentax K-30 User manual

Pentax
Pentax *ist User manual

Pentax
Pentax PC-700 DATE User manual

Pentax
Pentax Time-Lapse Package User manual

Pentax
Pentax K-3 User manual

Pentax
Pentax w User manual

Pentax
Pentax DS2 User manual

Pentax
Pentax Data LX User manual

Pentax
Pentax ZX-5 User manual

Pentax
Pentax ZX-M User manual

Pentax
Pentax Data MX User manual

Pentax
Pentax IQZoom105G User manual

Pentax
Pentax Optio T10 User manual

Pentax
Pentax SF-1n User manual

Pentax
Pentax WPi - Optio WPi 6MP Waterproof Digital... User manual

Pentax
Pentax Data MX User manual

Pentax
Pentax 105 Super User manual

Pentax
Pentax K 100D Super User manual

Pentax
Pentax PC35AF User manual