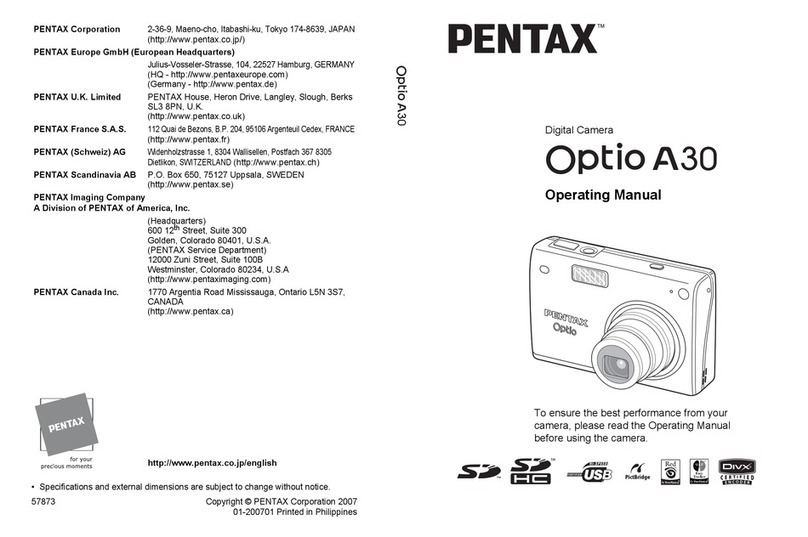
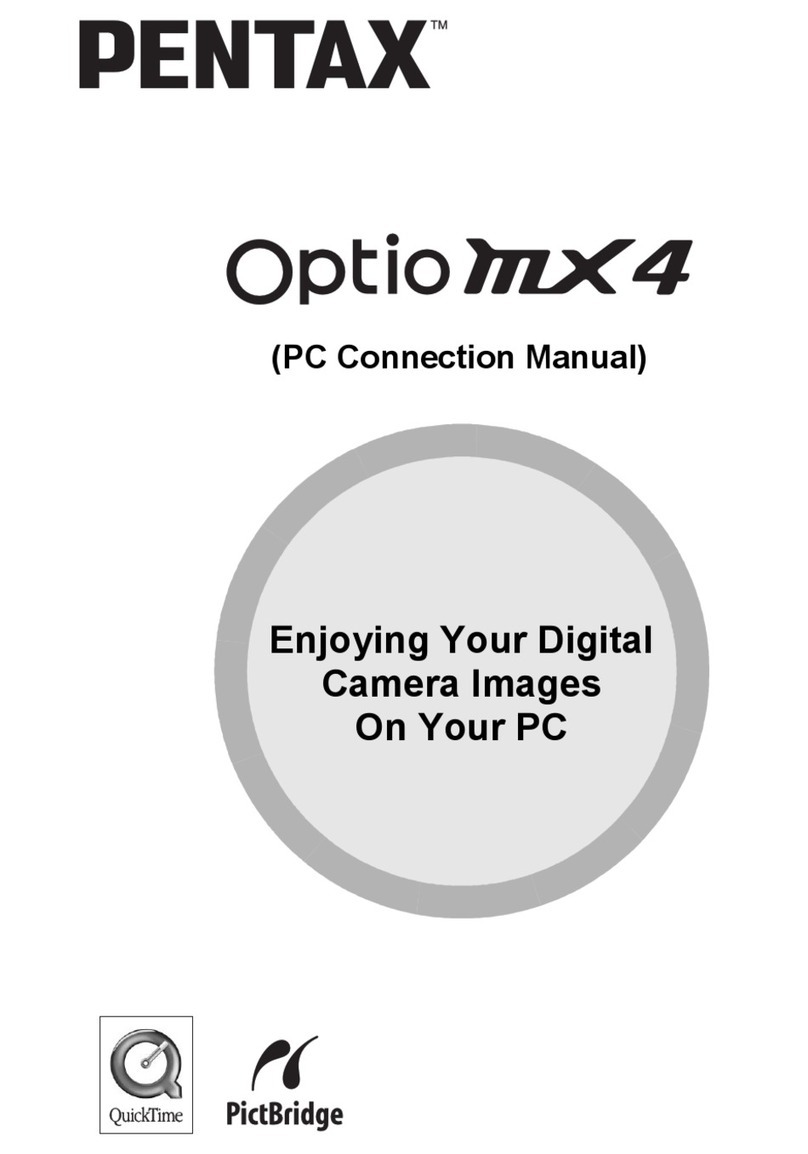
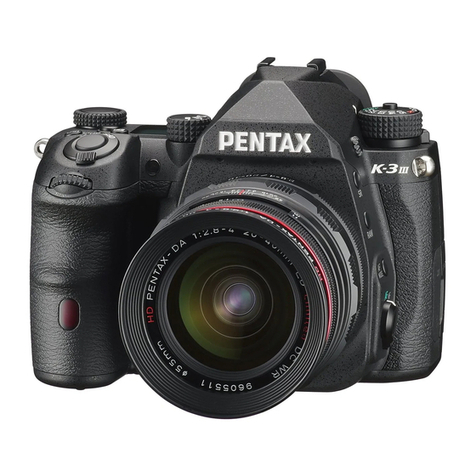
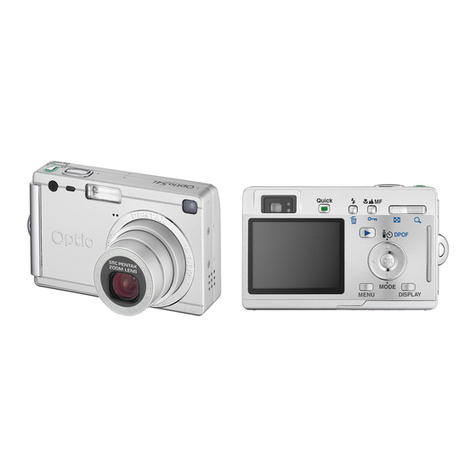
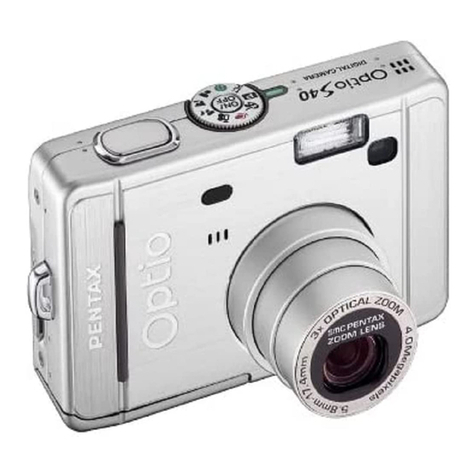
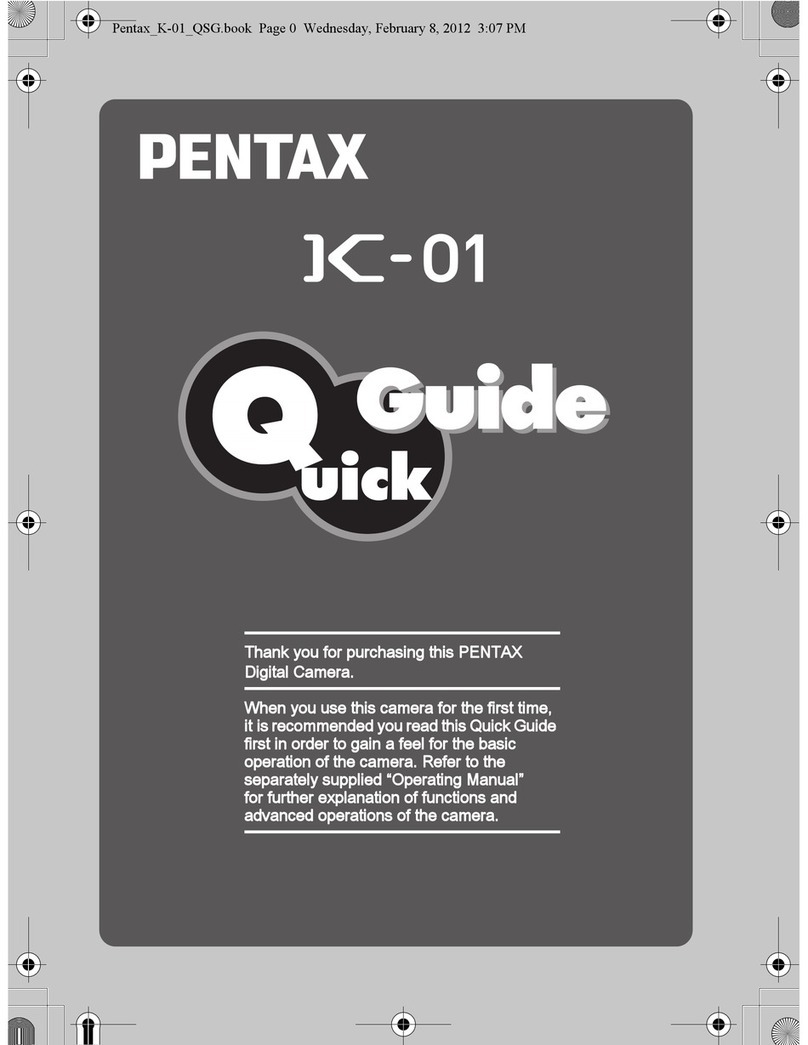
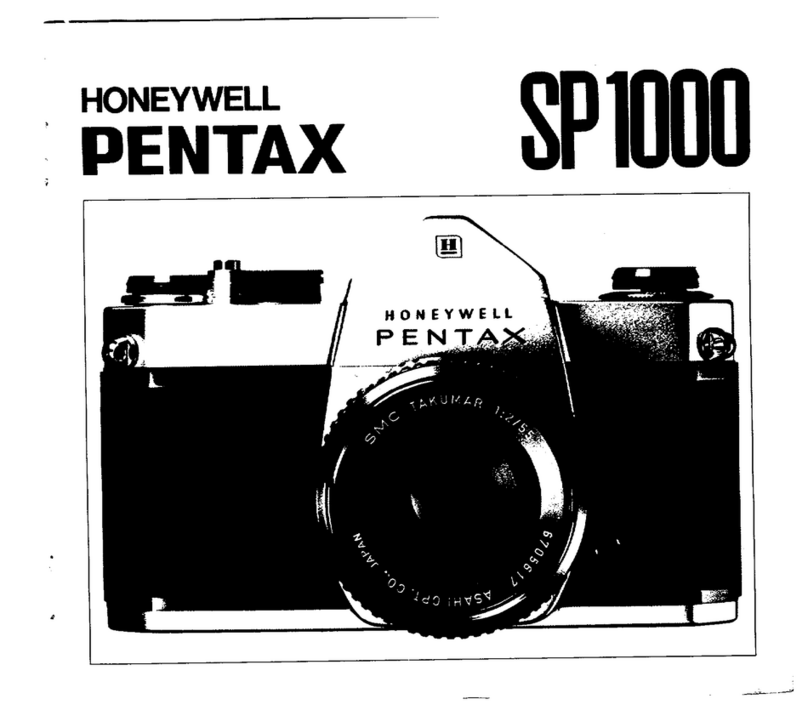
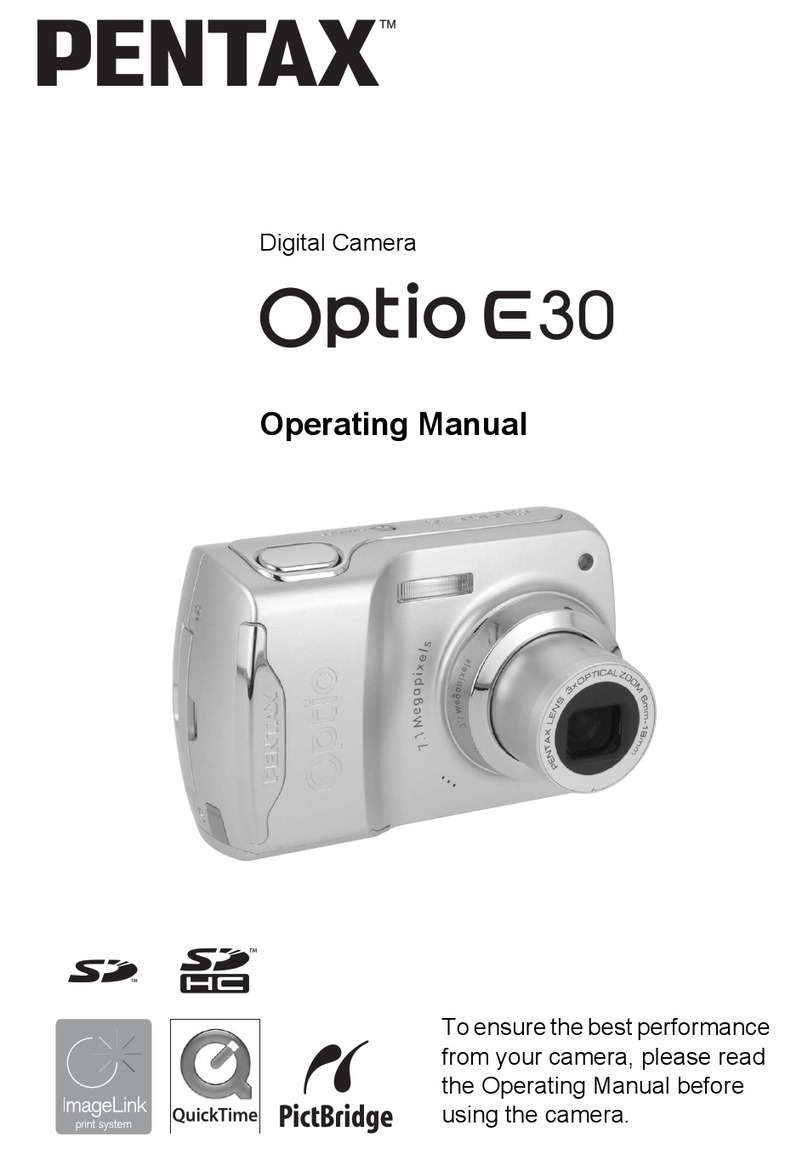
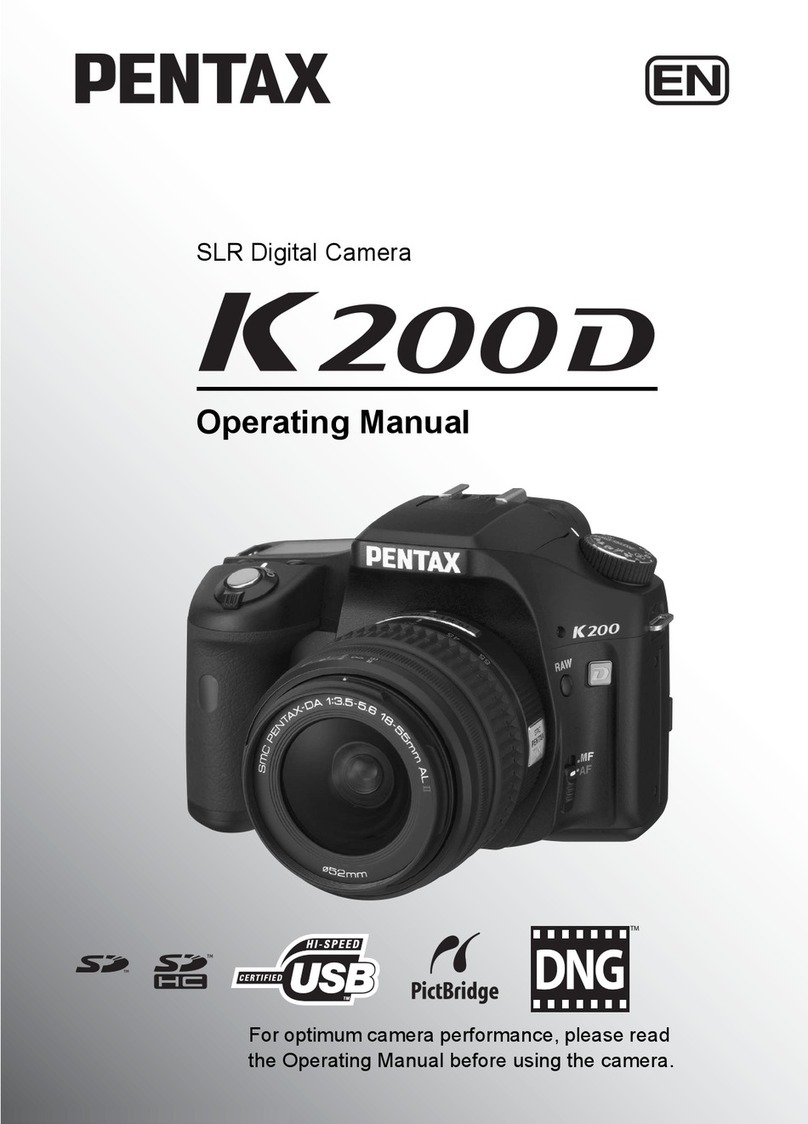
Pentax Optio 30 Instruction manual

Viewing Your Digital
Camera Images
On Your PC
(PC Connection Manual)
e_00_pc_kb367.book Page 1 Thursday, January 29, 2004 6:13 PM

Introduction
This booklet explains how to view the images you took with the
PENTAX Optio 30 on your PC. Keep this manual in a safe place.
Regarding copyrights
Images taken using the Optio 30 that are for anything other than personal
enjoyment cannot be used without permission according to the rights as
specified in the Copyright Act. Please take care, as there are even cases
where limitations are placed on taking pictures even for personal enjoyment
during demonstrations, industrial enterprise or as items for display. Images
taken with the purpose of obtaining copyrights also cannot be used outside
the scope of use of the copyright as laid out in the Copyright Act, and care
should be taken here also.
Regarding trademarks
• The SD logo is a trademark.
• PENTAX is a trademark of PENTAX Corporation.
• Optio is a trademark of PENTAX Corporation.
• All other brands or product names are trademarks of registered trademarks
of their respective companies.
• Apple, the Apple logo, AppleScript, the Apple Store, Mac, the Mac logo,
Mac OS, Macintosh, and QuickTime are trademarks of Apple Computer,
Inc., registered in the U.S. and other countries.
• This product supports PRINT Image Matching II.
When used in combination, PRINT Image Matching II enabled digital still
cameras, printers and software help photographers to produce images
more faithful to their intentions.
Copyright 2001 Seiko Epson Corporation. All Rights Reserved.
PRINT Image Matching is a trademark of Seiko Epson Corporation.
• “PictBridge” allows the user to connect the printer and digital camera
directly, using the unified standard for the direct printout of images. You
can print images directly from the camera through a few simple operations.
• Symbols used in this manual have the following meanings:
The PC screenshots in this booklet may differ from your PC, depending on
your model.
Gives page numbers explaining related operations.
Gives information that is useful to know.
Gives cautions and notes about the operation.
e_00_pc_kb367.book Page 2 Thursday, January 29, 2004 6:13 PM
1
How to Use the Captured Images 2
Viewing Digital Camera Images on a Windows PC 4
System Requirements ............................................................... 4
Installing the Software............................................................... 6
Copying Images to your PC .................................................... 13
Disconnecting the Camera from your PC .............................. 18
Viewing Digital Camera Images on a Macintosh 20
System Requirements ............................................................. 20
Installing ACDSee for PENTAX............................................... 21
Installing ACD Photostitcher .................................................. 22
Displaying Images on your Macintosh................................... 23
Disconnecting your Camera from your Macintosh............... 25
About ACDSee for PENTAX 26
Launching ACDSee for PENTAX ............................................ 26
Viewing using the Browser 27
About the Browser................................................................... 27
Viewing images in other folders............................................. 31
Sorting image files................................................................... 32
Setting detailed display categories........................................ 33
Viewing a Large Version of an Image (Viewer) 34
About the Viewer...................................................................... 34
Panorama Image Stitching with ACD Photostitcher 36
Panorama Image Stitching on a Windows PC....................... 36
Panorama Image Stitching on a Macintosh........................... 39
Printing an Image 42
Printing from the Browser....................................................... 42
Printing from the Viewer.......................................................... 42
Creating and Printing contact sheets .................................... 43
E-mailing your Images from ACDSee for PENTAX 44
About ACDInTouch 45
Contents
e_00_pc_kb367.book Page 1 Thursday, January 29, 2004 6:13 PM

2
How to Use the Captured Images
Is your computer…
• equipped with a standard USB interface?
•
using Windows 98/98 SE/Me/2000/XP as
your OS? Or Mac OS 9.0-9.2/10.1 or
later?
Have prints made from your
card images at a photo shop.
• Set DPOF settings on your
camera, and get prints from
your photo shop.
Camera Operating
Manual (p.77)
• Select the images for prints.
Transfer your images using
a built-in card slot + PC card
adapter or a card reader.
• Remove the card from the
camera. When transferring
images on the card to a PC
with another device, make
sure to review the user
manual accompanying
that device.
Here are some ways to use the images captured with your digital camera.
Use your photo shop
Is your computer…
• using Windows 95/NT,
Mac OS 8.6 or an earlier OS?
Connect your camera
and computer with a
USB cable, and copy
the camera images.
Connect your camera and printer that
is compatible with "PictBridge" directly
with a USB cable, and print images.
• For details, see the operating
manual of the printer you are using.
Direct Print
e_00_pc_kb367.book Page 2 Thursday, January 29, 2004 6:13 PM
3
• See the operating manual of your
email software for details on how to
make attachments to e-mails.
• See the operating manual of the
software you are using for details on
how to use images on your
homepage.
Print images from your
computer to your printer.
Some printers can print
directly from cards.
• For details, see the
operating manual of the
printer you are using.
Images sent to the computer can be
saved onto a CD-R or other media.
Use your printer
ACDSee for PENTAX p.26-44
• View Images • Edit Images
• Save processed images • E-mail Images
• Manipulate images • Print images
Use your e-mail software to attach images to e-mails, or
use them on your homepage.
Use your image data
* These operations also can be performed
using commercially available image editing
software. See the instructions provided with
the software for more details.
Save your image data
e_00_pc_kb367.book Page 3 Thursday, January 29, 2004 6:13 PM

4
Viewing Digital Camera Images on a
Windows PC
You can use the provided USB cable (I-USB6) or a card reader to
transfer your digital camera’s images to the PC, and you can edit and
print your images using the image viewing software. Here, the
method for viewing images with the provided software (S-SW18) is
explained.
The following software is included in the CD-ROM (S-SW18)
provided.
• Image viewing / editing software (ACDSee for PENTAX)
• QuickTime™ 6.0
USB connection
• OS: Windows 98 / 98 SE / Me / 2000
Windows XP Home Edition / Professional
(Installation of the driver is necessary for Windows 98 / 98 SE)
• USB port must be standard equipment
Application Software
<ACDSee for PENTAX>
(9 languages: English, German, French, Spanish, Italian, Russian,
Chinese [traditional and simplified], Korean, Japanese)
• OS: Windows 98 / 98 SE / Me /
NT (latest version) / 2000
Windows XP Home Edition / Professional
• CPU: Pentium or higher recommended
• Memory: 64MB minimum
• Hard Disk space: 40MB minimum
• Display adapter capable of displaying a minimum of 256
colors
• Internet Explorer 4.0.2 or later
Software Provided
System Requirements
e_00_pc_kb367.book Page 4 Thursday, January 29, 2004 6:13 PM

5
* Some formats may require viewing with QuickTime 6.0 or later and
DirectX 8.0 or later.
* To install ACDSee for PENTAX, Windows Installer Service
Version 2.0 may be required.
i
<QuickTime>
(6 languages: English, German, French, Spanish, Italian, Japanese)
• OS: Windows 98 / 98 SE / Me /
NT (latest version) / 2000
Windows XP Home Edition / Professional
• CPU: Pentium or higher recommended
• Memory: 128MB minimum
* Operation is not guaranteed on all PCs meeting the system
requirements.
You may play movie pictures taken using the provided software
[ACDSee for PENTAX] (QuickTime 6.0 or later required).
You can download DirectX and Windows Installer Service from
the following website.
http://www.microsoft.com/windows/directx
http://www.microsoft.com/windows2000/techinfo/
howitworks/management/installer.asp
• The software cannot be used on Windows 95.
• We recommend using the AC Adapter D-AC5 (optional) when
connecting your camera to your PC. Your image data could be
corrupted if your batteries run out during image transfer.
e_01_pc_kb367_7.fm Page 5 Friday, January 30, 2004 4:53 PM

6
This section describes the procedures for installing the necessary
software.
If you are using Windows 2000, Windows Me or Windows XP, you
do not need to install the USB driver. When you connect the camera
to your computer with the USB cable, your computer will
automatically detect the camera as [Removable Disk].
1Turn your computer on.
2Insert the CD-ROM (S-SW18) into the CD-ROM drive.
The PENTAX Software Installer screen appears automatically, but
no action is required at this stage.
3Make sure the camera is turned off and connect it to
your computer with the USB cable.
4Turn your camera on.
Your computer will automatically detect the camera as new
hardware and the Wizard screen will appear.
Installing the Software
Installing the USB driver p.6
Installing the image processing software (ACDSee for PENTAX)
p.10
Installing the USB driver on Windows 98/98 SE only
e_01_pc_kb367_7.fm Page 6 Friday, January 30, 2004 4:54 PM

7
5Click [Next].
6Select [Search for the best
driver for your device] and
click [Next].
7Select [CD-ROM drive] and
click [Next].
If another item has been selected,
click the box to deselect it.
8Confirm that [PENSSTOR.INF]
is displayed and click [Next].
Installation of the driver starts.
e_00_pc_kb367.book Page 7 Thursday, January 29, 2004 6:13 PM

8
9Click [Finish].
When installation is finished,
installation of the driver for the new
hardware starts.
10 Click [Next].
11 Select [Search for the best
driver for your device] and
click [Next].
12 Select [CD-ROM drive] and
click [Next].
If another item has been selected,
click the box to deselect it.
e_00_pc_kb367.book Page 8 Thursday, January 29, 2004 6:13 PM

9
13 Confirm that [PENSPDR.INF]
is displayed and click [Next].
14 Click [Finish].
When installation is finished, the
Wizard window is exited.
15 Double-click [My Computer]
on the desktop.
A removable disk will be added.
e_00_pc_kb367.book Page 9 Thursday, January 29, 2004 6:13 PM

10
This section describes the procedures for installing ACDSee for
PENTAX which lets you view and edit recorded images on your
computer.
1Turn your computer on.
2Insert the CD-ROM (S-SW18) into your CD-ROM drive.
The PENTAX Software Installer screen is displayed on the
desktop.
3
Click your applicable language.
You can choose the languages from
the displayed screen.
A selection screen to install your
desired software is displayed.
4Click [ACDSee™].
Installing the image processing software
(ACDSee for PENTAX)
When multiple accounts have been setup in Windows 2000 or
Windows XP, login by the authority of the administrator before
installing the software.
When the PENTAX Software Installer screen is not displayed
Display the PENTAX Software Installer screen following the steps below.
1 Double-click [My Computer] on the desktop.
2 Double-click the [CD-ROM drive (S-SW18)] icon.
3 Double-click [Setup.exe].
e_00_pc_kb367.book Page 10 Thursday, January 29, 2004 6:13 PM

11
The Setup screen will appear.
Follow the on-screen guidance and
enter the registration information.
Reboot your PC after installation
finish.
• If QuickTime 6.0 or later is not
already installed in your PC, a
message such as the one shown
on the right is displayed before
the Setup screen appears. Click
[Install QuickTime] to first install
QuickTime 6.0.
The panoramic image software “Photostitcher”, the image layout
and printing software “FotoSlate”, and the image editing software
“FotoCanvas” are also installed when you install ACDSee for
PENTAX.
e_00_pc_kb367.book Page 11 Thursday, January 29, 2004 6:13 PM

12
Please click the [Product Registration] of
the CD-ROM screen in step 4 on the
page 10 of this PC manual.
A world map of the Internet Product
Registration is displayed.
If your PC is connected to the Internet,
click the displayed country or region and
then follow the instructions to register
your product.
Thank you very much for your cooperation.
Product Registration on the Internet
Only the customers of displayed countries and region can register
their products on the Internet Product Registration.
e_00_pc_kb367.book Page 12 Thursday, January 29, 2004 6:13 PM
13
An explanation of how to copy images using ACDSee for PENTAX
is shown below.
Refer to the “About ACDSee for PENTAX” ( p.26) to view or edit
the copied images.
1Press the MENU button.
2Press the four-way controller (5) to display [BSet-up]
menu when the displayed screen is [ARec.Mode] or
[QPlayback] of FULL menu.
3Use the four-way controller (23)
to select [USB Connection].
4Use the four-way controller (45)
to select [PC] .
5Press the OK button.
Copying Images to your PC
Setting the USB Connection mode to [PC]
Format
Date Adjust
USB Connection
Screen Setting
Set-up
MENU
05/03/2004
English
PC
OK
SIMPLE
Exit OK
Language/ English
PC
USB Connection
Screen Setting
Change USB connection
MENU
FULL
Exit OK
OK
SIMPLE Menu
FULL Menu
e_00_pc_kb367.book Page 13 Thursday, January 29, 2004 6:13 PM

14
1Turn your computer on.
2Turn your camera off and connect it to the PC with the
USB cable.
Confirm that the SD Memory Card is inserted in the camera when
the images in the SD Memory Card are copied.
3Turn your camera on.
The Device Detector screen is displayed automatically.
If the Device Detector screen is not displayed, display / copy the
images following the steps in “When the Device Detector screen is
not displayed.” on page 16.
4Confirm that [Copy images to
hard drive] and [Launch
ACDSee] are checked, and
click [Next].
Copying Images to your PC
e_00_pc_kb367.book Page 14 Thursday, January 29, 2004 6:13 PM
15
5Click [Browse].
The [Browse For Folder] screen is
displayed.
6Select a destination folder and
click [OK].
7Click [Next].
The image is copied to the PC, and
the ACDSee for PENTAX Browser
starts.
e_00_pc_kb367.book Page 15 Thursday, January 29, 2004 6:13 PM
16
When the Device Detector screen is not displayed.
4Double-click the [ACDSee for
PENTAX] icon on the desktop.
5Double-click [My Computer].
6Double-click [Removable Disk]
(If the SD Memory Card has a
volume label name, then select
that name).
7Double-click the [DCIM] folder.
8Click the [xxxPENTX] folder.
(xxx is a 3-digit number.)
e_00_pc_kb367.book Page 16 Thursday, January 29, 2004 6:13 PM

17
9Select [Copy To…] from the
[Edit] menu.
The Copy Files screen is displayed.
10 Click [More>>] and select the
destination folder.
11 Click [OK].
The image is copied to the PC.
e_00_pc_kb367.book Page 17 Thursday, January 29, 2004 6:13 PM
18
1Double-click the [Unplug or
eject hardware] icon in the task
bar recognized area.
The [Remove Hardware] screen will
appear.
2Confirm that [PENTAX USB
DISK Device] is selected and
click [Stop].
The [Stop Hardware Device] screen
will appear.
3Confirm that [PENTAX USB
DISK Device] is selected and
click [OK].
A message will appear.
4Click [OK].
5Turn off the camera and
disconnect the USB cable from your camera and PC.
Disconnecting the Camera from your PC
Windows 2000 / Me
The computer is downloading the camera’s image data with the camera is
connected to the computer and the camera viewfinder lamp (red) is
blinking. Image data may be damaged if you disconnect the camera during
such conditions.
In the event that an error message is displayed in Step 4, confirm that
the viewfinder lamp is not blinking and then disconnect the camera.
e_00_pc_kb367.book Page 18 Thursday, January 29, 2004 6:13 PM
Table of contents
Other Pentax Digital Camera manuals

Pentax
Pentax OPTIO S User manual

Pentax
Pentax IQZoom105G User manual

Pentax
Pentax K 100D Super User manual

Pentax
Pentax 67II User manual

Pentax
Pentax Model Optio S60 User manual

Pentax
Pentax IQZoom110 User manual

Pentax
Pentax PC-555 DATE User manual

Pentax
Pentax K20D - Digital Camera SLR User manual

Pentax
Pentax PZ-1 User manual

Pentax
Pentax EI-C90 User manual

Pentax
Pentax OPTIO MX User manual

Pentax
Pentax SF-1 User manual

Pentax
Pentax Optio W10 User manual

Pentax
Pentax 750Z - Optio Digital Camera User manual

Pentax
Pentax Optio T30 User manual

Pentax
Pentax Bracket 645 User manual

Pentax
Pentax K-X User manual

Pentax
Pentax PC-100 User manual

Pentax
Pentax Optio E User manual

Pentax
Pentax Optio 430 User manual