4
5. Verify the Wireless Keyboard is working properly.
Go to the personal computer connected to the Avcast entertainment system and make
sure that it is switched on. Position yourself in front of the PC and manipulate the
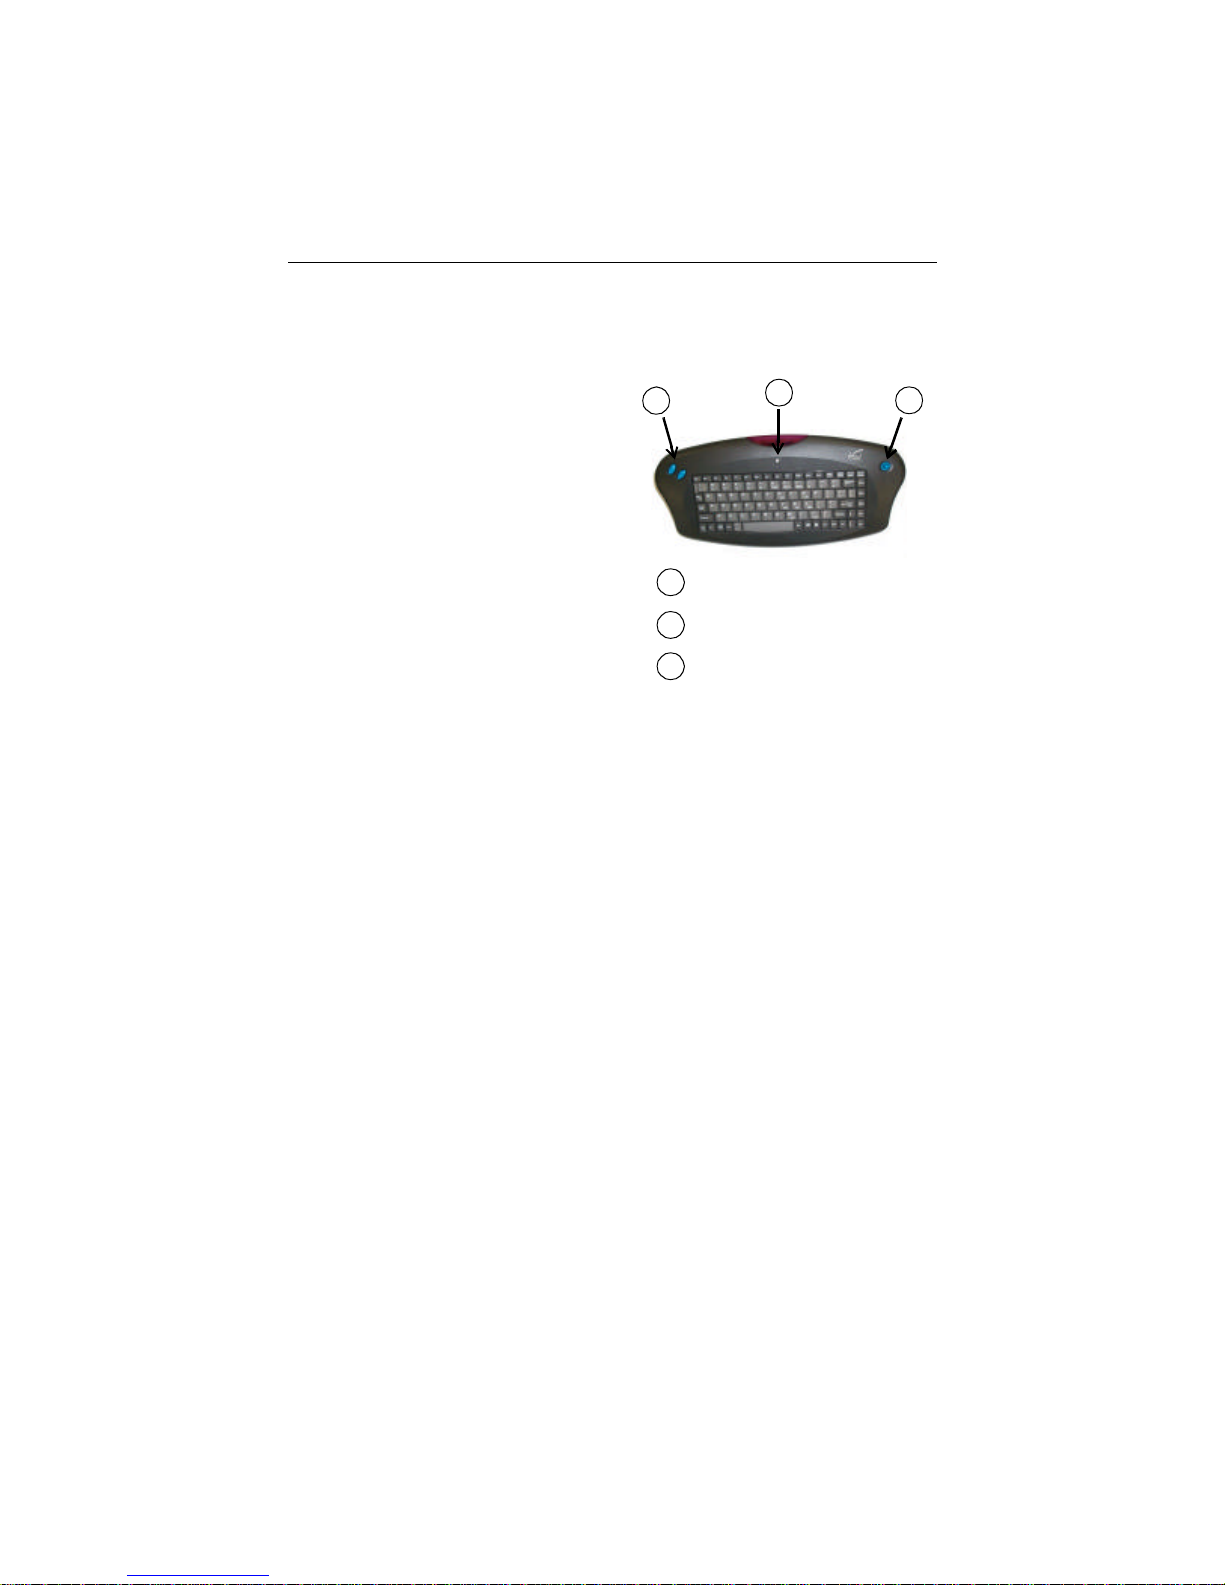
built-in mouse joystick to verify it is communicating with the computer properly.
You should be able to see the cursor moving around on the screen. Go to the
troubleshooting information in Appendix B if the Wireless Keyboard does not appear
to be communicating with the PC.
Next, go to a TV connected to the Avcast entertainment system and make sure that it
is switched on. Position yourself in front of the TV and manipulate the built-in mouse
joystick to verify it is communicating with the computer properly. You should be
able to see the cursor moving around on the TV screen the same way you did on the
PC screen. If the Wireless Keyboard does not appear to be communicating with the
PC at that location, you need to make some adjustments to the physical placement of
the PC Caster to improve the RF (remote) reception. Go to the RF Positioning of PC
Caster section of the PC Caster User’s Guide for more information.
Numeric Keypad Functions
Though the Wireless Keyboard provides all of the functions of a full-sized keyboard;
however, some functions such as the numeric keypad and the built-in mouse are handled
little differently.
The Wireless Keyboard does not have a separate 17-key numeric keypad, though the
keyboard does provide all of the function of a numeric keypad. Pressing the special
Function (FN) key activates a section of the keys in the main keypad to become
“extender” keys. The extender keys perform the numeric keypad functions.
To use numeric keypad functions:
1. Press the FN key to activate the extender keys.
2. Press the extender keys for the desired numeric keypad
functions.
Press the Num Lock key to set Num Lock on or off for the correct set of numeric
keypad functions (the keyboard does not have an LED to indicate whether the
Num Lock function is on or off).
3. Press the FN key again to deactivate the extender keys.
The figure on the following page illustrates the extender keys that are active
when the FN key is pressed, when the Num Lock is ON and when the Num
Lock is OFF.
The Avcast Home Entertainment System
How to Use the Wireless Keyboard