The second method:
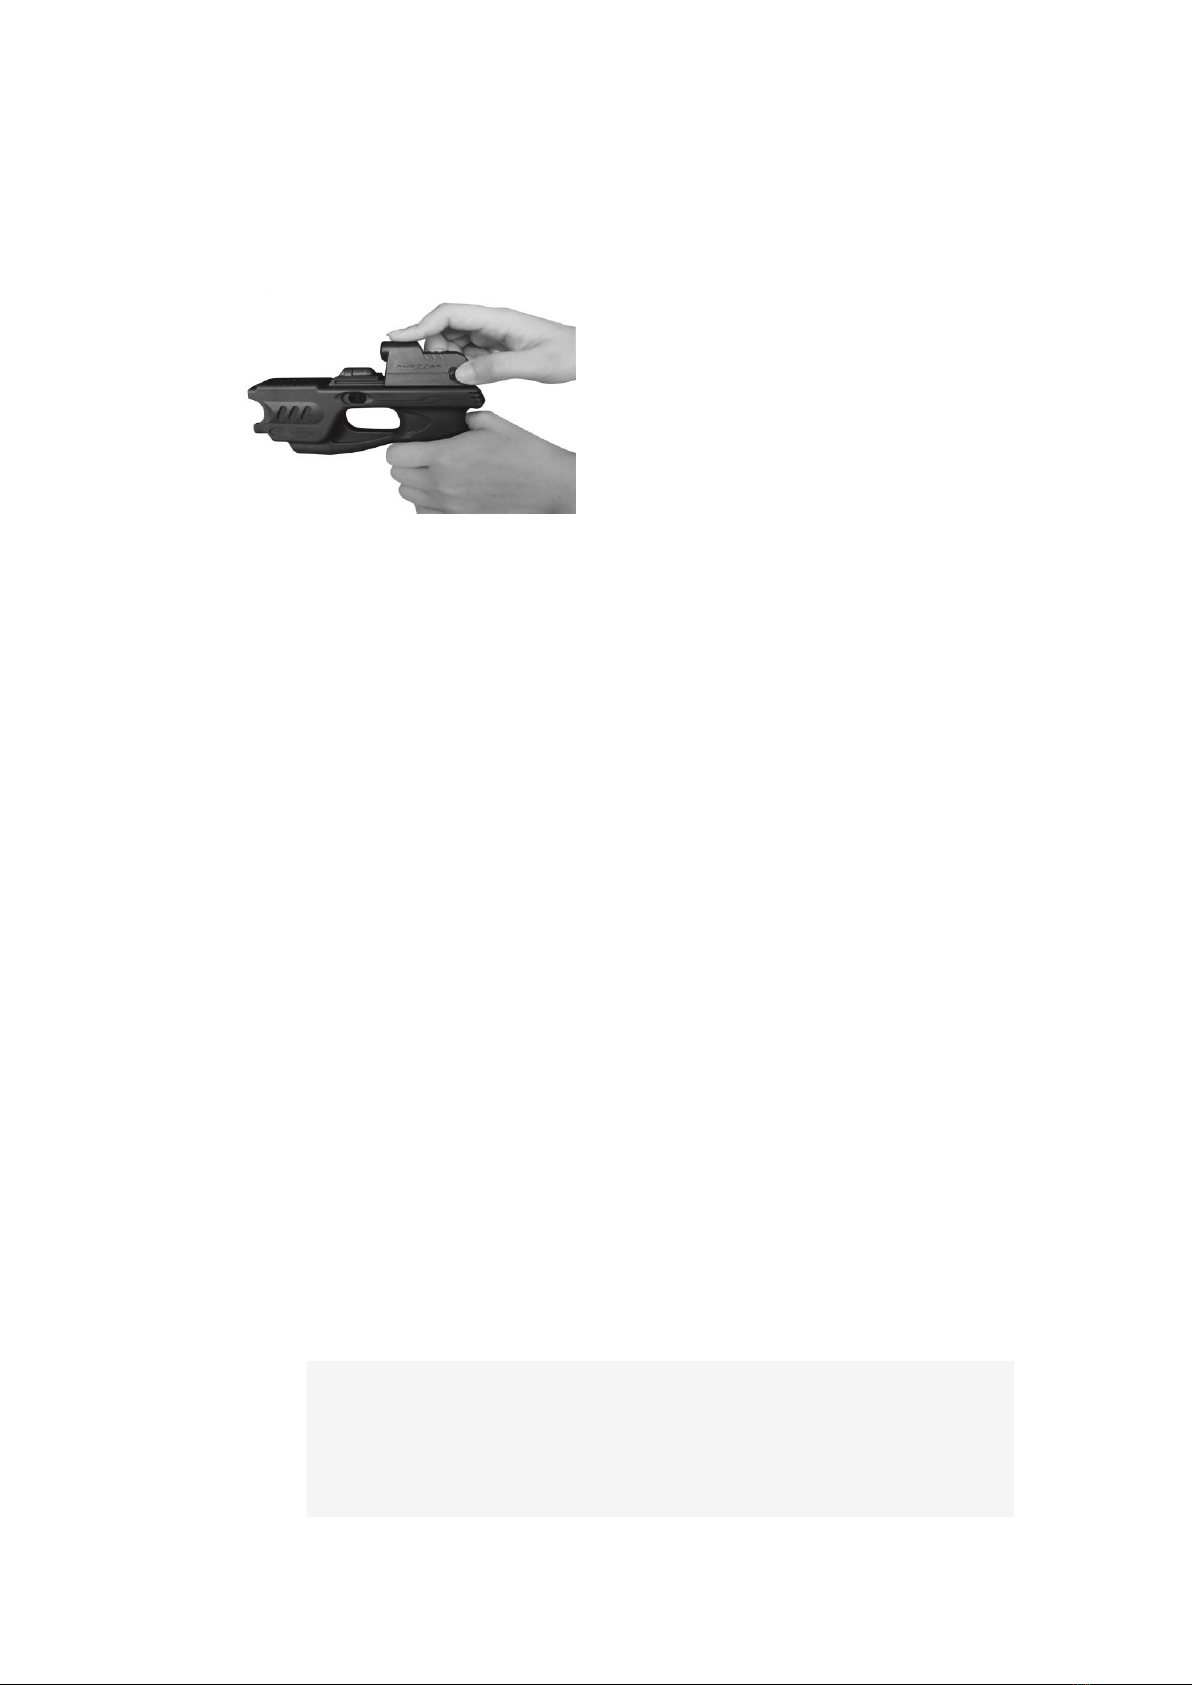
Connect the RailCam to your computer using the USB cord
A window will pop-up once you have inserted the USB into the computer.
Click“Open folder to view files”.
Open the “time.txt”file to edit the time and date. The format of the time and
date must be set in “YYYY-MM-DD HH:MM:SS”using Military Time.
Click on “File”in the top left hand corner, and “Save”the document and
safely remove the RailCam from your computer.
Turn on the RailCam once to initiate the reset.
When your Phazzer RailCam’s battery is too low, the time may reset
to factory default. You will need to reset the time again if you
want your recorded files to have the correct recording time.
7: Recording a Video
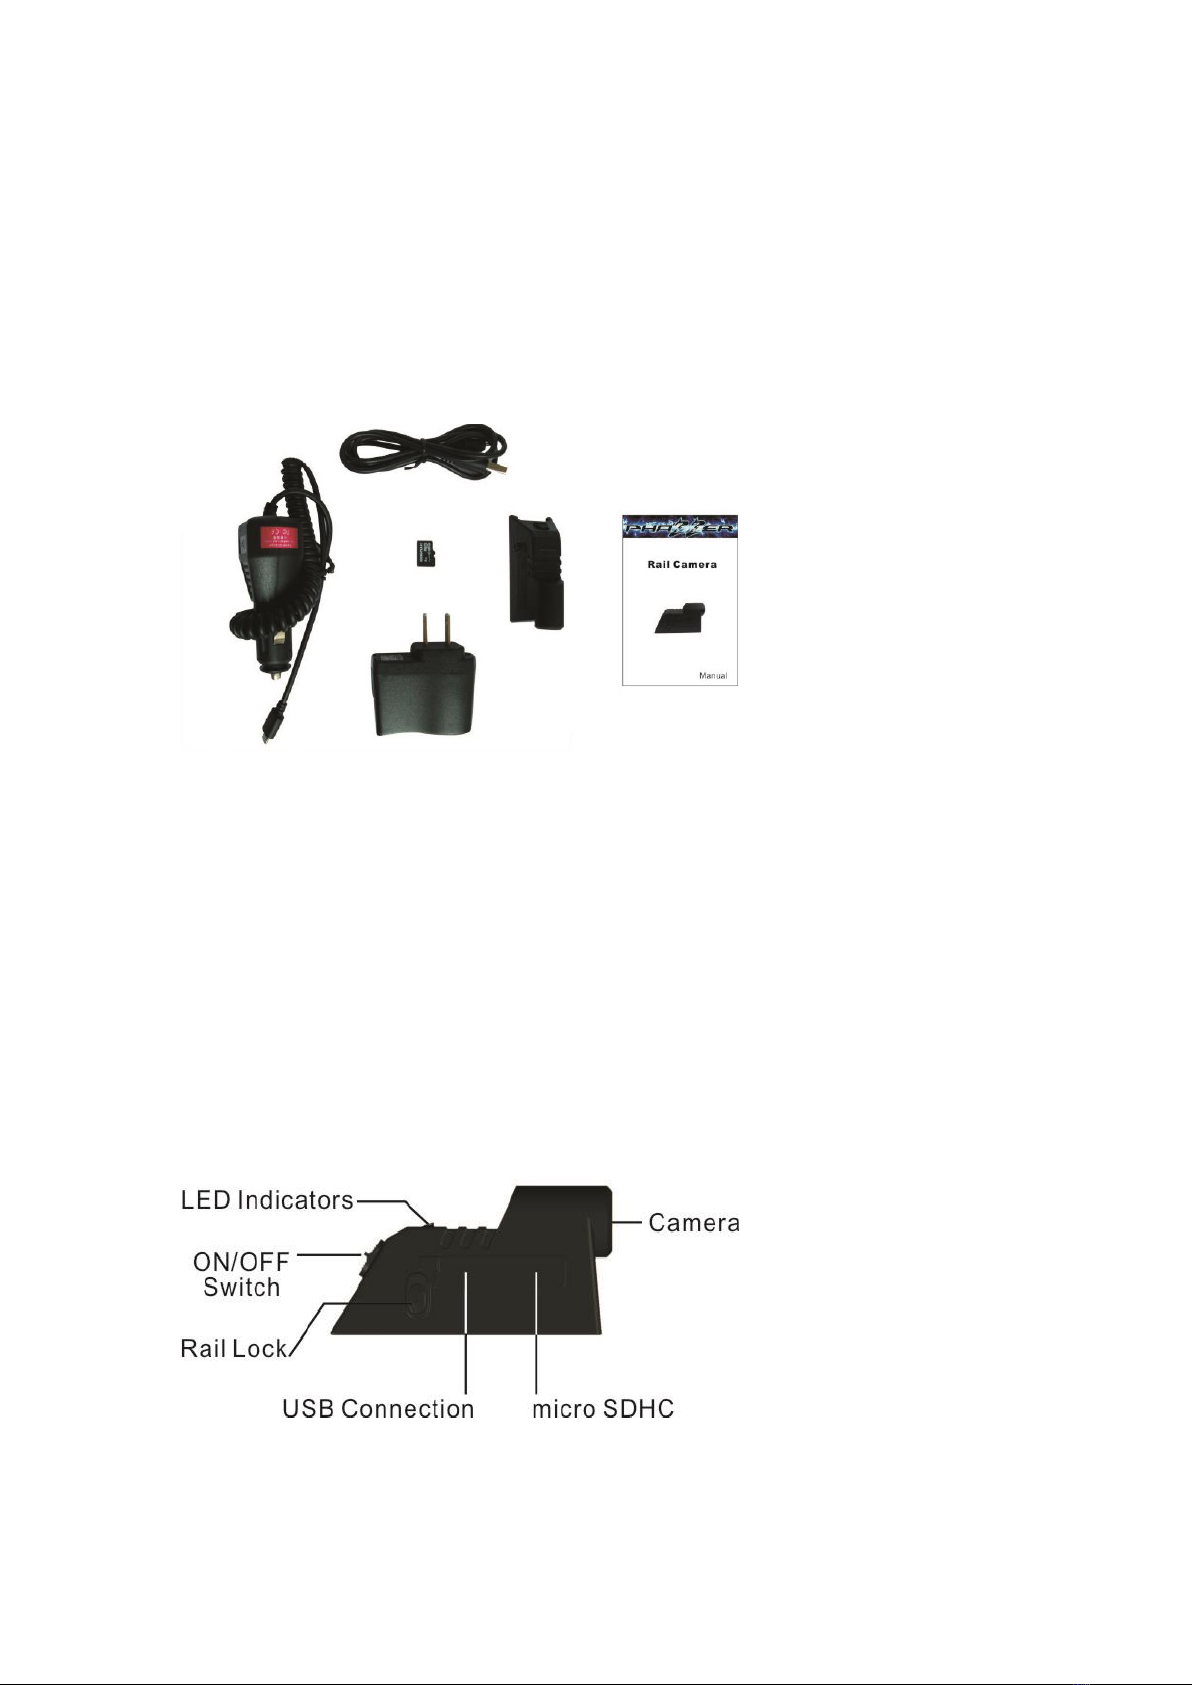
If the micro TF card, boot record is not inserted, the system will show blue flashing
lights Please insert the Micro SD card and recycle the power switch.
To turn on the RailCam, push the power switch on the back of the RailCam up to
the “on” position.
Red and blue lights will flash automatically for 1-2 seconds. When the
indicator lights remains a steady blue, the video recording is in progress。
To save the video, switch the power button to the “off” position. The blue
light will flash three times indicating that the video is saved.
Please note: This system uses continual loop recording.Loop recording means
that the camera continuously records hands-free without stopping. This cameras record video
files in 10 minute intervals until the memory card fills up, then they erase the oldest file and
replace it with the newest file. This means you always have the last 90-120 minutes or more of
video available (the bigger the SD card, the more time you have). The beauty of a loop
recording RailCam is that you never have to touch it until it captures something you want to
save. When an accident or some other event happens, you simply copy the files from the
memory card onto your computer.
7. Downloading Your Videos onto your computer:
For All Operating Systems:
Turn on your computer.
Make sure your Phazzer RailCam™is turned off.
Locate the USB cable that was provided in the packaging. Plug the smaller end of
the cable into the USB connection port on the RailCam.
Connect the other end of the USB cable to your computer.