manuals.online logo
Brands
  1. Home
  2. •
  3. Brands
  4. •
  5. Philips
  6. •
  7. Electric Shaver
  8. •
  9. Philips SmartTouch-XL HQ9020 User manual

Philips SmartTouch-XL HQ9020 User manual

Other manuals for SmartTouch-XL HQ9020

2

Other Philips Electric Shaver manuals

Philips SENSOTEC HQ8893 User manual

Philips

Philips SENSOTEC HQ8893 User manual

Philips qs6161 User manual

Philips

Philips qs6161 User manual

Philips NORELCO AT815 User manual

Philips

Philips NORELCO AT815 User manual

Philips HQ6900 series User m User manual

Philips

Philips HQ6900 series User m User manual

Philips Essence 5000 Series User manual

Philips

Philips Essence 5000 Series User manual
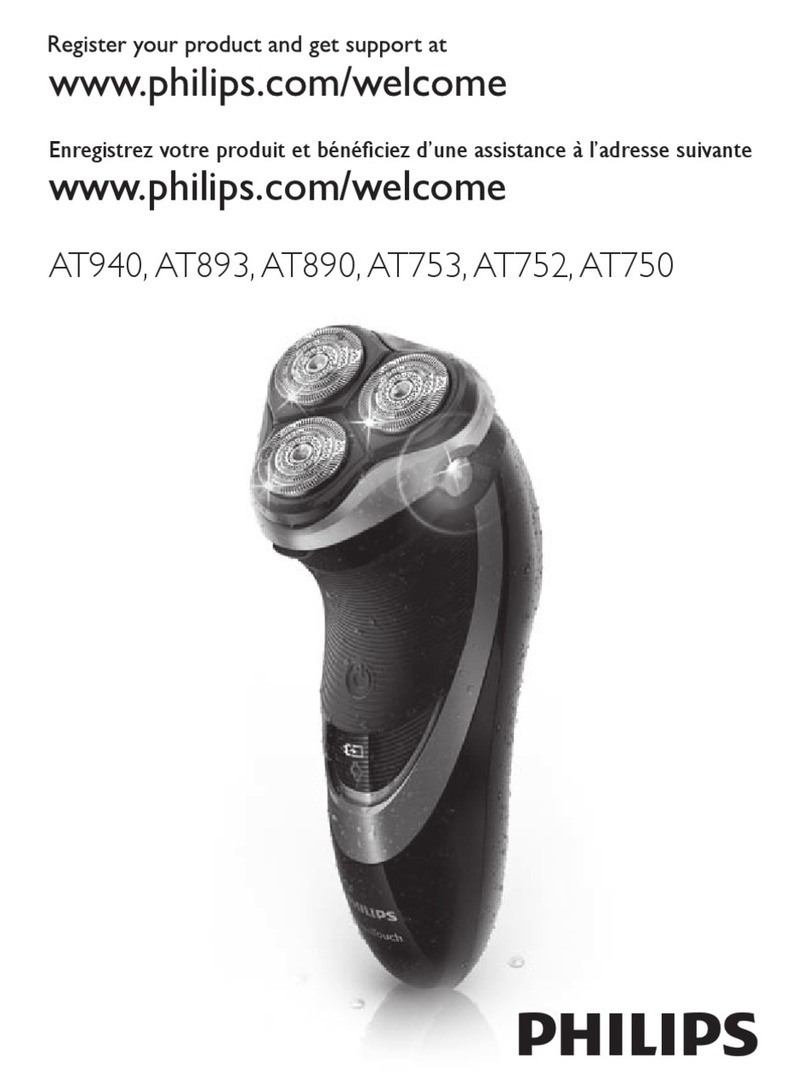
Philips HQ 8870 User manual

Philips

Philips HQ 8870 User manual

Philips Ladyshave softselect HP6322/03 User manual

Philips

Philips Ladyshave softselect HP6322/03 User manual

Philips NORELCO BT1300 User manual

Philips

Philips NORELCO BT1300 User manual

Philips Philishave HQC446/20 User manual

Philips

Philips Philishave HQC446/20 User manual

Philips HS8460 User manual

Philips

Philips HS8460 User manual

Philips RQ1180 User manual

Philips

Philips RQ1180 User manual

Philips AT940 User manual

Philips

Philips AT940 User manual

Philips OneBlade QP2630/30 User manual

Philips

Philips OneBlade QP2630/30 User manual

Philips QC5135 User manual

Philips

Philips QC5135 User manual

Philips SENSOTEC HQ8850 User manual

Philips

Philips SENSOTEC HQ8850 User manual

Philips HQG267 User manual

Philips

Philips HQG267 User manual

Philips AT940 User manual

Philips

Philips AT940 User manual

Philips 163519316 User manual

Philips

Philips 163519316 User manual

Philips PQ208 User manual

Philips

Philips PQ208 User manual

Philips SBT720 User manual

Philips

Philips SBT720 User manual

Philips Norelco QT4050 User manual

Philips

Philips Norelco QT4050 User manual

Philips PQ228 User manual

Philips

Philips PQ228 User manual

Philips HQ6730 User manual

Philips

Philips HQ6730 User manual

Philips Multigroom 3000 Series User manual

Philips

Philips Multigroom 3000 Series User manual

Popular Electric Shaver manuals by other brands

Braun Series 1 manual

Braun

Braun Series 1 manual

Norelco 6885XL manual

Norelco

Norelco 6885XL manual

Saturn ST-HC7398 manual

Saturn

Saturn ST-HC7398 manual

Panasonic ES-LA83 operating instructions

Panasonic

Panasonic ES-LA83 operating instructions

Wahl 9639 manual

Wahl

Wahl 9639 manual

Povos PS1080 operating instructions

Povos

Povos PS1080 operating instructions

Norelco Quadra 7610X owner's manual

Norelco

Norelco Quadra 7610X owner's manual

Braun WaterFlex WF2s manual

Braun

Braun WaterFlex WF2s manual

Daga MT-400 Directions for use

Daga

Daga MT-400 Directions for use

Remington BHT100 user manual

Remington

Remington BHT100 user manual

Kompernass KH 5537 operating instructions

Kompernass

Kompernass KH 5537 operating instructions

Remington BHT6100 manual

Remington

Remington BHT6100 manual

MIA Aqua Body manual

MIA

MIA Aqua Body manual

Matheo MLR 15 manual

Matheo

Matheo MLR 15 manual

Remington XR7000 user manual

Remington

Remington XR7000 user manual

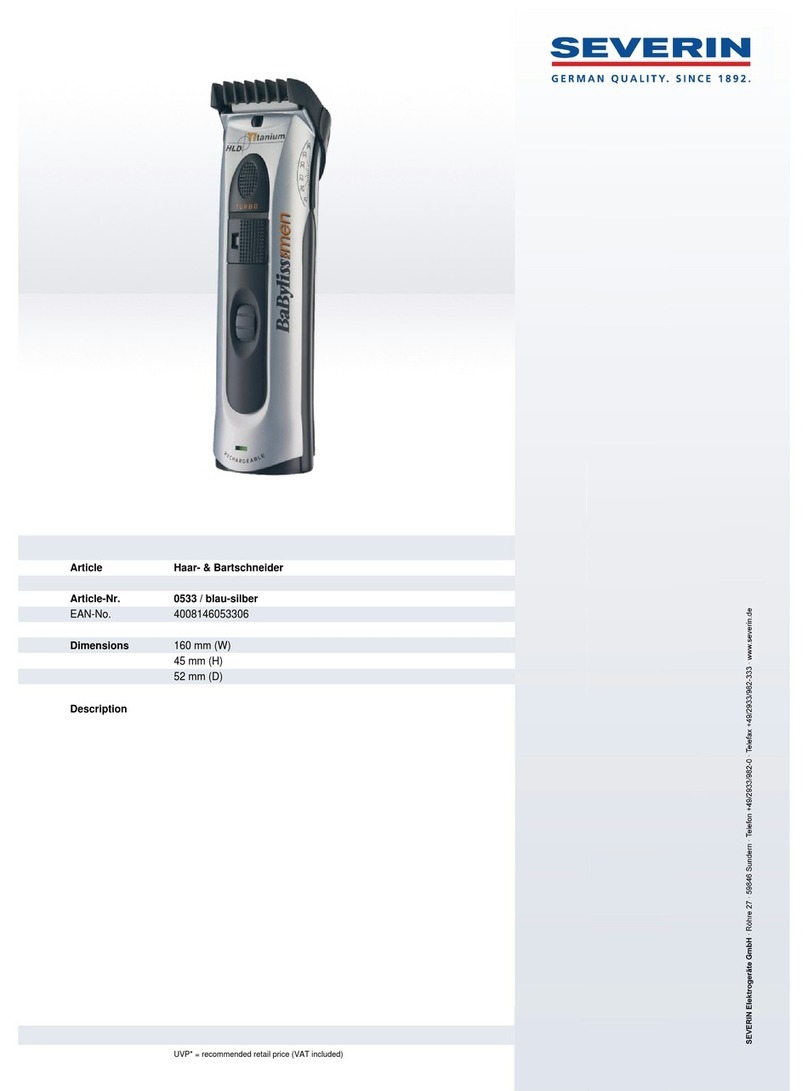
SEVERIN SÉRIE E700 0533 Dimensions

SEVERIN

SEVERIN SÉRIE E700 0533 Dimensions

Wahl 8061 5-STAR operating manual

Wahl

Wahl 8061 5-STAR operating manual

Norelco 4404LC Specifications

Norelco

Norelco 4404LC Specifications

manuals.online logo
manuals.online logoBrands
  • About & Mission
  • Contact us
  • Privacy Policy
  • Terms and Conditions

Copyright 2025 Manuals.Online. All Rights Reserved.

HQ9020
ENGLISH 4
ǍǦǗǏnjǜǝǖǔ 12
Ć(ä7,1$ 20
((67, 28
+59$76., 35
0$*<$5 42
ʘnjǓnjʘǤnj 50
/,(789,ä.$, 59
/$79,(ä8 66
32/6., 73
520Ç1ü 81
ǜǟǝǝǖǔǕ 88
6/29(16.< 96
6/29(1äĆ,1$ 104
6536., 111
ǟǖǜnjDŽǙǝǨǖnj 119
4
Important
Read this user manual carefully before you use the
appliance and save it for future reference.
This appliance is not intended for use by persons
(including children) with reduced physical, sensory
or mental capabilities, or lack of experience
and knowledge, unless they have been given
supervision or instruction concerning use of the
appliance by a person responsible for their safety.
Children should be supervised to ensure that they
do not play with the appliance.
Only use the powerplug supplied.
The powerplug transforms 100-240 volts to a safe
low voltage of less than 24 volts.
The powerplug contains a transformer. Do not cut
off the powerplug to replace it with another plug,
as this causes a hazardous situation.
Do not use a damaged powerplug.
If the powerplug is damaged, always have it
replaced with one of the original type in order to
avoid a hazard.
Store the appliance at a temperature between
5°C and 35°C.
Make sure the powerplug does not get wet.
Always unplug the shaver before cleaning it under
the tap.
The appliance complies with the internationally
approved IEC safety regulations and can be safely
cleaned under the tap.
Be careful with hot water. Always check if the water
is not too hot, to prevent your hands from getting
burnt.
Noise level: Lc = 61dB(A)
-
-
-
-
-
-
-
-
-
-
-
-
ENGLISH
(OHFWURPDJQHWLFÀHOGV(0)
This Philips appliance complies with all standards
UHJDUGLQJHOHFWURPDJQHWLFÀHOGV(0),IKDQGOHG
properly and according to the instructions in this
user manual, the appliance is safe to use based on
VFLHQWLÀFHYLGHQFHDYDLODEOHWRGD\
8VLQJWKHDSSOLDQFH
6KDYLQJ
1Put the appliance plug in the shaver.
2Put the powerplug in the wall socket.
3Press the on/off button once to switch on the
shaver.
The light ring goes on.
4Move the shaving heads quickly over your skin,
making both straight and circular movements.
Shaving on a dry face gives the best results.
Your skin may need 2 or 3 weeks to get accustomed
to the Philips shaving system.
5Press the on/off button once to switch off the
shaver.
6Put the protection cap on the shaver every
time you have used it, to prevent damage.
7ULPPLQJ
)RUJURRPLQJVLGHEXUQVDQGPRXVWDFKH
1Open the trimmer by pushing the slide
upwards.
The trimmer can be activated while the motor is
running.
ENGLISH 5
&OHDQLQJDQGPDLQWHQDQFH
Regular cleaning guarantees better shaving
performance.
The easiest and most hygienic way to clean the
appliance is to rinse the shaving unit and the hair
chamber with hot water every time you have used
the appliance.
Be careful with hot water.Always check if the
water is not too hot, to prevent your hands from
getting burnt.
(YHU\GD\VKDYLQJXQLWDQGKDLUFKDPEHU
1Switch off the shaver, remove the powerplug
from the wall socket and pull the appliance plug
out of the shaver.
2Press the release button (1) and open the
shaving unit (2).
3Clean the shaving unit and the hair chamber by
rinsing them under a hot tap for some time.
Make sure the inside of the shaving unit and the hair
chamber have been cleaned properly.
4Rinse the outside of the appliance.
5Close the shaving unit and shake off excess
water.
Never dry the shaving unit with a towel or tissue,
as this may damage the shaving heads.
ENGLISH6
6Open the shaving unit again and leave it open
to let the appliance dry completely.
You can also clean the hair chamber without water
by using the brush supplied.
(YHU\VL[PRQWKVVKDYLQJKHDGV
1Open the shaving unit, pull it off the shaver and
remove the retaining frame.
2Clean the cutters and guards with the brush
supplied.
Do not clean more than one cutter and guard
at a time, since they are all matching sets. If you
accidentally mix up the cutters and guards, it
may take several weeks before optimal shaving
performance is restored.
3Put the shaving heads back into the shaving
unit. Put the retaining frame back into the
shaving unit.
Make sure that the projections of the shaving heads
ÀWLQWRWKHUHFHVVHV
4Put the shaving unit back onto the shaver and
close it.
7ULPPHU
Clean the trimmer every time you have used it.
1Switch off the shaver, remove the powerplug
from the wall socket and pull the appliance plug
out of the shaver.
ENGLISH 7
2Clean the trimmer with the brush supplied.
3Lubricate the trimmer teeth with a drop of
sewing machine oil every six months.
Storage
Put the protection cap on the shaver to prevent
damage.
Store the appliance in the luxury pouch or place
the appliance in the stand.
Replacement
Replace the shaving heads every two years for
optimal shaving results.
Replace damaged or worn shaving heads with HQ9
Philips SmartTouch shaving heads only.
1Switch off the shaver, remove the powerplug
from the wall socket and pull the appliance plug
out of the shaver.
,
,
ENGLISH8
2Open the shaving unit and remove the
retaining frame.
You can also remove the shaving unit by pulling it off
the shaver.
3Remove the shaving heads and place new ones
in the shaving unit. Put the retaining frame back
into the shaving unit.
Make sure that the projections of the shaving heads
ÀWLQWRWKHUHFHVVHV
4Close the shaving unit.
$FFHVVRULHV
The following accessories are available:
HQ8500/HQ8000 powerplug
HQ9 SmartTouch shaving heads
HQ110 Philips Shaving Head Cleaning Spray
(QYLURQPHQW
Do not throw away the appliance with the
normal household waste at the end of its life,
EXWKDQGLWLQDWDQRIÀFLDOFROOHFWLRQSRLQWIRU
recycling. By doing this, you help to preserve the
environment.
*XDUDQWHHVHUYLFH
If you need information or if you have a problem,
please visit the Philips website at www.philips.com
or contact the Philips Customer Care Centre
LQ\RXUFRXQWU\\RXÀQGLWVSKRQHQXPEHULQ
WKHZRUOGZLGHJXDUDQWHHOHDÁHW,IWKHUHLVQR
Customer Care Centre in your country, go to
-
-
-
,
ENGLISH 9
your local Philips dealer or contact the Service
Department of Philips Domestic Appliances and
Personal Care BV.
*XDUDQWHHUHVWULFWLRQV
The shaving heads (cutters and guards) are not
covered by the terms of the international guarantee
because they are subject to wear.
7URXEOHVKRRWLQJ
1Reduced shaving performance.
Cause 1: the shaving heads are dirty.The shaver
has not been rinsed long enough or the water
used was not hot enough.
Clean the shaver thoroughly before you continue
shaving. See chapter ‘Cleaning and maintenance’.
Cause 2: long hairs are obstructing the shaving
heads.
Clean the cutters and guards with the brush
supplied. See chapter ‘Cleaning and maintenance’,
section ‘Every six months: shaving heads’.
Cause 3: the shaving heads are damaged or worn.
Replace the shaving heads. See chapter
‘Replacement’.
2The shaver does not work when the on/off
button is pressed.
Cause: the appliance is not connected to the
mains.
Put the powerplug in the wall socket.
Never wipe the shaving unit with a towel or a
tissue, as this could damage the shaving heads.
3The shaving unit has come off the shaver.
Cause: the shaving unit has not been placed
correctly.
-
-
-
-
-
ENGLISH10
If the shaving unit becomes detached from the
shaver, the unit can be easily put back on the shaver
again.
ENGLISH 11
12
ǎǬDzǹǺ
ǜǽDzDZǵDZǭǵǴǼǻǸǴǯǭǿDzȀǽDzDZǭǼǽǻȄDzǿDzǿDz
ǯǺǵǹǭǿDzǸǺǻǿǻǯǭǽȇǷǻǯǻDZǾǿǯǻǴǭDzǷǾǼǸǻǭǿǭȃǵȌǵ
ǰǻǴǭǼǭǴDzǿDzǴǭǾǼǽǭǯǷǭǯǮȇDZDzȆDz
ǟǻǴǵȀǽDzDZǺDzDzǼǽDzDZǺǭǴǺǭȄDzǺǴǭǼǻǸǴǯǭǺDzǻǿ
ȂǻǽǭǯǷǸȋȄǵǿDzǸǺǻDZDzȃǭǾǺǭǹǭǸDzǺǵȁǵǴǵȄDzǾǷǵ
ȀǾDzȆǭǺǵȌǵǸǵȀǹǾǿǯDzǺǵǺDzDZȇǴǵǵǸǵǮDzǴǻǼǵǿǵ
ǼǻǴǺǭǺǵȌǭǷǻǾǭǻǾǿǭǯDzǺǵǮDzǴǺǭǮǸȋDZDzǺǵDzǵǺDz
ǾǭǵǺǾǿǽȀǷǿǵǽǭǺǵǻǿǾǿǽǭǺǭǺǭǻǿǰǻǯǭǽȌȆǻǴǭ
ǿȌȂǺǭǿǭǮDzǴǻǼǭǾǺǻǾǿǸǵȃDzǻǿǺǻǾǺǻǺǭȄǵǺǭǺǭ
ǵǴǼǻǸǴǯǭǺDzǺǭȀǽDzDZǭ
ǚǭǰǸDzdzDZǭǶǿDzDZDzȃǭǿǭǴǭDZǭǺDzǾǵǵǰǽǭȌǿǾȀǽDzDZǭ
ǕǴǼǻǸǴǯǭǶǿDzǾǭǹǻDZǻǾǿǭǯDzǺǵȌǾǷǻǹǼǸDzǷǿǭ
ȆDzǼǾDzǸ
ǦDzǼǾDzǸȇǿǿǽǭǺǾȁǻǽǹǵǽǭǯǻǸǿǭDZǻ
ǮDzǴǻǼǭǾǺǻǺǵǾǷǻǺǭǼǽDzdzDzǺǵDzǼǻDZǯǻǸǿǭ
ǏǴǭȂǽǭǺǯǭȆǵȌȆDzǼǾDzǸǵǹǭǿǽǭǺǾȁǻǽǹǭǿǻǽǚDz
ǻǿǽȌǴǯǭǶǿDzȆDzǼǾDzǸǭǴǭDZǭǰǻǴǭǹDzǺǵǿDzǾDZǽȀǰ
ǴǭȆǻǿǻǿǻǯǭȆDzDZǻǯDzDZDzDZǻǻǼǭǾǺǭǾǵǿȀǭȃǵȌ
ǚDzǵǴǼǻǸǴǯǭǶǿDzǼǻǯǽDzDZDzǺȆDzǼǾDzǸ
ǍǷǻǴǭȂǽǭǺǯǭȆǵȌǿȆDzǼǾDzǸǾDzǼǻǯǽDzDZǵǯǵǺǭǰǵ
ǿǽȌǮǯǭDZǭǻǾǵǰȀǽȌǯǭǿDzǴǭǹȌǺǭǿǭǹȀǾǿǭǷȇǯǻǿ
ǻǽǵǰǵǺǭǸǺǵȌǿǵǼǴǭDZǭǾDzǵǴǮDzǰǺDzǻǼǭǾǺǻǾǿ
ǞȇȂǽǭǺȌǯǭǶǿDzȀǽDzDZǭǼǽǵǿDzǹǼDzǽǭǿȀǽǭǹDzdzDZȀ
&ǵ&
ǏǺǵǹǭǯǭǶǿDzȆDzǼǾDzǸȇǿDZǭǺDzǾDzǹǻǷǽǵ
ǏǵǺǭǰǵǵǴǯǭdzDZǭǶǿDzȆDzǼǾDzǸǭǺǭ
ǾǭǹǻǮǽȇǾǺǭȄǷǭǿǭǻǿǷǻǺǿǭǷǿǭǼǽDzDZǵDZǭȌ
ǹǵDzǿDzǼǻDZǿDzȄǭȆǭǯǻDZǭ
ǠǽDzDZȇǿǾȇǻǿǯDzǿǾǿǯǭǺǭǹDzdzDZȀǺǭǽǻDZǺǻ
ǻDZǻǮǽDzǺǭǿǭǺǻǽǹǭǿǵǯǺǭȀǽDzDZǮǭǴǭǮDzǴǻǼǭǾǺǻǾǿ
,(&ǵǹǻdzDzDZǭǾDzǼǻȄǵǾǿǯǭǮDzǴǻǼǭǾǺǻǼǻDZ
ȄDzȅǹǭǿǭ
ǏǺǵǹǭǯǭǶǿDzǾǰǻǽDzȆǭǿǭǯǻDZǭǏǵǺǭǰǵ
ǼǽǻǯDzǽȌǯǭǶǿDzDZǭǸǵǯǻDZǭǿǭǺDzDzǼǽDzǷǭǸDzǺǻ
ǰǻǽDzȆǭǴǭDZǭǼǽDzDZǼǭǴǵǿDzǽȇȃDzǿDzǾǵǻǿǵǴǰǭǽȌǺDz
-
-
-
-
-
-
-
-
-
-
-
ǍǦǗǏnjǜǝǖǔ