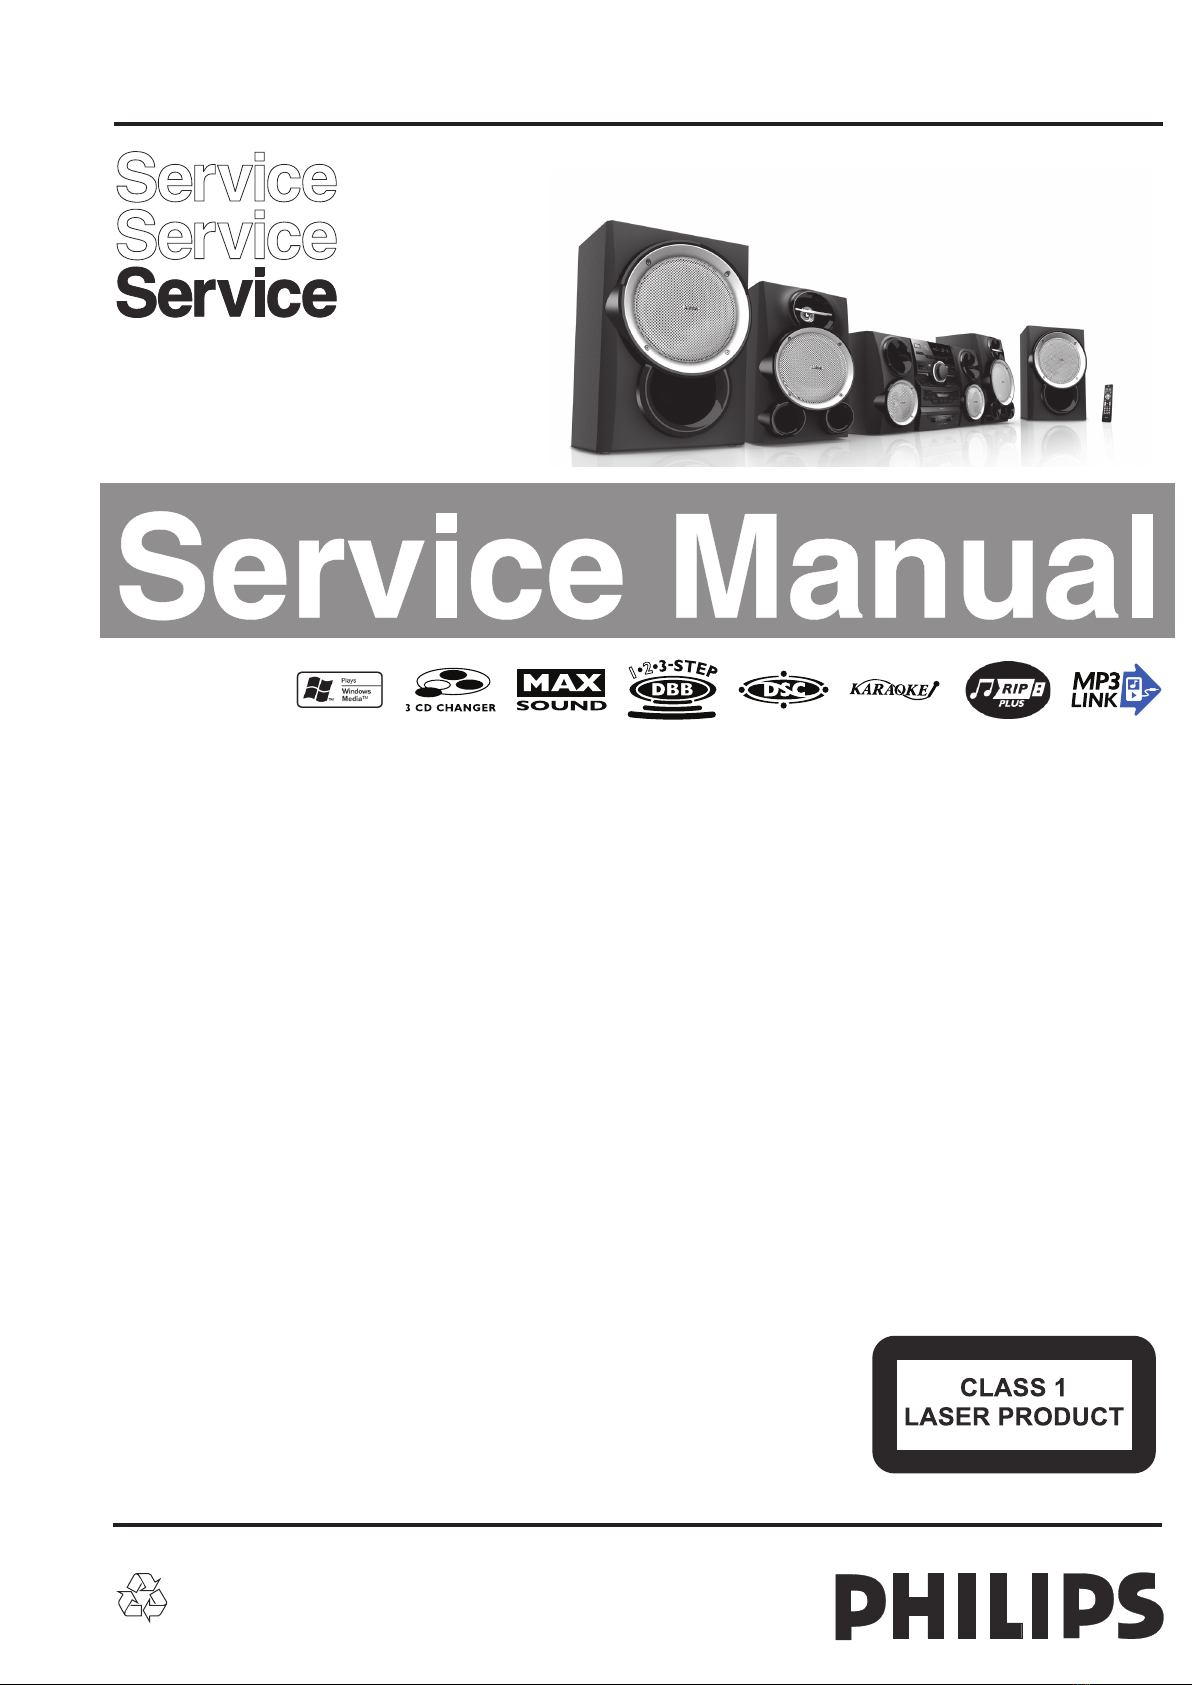
Sound
• Output Power: 14000W PMPO
• Total Sound Power (RMS): 1300 W
• Sound Enhancement: MAX Sound, Dynamic Bass
Boost 3 steps, Incredible Surround, Digital Sound
Control 4 modes, Virtual Ambience Control
Loudspeakers
• Main Speaker: Bass Reflex Speaker System, 2 way,
2" tweeter
• Subwoofer type: Passive
• Subwoofer driver: 10" woofer
• Number of Loudspeakers: 6
Audio Playback
• Loader Type: 3 CD Carousel
• Number of Discs: 3
• Playback Media: CD, CD-R, CD-RW, MP3-CD,
WMA-CD, SD Card, USB flash drive
• Disc Playback Modes: 40-Track Programmable,
Repeat/one/disk/program, Shuffle Play
• USB Direct / SD Modes: Fast Backward/Fast
Forward, Play/Pause, Previous/Next, Repeat,
Shuffle
Audio Recording
• Recording Media: USB device, SD/MMC card
• USB recording sources: CD, Tuner, Aux,
Microphone in, SD Card
• SD card recording sources: Aux, CD, Microphone
in, Tuner, USB device
• USB / SD card recording modes: Delete, Instant
record, Progammed tracks, Schedule radio
program, Single disc, Single track
Tuner/Reception/Transmission
• Auto digital tuning
• Station presets: 40
• Tuner Bands: FM, MW
• Tuner Enhancements: Auto Store, Easy Set (Plug &
Play)
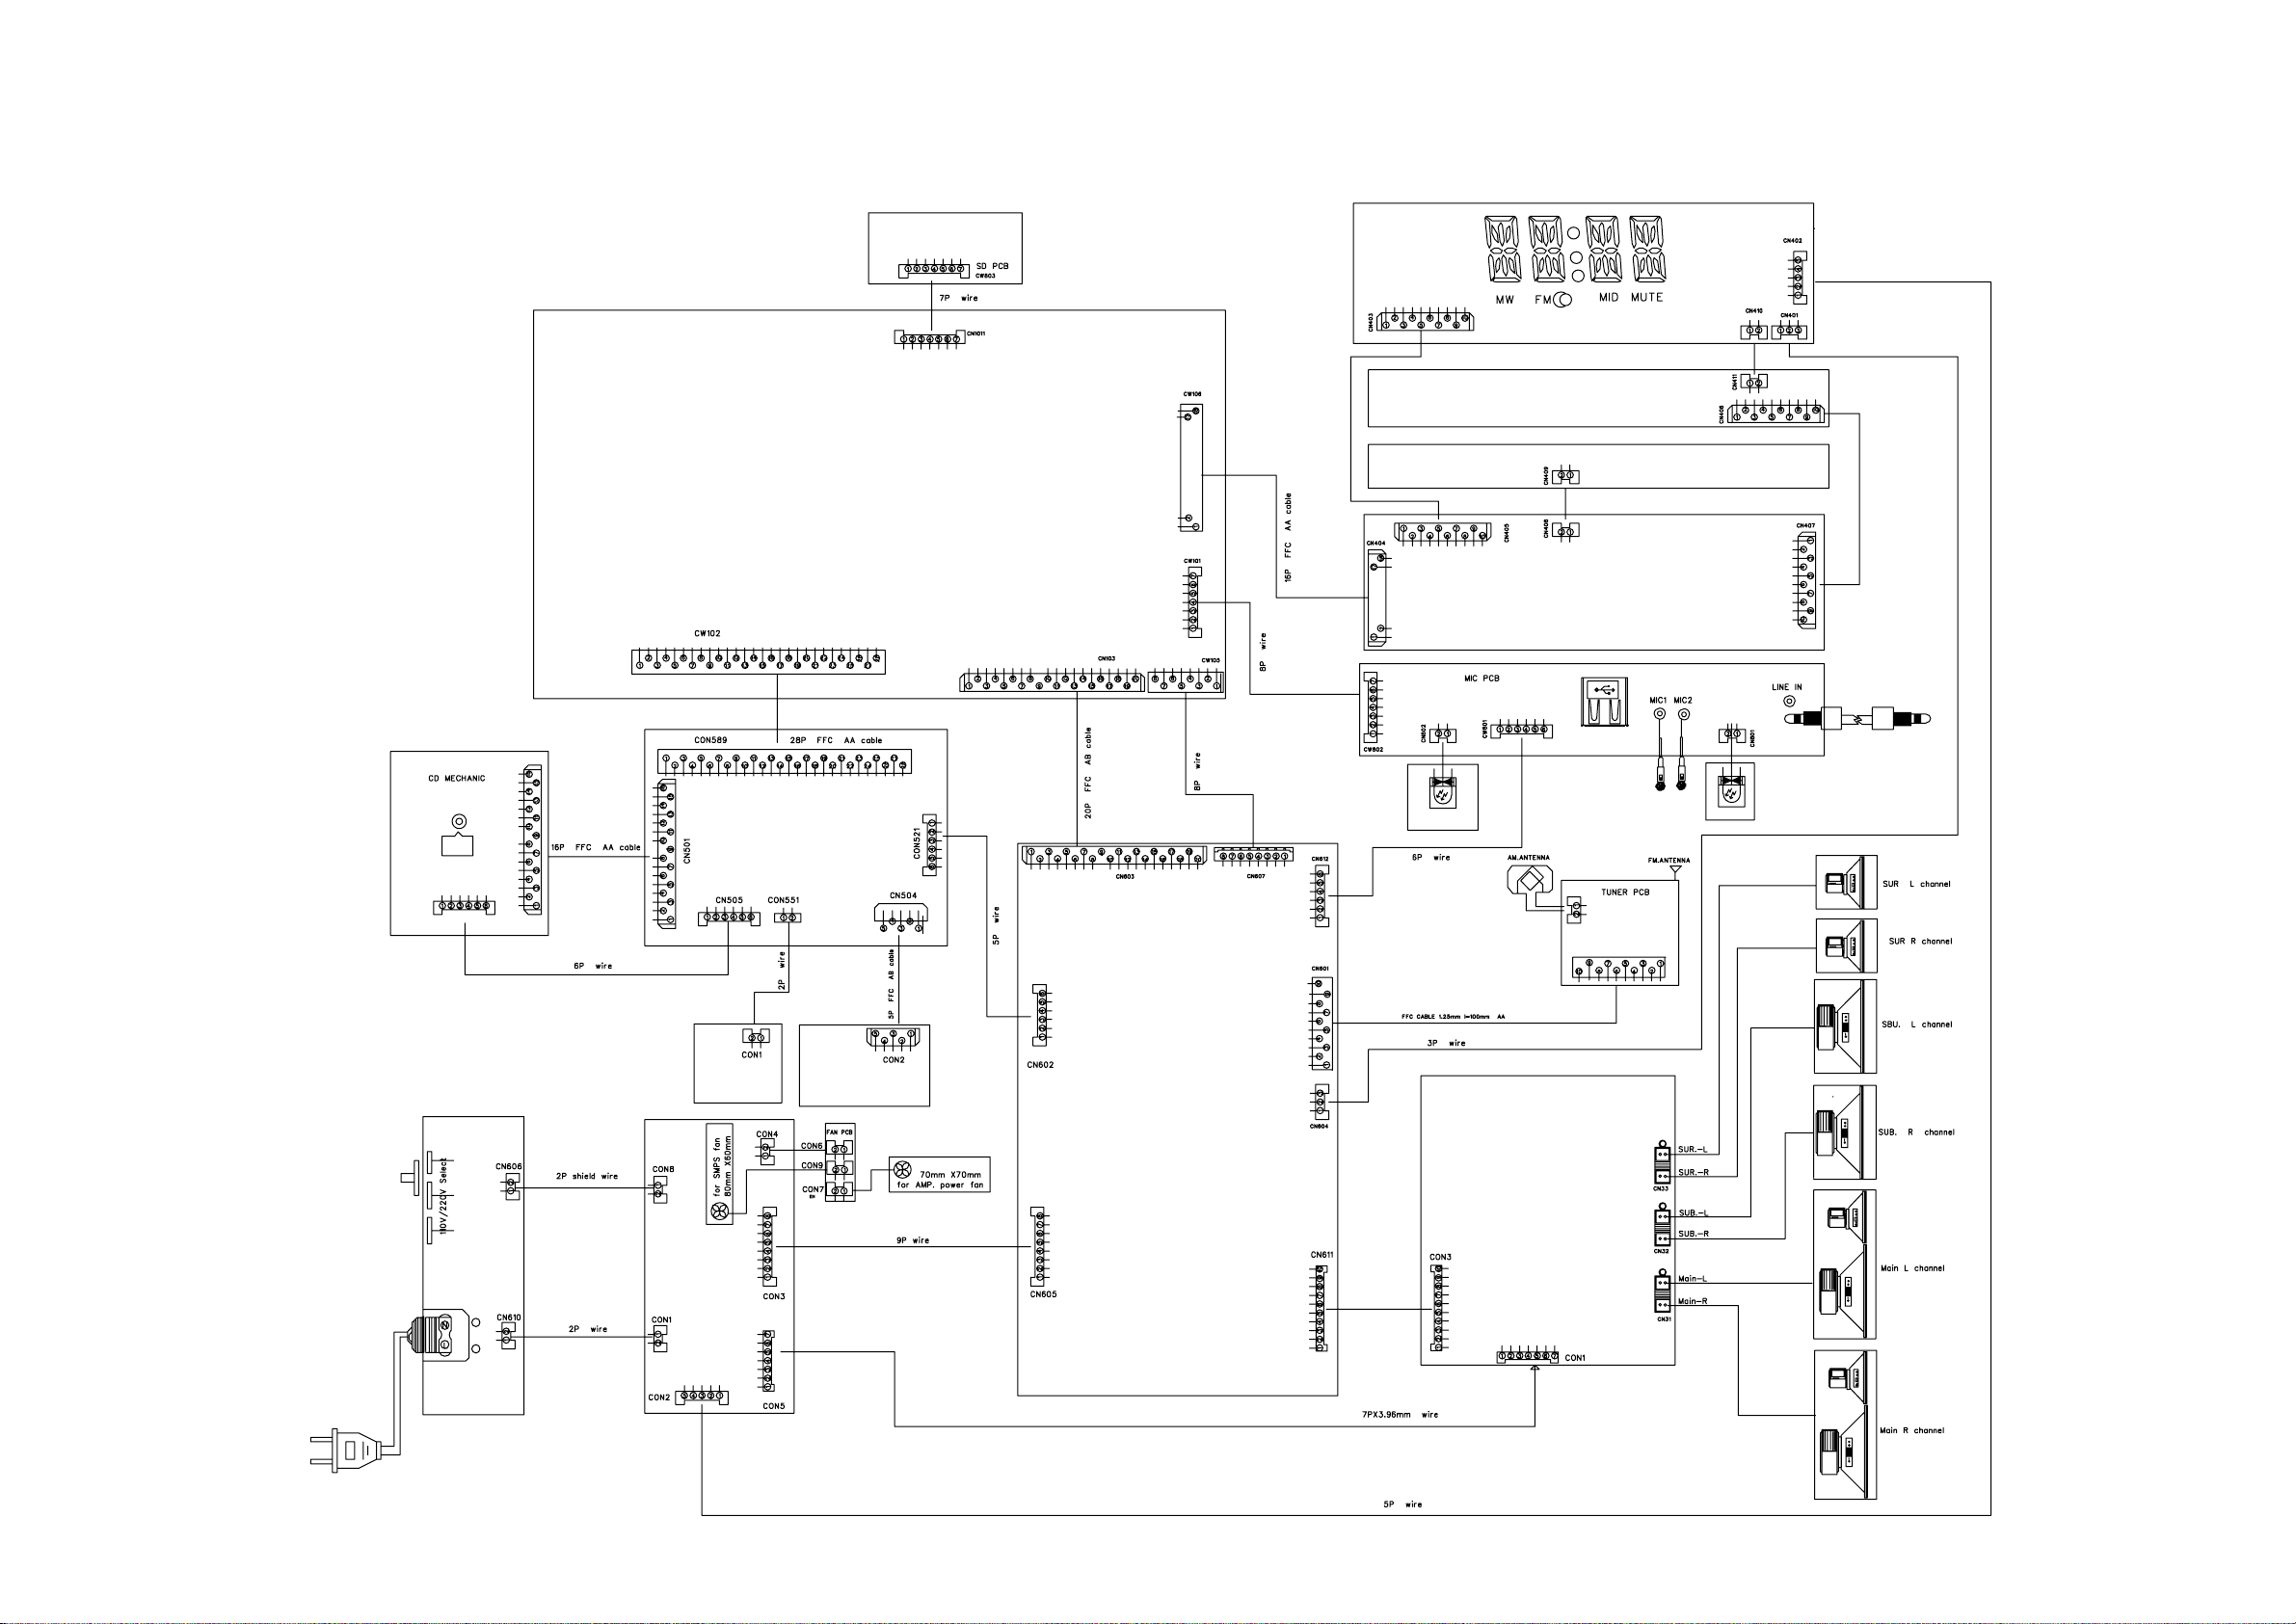
Connectivity
• Audio Connections: RCA Aux in, 3.5mm stereo
line in -MP3 link
• USB: USB host
• Microphone: Dual Microphone sockets
• Other connections: FM Antenna, MW Antenna
Convenience
• Alarms: CD Alarm, Radio Alarm, USB alarm, Sleep
timer
• Clock: On main display
• Display Type: FTD
• Karaoke: MIC volume, Echo control
Accessories
• Remote control: 36-key with 2xAAA batteries
• User Manual: Spanish, B-Portuguese
• Guarantee booklet: Global version
• Included accessories: FM/MW Antenna, Batteries
for remote control, *Flat pin adaptor
• Quick start guide: Spanish, B-Portuguese
• Cables: MP3 Line in cable
Dimensions
• Set dimensions (W x H x D): 265 x 359 x 353 mm
• Main speaker dimensions (W x H x D):
263 x 447 x 360 mm
• Subwoofer dimensions (W x H x D):
337 x 491 x 360 mm
• Surround Speaker dimensions (W x H x D):
208 x 359 x 301 mm
• Weight incl. Packaging: 51.57 kg
• Packaging dimensions (W x H x D):
1085 x 562 x 786 mm
Power
• Power supply: 100-240VAC, 50/60Hz
•