manuals.online logo
Brands
  1. Home
  2. •
  3. Brands
  4. •
  5. Philips
  6. •
  7. Projection TV
  8. •
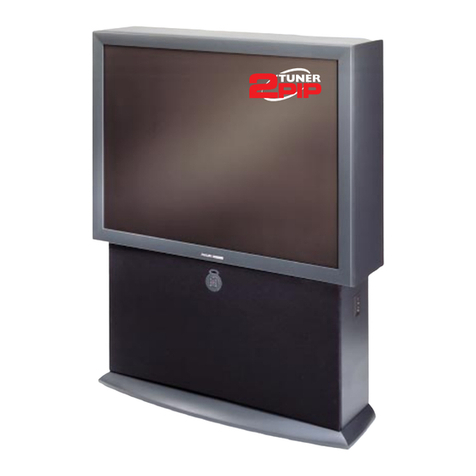
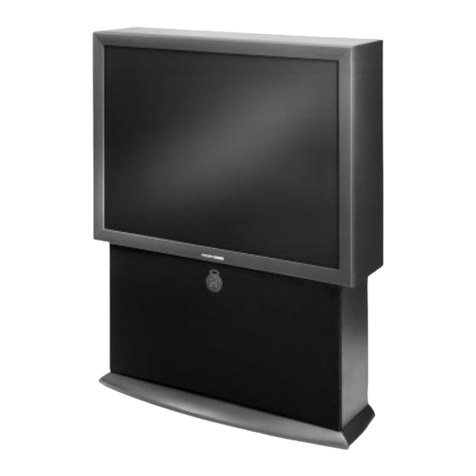
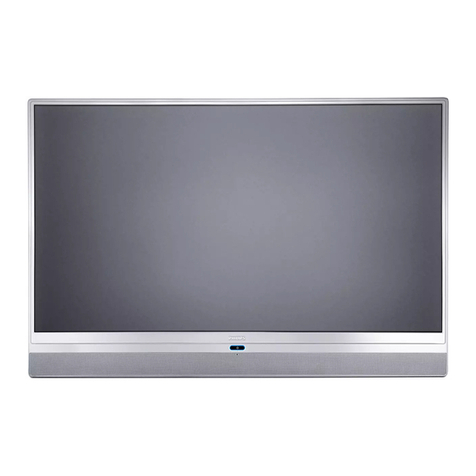
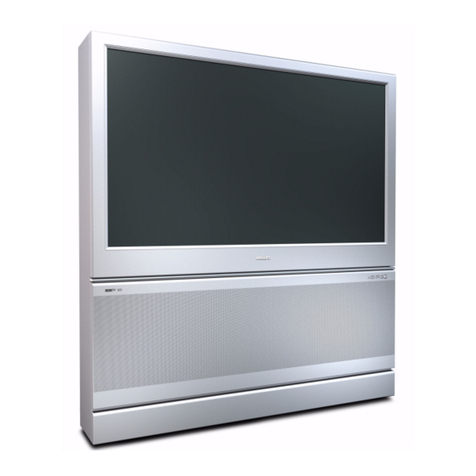
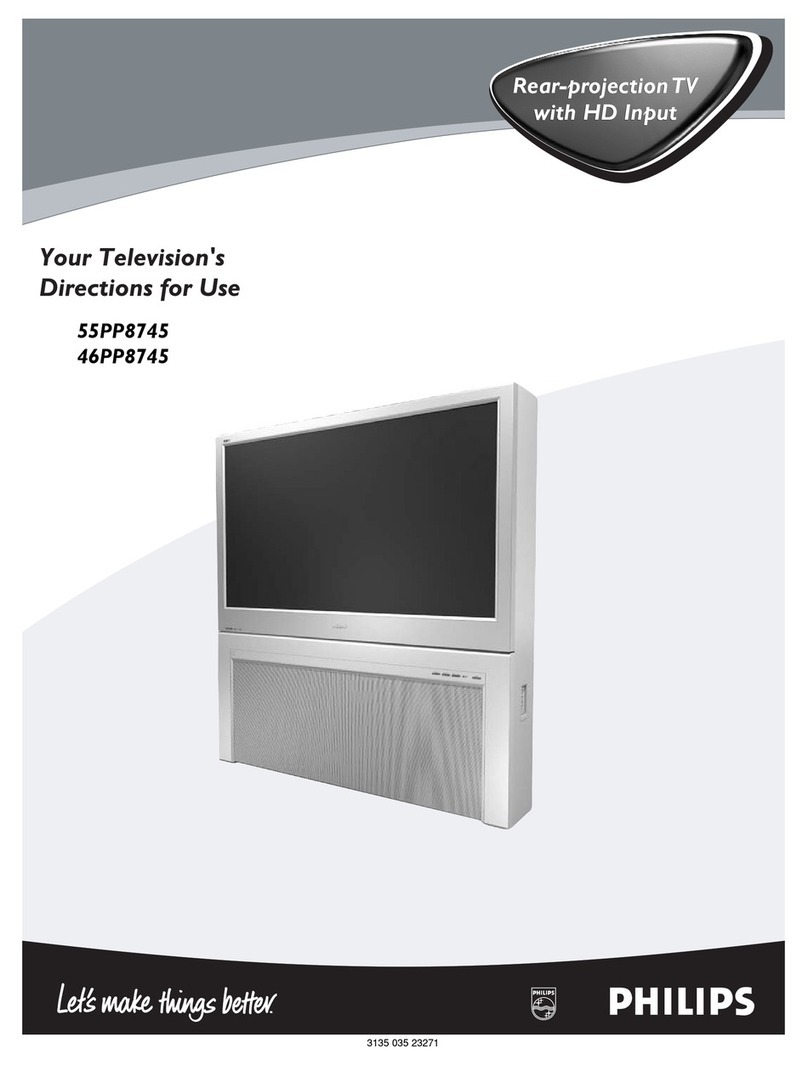
  9. Philips Magnavox 9P5514C Operating manual

Philips Magnavox 9P5514C Operating manual

SET-UP AND QUICK USE GUIDE
TABLE OF CONTENTS
Getting Started
Warning/Precautions..................................1
Hooking Up Your TV ................................................1
How to Use the First Time Set-Up ...........................2
Basic TV and Remote Control Operation .................3
How to Use the On-Screen Menu Controls...............4
12 1
2
3
4
5
6
7
8
9
10
11
• For details on product registration, warranty, and
service refer to the other literature included with your
TV information packet.
Please retain all these materials and keep them handy
for future reference.
REARSURROUNDSPEAKERS
VIDEOOUT
AUDIOOUT
+–+
–
RL
L
R
FIXED
VAR
ANTA/CABLE
75VUHF/VHF
Y
INPUTS
P
B
P
R
S-VIDEO
VIDEO
AUDIO
AUX1 AUX2
R
L
IN
OUT
VIDEO OUT
AUDIO OUT
L
R
FIXED
VAR
ANTA/CABLE
75 VUHF/VHF
INPUTS
VIDEO
AUDIO
AUX 1 AUX 2
R
L
Your Cable TV input
into your home may be
a single (75 ohm) cable, or
a Converter Box installa-
tion. In either case the
connection to the TV is
very easy. Just put the
threaded end of the cable
signal to the TV's antenna
plug and screw it down
tight.
CABLE TV
CABLE INPUT/CONVERTER
REARSURROUNDSPEAKERS
VIDEOOUT
AUDIOOUT
+–+
–
RL
L
R
FIXED
VAR
ANTA/CABLE
75VUHF/VHF
Y
INPUTS
P
B
P
R
S-VIDEO
VIDEO
AUDIO
AUX1 AUX 2
R
L
OR
OUT TO TV
IN FROM ANT.
The basic Antenna, or
Cable TV, to VCR to
TV connection is shown to
the right. For more infor-
mation on other hookups
(possible when Cable
Converter/Descrambler
boxes are included) refer
to your accessory VCR
and Cable Converter
Owner's Manual for
details.
VCR TO TV
BASIC CONNECTION
If your Cable TV sig-
nal is a single round cable (75
ohm) then you're ready to con-
nect to the TV.
If you have a Cable TV
Converter Box:
Connect the Cable TV signal to
the Cable Signal IN(put) plug
on the Converter.
Connect the Cable TV
cable to the ANTENNA plug
on the TV.
If you have a Cable TV
Converter Box:
Connect the OUT(put) plug
from the Converter to the
ANTENNA plug on the TV
(connecting cable supplied with
the Converter).
2
BEGIN
1
Connect your
Antenna or Cable TV signal
to the IN FROM ANT(enna)
plug on the VCR.
Connect the OUT TO TV
plug on the VCR to the
ANTENNA plug on the TV
(connecting cable supplied
with the VCR).
2
BEGIN
1
Back of TV
Round Cable
75ΩOhm
Cable TV Converter
Box Connection
Cable TV
Company
Remember,
set the TV for the
type signal you've
just connected (see
page 2 of this Set-
Up Guide.)
Your TV can set
itself to select only
the channel numbers
on your Cable sys-
tem (see “Setup"
page 2). If you use a
Cable Converter box,
set the TV to the
same channel as the
converter's CH 3/4
switch (on the rear of
the converter.)
SMART
HELP
Cable TV Signal
STOP
Round Cable
75ΩSupplied with VCR
VCR
Outdoor VHF/UHF
Antenna 300 to 75ΩOhm
Adapter
Cable TV signal
Back of TV
Refer to the Owner's
Manual included with your
VCR for other possible con-
nections and TV/VCR operat-
ing details.
3
STOP
OR
REARSURROUNDSPEAKERS
VIDEOOUT
AUDIOOUT
+–+
–
RL
L
R
FIXED
VAR
ANTA/CABLE
75VUHF/VHF
Y
INPUTS
P
B
P
R
S-VIDEO
VIDEO
AUDIO
AUX1 AUX2
R
L
VIDEO OUT
AUDIO OUT
L
R
FIXED
VAR
ANTA/CABLE
75 VUHF/VHF
INPUTS
VIDEO
AUDIO
AUX 1 AUX 2
R
L
Acombination (outdoor
or indoor) antenna
receives normal broadcast
channels 2-13 (VHF) and
14-69 (UHF). Your con-
nection to such an antenna
is easy since there is only
one antenna plug (75Ω-
ohm) on the back of your
TV - and that’s where the
antenna goes.
ANTENNA
OUTDOOR/INDOOR Remember,
be sure to set the
TV for the type sig-
nal you've connect-
ed (see "SETUP"
on page 2 of this
Guide.)
To order any
optional accessory
contact your dealer
or call the toll-free
accessory ordering
number (1-800-851-
8885).
SMART
HELP
If your antenna has a
round cable connector (75
ohm) on the end, then you're
ready to connect it to the TV.
If your antenna has flat twin-
lead wire (300 ohm), you first
need to attach the antenna wires
to the screws on a 300 to 75
ohm adapter.
Push the round end of the
adapter (or antenna) onto the
ANTENNA plug on the rear of
the TV. If the round end of the
antenna wire is threaded, screw
it down tight.
2
STOP
300 to 75Ω
Adapter
(483521827003)
Twin Lead
Wire
Back of TV
BEGIN
1
Note: For homes with separate UHF and VHF anten-
nas you will need an optional combiner to connect to
the TV.
VHFV
VHF
UHF
300Ω
75-300 ΩADAPTER
OR
REARSURROUNDSPEAKERS
VIDEOOUT
AUDIOOUT
+–+
–
RL
L
R
FIXED
VAR
ANTA/CABLE
75VUHF/VHF
Y
INPUTS
P
B
P
R
S-VIDEO
VIDEO
AUDIO
AUX1 AUX 2
R
L
U/V Combiner
75-300 Ohm Adapter
Round Cable
75ΩOhm
Combination VHF/UHF Antenna
(Outdoor or Indoor)
Back of TV
Projection Television and Remote Control
OR
WARNING: TO PREVENT FIRE OR SHOCK
HAZARD DO NOT EXPOSE THIS UNIT TO
RAIN OR EXCESSIVE MOISTURE.
NOTE: This owner's manual is used with several different
television models. Not all features (and drawings) dis-
cussed in this manual will necessarily match those found
with your television set. This is normal and does not
require you contacting your dealer or requesting service.
1 - 3135 015 15241
Many of the current TV
control settings will be
modified by continuing
with First-Time Setup.
Press STATUS/EXIT to Quit
or
Press "M" to Continue
OR
System is testing for
correct tuning mode
for ANTENNA.
* Please Wait *
1
Please check that your
antenna or cable is
connected to the plug
marked ANT/CABLE on
the TV rear input panel.
Press STATUS/EXIT to Quit
or
Press "M" to Continue
The search for active
channels is complete.
17 channels were found
and saved in memory.
.
Press "M" to Continue
System is searching for
all active channels
for ANTENNA.
* Please Wait *
Testing channel 2
in cable mode.
This TV contains a clock
which can automatically
be set through the
SMART CLOCK feature.
The clock will be set
to the time broadcast
by certain TV stations.
Press "M" to Continue
Please check TV clock and
adjust if necessary.
The time is currently
set to PM
12 : 00
Please enter current time
or
Press "M" to Continue
Do you want to set the
clock automatically?
Press "▲ ▼" to Select
Press "M" to Continue
SET TIME AUTOMATICALLY
SET TIME MANUALLY
Do you want to set the
clock automatically?
Press "▲ ▼" to Select
Press "M" to Continue
SET TIME AUTOMATICALLY
SET TIME MANUALLY
Press "▲ ▼" to select the
time zone that you live in.
Press "M" to Continue
ATLANTIC
EASTERN
CENTRAL
MOUNTAIN
PACIFIC
ALASKA
HAWAII
Do you observe
Daylight Savings Time?
Press "▲ ▼" to Select
Press "M" to Continue
YES
NO
The time is broadcast by
certain TV stations
We suggest trying PBS first
Enter the channel
Press "M" to Continue
2
System is looking for
time on channel 2.
Please wait 45 seconds
Time was found
on channel 2.
The time is 12:00PM.
Press "M" to Continue
This completes the
First-Time Setup.
Press "M" to Exit Setup
Press "M" to Continue
This TV is equipped with
a Surround-Sound system.
Surround Sound requires
the use of additional
speakers being placed
around your room.
Press "M" to Continue
Please thoroughly read
the section in your
owners manual which
details the proper setup
and operation of the
Surround-Sound System. Press "M" to Continue
- or -
Press " " to Return
If there is RED or BLUE
fringe on the WHITE cross,
use this adjustment to
improve the picture.
The First-Time Setup
provides a simple method
of adjusting the most
important controls for
this television receiver.
Press "M" To Continue
12 1
2
3
4
5
6
7
8
9
10
11
●Set Time Automatically sets the clock according to TV
station Data Services Information. With this mode the clock
will automatically reset itself after power outages, and update itself
for Daylight Savings Time changes. Smart Clock will also reset itself
every time the TV is turned off.
●Set Time Manually only allows you to enter the current time of
day and AM/PM settings.
SMART CLOCK NOTE
~
Press "▲▼" to select the
language you would like
the TV displays to use.
ENGLISH
ESPANOL
FRANCAIS
Press "M" to Continue
HELP
FEATURES
EXIT
MAIN MENU
SOUNDPICTURE
1ST TIME SETUP
123
456
789
0
SLEEP
M
E
N
U
S
U
R
F
M
U
T
E
S
T
A
T
U
S
P
O
W
E
R
CH
CH
VOL
+
VOL
-
HOW TO USE FIRST TIME SETUP
First Time Setup automati-
cally takes care of some
basic TV control settings for
you. Follow the steps in this
section to quickly add area
channel numbers into the
TV's memory, and set the TV
for your connected signal
(Antenna or Cable.) You can
also set the TV's Smart Clock
feature as well.
AUTOMATIC SETTINGS
SETUP
Press the STATUS but-
ton on the remote or
TV to stop the SETUP
at any time.
When setting the Time
Automatically, enter your local
PBS channel number.
When setting the Time
Manually use the remote's num-
ber (or Menu ▲▼) buttons to
enter the time for the TV's
clock. Use "0" with single digit
hour entries.
Remember, SETUP is a first-
use, one-time operation and will
not have to be repeated (only
the clock settings can be lost).
SMART HELP
Press the MENU (M)
button on the remote or TV.
An on-screen list of TV fea-
tures shows on the "MAIN
MENU".
BEGIN
1
Select "1ST TIME
SETUP" on the TV's Main
Menu. (Selected MENU item
is highlighted in RED.)
Press the remote's Menu
buttons to move UP/DOWN
and from SIDE-TO-SIDE
within the list of on-screen
features.
Press CH(annel) ▲▼and
VOL(ume) (+) (-) on the TV
keyboard to move
UP/DOWN and from SIDE-
TO-SIDE within the list of
on-screen features.
2
OR
2
Press MENU (M) but-
ton on the remote or TV to
begin SETUP.
Follow the instructions
shown on the TV screen to
guide you through the First
Time Setup and use of your
new TV.
3
2
13
456
789
0
SLEEP
S
T
A
T
U
S
P
O
W
E
R
C H
VOL
VOL
C H
M
E
N
U
M
U
T
E
S
U
R
F
+
-
3
VOL
MENU
CH
STATUS/EXIT
6
2:30
WABC
VOL
MENU
CH
STATUS/EXIT
13
2
TV AND REMOTE CONTROL OPERATION
TELEVISION
To load the supplied bat-
teries into the remote:
1. Remove the battery
compartment lid on the
back of the remote.
2. Place the batteries (2-
AAA) in the remote. Be
sure the (+) and (-) ends
of the batteries line up
correctly (inside of case is
marked.)
3. Reattach the battery lid.
BATTERY INSTALLATION Point the remote con-
trol toward the remote sensor
window on the TV when oper-
ating the TV with the remote.
BEGIN
1
STOP
Press the POWER
button to turn the TV ON. Press the VOLUME UP
(▲) or DOWN (▼)button to
adjust the sound level.
2
Press the CHANNEL UP
(▲) or DOWN (▼)button to
select TV channels.
Note: Always press two number
buttons on the remote when
selecting channels under 100.
Press the 100+ button first for
any channels 100 or above.
For example: press "0" then "6"
for channel 6.
3
REMOTE
BEGIN
1
STOP
Remember, You
can press any button on
the front of the TV to
turn the TV ON.
SMART HELP You can also press the STATUS
button (on the remote) to see
what channel the TV is ON.
The tuned channel number will
always briefly appear when the
TV is first turned ON (and with
channel changes.)
3
Note: You
can press any of the
TV’s front keyboard
buttons to turn the
TV ON, but the
Power button must
be used to turn the
set OFF (from the
TV’s local key-
board).
SMART
HELP
Remote Sensor
Window
123
456
789
0
SLEEP
M
E
N
U
S
U
R
F
M
U
T
E
S
T
A
T
U
S
P
O
W
E
R
CH
CH
VOL
+
VOL
-
Channel ▲Button
Press to scan up through any pro-
grammed channel numbers. When
used with the Menu button, the
Channel ▲button will allow you to
scan up the on-screen (Menu) feature
controls.
Power Button
Press to turn the TV ON and OFF.
Volume (+) Button
Press to increase the TV sound level.
When used with the Menu button press
to adjust the selected on-screen
(Menu) feature controls.
Surf Button
Press to select previously viewed
channel. For example: If you are
watching channel 4 and change to
channel 10 (using the channel number
buttons). Press the SURF button and
your TV will return to channel 4. Press
the SURF button again and your TV
will return to channel 10.
Number Buttons
Press the number buttons to select TV
channels. Press two number buttons to
select single digit channels. For exam-
ple: press "0" then "6" for channel 6.
Sleep Button
Press to set the TV to automatically
turn itself OFF. Can be set in 15
minute increments up to 2 hours.
Status Button
Press to see the current channel number
on the TV screen. Also press to clear the
TV screen after control adjustments.
Menu Button
Press the Menu button to show on-
screen controls. Press the Channel ▲or
▼buttons to move up (or down), the
Volume + or - to move left (or right)
through the list of controls.
Volume (–) Button
Press to lower the TV sound level.
When used with the Menu button press
to adjust the selected on-screen (Menu)
feature controls.
Mute Button
Press to turn the sound OFF on the TV.
Press again to return the sound to its
previous level.
Channel ▼Button
Press to scan down through any pro-
grammed channel numbers. When used
with the Menu button, the Channel ▼
button will allow you to scan down the
on-screen (Menu) feature controls.
VOL
MENU
CH
STATUS/EXIT
VOL
MENU
CH
STATUS/EXIT
MAIN MENU
PICTURE
FEATURES
SOUND
HELP
EXIT
COLOR
PICTURE MENU
SHARP
PICTURE
CLEARVIEW
EXIT
1 OF 2
TINT
MORE...
BRIGHT
HELP
EXIT NEXT...
MIN MAX
COLOR
2
4
5
31
1ST TIME SETUP
2
13
456
789
0
SLEEP
S
T
A
T
U
S
P
O
W
E
R
C H
VOL
VOL
C H
M
E
N
U
M
U
T
E
S
U
R
F
+
-
13
524
2
ON-SCREEN MENU CONTROLS
Features for your TV can
be adjusted from a
MENU screen shown on the
TV. A MENU is nothing more
than an on-screen list of fea-
tures. Each MENU item can
be adjusted by viewing the
screen and pressing a button.
FEATURE CONTROLS
MENUS
If the on-screen Menu disappears
and you are not finished working with it,
press the MENU button and the "Main
Menu" will return to the screen. Continue to
press the MENU button and the on-screen Menu
will advance until you are returned to the last fea-
ture control screen you had selected.
Press MENU on the
TV (or MENU button on the
remote). An on-screen list of
TV features shows on the
"MAIN MENU".
BEGIN
1
Press CH(annel) ▲▼
and VOL(ume) (+) (-) on the
TV to move UP/DOWN and
from SIDE-TO-SIDE within
the list of on-screen features.
The selected MENU item will
be highlighted in RED.
Press the remote's Menu
buttons to move UP/DOWN
and from SIDE-TO-SIDE
within the list of on-screen
features.
See the "How to Select
Features" drawing on this
page.
2
Press (+) or (-) to
adjust a selected on-screen
feature (such as the TV Color
bar scale adjustment control.)
Press STATUS but-
ton on the remote to clear the
screen after an adjustment.
The screen can also be
cleared by selecting the Main
Menu's "EXIT" item and
pressing the MENU button.
Waiting about a minute,
without a button press, will
also remove the MENU
from the screen.
4
Press MENU on the
TV (or Menu button on the
remote) to select the RED
highlighted feature control.
NOTE: Many Main Menu
features have 2 or 3 screens
of controls listed under its
heading. Select the "MORE"
on-screen item and press the
MENU button to view all of
the individual controls listed
under a Main Menu feature
heading.
3
STOP
ON THE TV
ON THE REMOTE
SELECTED FEATURE CONTROL
HIGHLIGHTED IN RED
Select and then press
MENU (M) button to
return to previous
Menu screens.
Select and then press
MENU (M) button to
view an explanation of
the selected feature.
Select and then press MENU
(M) button to view additional
controls grouped under same
feature heading. For Example:
Tint, Brightness, Picture, etc.
M
E
N
U
CH
CH
VOL
+
VOL
-
PICTURE MENU
SHARP
PICTURE
CLEARVIEW
EXIT
1 OF 2
COLOR TINT
MORE...
BRIGHT
VOL
MENU
CH
STATUS/EXIT
Press MENU to
select RED high-
lighted feature.
Press VOLUME (+, -)
to move from Side-to-
Side within the Menu.
HOW TO SELECT FEATURES
(WITH BUTTONS ON THE TV) HOW TO SELECT FEATURES
(WITH BUTTONS ON THE REMOTE)
Press CHANNEL
▲ ▼ to move Up
and Down within
the Menu.
Press MENU to
select RED high-
lighted feature.
TV ON-SCREEN FEATURE MENU
Press MENU (M) to select RED highlighted item.
SMART HELP
4
Press VOL(ume)
(+) and (-) to
move from Side-
to-Side within
the Menu.
Press CH(annel)
▲ ▼ to move Up
and Down within
the Menu.
5

Other manuals for Magnavox 9P5514C

1

This manual suits for next models

1

Other Philips Projection TV manuals

Philips 9P5031C1, 9P5531C1, 9P6031C1, User manual

Philips

Philips 9P5031C1, 9P5531C1, 9P6031C1, User manual

Philips Match Line 60PP9753/17 User manual

Philips

Philips Match Line 60PP9753/17 User manual

Philips 50PP8541Y Manual

Philips

Philips 50PP8541Y Manual

Philips 60PP9910/17B User guide

Philips

Philips 60PP9910/17B User guide

Philips Magnavox 8P5444C199 User manual

Philips

Philips Magnavox 8P5444C199 User manual

Philips 46PW9527 Manual

Philips

Philips 46PW9527 Manual

Philips 46PP9302 Manual

Philips

Philips 46PP9302 Manual

Philips 48PP9103/05 User manual

Philips

Philips 48PP9103/05 User manual

Philips 60PP960199 Operating manual

Philips

Philips 60PP960199 Operating manual

Philips 64P9161099 User manual

Philips

Philips 64P9161099 User manual

Philips 50P 8341 User manual

Philips

Philips 50P 8341 User manual

Philips 55P8341 User manual

Philips

Philips 55P8341 User manual

Philips 9P5040C1 User manual

Philips

Philips 9P5040C1 User manual

Philips TP4841 User manual

Philips

Philips TP4841 User manual

Philips 55P 9161 User manual

Philips

Philips 55P 9161 User manual

Philips Magnavox 9P6444C User manual

Philips

Philips Magnavox 9P6444C User manual

Philips 51PP9100D - Hook Up Guide User manual

Philips

Philips 51PP9100D - Hook Up Guide User manual

Philips 64PH9905 User manual

Philips

Philips 64PH9905 User manual

Philips 46PP9545/69 User manual

Philips

Philips 46PP9545/69 User manual

Philips 55PP8620 Matchline User manual

Philips

Philips 55PP8620 Matchline User manual

Philips Magnavox 9P5040CI User manual

Philips

Philips Magnavox 9P5040CI User manual

Philips 60PP9363H User manual

Philips

Philips 60PP9363H User manual
Philips 9P5514C199 User manual

Philips

Philips 9P5514C199 User manual

Philips 60P9161099 Operating manual

Philips

Philips 60P9161099 Operating manual

Popular Projection TV manuals by other brands
JVC HD-Z70RX5 instructions

JVC

JVC HD-Z70RX5 instructions

Toshiba TN50V71 owner's manual

Toshiba

Toshiba TN50V71 owner's manual

Akai PT5598HD Owner's instructions

Akai

Akai PT5598HD Owner's instructions

Mitsubishi Electric 3D DLP 742 Series owner's guide

Mitsubishi Electric

Mitsubishi Electric 3D DLP 742 Series owner's guide

Zenith SY3588 Operating guide & warranty

Zenith

Zenith SY3588 Operating guide & warranty

Toshiba 56MX195 - 56" Rear Projection TV owner's manual

Toshiba

Toshiba 56MX195 - 56" Rear Projection TV owner's manual

Mitsubishi Electric 3D DLP C12 Series Basic owner's guide

Mitsubishi Electric

Mitsubishi Electric 3D DLP C12 Series Basic owner's guide

RCA P46920BL Brochure & specs

RCA

RCA P46920BL Brochure & specs

Mitsubishi WD-52528 owner's guide

Mitsubishi

Mitsubishi WD-52528 owner's guide

Marantz DL5500 operating guide

Marantz

Marantz DL5500 operating guide

Magnavox 50ML8205D - 50" Hd Dlp™ Projection Tv user manual

Magnavox

Magnavox 50ML8205D - 50" Hd Dlp™ Projection Tv user manual

Hitachi 57GWX20B operating guide

Hitachi

Hitachi 57GWX20B operating guide

Panasonic PT-52LCX15K operating instructions

Panasonic

Panasonic PT-52LCX15K operating instructions

Samsung HLN507W1X/XAA Service manual

Samsung

Samsung HLN507W1X/XAA Service manual

Toshiba 50A50 owner's manual

Toshiba

Toshiba 50A50 owner's manual

Zenith R50W46 Service manual

Zenith

Zenith R50W46 Service manual

Toshiba TW56F80 owner's manual

Toshiba

Toshiba TW56F80 owner's manual

Hitachi 51F710G operating guide

Hitachi

Hitachi 51F710G operating guide

manuals.online logo
manuals.online logoBrands
  • About & Mission
  • Contact us
  • Privacy Policy
  • Terms and Conditions

Copyright 2025 Manuals.Online. All Rights Reserved.