manuals.online logo
Brands
  1. Home
  2. •
  3. Brands
  4. •
  5. Philips
  6. •
  7. TV
  8. •
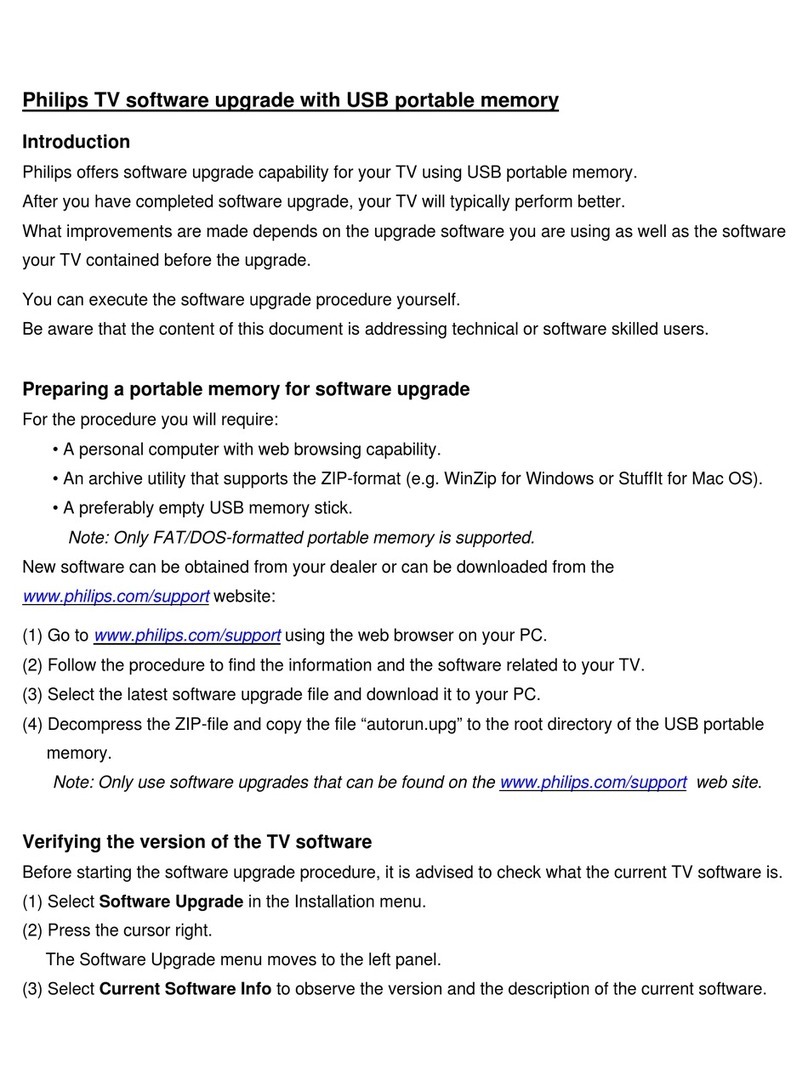
  9. Philips Magnavox TS2754 User manual

Philips Magnavox TS2754 User manual

Other Philips TV manuals

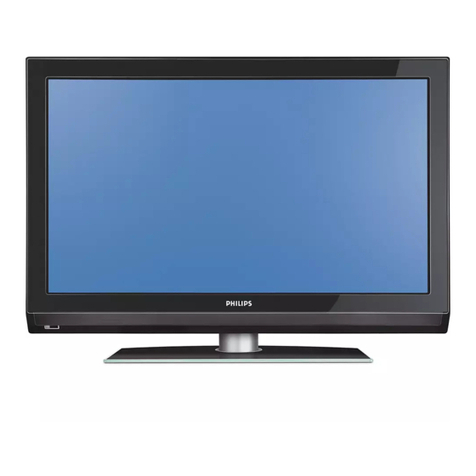
Philips Matchline 32PW9535 User manual

Philips

Philips Matchline 32PW9535 User manual

Philips 42PFL6805 User manual

Philips

Philips 42PFL6805 User manual

Philips PFL30x7H Series User manual

Philips

Philips PFL30x7H Series User manual

Philips 29PT9467C User manual

Philips

Philips 29PT9467C User manual

Philips 6855 Series User manual

Philips

Philips 6855 Series User manual

Philips FTP2.4A User manual

Philips

Philips FTP2.4A User manual

Philips 32PF5321/12 User manual

Philips

Philips 32PF5321/12 User manual

Philips 42PFL7562D/10 User manual

Philips

Philips 42PFL7562D/10 User manual

Philips 14CE1000 User manual

Philips

Philips 14CE1000 User manual

Philips 32PFL3403S/60 User manual

Philips

Philips 32PFL3403S/60 User manual

Philips 32PFL7572D - annexe 2 User manual

Philips

Philips 32PFL7572D - annexe 2 User manual

Philips 21PT3324 User manual

Philips

Philips 21PT3324 User manual

Philips 65OLED707/12 User manual

Philips

Philips 65OLED707/12 User manual

Philips 29PT8403NICAM User manual

Philips

Philips 29PT8403NICAM User manual

Philips Spectra 42PFL7406T User manual

Philips

Philips Spectra 42PFL7406T User manual

Philips 65PFL6621/F7 User manual

Philips

Philips 65PFL6621/F7 User manual

Philips 5813 series User manual

Philips

Philips 5813 series User manual

Philips Magnavox PS1966C1 User manual

Philips

Philips Magnavox PS1966C1 User manual

Philips 17PT1565 User manual

Philips

Philips 17PT1565 User manual

Philips MatchLine 29PT9006 User manual

Philips

Philips MatchLine 29PT9006 User manual

Philips 32RF52S99 Manual

Philips

Philips 32RF52S99 Manual

Philips EVNIA 329M1RV User manual

Philips

Philips EVNIA 329M1RV User manual

Philips 28HFL5009D/12 User manual

Philips

Philips 28HFL5009D/12 User manual

Philips 27PT5245 User manual

Philips

Philips 27PT5245 User manual

Popular TV manuals by other brands

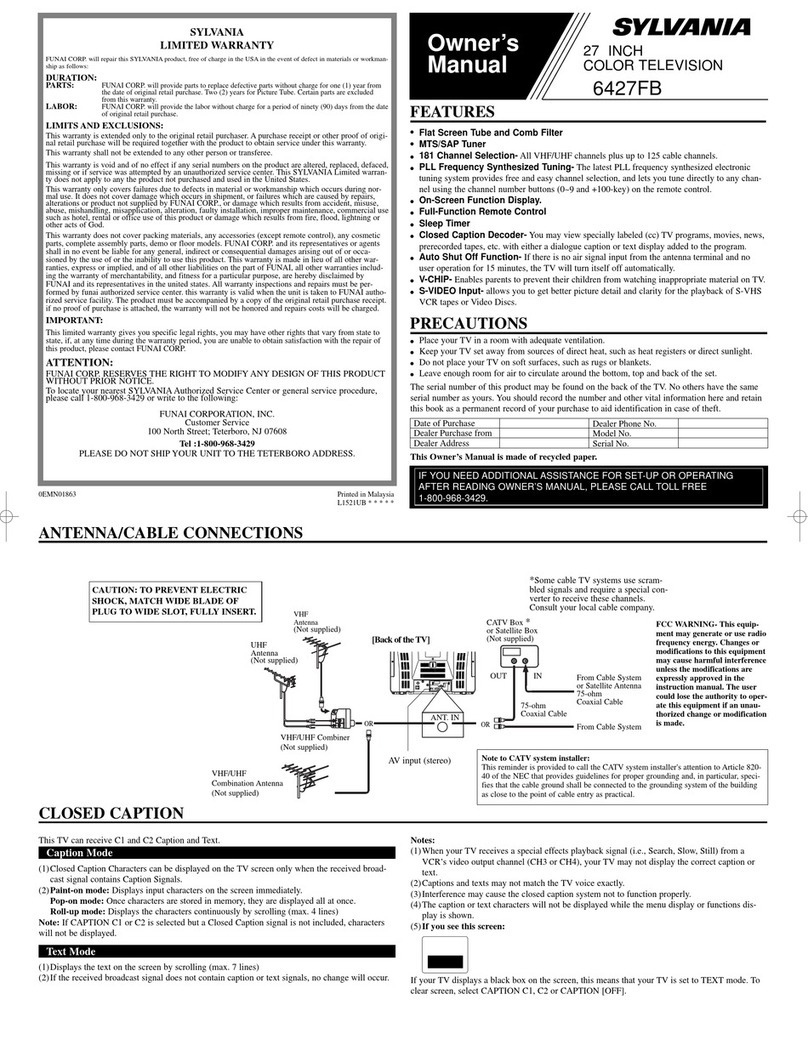
IKEA UPPLEVA user manual

IKEA

IKEA UPPLEVA user manual

Toshiba 19A20 Service manual

Toshiba

Toshiba 19A20 Service manual

Sony XBR-100Z9D reference guide

Sony

Sony XBR-100Z9D reference guide

Sony Trinitron KV-HR36M90 Service manual

Sony

Sony Trinitron KV-HR36M90 Service manual

JVC AV-14AG16 instructions

JVC

JVC AV-14AG16 instructions

Loewe Table Stand Reference 55 user guide

Loewe

Loewe Table Stand Reference 55 user guide

Panasonic Genus TX-G10 operating instructions

Panasonic

Panasonic Genus TX-G10 operating instructions

Samsung LN26C350D1D Service manual

Samsung

Samsung LN26C350D1D Service manual

BBK LT1516D Service manual

BBK

BBK LT1516D Service manual

Samsung 55S9 B Series Quick setup guide

Samsung

Samsung 55S9 B Series Quick setup guide

Sharp LC-40FI5012E user manual

Sharp

Sharp LC-40FI5012E user manual

Evervue BN185 Operation manual

Evervue

Evervue BN185 Operation manual

North State TV2GO user guide

North State

North State TV2GO user guide

Toshiba CX35F70 owner's manual

Toshiba

Toshiba CX35F70 owner's manual

Magnavox PS1980 owner's manual

Magnavox

Magnavox PS1980 owner's manual

Panasonic QuintrixF TX-29AS1D operating instructions

Panasonic

Panasonic QuintrixF TX-29AS1D operating instructions

Samsung 4 Series Quick setup guide

Samsung

Samsung 4 Series Quick setup guide

Panasonic TX-21FG20R Service manual

Panasonic

Panasonic TX-21FG20R Service manual

manuals.online logo
manuals.online logoBrands
  • About & Mission
  • Contact us
  • Privacy Policy
  • Terms and Conditions

Copyright 2025 Manuals.Online. All Rights Reserved.

0
C 0 L 0 R T E L E V I S I 0 N
A!
J
NO
IMAGE
AVAI
SAFETYINSTRUCTIONS- Readbeforeoperatingequipment
This productwas designedand manufacturedto meet strict quality and
salety standards. There are, however, some installation and operation
precautionswhich you should be particularly awareof.
1. ReadInstructions- Allthe safetyandoperatinginstructionsshould
be readbeforetheapplianceisoperated.
2. Retain Instructions-The safetyand operatinginstructionsshould
be retainedfor futurereference.
3. HeedWarnings-Allwarningsonthe applianceand inthe operating
instructionsshouldbeadheredto.
4. Follow Instructions- All operatingand use instructionsshouldbe
followed.
5. Water and Moislure - The applianceshould not be usednear water
- for example, neara bathtub, washbowl, kitchen sink, laundry tub,
in awet basementor nearaswimming pool, etc.
8. Cartsand Stands- Theapplianceshould be used onlywith a cart or
standthat is recommendedby the manufacturer.
8A. _ An appliance and cart combination should be moved
with care. Quick stops, excessive force, and uneven
surfaces may cause the appliance and cartcombination
to overturn.
7. Wall or Ceiling Mounting- The appliance should be mounted to a
wall or ceiling only asrecommended bythe manufacturer.
8. Ventilation- The applianceshould be situated sothat its location or
position doesnot interfere with its proper ventilation. For example,
the appliance should not be situated on a bed,sofa, rug, or similar
surface that may block the ventilation openings; or, placed in a
built-in installation, such as a bookcase or cabinetthat may impede
the flow of air through the ventilation openings.
9. Heat - The appliance Should be situated away from heat sources
such as radiators, heat registers, stoves, or other appliances
(including amplifiers) that produce heat.
10. Power Sources-The appliance should be connectedto a power
supply only of the type described in the operating instructions or as
marked on the appliance.
11. Power-Cord Protection - Power supply cordsshould be routed so
that they are not likely to be walked on or pinched by items placed
upon or against them, paying particular attention to cords and
plugs, conveniencereceptacles,and the point wherethey exit from
the appliance.
12. Cleaning- The applianceshould be cleaned onlyas recommended
bythe manufacturer.
13. Power Lines - An outdoorantenna should be located away from
power lines.
14. OutdoorAntennaGrounding-If an outsideantennaisconnectedto
the receiver, be sure the antenna system is grounded so as to
providesome protectionagainst voltagesurgesand built upstatic
charges.
Section810 ofthe NationalElectricCode,ANSI/NFPANo. 70-1984,
providesinformationwith respect to propergroundingofthe mats
and supporting structure grounding of the lead-in wire to an
antennadischargeunit, size of groundingconnectors,locationof
antenna-discharge unit, connectionto grounding electrodesand
requirementsfor thegroundingelectrode.SeeFig. below.
15. Non-use Periods -The power cord of the appliance should be
unpluggedfrom the outlet when left unused for a long period of
time.
16. Object and Liquid Entry-Careshould be takenso that objectsdo
not fall and liquids are not spilled into the enclosure through
openings.
17. Damage Requiring Service- The appliance should be serviced by
qualifiedservice personnelwhen:
A. Thepower supply cordor the plug has beendamaged;or
B. Objects have fallen, or liquid has been spilled into the
appliance;or
C. Theappliance hasbeenexposedto rain; or
O. The appliance does not appear to operatenormally or exhibits
a markedchangein performance; or
E. Theappliance hasbeendropped, or the enclosuredamaged.
18. Servicing - The user should not attempt to service the appliance
beyond that described in the operating instructions. All other
servicingshould be referredto qualified service personnel.
Noteto the CAW systeminstaller: This reminder is provided to call the
CATVsystem installer's attentionto Article 820-40 of the NEC that
providesguidelines for propergrounding and,in particular,specifiesthat
the cableground shall be connectedto the grounding system of the
building,ascloseto thepointofcableentryaspractical.
EXAMPLEOFANTENNAGROUNDINGASPERNATIONALELECTRICALCODE(NEC)
ExampleofAntl nnaGroundingcode
as per NEC- National Electric ,
GROUNDCLAMP ANTENNALF._ IN WIRE
ANTENNADISCHARGEUNITI_ECSEC110N01O-2e)
GROUNDINGCONDUCTORSqWECsecnoNm-t1)
GROUNDCLAMPS
"'- POWERSERVICEGROUNDINGELECTRODESYSTEM (BEC1artzr,o.PAaTN)
ELECTRICSERVICEEQUIPMENT
MAC3964
Introduction
Welcome/Registration of Your TV ............................ 2
Safety/Precautions ..................................................... 3
Table of Contents ....................................................... 4
Features ...................................................................... 4
_.._ On-Screen {MENU) Features
,_-Setting the TV for Cable TV Operation ............. 5
-_-Adding Channels in Memory (Manually) .......... 6
•_How to Set the TV for Closed Captioning ........ 7
+Setting the TV for Stereo .................................... 8
+Using the TV Volume Bar Control ..................... 8
•_'Setting the Alternate Channel/Surf Control ........ 9
+Adjusting the TV Picture .................................. 10
+Setting the TV Sleep Timer Control ................. 10
._Using the TV's Audio/Video Input Jacks .......... 11
Remote Control Operation
Using the Smart Picture Control ................. 12
Using the Smart Sound Control .................. 12
Setting the TV Remote to Work VCRs .............. 13-14
Setting the TV Remote to Work
Cable TV Converters .......................................... 15-16
Setting the "IV Remote to Work VCRs or Cable
Converters - Search Method .................................... 17
Using the Remote's VCR Buttons ........................... 18
MGeneral Information
Tips if Something Isn't Working ................ 19
Glossary of TV Terms .............................................. 20
Index ........................................................................ 21
Factory Service Locations .................................. 22-23
Warranty .................................................................. 24
your TV information packet) for details on:
•Antenna Hook-ups I -"
• First Time Set-Up I _]-_ _!
(Automatic Settings)I _-__
• Basic TV and Remote I_'_,:_
Control Operation
•On-Screen Menu Use
Infrared Remote Control works your TV set and a
variety of wireless remote control VCRs and Cable
Converters.
Standard broadcast (VHF/UHF) or Cable TV
(CATV) channel capability.
Stereo 'IV with built-in audio amplifier and twin
speaker system for receiving "IV programs broadcast
in stereo sound.
Closed Captioning allows the viewer to read TV
program dialogue or voice conversations as on-
screen text.
Automatic Programming of Channels for quick
and easy selection of favorite stations available in
your area.
On-Screen Features (in either English, French, or
Spanish) show helpful messages for setting of "IV
controls.
Audio/Video Jackpanel for direct connections with
VCRs (or other video accessories) providing quality
TV picture and sound playback.
Smart Button for the control of TV Sound and
Picture levels. Use the Smart Button on the remote to
quickly adjust Smart Sound (to keep volume levels
consistent during program changes or commercial
breaks); Smart Picture (for automatic picture adjust-
ments on a variety of program sources).
Sleep-Timer automatically turns the TV OFF at pre-
set times.
Copyright © 1997 Philips Consumer Electronics Company. All fights reserved.
4
_m OTE: lf you went through
etup (in your Quick Use
Guide), this task has already been
completed for you.
You need to make sure that the TV
is set to pick up either Cable TV
stations or Antenna signals. In
other words, the TV needs to
know whether you have connected
a Cable TV signal or a normal
antenna to its ANTENNA plug.
<_ Press the MENU button
(M)
on the remote, then press the
CHANNEL • or • buttons to
select the word CABLE with the
TV's on-screen arrow.
<,_ Press the (+) button (on the
TV or the remote) to select either:
YES- If you DO have Cable TV
connected to the TV.
Channels 1-125 can be
selected.
NO- If you have an Antenna
connected to the TV.
Channels 2-69 can be
selected.
<_ Press STATUS to clear the
screen. @
Try it out. Press
CHANNEL •• buttons
and scan the channels.
Remember, the TV has been set at
the factory to select ceaain chan-
nel numbers. See the following
page on how to set the TV to
select the channels in your area.
uto Programming (see page 2
of the Quick Use Guide) adds
all the channels it can find (on
your Antenna or Cable TV system)
into the TV's memory. Add/Delete
Channels makes it easy for you to
add other channels, or drop
unwanted channels, from the list of
channels in the TV's memory.
_.[_ Press the MENU (M) button
_v on the remote, then press the
CHANNEL • or • buttons to
select the word CHANNEL with
the TV's on-screen arrow.
_,_ Press the CHANNEL NUM-
BER buttons on the remote to
select the channel you want to
SAVE (or DELETE.)
_Press the (+) button to SAVE
the selected channel number into
memory.
Press the (-) button to DELETE
a channel from memory.
_4i Press the STATUS button to
lear the screen after adding all
e channels yo_ant.
12
NOTE: You can also add the VCR/AUX mode into
the TV's channel memory. Then yon can quickly
select the Audio/Video Inputjacks on the rearof the
"IV by pressing the Channel ,t,• buttons.
To "SAVE" the VCR/AUX mode into the TV's
channel memory:
• With the on-screen menu displayed, press the CH
• or • button and select the INPUT control.
• Press the (+) or (-) button to place the TV in the
VCR/AUX mode.
•Press the CH •or •button to reselect the
CHANNEL control.
•Press the (+) button to "SAVE" VCR/AUX mode
into the TV's channel scan memo_,
•Press the STATUS button to clear the Menu from
the screen.
Try it out. Press the •• buttons to be sure the
VCR/AUX mode is present. (Should appear
between the highest and lowest broadcast channels
within your TV's scan memory.)
Try it out. Press the
!CHANNEL•• buttons.
The channels you SAVED should
appear. The channels you
DELETEtD should not appear.
Remember, you can also add the
VCR/AUX mode (see page 11)
into the TV's channel memory.
Then by pressing the CH • •
buttons you can quickly select the
Audio/Video Inputjacks on the
rear of the TV.
OSedCaptioning allows you to
ad the voice content of televi-
sion programs on the TV screen.
Designed to help the hearing
impaired thisfeature uses on-screen
"text boxes" to show dialogue and
conversations while the TVpro-
gram is inprogress.
(l_ Press the MENU (M) button
on the remote, then press the
CHANNEL • or • to select the
word CAPTION with the TV's on-
screen alTOW.
_i '_ Press the (+) button to select
the desired Closed Caption (CC)
mode - For Example: CAPTION 1.
CAPTION 1, or 2 mode:
dialogue (and descriptions)
for the action on the captioned
TV program shows on-screen.
(See important note on this
page.)
Note: _ "CAPTION" 1 is the
most used mode to view captioned
material.
J_
_3_ Press the STATUS button after
making your Caption mode selec-
tion.
The TV display will clear and
Captioning material (if available
on the currently selected "IV pro-
gram) will appear on the TV
screen.
To cancel, set ,h,, CAPTION fea-
ture to OFF when finished viewing.
@
Remember, broadcast sta-
tions will often use spelling
abbreviations, symbols,
dropouts and other grammatical
shortcuts in order to keep pace with
the on-screen action. These type
factors vary upon the source of the
captioned text material and do not
indicate a need for service on the
part of the TV.
NOTE: Not all TV programs and product commercials are made for broadcast
with Closed Caption (CC) information included. Neither are all Closed Caption
modes (CAPTION 1-2) necessarily being used by a broadcast station during the
transmission of a closed caption program. Refer to your area's TV program listings
for the stations and times of Closed Caption shows.
.... I
NOTE: The"CC W/MUTE" setting automatical-
ly switchesthe"IVtothe ClosedCapdon I mode
whenevertheMUTE button(onthe remot,"con-
trodis pressed. TheClosed Caption 1 mode will
turn OFF whenthe"IV sound is returnedor
unmuted.
INPUT
CABLE
CHAN_EL
SLEEP
DCAPTION
VOL. BAR
CAPTION mode Example Display
6
I This symbol will appear with channels that ,
contain Closed Captioning material.
our TV can receive broadcast
tereo TV programs. The TV
has both an amplifier and twin
speakers through which the stereo
sound can be heard.
_1-_ Press the MENU (M) button
on the remote, then press the
CHANNEL • or •buttons to
select the word STEREO with the
TV's on-screen arrow.
_Press the (+) button to turn the
I STEREO MODE ON.
_ Press STATUS to clear the
screen.
Remember,
if stereo is not
present on a selected
show and the TV is
placed in the
STEREO mode, the
sound coming from
the set will remain
monaural (mono.)
UTh e the Volume Bar control to see
e TV's volume level settings
on the TV screen. Once set the
Volume Bar will be seen each time
the VOLUME buttons (on the TV or
remote) are pressed
t'Kgam3
---""-_,l,,,,_Pressthe M_NU (M) button on
the remote, then press the CHANNEL
•or •buttons to select the words
VOL. B,_R with the TV's on-screen
Arrow.
_V Press the (+) button to turn the
OL BAR control ON.
3_,_ Press STATUS button to clear
i thereen.
Try it out.
Press the VOL A•
buttons. The VOL-
UME BAR should
appear at the bottom
of the screen.
--- A"list" or series of previously
2"-1viewed channels can be selected
with the SURF button on your remote
control. With this feature you can
easily switch between different TV
programs that currently interest you.
The Surf control allows you to set up
to 8channels in its quick viewing
"list".
(.,,_ Press the MENU (M) button on
[ the remote, then press the CHANNEL
I• or •buttons to select the word
SURF with the TV's on-screen arrow.
<'2_ Press the (+) button to select
either ALT. CHN. (Alternate
Channel) or SURF. See explanation
of Surf options with the illustration
on this page.
_Press STATUS button clear the
to
i @
<l,,_a With the SURF control ON (see
above), select a-desired channel for
viewing. You can use the number
buttons on the remote (or the
Channel tA or • buttons).
_,,_ Press the SURF button the
on
remote while the channel display is
still present on the TV's screen.
<,,_ Press the SURF button the
on
remote to quickly review current
action on channels contained within
the Surf list.
Repeat steps above to add up to eight
channels in the SURF channel mem-
ory ring. @
ALl'. CHN.
(Alternate Channel) -
Cmte.nt and one previ-
ous channel.
SURF. Current and
up to seven additional
channels available.
Note: the Channel
Surf can be used with
fewor than eight chan-
nels. in this way the
number of Surf chan-
i nels can match or fit
you present viewing
inte,ests.
To Use !
Alternate Channel:
With the ALT.CHN.
control ON, select
the two desired
channels for view-
ing with the number
buttons on the
remote control.
Press the SURF
button on the
remote to "toggle"
between the two
selected channels.
When using SURF:
Remember, you can
add as many as
eight channels in
the Smart Surf
Memory.
__ •L
22
22
SURF
Note: There aretwo methods to delete channets from the8-
channel SURF control ring:
•To nunove all channels from the SURF reentry (with
the exceptlon or'charred 3whkh will be left within the
SURF list.) - Select the CABLE control in the0n-screen
menu and press the(+), (-) buttons. Adjust the control
"YES/NO_ if you have Cable TV; or "NO/YES/NO" ;"
you are in the broadcast Antennamode.
• To remove all channels frem the SURF reentry (wlth
the excepdon of the last viewed and currently sdected
_) - From the SURF on-soreen controlopdoupn_s
the(+)or(-)buttontoselecttheALT.CHN. controlinthe
on-screenmenu.Pressthe(+)or(-)buttonagainto_selec_
the SURF option.
Tt o adjust your TV picture con-
rols, select a channel and follow
the steps shown below:
<_ Press the MENU (M) button on
the remote, then press the CHAN-
N-EL • or • buttons until the
desired control shows on-screen.
<_ Press the (+) and (-) buttons to
iadjust the selected color control.
(,'_ Press the STATUS button to
"_ clear the screen when picture
adjustments are _pleted.
Press (-) or(+) until darkest parts oftbe [
picture are as bright as you prefer. II
-Il!
PICTU_ Press (-) or(+) until lighiest parts of the pP
ture show good detail.
COLOR Press (-) or (+) to add or eliminate color.
TINT Press (.) or (+) to obtainnatural skin tones.
SHARPNESS Press (-) or (+) to improve detail in the
picture.
Press (-) or (+) to select NORMAL,
COOL, or WARM picture preferences. (NORMAL will
keep the whites, white; COOL will make the whites,
bluish; and WARM will make the whites, reddish.)
nunnunn--,-,--.,
Veyou ever faUen asleep in
nt of the TV only to have it
wake you up at two in the morning
with a test pattern screeching in
your ears? Well,your TV can save
you all that trouble by automati-
cally turning itself off.
<_--_ Press the MENU button on the
remote. Note: Press the CHAN-
NEL • or •on the remote or "IV
to selectthe word SLEEPwith the
TV's on-screen arrow.
<:_ Press the VOLUME (+) but-
<:
ton repeatedly to pick the amount
of time (15 minutes to 2hours
ahead) before the TV will turn
itself off.
The (+), (-) buttons on the TV can
also be used to set the amount of
time.
,_ Press the STATUS button to
clear the screen afteryou have set
the time for the TV to turn off.
An on-screen count down will
appear during the last minute
before the TV shuts itself off.
O
10
Remember,
to see how g
many minutes are left
before the TV shuts
itself off, press the
STATUS button on
the remote.
To stop aSLEEP
TIMER setting, reset
the timer back to
OFF. (Turning the "IV
off and on, or press:
ing a button during
the last minute of a
timer setting, will
also cancel a setting.)
During the last minute of a SLEEP TIMER I
setting, an on-screen count down will be I
displayed,