Fitting Guide | Roger and Advanced Bionics sound processors Naída CI, Auria and Harmony 2
Pre-fitting
Program the sound processor with the recommended settings according to the table below.
This will ensure maximum benefit from the Roger system.
Recommended sound processor setting
Set the Audio Mixing Ratio (Mic/Aux) to 50/50
AB Naída CI Q70 via ComPilot
Set the ComPilot Mixing Ratio to either 50 or 75%
Set the Audio Mixing Ratio (Mic/Aux) to 50/50
For Roger 17, no pre-programming is required.
For Roger X when used with ComPilot, no pre-programming is required but might be done to deactivate the AutoConnect tones .
For Advanced Bionics Harmony / Auria systems, Roger X4must be pre-programmed.
A Roger inspiro is required for programming Roger X4.
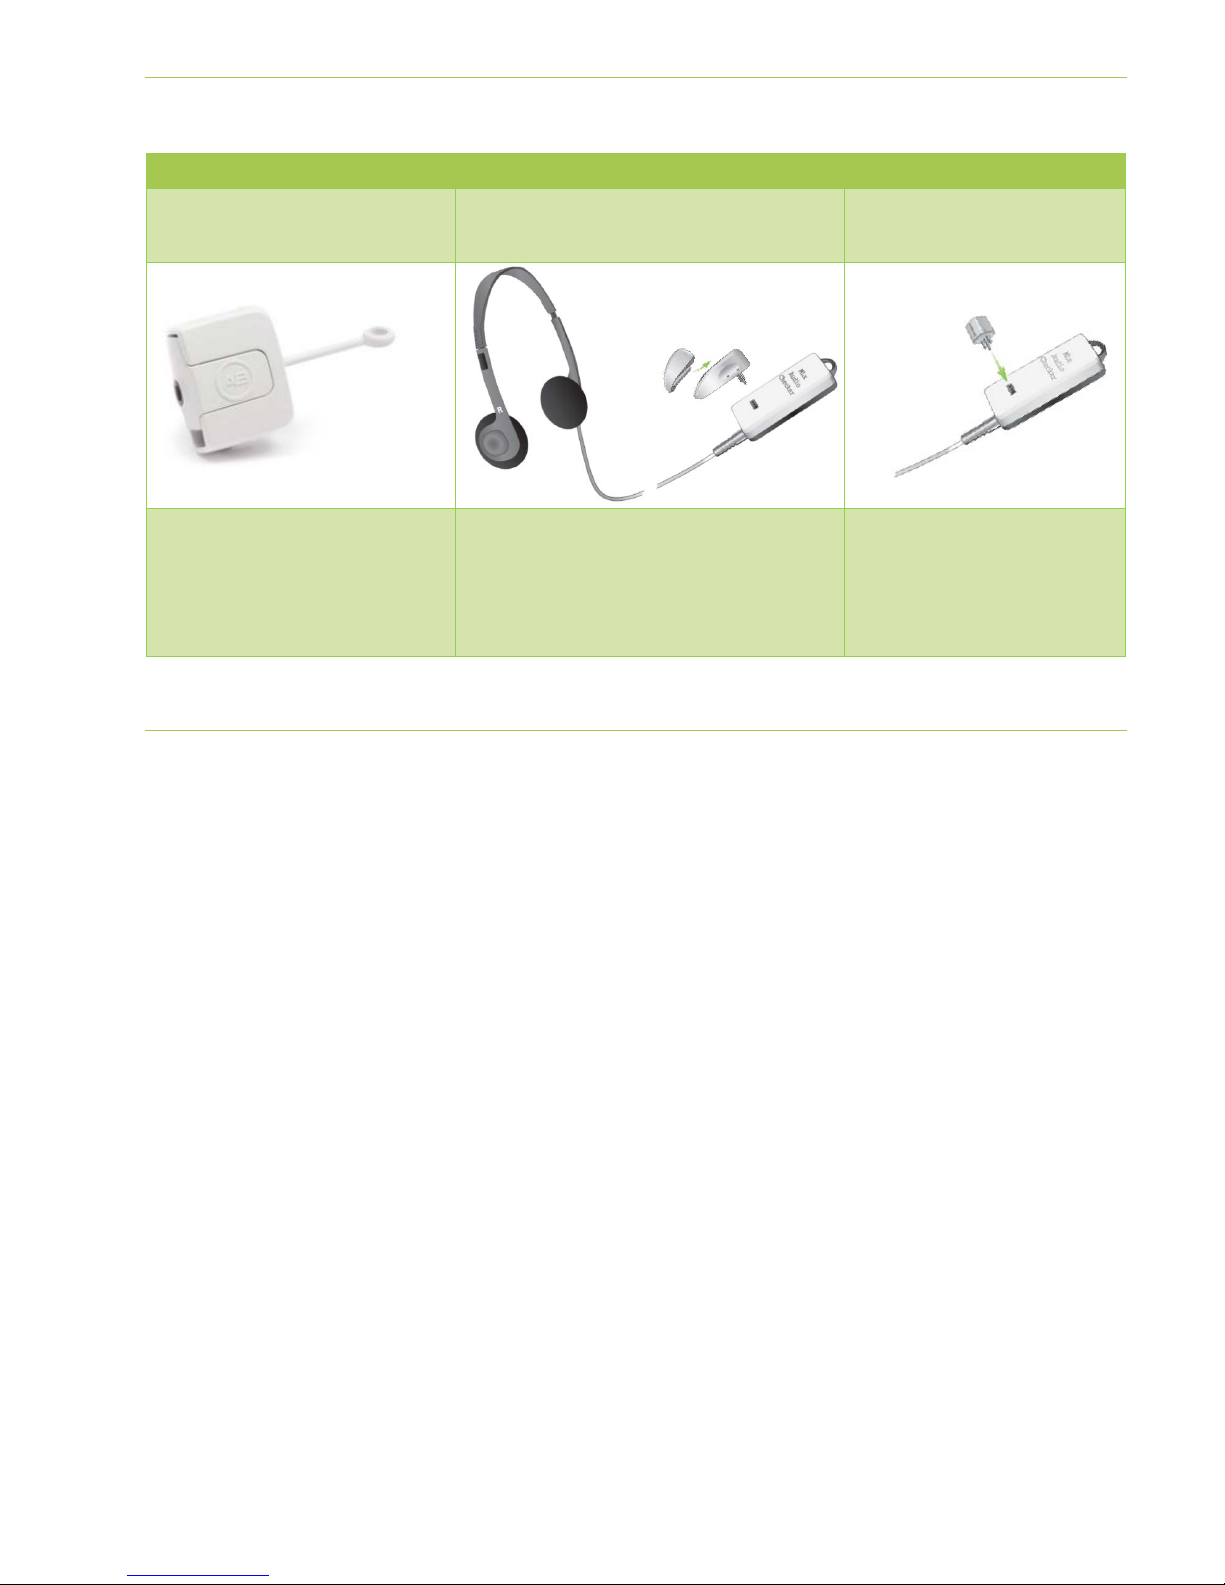
1. Connect Roger X to the sound processor or ComPilot and switch it on.
2. Turn Roger inspiro on, hold it close to Roger X (less than 10 cm/4 inches) and select the function Check.
3. Click Manage, scroll to ‘CI module’ then click OK.
4. Scroll to the corresponding value as shown in the table below.
5. Scroll to EasyGain and click OK.
6. Set the EasyGain to the corresponding value as shown in the table below.
Model Recommended CI
Recommended EasyGain AutoConnect status
AB Naída CI Q70 with ComPilot and Roger X
This will ensure that the Roger X output impedances match the input impedance of the sound processor.
4Available for Roger X (02) only
5If more EasyGain is required, select Setting 1 with adjust EasyGain to the desired level
Getting started
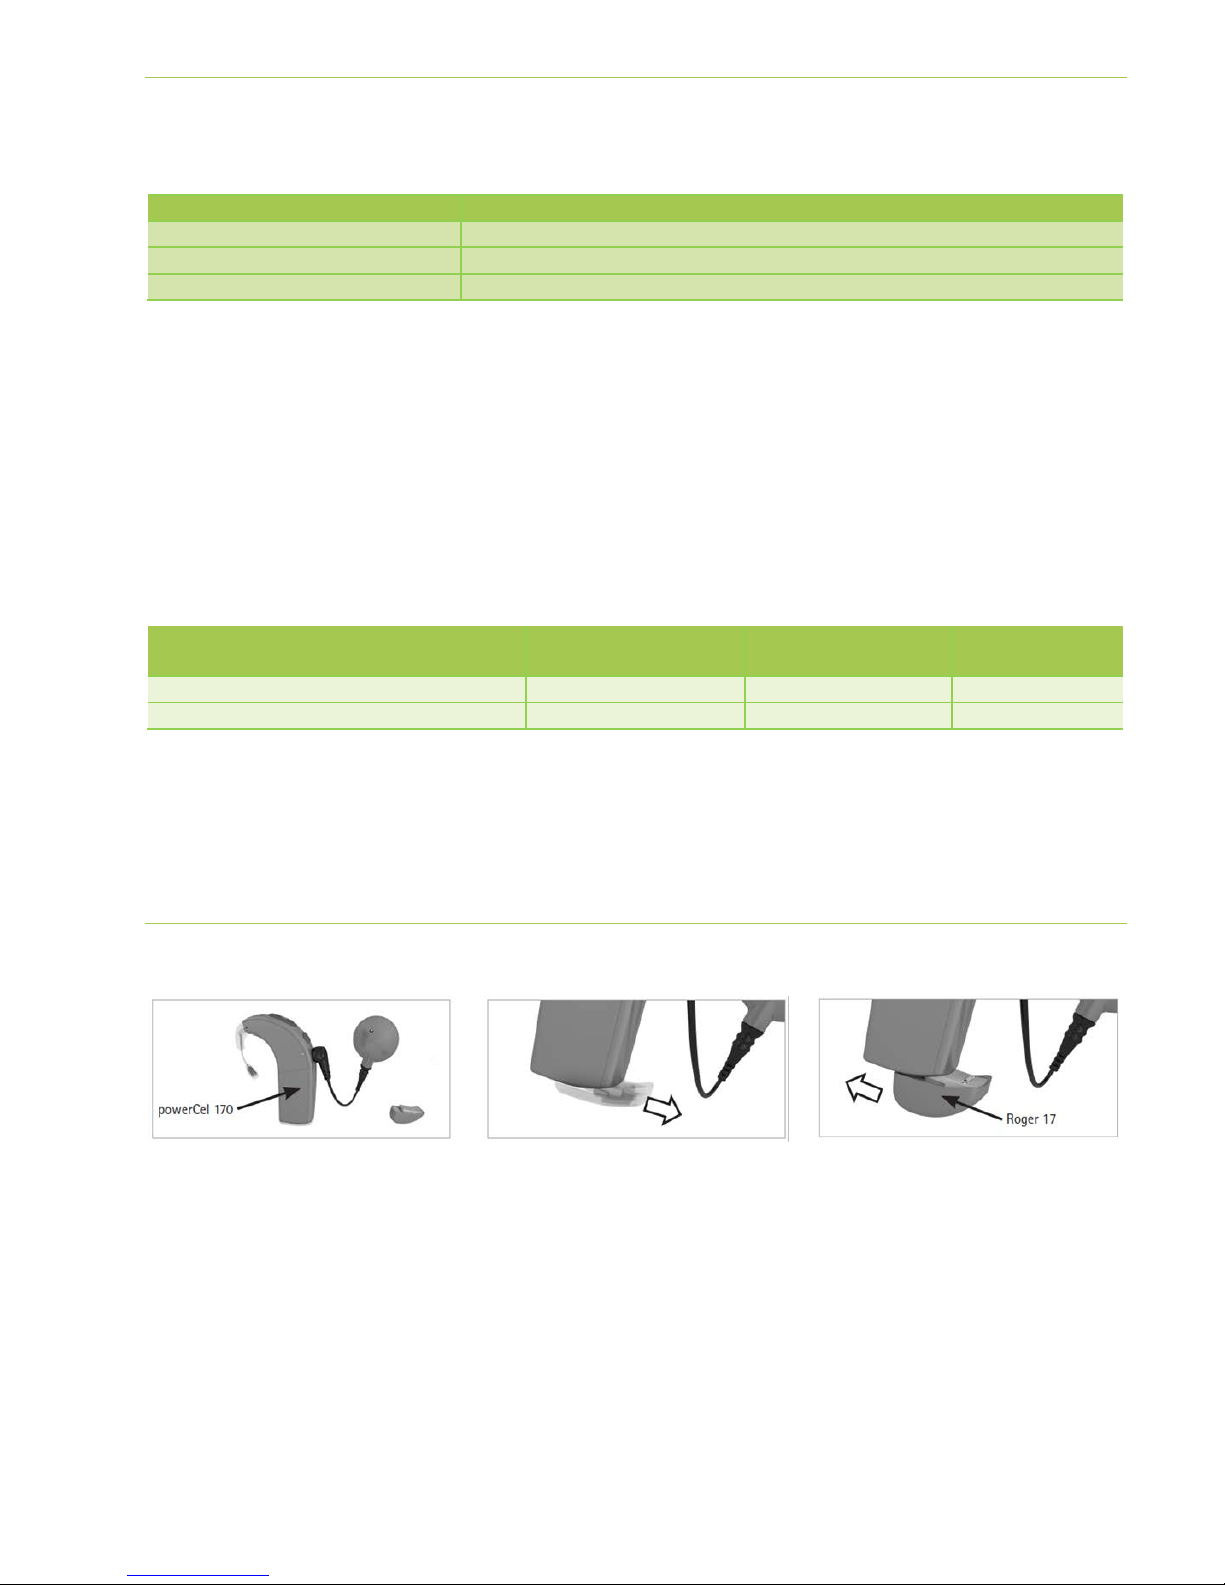
Attaching Roger 17:
Step 1: Attach Roger receiver
Switch all equipment off. If required, remove the standard cover
or hook and attach the adapter to the sound processor. Now
attach the Roger receiver to the sound processor, adapter,
battery or to ComPilot.
Step 2: Switching on
Ask the user to put on the sound processor and switch it on. If
available switch also the ComPilot on. The sound processor
should automatically detect the presence of the Roger receiver.
If this is not the case, manually change to the program utilizing
the recommended Roger program settings.
Step 3: Connect
Hold the Roger microphone close to the Roger receiver (within
10 cm/4 inches) and press the Connect button on the Roger
microphone. The user should now report that he/she has heard
the confirmation beeps (a low tone followed by a high tone).
If the user did not hear the confirmation beeps, you may need to
manually switch the processor into the DAI, EXT, ComPilot or
AUX program. Repeat this connect process until your patient
hears the beeps.