PianoDisc ProRecord User manual

ProRecord
User guide
Ver. B0

Contents
Chapter 1 ProRecord Features ・・・・・・・・・・・・・・・・ 1
Chapter 2 Precautions・・・・・・・・・・・・・・・・・・・・・2
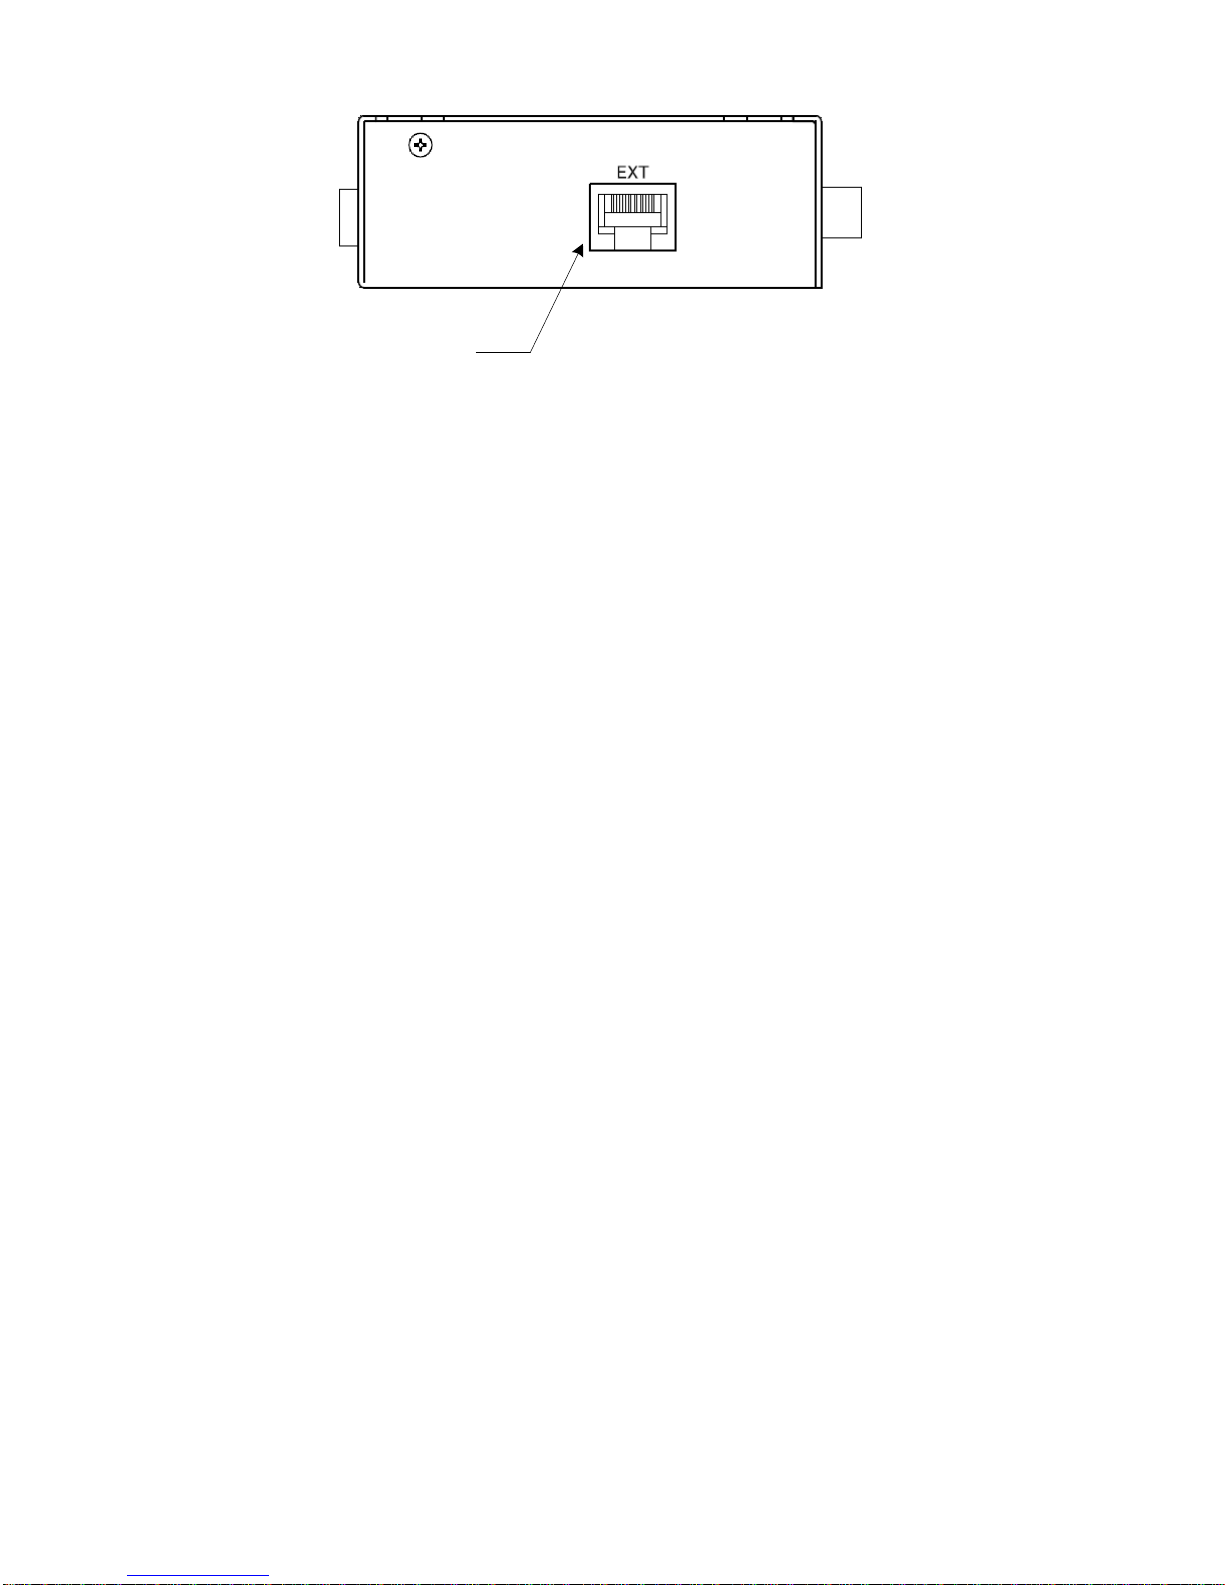
Chapter 3 Panel Description ・・・・・・・・・・・・・・・・・ 3
Chapter 4 Getting Started ・・・・・・・・・・・・・・・・・・ 6
Chapter 5 Playing Back Demonstration Songs・・・・・・・・・・ 7
Chapter 6 Selecting Instruments ・・・・・・・・・・・・・・・ 8
Chapter 7 Metronome ・・・・・・・・・・・・・・・・・・・・・12
Chapter 8 Recording and Playback・・・・・・・・・・・・・・・14
Chapter 8.1 Recording ・・・・・・・・・・・・・・・・・・・・14
Chapter 8.2 Playing Back Recorded Songs・・・・・・・・・・・・15
Chapter 9 Setting Note Repeat Limits・・・・・・・・・・・・・17
Chapter10 Adjustments and Configurations ・・・・・・・・・・18
Chapter10.1 Tuning(Adjusting the Pitch) ・・・・・・・・・・・19
Chapter10.2 Sensor Calibration・・・・・・・・・・・・・・・・・20
Chapter10.3 Automatic Sensor Calibration・・・・・・・・・・・・21
Chapter10.4 Touch Control (Adjusting the Touch) ・・・・・・・・22
Chapter10.5 Pedal Positioning ・・・・・・・・・・・・・・・・・23
Chapter10.6 Setting the Key Depth (note on/off) ・・・・・・・ 24
Chapter10.7 Black Keys Volume Control ・・・・・・・・・・・・・25
Chapter10.8 Volume Control for Individual Keys(BassKeys)・・・26
Chapter10.9 Volume Control for Individual Keys(TrebleKeys)・・・27
Chapter10.10 Returning Settings to Their Default Configuration 28
Chapter11 MIDI (Connecting to Other Device) ・・・・・・・・・30
Chapter11.1 MIDI Implementation Chart ・・・・・・・・・・・・・32
Chapter12 Specifications ・・・・・・・・・・・・・・・・・・33
Chapter13 Troubleshooting ・・・・・・・・・・・・・・・・・・34
Chapter14 Maintenance ・・・・・・・・・・・・・・・・・・・・36

- 1 -
Chapter1ProRecord Features
●ProRecord can detect a wide range of key positions (shallow to deep) therefore
providing a the touch of an acoustic piano.
●Rapid trills and quick repeats of staccato notes are possible.
●ProRecord can be adjusted to match the touch of a particular piano by changing the
force needed to produce the sound.
●ProRecord is capable of expressing a wide volume range from pianissimo to fortissimo.
●The damper pedal can be setup with either on/off or proportional output.
(Proportional pedal is not recommended when used with a player system)
●8 instruments can be select from the control panel plus an additional 80 instruments
from the piano keyboard.
●Built in Metronome function.
●Your performance can be recorded, and then played back. The tempo of the recorded
data can also be changed.
●ProRecord can be connected to a computer using a USB cable or a MIDI cable. By
connecting with a personal computer, this instrument can be used as a MIDI sound
source or a MIDI keyboard.
●ProRecord can be connected to external audio devices using Line-out jacks.
●The maximum simultaneous polyphony is 108 notes.

- 2 -
Chapter2 Precautions
Please observe the following precautions.
●Use only the proper AC adaptor to power ProRecord or use a compatible EXT
connector to an external system.
●Turn off the power before disconnecting the power cord from the control
unit.
●If the system is not going to be used for a long period of time, unplug
the AC adaptor.
●Do not use ProRecord in areas with high temperature or high humidity.

- 3 -
Chapter3 Panel Description
Control-BOX - Front Panel
①Volume Control (VOLUME)
Controls the volume of headphones and LINE OUT.
②Headphones Jacks (PHONES)
Connections for up to two stereo headphones.
③Tone Select Button (TONE)
Selects the 8 main instruments as follows:
Piano, Bright Piano, Mellow Piano, Electric Piano1, FM Electric Piano
Church Organ, Warm Organ, Percussive Organ
④Metronome Control Button ( )
Controls the metronome functions, (start/stop and setup).
⑤Metronome Status Display Lamp
Indicates when metronome is in use. (flashes when in setup mode)
⑥Record Control Button (REC)
Controls start/stop of record function.
⑦Record Status Display Lamp
Indicates when system is recording.
⑧Playback Control Button (PLAY)
Controls start/stop of playback function.
⑨Playback Status Display Lamp
Indicates when system is in playback mode.
②
①
③ ④ ⑥ ⑧
⑩
⑪
⑦⑨
⑤

- 4 -
⑩Power Indicator Lamp
Indicates when power is tuned on. Flashes when keys and pedals are played.
Also flashes the tempo of the metronome when used.
⑪Power Switch
Used to turn the power on and off.
[Note]
Power should be turned off after each use.
Control-BOX – Back Panel
⑫DC Power Socket (DC9V)
For AC power adaptor.
[Caution!]
To avoid damage to the unit, use only AC adaptors of proper voltage. (9VDC
out).
Note: If power is supplied from EXT connector (see item ⑯below) do not
connect AC adaptor.
⑬USB mini B Jack (USB)
Used for connecting to a computer or other USB device.
⑭MIDI Jacks (MIDI)
Used for connecting to an external MIDI device or computer.
⑮RCA Jack (LINE OUT)
For connecting to an external stereo system.
⑫ ⑬
⑭
⑮

- 5 -
Control-BOX – RIGHT SIDE
⑯External Connecter (EXT)
For connecting to an external system. This connector contains a MIDI interface,
and power input from a compatible external system.
⑯

- 6 -
Chapter4 Getting Started
An initial setup procedure must be performed after installation before the system
will operate correctly. This procedure should have been done by the person who
initially installed the system.
(1)Engage the mute rail (if equipped) to silence the acoustic piano.
(2)Be sure the power is connected, either from an AC adapter or from a
compatible external system.
(3)Turn the power on by pressing the “POWER” button. Do not press any keys
or pedals while powering on.
(4)Plug the headphones into the PHONE socket.
(5)Select the desired instrument using the “TONE” button.
(6)Adjust the volume to a comfortable level.

- 7 -
Chapter5 Playing Demonstration Songs
Ten demonstrations songs are included in the control box. Refer to the chart
below.
No. Title Composer
1 Prelude(Wohltempericrte Klavier I No.1) Johann Sebastian Bach
2 Für Elise Ludwing van Beethoven
3 Piano Sonate op.27-2 “Mondschein” 1st mov. Ludwing van Beethoven
4 Shenandoah American folk song
5 Danny boy Ireland folk song
6 I love you,porgy George Gershwin
7 Someday my prince will come Frank Churchill
8 All the things you are Jerome Kern
9 Someone to watch over me George Gershwin
10 My wild irish rose Chancellor Olcott
< To play demos >
(1)Push the “PLAY” button for about 2 seconds. The “PLAY” lamp will start
flashing.
(2)When the “PLAY” lamp stops flashing, playback will begin starting with
the first demo song and continue in order through all demo songs. To
select another demo song, press one of the white keys that corresponds
to the song desired (see chart below).
(3)To stop playback, push the “PLAY” button.
A0
(la)
B0
(ti)
L e ft S ide
Demonstration Songs
D1
(re)
C1
(do)
E1
(mi)
F1
(fa)
A1
(la)
G1
(so)
B1
(ti)
C2
(do)
E2
(mi)
D2
(re)
F2
(fa)
G2
(so)
B2
(ti)
A2
(la)
C3
(do)
D3
(re)
F3
(fa)
E3
(mi)
G3
(so)
A3
(la)
C4
(do)
B3
(ti)
E4
(mi)
D4
(re)
1
s
t
S
o
n
g
C
o
n
t
e
n
t
o
f
K
e
y
2
n
d
S
o
n
g
3
r
d
S
o
n
g
4
t
h
S
o
n
g
5
t
h
S
o
n
g
6
t
h
S
o
n
g
7
t
h
S
o
n
g
8
t
h
S
o
n
g
9
t
h
S
o
n
g
1
0
t
h
S
o
n
g

- 8 -
Chapter6 Selecting Instruments
8 different instruments can be selected by pressing the “TONE” button on the
control box. Each push of the “TONE” changes to the next instrument in sequence
as follows:
Piano → Bright Piano → Mellow Piano → Electric Piano1 → FM Electric Piano
→ Church Organ → Warm Organ → Percussive Organ → (Back to the Piano)
A sample of each instrument will sound with each push of the “TONE” button.
88 different instruments can be selected using the “TONE” button in conjunction
with the piano keys (including the 8 instruments listed above).
< Selecting one of the 88 instruments using the piano keys >
(1)Push and hold the “TONE” button, then press one of the piano keys for
the instrument desired. (See the keyboard chart on the following page.)
A sample of each instrument will sound with each key pressed.
(2)Release the “TONE” button once you have selected an instrument.
[Note]
・If the power is turned off, the instrument will return to Piano.
・Some of the instruments have pre-set effects (such as chorus & reverb)
as part of their default setting. In some cases, the effect may continue
when a different instrument is selected, depending on the instrument
selected.
・The rotary speaker effect is pre-set on the following instruments:
Warm Organ, Percussive Organ, Drawbar Organ 1, Drawbar Organ 2, Rock Organ
When these instruments are selected, the damper pedal acts as a switch
which changes the speed of the rotary effect.

- 9 -
C8
C7
C5
C2 C3 C4
Piano + strings
Piano 1 + choir
Bright Piano + Reverb
Harpsichord
Electric Piano2
Honk-tonk Piano
Pan Rhodes
Clavinet
Celesta
Glockenspiel
Music Box
Vibraphone
Santur
Drawbar Organ 1
Drawbar Organ 2
Rock Organ
Small Church Organ
Reed Organ
French Accordian
Harmonica
Bandoneon
Acoustic Guitar (nylon)
Acoustic Guitar (Steel)
Electric Guitar (jazz)
Chorus Guitar
Overdrive Guitar
Distortion Guitar
Acoustic Bass
Finger Electric Bass
Slap Bass
Synth Bass
Violin
Cello
Tremelo Strings
Harp
Strings
*Piano 1 (normal)
*Piano 2 (bright)
*Piano 3 (Mello w )
*Electric Piano 1
*FM Electric Piano
*Church O rgan
*Warm Organ
*Percussive Organ
Slow Strings
Strings + Horn
Synth Strings
Choir
Choir 2
Synth Voice
Trumpet
Trombone
Tuba
French Horn
Brass + Trumpet
Synth Brass 1
Synth Brass 2
Synth Brass 3
Synth Brass 4
Soprano Sax
Alto Sax
Tenor Sax
Baritone Sax
English Horn
Bassoon
Clarinet
Piccolo
Flute
Recorder
Pan Flute
Ocarina
Synth Lead 2 (sawtooth)
Synth Lead 5 (charang)
Synth Lead 6 (voice)
Synth Lead 8 (bass + lead)
Synth Pad 2 (warm)
Synth Pad 3 (polysynth)
Synth Pad 4 (choir)
Synth Pad 5 (bowed)
Synth Pad 7 (halo)
FX 3 (crystal)
FX 4 (atmosphere)
FX 5 (brightness)
FX 7 (echo)
Sitar
Koto
Bagpipe
Steel Drums
Instrument selections
Treble end of keyboard
Bass end of keyboard
C1A0 B0 D1 F1 G1 A1 B1E1 D2 E2 F2 G2 A2 B2 D3 E3 F3 G3 A3 B3 D4 E4
F4 G4 A4 B4 D5 E5 F5 G5 A5 B5 D6 E6 F6 G6 A6 B6 D7 E7 F7 G7 A7 B7
C6
NOTE: Instruments marked with an asterisk can also be selected with the “TONE” button alone.

- 10 -
Chapter7 Metronome
Quiet Time has a built-in metronome function which can be setup with various
parameters, such as beat, tempo, and volume.
< Metronome instructions, ON/OFF >
(1)Press the metronome button to start the metronome. The metronome lamp
will turn on and you will hear the metronome beating. Also, the “POWER”
lamp will flash at the set tempo of the metronome.
(2)Press the metronome button again to stop the metronome.
< Metronome Setup Instructions >
(1)Press and hold the metronome button for about two seconds. The metronome
lamp flash indicating that you are in the setup mode. The metronome
will also begin to sound.
(2)Choose beat. (Refer to the figure on the next page). The metronome can
be set up with the following beat patterns:
0, 2, 3, 4, 5, 6, 8. Use the piano keys indicated to select the desired
beat pattern.
(3)Choose tempo. (Refer to the figure on the next page).
To set the tempo, enter the desired tempo using the lowest 10 white
keys on the piano. It is necessary enter the tempo as a 3 digit number,
so tempos less than 100 need to be preceded by a “0”. (see the examples
below). The allowable tempo range 30 to 250.
・example 1: To set tempo to 132. ・example2:To set tempo to 60.
↓ ↓
①Push A0(“1”) ①Push C2(“0”)
↓ ↓
②Push C1(“3”) ②Push F1(“6”)
↓ ↓
②Push B0(“2”) ②Push C2(“0”)
(4)Choose volume. (Refer to the figure on the next page).
(5)Exit setup mode by pressing the metronome button. The metronome lamp
changes from flash to solid. The metronome will continue to sound until
the metronome button is press again.
[NOTE]
・The metronome settings are saved when power is turned off.

- 11 -
Quie t
Defau
Lou d
Bass End of Keyboard
TrebleEnd of Keyboard
Value s
Quie t
Default
Loud
Volume
Default
1234567890 0234568
Tempo Beat
C1 C2 C3 C4
A0 B0 D1 E1 F1 G1 A1 B1 D2 E2 F2 G2 A2 B2 D3 E3 F3 G3 A3 B3 D4 E4
C5 D5 E5 F5 G5 A5 B5F4 G4 A4 B4 D6 E6 F6 G6 A6 B6C6 C7 D7 E7 F7 G7 A7 B7 C8

- 12 -
Chapter 8 Recording and Playback
QUIET TIME can record your piano performance and play it back at a later time.
There are 10 banks that act as memory storage for the recorded song. The figure
on the next page show which piano keys are used to access the storage banks.
Chapter 8.1 Recording
< Record Instructions >
(1)Press and hold the piano key for the bank you wish to record to. Then
press the “REC” button. The “REC” lamp will light up to indicate that
you are in the record mode.
Note:If you do not select a bank to record to, bank 1 will be selected
by default.
(2)Recording will start when you play the first note or press a pedal.
(3)When you are finished, press the “REC” button. The “REC” lamp will turn
off and data will be saved in the selected bank.
[NOTE]
・ Recording to a bank that already has data will cause the previously stored
data to be overwritten.
・ Any instrument can be setup to record. However it cannot be changed during
the recording.
・ The Metronome can be used during recording but the sound is not recorded.
・ Each bank can store about 10,000 key or pedal strokes. Once this limit
is reached, recording will be stopped automatically.
・ The recorded data is saved when power is turned off.
< To Delete a Recorded Song >
(1) Press and hold the sustain pedal, then press and hold the “REC”
button.
(2) Press the piano key for the bank you wish to delete (see the figure
on the next page). A chime will sound confirming that the data has been
deleted. Performing a System Default (see Chapter 11.10) deletes any
data stored in all 10 banks.

- 13 -
Chapter 8.2 Playing Back Recorded Songs
< Playback Instructions >
(1)Press the “PLAY” button. The “PLAY” l a m p turns on to confirm that Quiet
Time is in play mode. The recorded song in bank 1 will begin to play
about 1 second later.
(2)To select a different bank, press the piano key for the bank desired.
You can also play the piano during playback.
(3)To stop the playback, press the “PLAY” button. The “PLAY” lamp will turn
off and playback stops.
[Note]
・ The first 10 white keys of the piano are assigned to bank selection
during playback. Therefore they will not sound if you play along with
the recording. If they are pressed during playback, a different bank
will be selected for playback. Likewise, the last three white keys
of the piano are assigned to tempo change functions during playback
and will not sound.
・ Playback will not start if there is no data in bank 1. If there is data
in any of the other banks, Press and hold the bank you want to play,
and then press the “PLAY” button.
Bass End of Keyboard
C1 C2
1
2
3
4
5
6
7
8
9
10
Rec Bank #
A0 B0 D1 E1 F1 G1 A1 B1 D2 E2
RecordBanks

- 14 -
Changing the tempo of a recorded song.
The tempo of a recorded song can be changed during playback. The range of
adjustment is from 0.5 times to 2.0 times the normal tempo (see chart below).
Step -5 -4 -3 -2 -1 ±0 +1 +2 +3 +4 +5
Speed 0.5 0.6 0.7 0.8 0.9 1.0 1.2 1.4 1.6 1.8 2.0
Slow Normal Fast
< Tempo Instructions >
(1)Select a bank that has recorded data and play it back as described above
(see <Playback Instructions>).
(2)Press one of the piano keys that control tempo (Refer to the following
figure.) A7 decreases the tempo and C8 increases the tempo in 5 steps
either direction from normal. B7 returns the tempo to normal.
C8
C7
Treble End of Keyboard
Slower Tempo
Normal Tempo
Faster Tempo
Functions
Playback Tempo
D7 E7 F7 G7 A7 B7

- 15 -
Chapter9 Setting Note Repeat Limit
ProRecord can be set up with limits to how many times a note can be repeated
per second.
< Setup Instructions >
(1)Press and hold A#0 and G1 while turning the power on (refer to the figure
below). If a MIDI device is connected, a MIDI signal will sound
confirming that the system is in setup mode. Continue holding the two
piano keys.
(2)Select the repeat limit desired from the keyboard (see figure below).
(3)Release the two piano keys to store your setting and to exit setup mode.
[Caution!]
Choosing a re-strike limit that exceeds the pianos capability may cause
undesirable effects.
5
6
7
8
9
10
11
13
14
15
16
17
No Limit
A0 B0 C1D1 E1 F1 G1 A1 B1 C2 D2 E2 F2 G2 A2 B2 C3 D3 E3 F3 G3 A3 B3 C4D4 E4
While PoweringOn
18 (Default)
12
Hold A#0 andG1
Bass end of keyboard
Number of restrikes per second

- 16 -
Chapter10 Adjustments and Configurations
ProRecord can be setup to suit your preference.
[Caution!]
The installer should perform the initial setup procedure after the
installation has been completed. If the system is reset to factory
default (see section 8.9), all settings will be lost and the initial setup
procedure must be performed again before the system will work properly.
Chapter10.1 Tuning(Adjusting the Pitch)
The pitch of this instrument is set at A4=440 Hz. You can fine-tune the pitch
up or down in 0.5 Hz steps. The maximum adjustment either direction is 13 Hz.
< Tuning Instructions >
(1)Press and hold keys A#0 and C#1 while turning the power on. A chime
will sound confirming that you are in the setup mode. Continue holding
the two keys.
(2)To lower the pitch, press G4 repeatedly until the desired pitch is
established. To raise the pitch, press B4 repeatedly until the desired
pitch is established. To return to A-440, press A4.
B4 raises pitch by about +0.5 Hz per step (maximum of +13 Hz).
G4 lowers pitch by about -0.5 Hz per step (maximum of -13 Hz).
(3)Release the two keys to save your setting and exit setup. Setting will
be retained when the unit is powered off.
A0 B0 C1D1 E1 F1 G1 A1 B1 C2
While PoweringOn
Bass end of keyboard
C4D4 E4 F4 G4 A4 B4 C5
A 440 htz.
Raise
Lower
Hold A#0 and C#1

- 17 -
Chapter10.2 Sensor Calibration
The sensitivity of the keyboard and pedal sensors can change with time and/or
temperature. Periodic adjustments are required to keep your system operating
at its optimum performance.
< Calibration Instructions >
(1)Press and hold the “PLAY” a n d “REC” while turning the power on. A chime
will sound to confirm that the system is in calibration mode, and the
“PLAY” and “REC” lamps will flash alternately.
(2)Press and release any key or keys that need to be re-calibrated. Be
sure to press the key(s) to full depth and use the same force for all
keys. A note will sound slightly delayed indicating that the key was
re-calibrated. If no note is heard, it did not need calibration. It
is not necessary to play each key. Only those that need re-calibration.
(3)Press and release any pedal that needs to be re-calibrated. Be sure
and press the pedal to its full depth. A chime will sound indicating
that the pedal was re-calibrated. If no chime was heard, it did not
need re-calibration. It is only necessary to press the pedal(s) that
needs re-calibration.
(4)Press the “PLAY” button. If the calibration procedure was successful,
a chime will sound and the “PLAY” and “REC” lamps will stop flashing.
[Note]
If the system is powered off before the “PLAY” button is pressed, the
calibration procedure will not be completed and must be done again.

- 18 -
Chapter10.3 Automatic Sensor Calibration
ProRecord has the capability of calibrating the key and pedal sensors
automatically. This function is enabled by default but can be disabled if
desired.
< To Disable Automatic Sensor Calibration >
Press and hold keys B0 and D#1 while turning the power on. A MIDI signal
will sound indicating that the automatic sensor calibration function has
been disabled (see figure below).
A0 B0 C1D1 E1 F1 G1 A1 B1 C2D2 E2
Bass end of keyboard
Hold B0 and D#1 While PoweringOn
To Turn Auto Calibration Off
< To Enable Automatic Sensor Calibration >
Press and hold keys B0 and D1 while turning the power on. A MIDI signal
will sound indicating that the automatic sensor calibration function has been
enabled (see figure below).
A0 B0 C1D1 E1 F1 G1 A1 B1 C2D2 E2
Bass end of keyboard
While PoweringOn
To Turn Auto Calibration On
Hold B0 andD1
Other manuals for ProRecord
1
Table of contents