manuals.online logo
Brands
  1. Home
  2. •
  3. Brands
  4. •
  5. Pig
  6. •
  7. Fencing & Gate
  8. •
  9. Pig Silt Fence User manual

Pig Silt Fence User manual

Unroll the silt fence fabric on the ground with the
gray panel facing up. The 5" sand tube pocket,
with post holes, should be toward the fill slope.
Fold top edge of fabric over bracket, aligning
prepunched holes in fabric with the top two holes
in the bracket. (The bottom six holes are unused.)
1
Drop bottom plate over end of post and place
retainer clip on top. Finish driving T-post until
bottom plate is tight and flush with ground,
sealing tube pockets in place.
4
2
5
3
6
Insert sand tubes into tube pockets between the
post holes in the fabric.
For 4' spacing, drive a T-post into every post
hole. For 8' spacing, drive T-posts into fence ends
then alternate every 4' with ground stakes and
T-posts. (Use washers with ground stakes.)
Feed two 75# zip ties through the fabric, into the
bracket and back through the fabric.
Start T-posts in holes between sand tubes
(studded side facing fill slope), with the white
end facing up. Set with a driver, pounder or
sledgehammer.
Place angled top bracket on top of T-posts and
pin into place. Ensure that the open side faces
the fill slope.
Tighten zip ties. The fabric will not be tight
horizontally or vertically to allow the self-
supporting curve to function.
7 8 9
PIG Trenchless Curved Silt Fence — Installation
PIG, PIG logo are registered trademarks in USA and other countries. See tm.newpig.com361350
Phone: 1-855-PIG-LINER (744-5463)
Email: pigliner@newpigenergy.com
Online: newpigenergy.com
Secondary Containment
from the Leak & Spill Experts.
®
New Pig Energy
8' Min.
Angled
Bracket
Steel
T-Post
Support
Sediment Removal Line
11"
Sand Tube
Bottom
Plate
Fill Slope
Undisturbed
Ground
Stabilizer
Panel
Trenchless
Curved
Silt Fence
25"
12"
Slope
Percent
Maximum Slope Length (ft) Above Fence
8 ft. T-Post Spacing 4 ft. T-Post Spacing
2 (or less) 500 1000
5250 550
10 150 325
15 100 215
20 70 175
25 55 135
30 45 100
35 40 85
40 35 75
45 30 60
50 25 50
Both ends should extend at least 8 feet upslope at 45° to the
main fence alignment.
Install downslope of all disturbances in existing ground and parallel to
existing contours. Install silt fence on level grade.
A temporary barrier of curved geotextile (filter fabric) with sand tubes
attached to supporting t-posts to remove sediment from runoff below
disturbed areas.
Controls sheet flow runoff from small disturbed areas where the
discharge is to a stable area.
• Do not use in areas of concentrated flow (e.g. channels, swales,
erosion gullies, across pipe outfalls, or as inlet protection, etc.).
• Heavy vegetation should be removed prior to installation. The
fence can be used on rocky slopes if enough preparation is made
to ensure good contact of the sand tube with the underlying soil
along its entire length.
• Trenchless Curved Silt Fence should not be installed on
uncompacted fills or in extremely loose soils (e.g. sandy loam)
since this will likely result in undermining of the fence.
• Traffic shall not be permitted to cross the sand tubes.
• Should be installed at least 8 feet from the toe of fill slopes.
• Accumulated sediment shall be removed when it reaches 11" high
on T-posts. There are sediment removal lines on the studded T-post
stakes for easy identification.
• The Trenchless Curved Silt Fence shall be inspected weekly and after
each runoff event. Damaged sections shall be repaired or replaced
within 24 hours of inspection.
• Perform all preventive and remedial maintenance work — including
clean-out, repair & replacement — immediately following inspection.
• Maintenance and inspection must be continued until the site is
permanently stabilized.
• Upon stabilization of the area, the fabric, sand tubes, T-posts, stakes,
bottom plates, angled top brackets and pins shall be removed. Fabric
shall be properly disposed. Sand tubes, T-posts, stakes, bottom
plates, angled top brackets and pins in good working condition can
be reused on future installations.
Wooden
Stake
Wooden
Stake
Staples
Fabric
Section 2
Fabric
Section 1
T-Post
Joining Fence Sections
• 3 zip ties to join sections
• 1.25 lbs/ft studded T-posts
Elevation View
Place Fence on Existing Contour
Illustration PA DEP
Extend end of Fence at least 8 feet
upslope at 45° to Main Fence Alignment
NOTE: T-posts are positioned on the fill slope side (see below)
Plan View
• Stakes spaced @ 4 ft. O.C.
• 1.25 lbs/ft studded T-posts
SEDIMENT BARRIER ALIGNMENT
APPLICATION
DEFINITION
PURPOSE
LIMITATIONS
MAINTENANCE
Zip tie

Popular Fencing & Gate manuals by other brands

Zippity Madison Vinyl Picket Fence Kit 2-Pack Assembly instructions

Zippity

Zippity Madison Vinyl Picket Fence Kit 2-Pack Assembly instructions

Zippity Manchester ZP19018 Assembly instructions

Zippity

Zippity Manchester ZP19018 Assembly instructions

Müller LIGNODUR terrafina refugio 2.0 Assembly instructions

Müller

Müller LIGNODUR terrafina refugio 2.0 Assembly instructions

WamBam STURBRIDGE BL19104 Assembly instructions

WamBam

WamBam STURBRIDGE BL19104 Assembly instructions

Casanoov ANTELAO 400B160 manual

Casanoov

Casanoov ANTELAO 400B160 manual

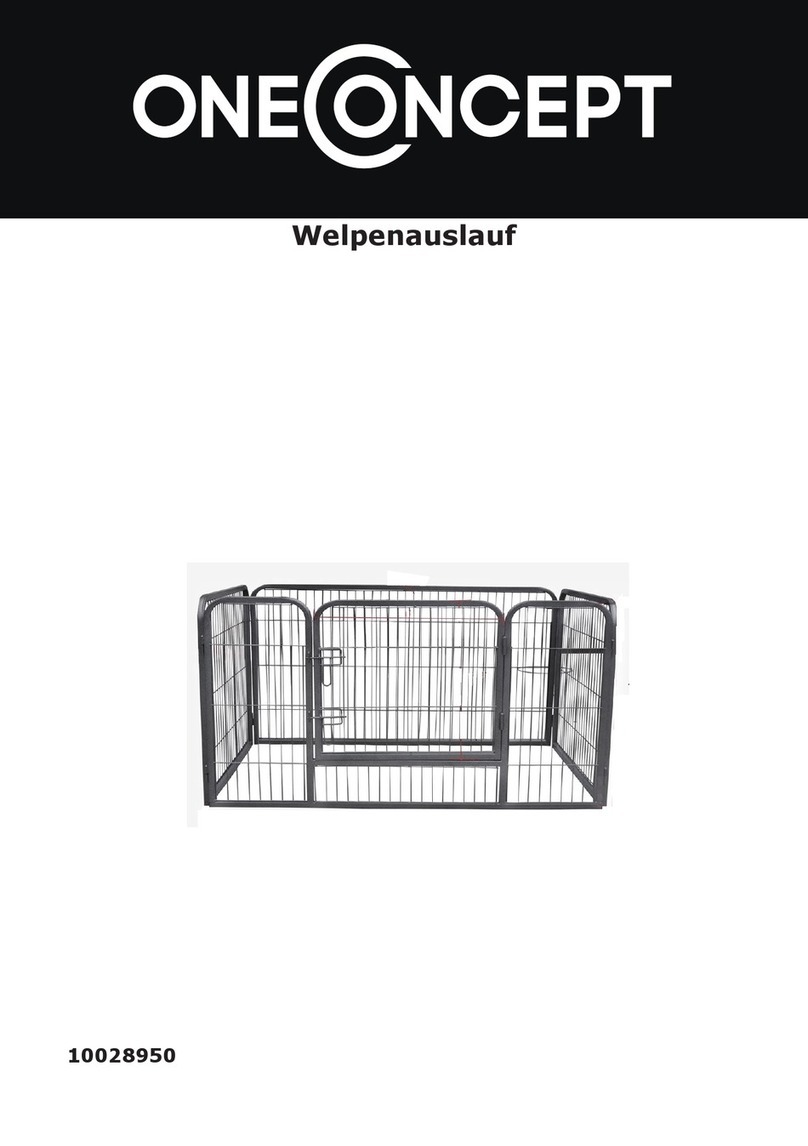
oneConcept 10028950 manual

oneConcept

oneConcept 10028950 manual

Lake Shore 84032-FI Installation

Lake Shore

Lake Shore 84032-FI Installation

ALLOMATIC TK-1000 installation instructions

ALLOMATIC

ALLOMATIC TK-1000 installation instructions

Shurco AutoGate owner's manual

Shurco

Shurco AutoGate owner's manual

Zippity ZP19056 Assembly instructions

Zippity

Zippity ZP19056 Assembly instructions

zopa BKB1004 user manual

zopa

zopa BKB1004 user manual

Centaur CENFLEX installation manual

Centaur

Centaur CENFLEX installation manual

CHESHIRE MOULDINGS axxys evolution Fitting instructions

CHESHIRE MOULDINGS

CHESHIRE MOULDINGS axxys evolution Fitting instructions

Barrette EPN-51832 quick start guide

Barrette

Barrette EPN-51832 quick start guide

WamBam PEEPING TOM VF16200 Assembly instructions

WamBam

WamBam PEEPING TOM VF16200 Assembly instructions

Husker Vinyl WOODLAND SELECT PRIVACY installation instructions

Husker Vinyl

Husker Vinyl WOODLAND SELECT PRIVACY installation instructions

Vestil PRAIL-102-Y-W instruction manual

Vestil

Vestil PRAIL-102-Y-W instruction manual

Casanoov DO 300C140 instruction manual

Casanoov

Casanoov DO 300C140 instruction manual

manuals.online logo
manuals.online logoBrands
  • About & Mission
  • Contact us
  • Privacy Policy
  • Terms and Conditions

Copyright 2025 Manuals.Online. All Rights Reserved.