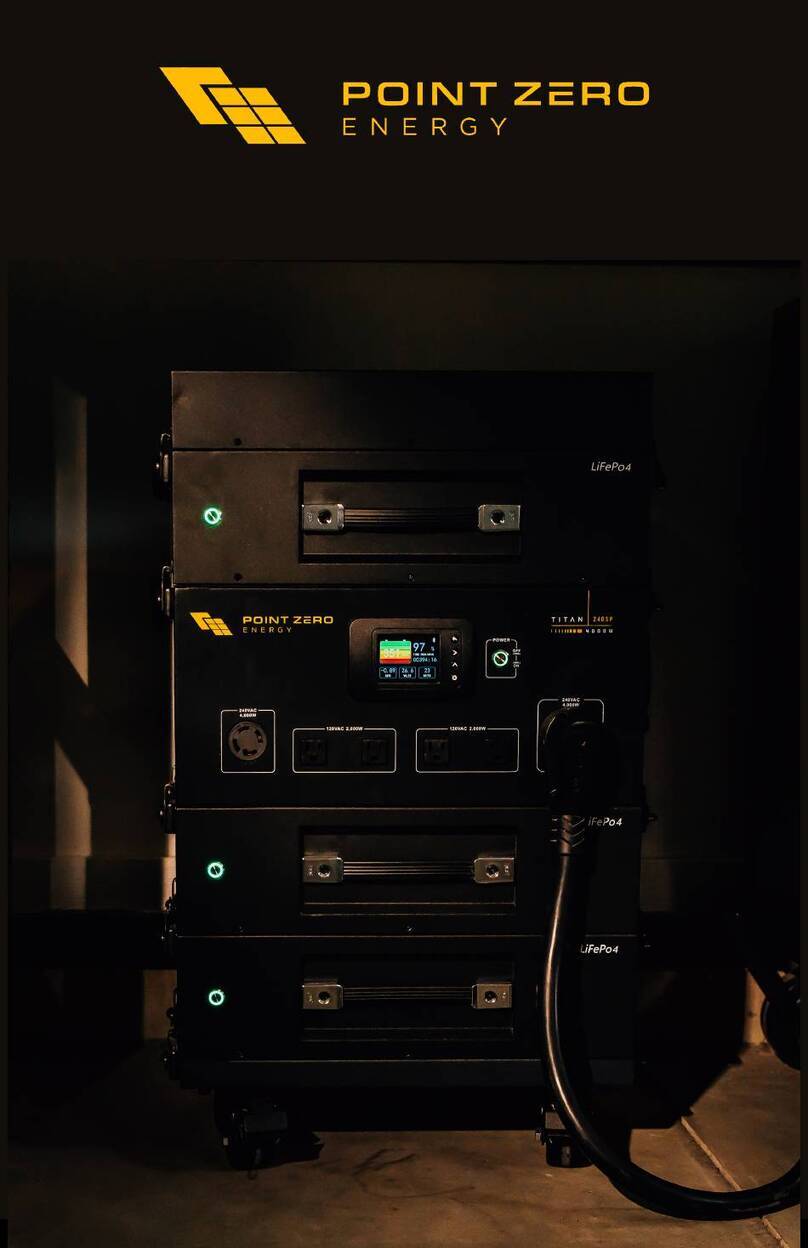
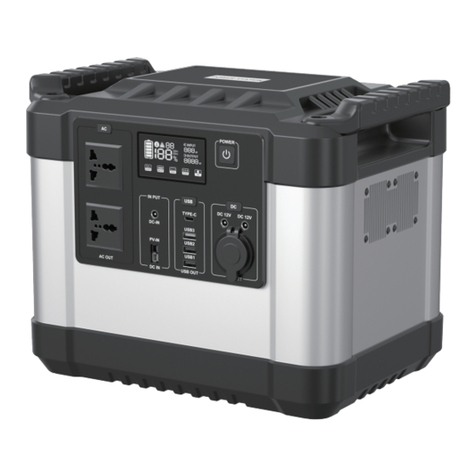
Point Zero Energy Titan User manual

User Manual
Titan solar generator

CHARGE BEFORE USING OR STORING
Before using or storing, charge your Titan solar generator until it is fully
charged.
IMPORTANT SAFETY INSTRUCTIONS
To avoid personal injury or damage to the solar generator or any connected
products, carefully read, understand, and comply with all instructions
before use. Keep this manual for future reference.
Observe all Input/Output watt rat ngs: To avoid fire or electrical shock
hazard, observe all ratings on unit, and products you intend to use; check
manuals for more information.
Use n a well vent lated area: nsure proper ventilation while in use and
keep away from any combustible materials or gases. Do not stack anything
on top of the unit in storage or in use. Inadequate ventilation and/or
improper storing may cause damage to the unit.
DO NOT operate n wet cond t ons: In order to avoid short circuits or
electric shock do not allow unit to get wet. Let unit dry completely before
using.
Keep the un t clean and dry: Inspect the unit for dirt, dust, or moisture on
a regular basis.
Shock or F re Hazard: This Titan solar generator produces the same
potentially lethal AC power as a normal household wall outlet. Please use
caution when operating, just like using a normal AC outlet on the wall.
DO NOT insert foreign objects into outputs or ventilation holes.
DO NOT open the Titan solar generator; there are no user serviceable
parts inside.
Any manipulation to the unit or its components will void all warranties.

TABL OF CONT NTS
General Information 2
Controls, Indicators, Connections…………………………. 2-3
Technical Specifications…………………………………… 4
Charging Your Titan Solar Generator……………………………… 5
Charging from solar………………………………………... 5
Charing from the wall……………………………………… 6
Charging from a cigarette port……………………………... 6
Operating instructions……………………………………………... 7
General operating and safety instructions…………………. 7
Initial Setup………………………………………………... 7
Adding Multiple Battery Packs……………………………. 8
Calibrating the Battery Meter……………………………… 8
Balancing the Batteries…………………………………….. 8
Using Your Titan Solar Generator…………………………. 9
Battery Meter………………………………………………. 10
Storage …………………………………………………………….. 11
Point Zero nergy Titan Kit Set Up Diagrams…………………….. 12-15
Troubleshooting……………………………………………………. 16-18
FAQ………………………………………………………………... 19-21
Warranty Information……………………………………………… 22
1

G N RAL INFORMATION
Controls, Ind cators, Connect ons
FRONT VIEW
A- Battery display
B- Power switch- down DC only, middle off, up AC and DC
C- 12V DC sockets 20Amps max, each socket, or all combined.
D- 120V AC sockets 15A per set of 3 (left three combined 15A, and right
3 combined 15A max)
E- Reset breaker for left 3 outlets (15A)
F- Reset breaker for right 3 outlets (15A)
G- Reset breaker for RV outlet (30A)
H– 20A fuse for 12V DC sockets
I– 30A RV outlet (max 3,000 watts continuously 6,000 watts peak)
J- 2,000 watt hour lithium battery pack
2
(Figure 1)

SIDE VIEW
K– xternal battery port
L– 12V Car Charging Port and Battery Reset Port (input voltage 10-20V
DC Max charging 160 watts)
M– AC Charging Ports. Max 50A per port @ 29.2V
N– Solar input ports. Max charging 1,000 watts per port. Max input amps
30, max VOC (voltage open circuit) 145V
O– Battery latch. Make sure the battery is secure with all 4 latches before
use
3
(Figure 2)

Techn cal Spec f cat ons
We ght 35 lbs Power module, 35 lbs battery
D mens ons 18.5x12x12
Generator
Solar Input Voltage volts: up to 145VDC watts: up to 2000 w
Output Voltage 120V AC Pure sine wave
Continuous Power
Output
3,000 watts (recommended 1500 watts with one
battery pack)
Peak Power Output 6,000 watts
Outlets (6) 120V
USB 6 smart USB, 2 USB C (removable sockets)
Battery
Cell type 24V lithium ion
Capacity 2,000 watt-hours per battery pack
Life Up to 10 years or up to 2000 cycles*
Warranty 2 year limited on Titan Power Module
1 year limited on Titan Battery Pack
*Maximum life span of battery based on ideal conditions. Actual life
span will depend on factors such as charge rate, discharge rate, cycle
depth of discharge, and usage and storage conditions.
4

CHARGING YOUR TITAN SOLAR G N RATOR
There are three ways to charge your Titan solar generator: From solar,
using an AC charger (wall charger), and from a car cigarette port charger.
The Titan is capable of charging from all three sources at the same time.
*It’s cr t cal to ensure that ALL THREE SOURCES OF CHARGING
COMBINED does NOT EXCEED 1000 watts PER BATTERY.
Charg ng from Solar
There are two sets of Anderson plugs designated for solar charging. See
Figure 1 under Controls, Ind cators, Connect ons.
ach set is capable of charging up to 1000 watts. You can connect more
than 1000 watts per set, however, the generator will limit charging to 1000
watts per set. This can be beneficial if your system has one battery and you
want to limit the charge rate and get more power in low sun conditions.
* DO NOT EXCEED 145V of SOLAR INPUT.
If you purchase solar panels from Point Zero nergy, follow the diagrams
contained in this user manual. If you purchase solar panels from another
source, make sure it is configured to keep the open circuit voltage under
145V
S FIGUR S 4-7 for wiring diagrams for Point Zero nergy’s solar kits.
Charg ng from solar
1. Place your solar panels where they will get as much direct sunlight
as possible.
2. Connect solar panels to the generator using the correct
configuration.
3. Your batteries are fully charged when the battery display monitor
reads 100% (See section BATT RY M T R on reading battery
meter). It does not hurt to leave your solar panels connect even
after the batteries are fully charged.
Charg ng from the wall
1. nsure the AC battery charger is set to your correct grid voltage.
2. Plug the AC Battery Charger into any wall outlet using the included
power cord.
3. Connect the red Anderson plug end of the AC Battery Charger to
the Titan AC charging port.
4. Turn the AC battery charger switch to ON.
5

Charg ng from car c garette port
1. Using the included cigarette port adapter, plug the cigarette port
end into the cigarette port of the car.
2. Plug the SA end of adapter into the 12V charging port on the
Titan solar generator (S FIGUR 2)
*CAUTION: THIS WILL DRAIN YOUR CAR BATTERY.
THIS METHOD OF CHARGING WILL USE UP TO 18 AMPS FROM
YOUR CAR BATTERY. SOME CIGARETTE PORTS MAY NOT HAVE
THE CAPACITY TO HANDLE CHARGING. PLEASE ENSURE YOUR
VEHICLE HAS THE CAPACITY FOR CHARGING BEFORE YOU USE
THIS METHOD.
SAFETY MODE
When the battery has been depleted below normal operating levels, the
Titan solar generator will go into safety mode. During safety mode, the
Titan will not turn on with the power switch. To take it out of safety mode,
the battery must be charged. To do this, first turn the Titan solar generator
power switch to the OFF position. Next, charge the battery using one of
three sources.
The easiest way is to use the AC charger and completely charge the battery.
Second, is using solar charging. To do this, use ON SOLAR PAN L
connected to the MC4 to SA adapter which is then plugged into the 12V
charging port.
(CAUTION: DO NOT USE MORE THAN ONE 12V SOLAR PANEL)
Leave the solar panel plugged in for 5 minutes then turn the Titan power
switch on to DC ONLY MOD . When turned on, if the voltage reads 20
volts or more, you can now remove the solar panel and continue to charge
as normal from solar, connecting to the solar panel charging port.
If it doesn’t turn on or the voltage reads below 20 volts, turn the Titan solar
generator back off, leaving it plugged in for another 5 minutes and check
again.
Repeat this process until the generator reaches above 20 volts.
Third, plug the Titan solar generator to a 12V car port, using the included
Car Charging Port Adapter. Warn ng: Th s may take a very long t me
and completely dra n your car battery.
6

OP RATING INSTRUCTIONS
GENERAL OPERATING AND SAFETY INSTRUCTIONS
•For optimal performance, use your Titan solar generator in a cool,
dry environment. Although the solar panels need to be kept in
direct sunlight, keeping the generator away from any direct heat
source, including direct sunlight, will keep the generator from over-
heating and shutting off.
•Keep well ventilated, away from any combustible materials or
gases.
•Do not open the Titan solar generator; there are no user serviceable
parts inside.
INITIAL SET-UP
Because of it’s design, there is a specific way to initially setup the Titan
solar generator. PLEASE FOLLOW INSTRUCTIONS CAREFULLY
to keep your Titan functioning properly.
1. Connect the battery pack to the T tan Power Module
(FOR SYSTEMS WITH MORE THAN ONE BATTERY PACK, SEE
SECTION ‘ADDING MULTIPLE BATTERY PACKS’)
a) First, ensure the power switch on the solar generator is in the OFF
POSITION.
b) Stack the Titan Power Module on top of the battery pack, making
sure the rubber feet of the generator are aligned on top of the circle
indentations of the battery pack.
c) Tighten the four metal latches on the sides of the battery pack. You
may need to press down on the generator to close the latch.
d) The battery is now connected.
2. Fully charge your batter es.
*IMPORTANT: Any time you add or replace batteries, you need to fully
charge each battery pack so the system can calibrate correctly to the new
battery configuration.
a) Turn the Titan Power Module on (DC or DC/AC)
b) Fully charge your battery using the provided AC charger.
7

ADDING MULTIPLE BATTERY PACKS
*IMPORTANT: When adding multiple battery packs, it’s cr t cal that
you follow the nstruct ons l sted below so that
1.) The battery meter is calibrated to read the correct state of charge, and
2.) The battery packs are all balanced B FOR connecting them together
with the solar generator.
*CONNECTING UNBALANCED BATTERIES TOGETHER IN A
SYSTEM WILL DAMAGE ONE OR MORE OF THE BATTERIES.
CALIBRATING THE BATTERY METER
1. Connect the first battery by stacking the Titan Power Module on top of
the battery pack, making sure the rubber feet of the generator are aligned
on top of the circle indentations of the battery pack.
2. Tighten the four metal latches on the sides of the battery pack. You may
need to press down on the generator to close the latch.
3. The battery is now connected.
4. Turn the generator on (DC or DC/AC).
5. Program the battery meter to the correct amp-hours of all the battery
packs comb ned that w ll be n use.
ach Point Zero nergy Lithium Ion battery pack is 74 amp-hours.
For example, if you have 3 battery packs, you will need to set the amp-
hours on the meter to 222 amp-hours (3 X 74 amp-hours=222 amp-hours).
S S CTION BATT RY M T R on programming the battery meter).
6. Fully charge the battery using the provided AC charger.
7. Turn off the Titan solar generator and remove the battery.
8. The Titan solar generator is now calibrated for all battery packs that will
be in use.
BALANCING THE BATTERIES
1. Repeat steps 1-8 on CALIBRATING TH BATT RY M T R
(exclud ng step 5) for each remaining battery.
2. Add all batteries to the system.
*Th s process of ADDING MULTIPLE BATTERY PACKS w ll need
to be followed every t me the battery conf gurat on s changed.
8
Table of contents
Other Point Zero Energy Portable Generator manuals
