9
COOL
MODE
Ideal for hot muggy weather when you need to air conditioning
and dehumidify the room.
To set this mode correctly:
Press the " "
button a number of times until the " "
symbol appears.
Select the target temperature by pressing the " " or
" " button until the corresponding value is displayed.
Select the required fan speed by pressing the " " button.
Three speeds are available:
Maximum speed:
to achieve the target tempe-
rature as rapidly as possible
Medium speed:
reduces noise levels but still
maintains a good level of comfort
Low speed:
for silent operation
The most suitable temperature for the room during the summer
varies from 24℃ to 27℃. You are recommended, however, not to set
a temperature much below the outdoor temperature.
OPERATING FROM THE CONTROL PANEL
The control panel enables you to manage all the main functions
of the appliance, but to fully exploit its potential, you must use the
remote control unit.
T
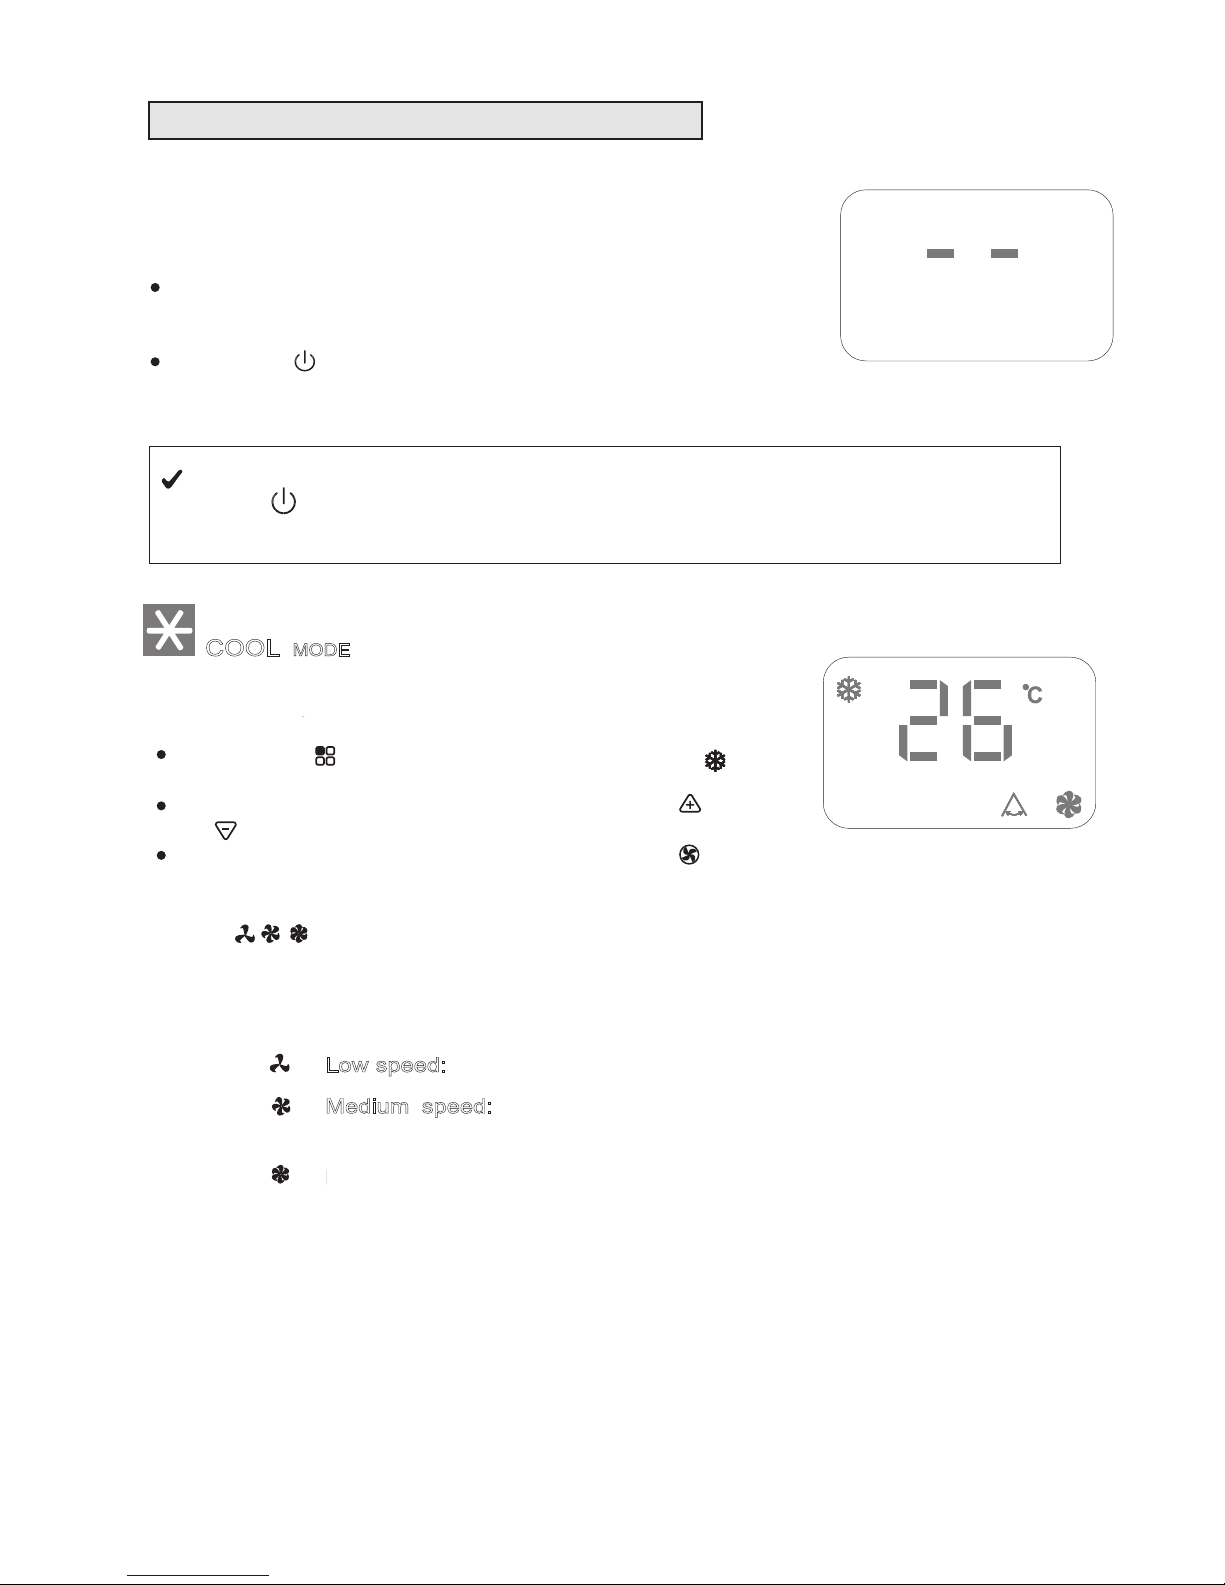
URNING THE APPLIANCE ON
Plug into the mains socket.
Two lines appear on the display indicating that the appliance
is in standby.
Press the button until the appliance comes on. The last
function active when it was turned off will appear.
Never turn the air conditioner off by unplugging from the mains. Always press the
button , then wait for a few minutes before unplugging. This allows the appliance
to perform a cycle of checks to verify operation.
COOL
MODE
Ideal for hot muggy weather when you need to air conditioning
and dehumidify the room.
To set this mode correctly:
Press the " "
button a number of times until the " "
symbol appears.
Select the target temperature by pressing the " " or
" " button until the corresponding value is displayed.
Select the required fan speed by pressing the " " button.
Three speeds are available:
Maximum speed:
to achieve the target tempe-
rature as rapidly as possible
Medium speed:
reduces noise levels but still
maintains a good level of comfort
Low speed:
for silent operation
The most suitable temperature for the room during the summer
varies from 24℃ to 27℃. You are recommended, however, not to set
a temperature much below the outdoor temperature.
OPERATING FROM THE CONTROL PANEL
The control panel enables you to manage all the main functions
of the appliance, but to fully exploit its potential, you must use the
remote control unit.
T
URNING THE APPLIANCE ON
Plug into the mains socket.
Two lines appear on the display indicating that the appliance
is in standby.
Press the button until the appliance comes on. The last
function active when it was turned off will appear.
Never turn the air conditioner off by unplugging from the mains. Always press the
button , then wait for a few minutes before unplugging. This allows the appliance
to perform a cycle of checks to verify operation.
6
OPERATING FROM THE CONTROL PANEL
Ideal for hot muggy weather when you need to air condition
and dehumidify the room.
Four speeds are available:
Auto Speed: The three indicators light up means
the fan speed is AUTO and the appliance selects
the most suitable fan speed in relation to the
temperature set on the digital display.
High (Maximum) Speed: to achieve the target
temperature as rapidly as possible