910
OVERVIEW
Control Panel
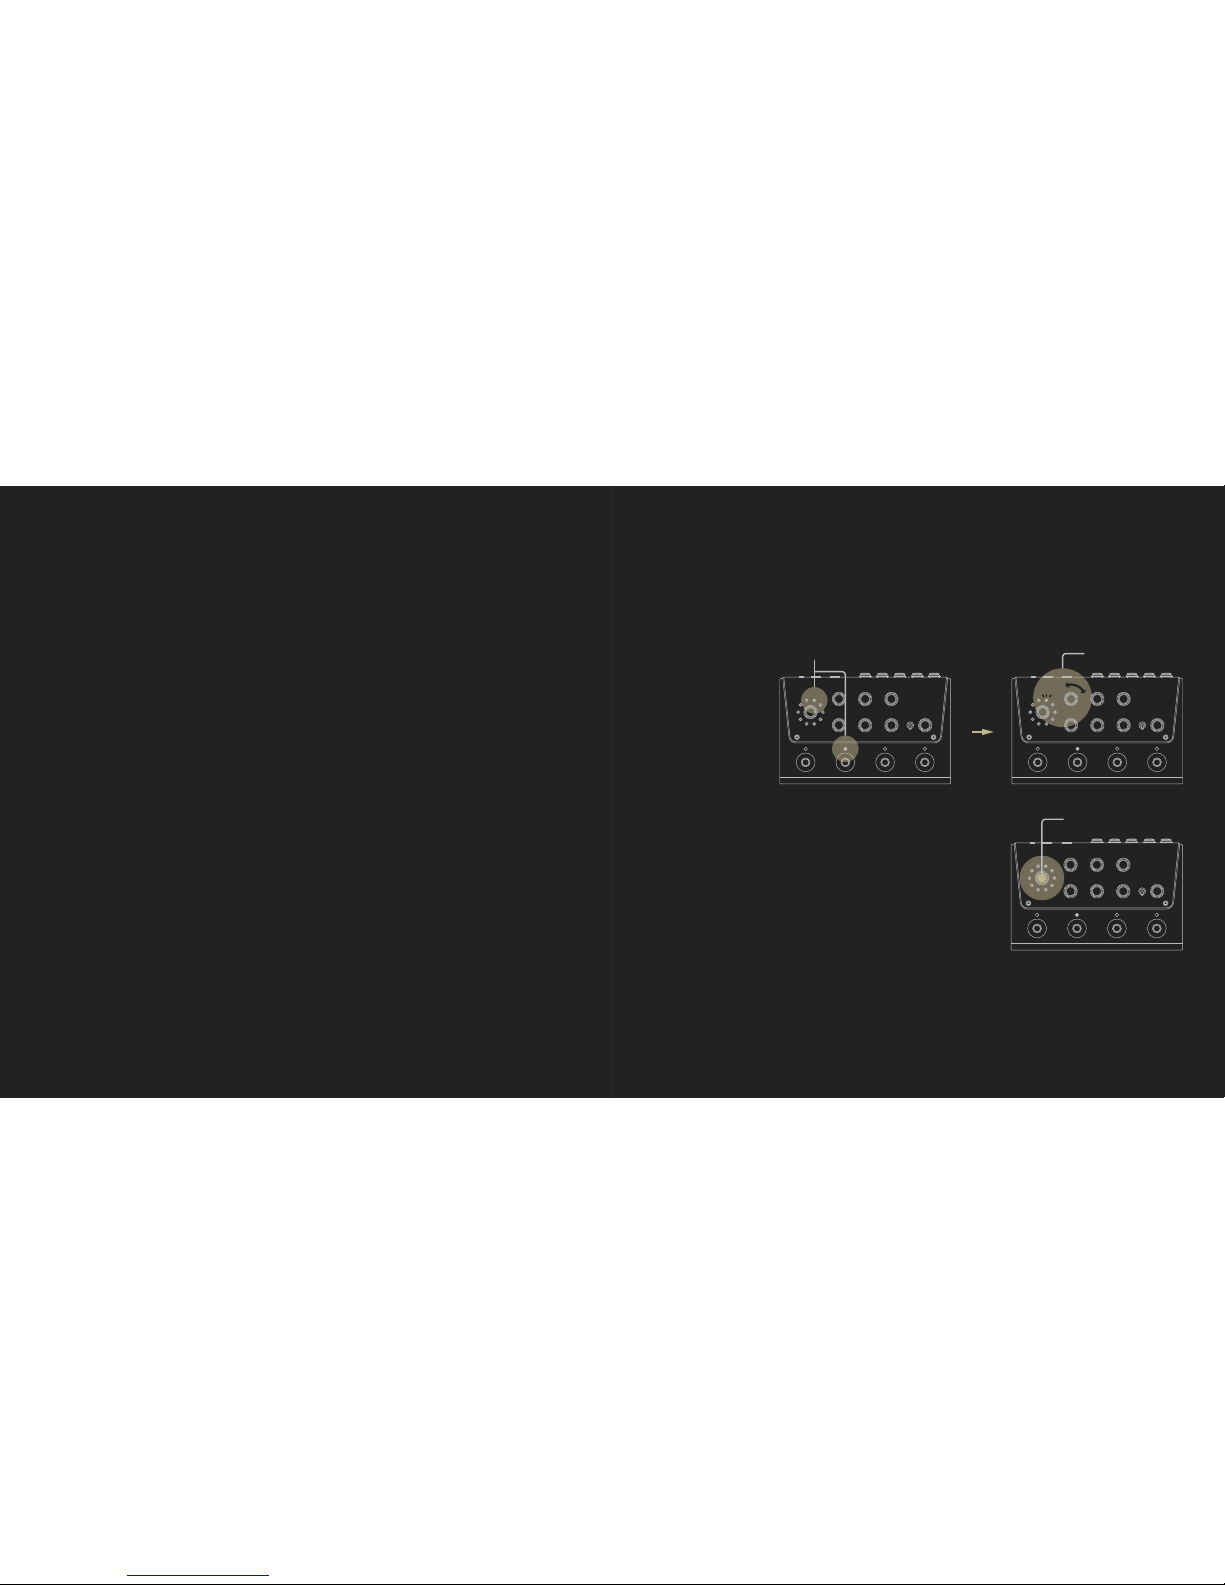
・Preset knob
Controls the currently engaged preset. Once
a parameter changes, the LED will start to
blink, indicating that a change has been
made to the current preset. Long-press the
Preset knob again to save your changes.
BIAS Modulation comes with 20 presets in
total, with 10 presets assigned to each bank.
Press the knob to switch between the 1st
bank (red) and 2nd bank (blue).
・DEPTH
Controls the depth of the primary LFO (BIAS
Modulation also includes a secondary LFO,
which is discussed later in this manual).
・RATE
Controls the speed of the primary LFO.
・INTENSITY
Controls the level of the modulation effect.
・TONE
Controls a “tilt” filter (bipolar shelving filter).
Turning the Tone control clockwise from its
noon position attenuates low frequencies while
simultaneously boosting highs. Turning the
Tone control anti-clockwise has the opposite
effect, boosting low frequencies while simulta-
neously cutting highs.
・TWEAK 1
The function of this control knob depends on
the module and effect type that’s engaged.
(see the Modulation Module section of this
manual).
・TWEAK 2
The function of this control knob depends on
the module and effect type that’s engaged (see
the Modulation Module section of this manual).
・LEVEL
Controls the overall output level.
・LFO
Selects among the available LFO waveforms:
Round(sine), Triangle(Saw) and Pulse(Square).
You can select from additional LFO waveforms
in BIAS Pedal software.
Footswitch Panel
Rear Panel
・Input
Stereo ¼” TS Hi-Z jacks
・Output
Stereo ¼” TS jacks
・EXP.
¼” TRS jack for an expression pedal (see the
Expression Pedal section of this manual for
more information)
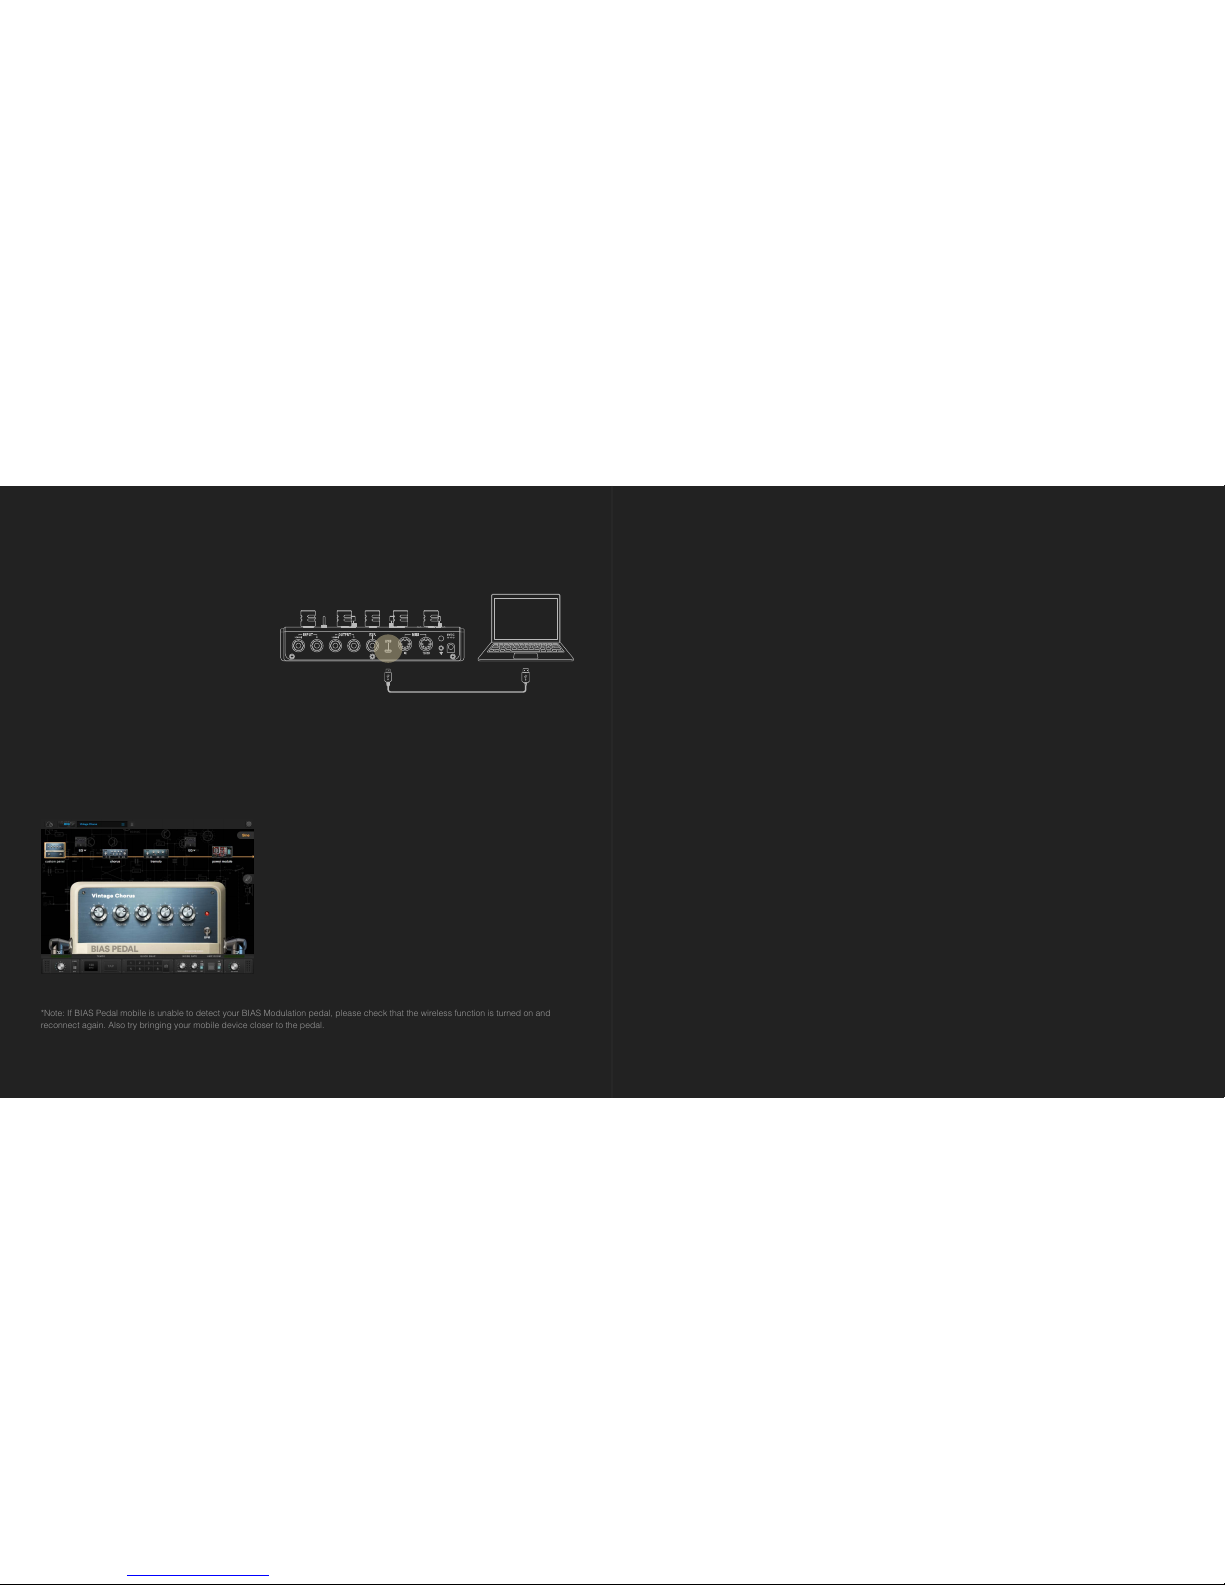
・USB
Micro USB port for supplying power to the
pedal and for integrating the pedal with BIAS
Pedal (desktop) software
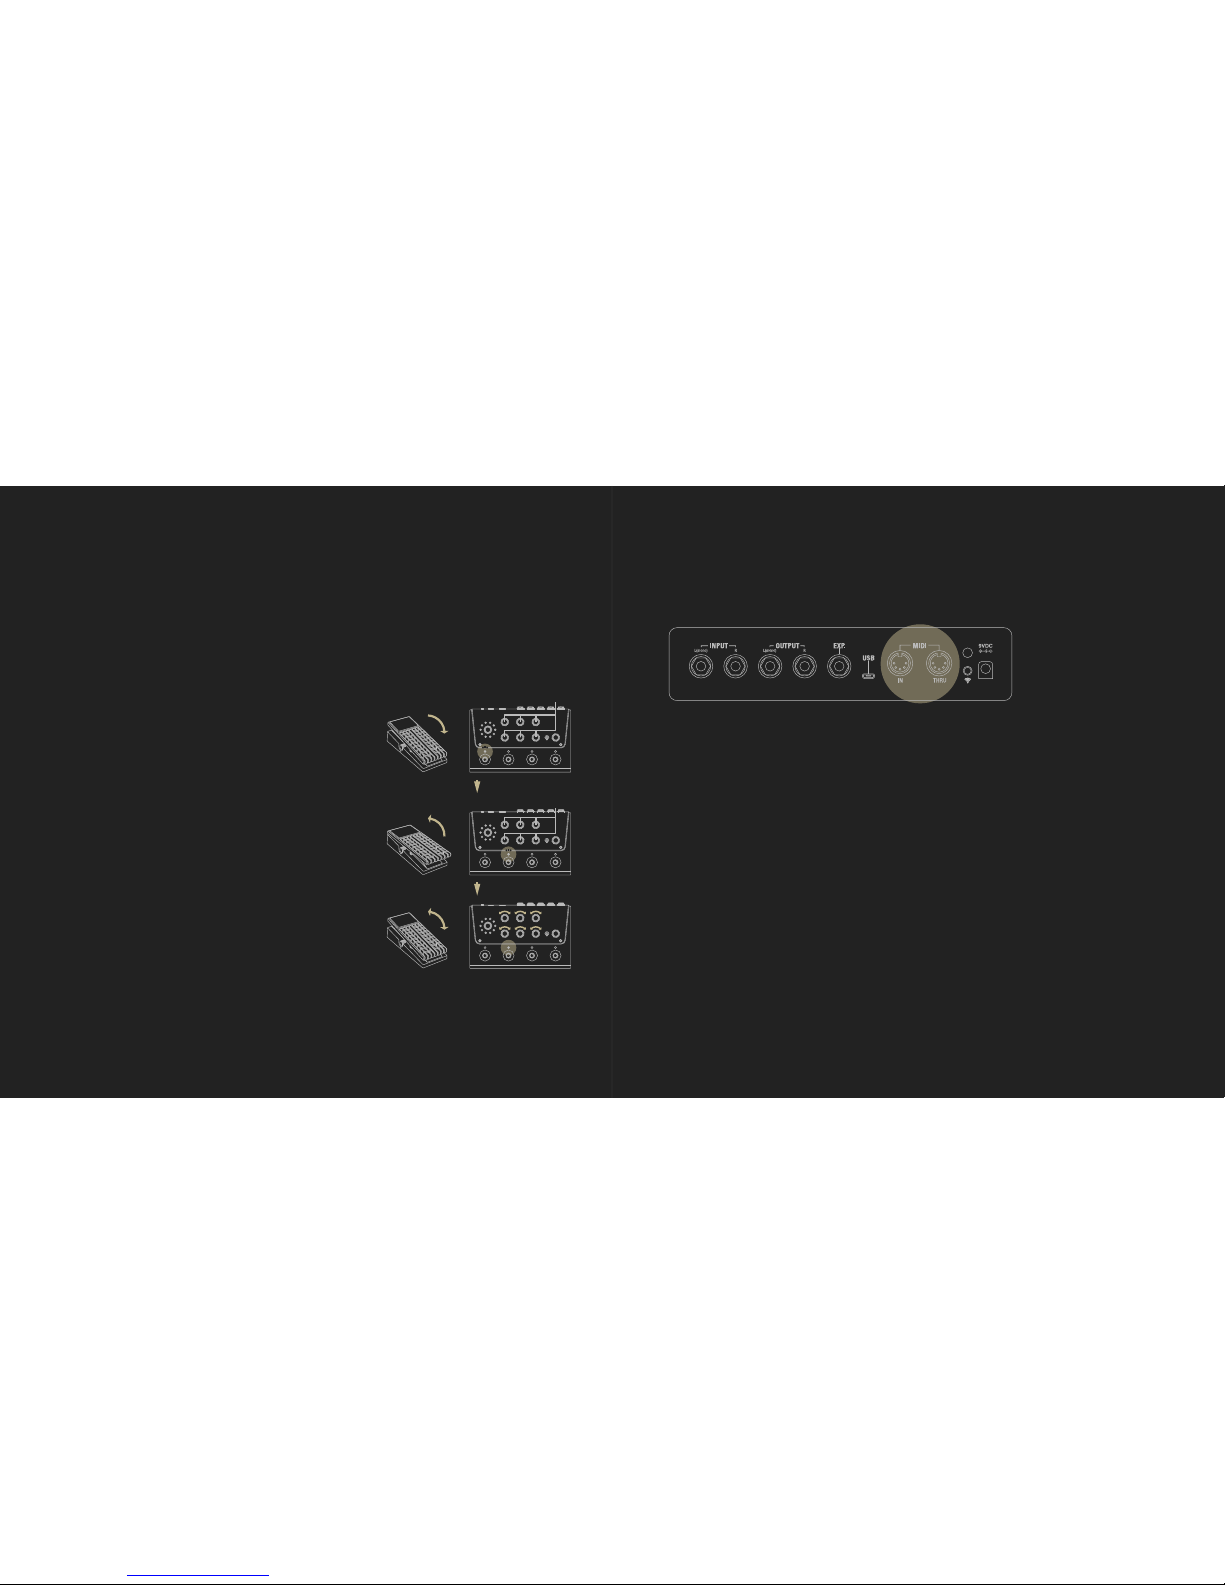
・MIDI In/Thru
Supports standard MIDI communication using
a 5-pin MIDI connector (see the MIDI section
of this manual for more information)
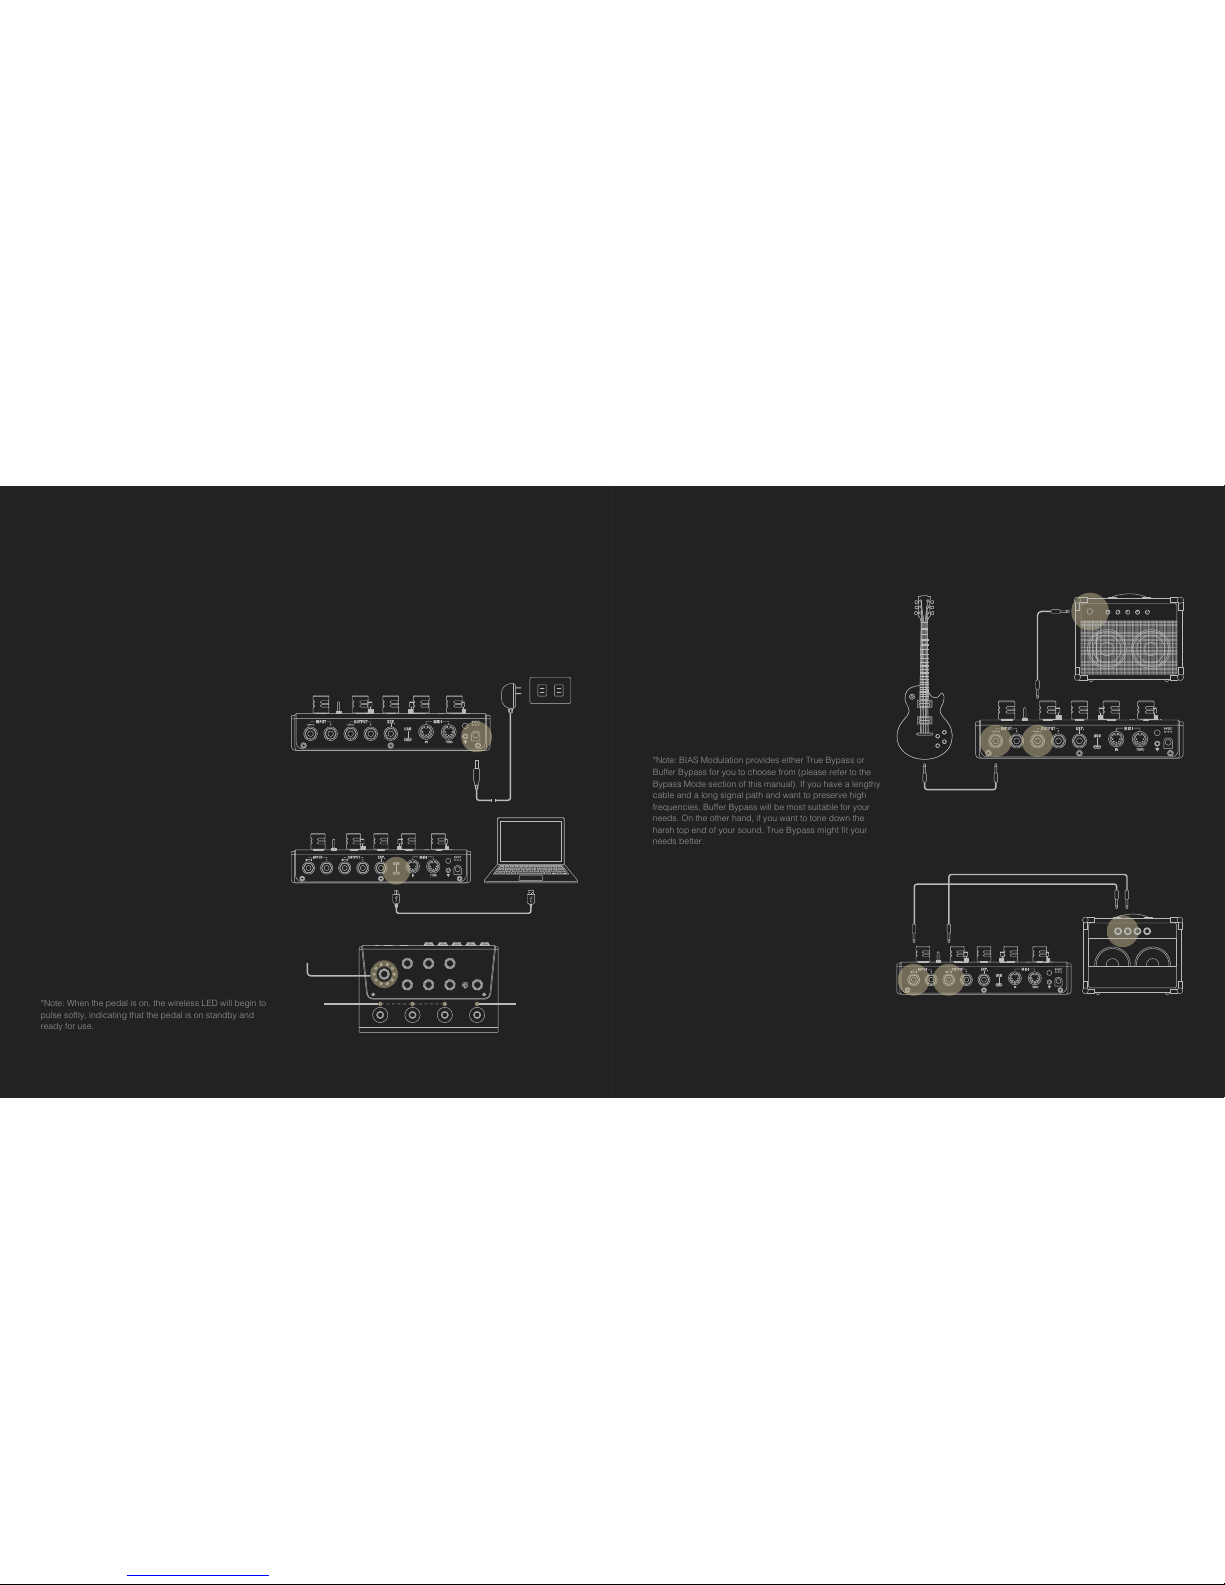
・Wireless button and associated LED
There are 3 different LED states for the
Wireless button:
>LED blinks slowly - Indicates the pedal is
on standby.
>LED blinks rapidly - Indicates wireless
connection is in pairing mode and ready to
connect with BIAS Pedal mobile.
>LED is constantly lit - IIndicates the pedal is
connecting with BIAS Pedal mobile software.
・9V DC Power Jack
Supports a 9V DC power supply with negative
tips. The minimum current draw is 270mA.
BIAS Modulation comes with footswitches labeled
A, B and C and a Tap Tempo footswitch. The A, B
and C footswitches allow you to alternately engage
and bypass presets in BIAS Modulation (see the
Footswitch Mapping section of this manual for
more information).
Yo u can tap the Tap Tempo footswitch twice, and the duration between taps will determine the
BPM value. (See the Tap Tempo and BPM sections of this manual for more information.)