WWARNING:
ADULT ASSEMBLY REQUIRED!
OPERATION
1. To change the direction of the vehicle, set the direction switch to:
• “Forward” position, step on the accelerator, the vehicle moves forward,
• “Reverse” position, step on the accelerator, the vehicle moves in reverse.
• Middle position “Neutral”, step on the accelerator, the vehicle will not move.
2. Headlight comes on when the vehicle moves forward.
3. Engine sound comes on when pressing the button on the gas tank.
4. Step on brake pole on the rear of the foot rest, the motorcycle will stop running.
IMPORTANT:
To prolong battery life, you must recharge the battery after each use. You must also
charge your battery if it has not been used for 30 days or more.
WARNING:
1. NEVER change the direction by pressing the Forward/Backward switch while
the vehicle is moving. You must always come to a stop before changing direction.
2. This toy is unsuitable for children under 3 years due to its maximum speed.
CHARGING THE BATTERY
REPLACING BATTERY
10. Unplug the battery from wire.
11. Unscrew and remove the battery compartment cover.
12. Unplug the battery connectors and remove the exhausted battery from the battery
compartment then put the new battery into the battery compartment.
13. Plug the battery connectors as specifically designed, always red to red,black to black.
14. screw the battery compartment cover securely.
15. To charge the new battery refer to “charging the battery”
16. Dispose of the exhausted battery in an appropriate waste collection center.
You can help protect the environment! Please remember to respect local regulations:
Turn in the non-working electrical equipment to an appropriate waste disposal center.
5. The battery compartment is located underneath the seat.
Check the two plugs,one is from battery wire, another from motor wire.
6. Unplug the battery from wires.
7. Plug the charger into the battery.
8. Insert the charger plug into a wall outlet. After 8 - 12 hours vehicle should be fully
charged. Unplug the charger from the wall outlet and disconnect the charger from
the battery.
9. After fully charged, plug
the battery wire to the vehicle wire.
The vehicle is now ready for use.
3
2
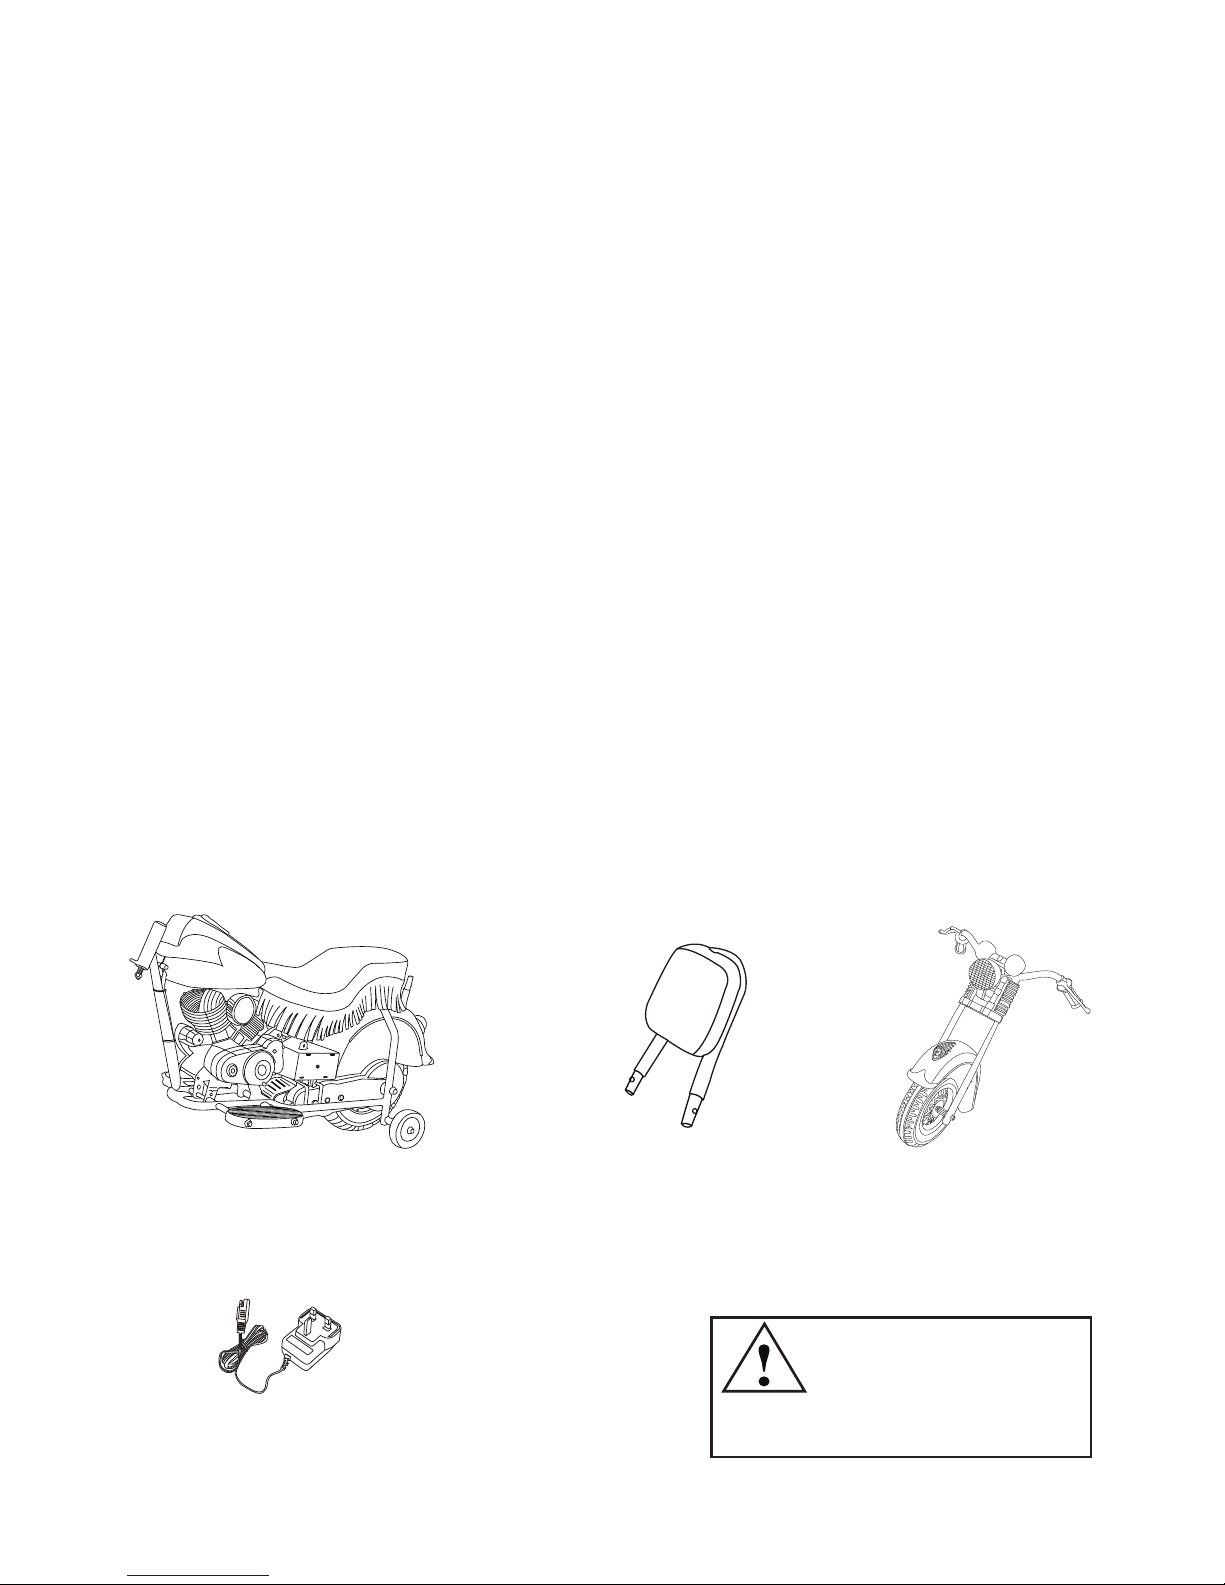
ASSEMBLY OF VEHICLE
Tools Needed (not included):
1 Phillips head screwdriver.
WWARNING:
Protective equipment should be
worn,Not to be used in traffic!
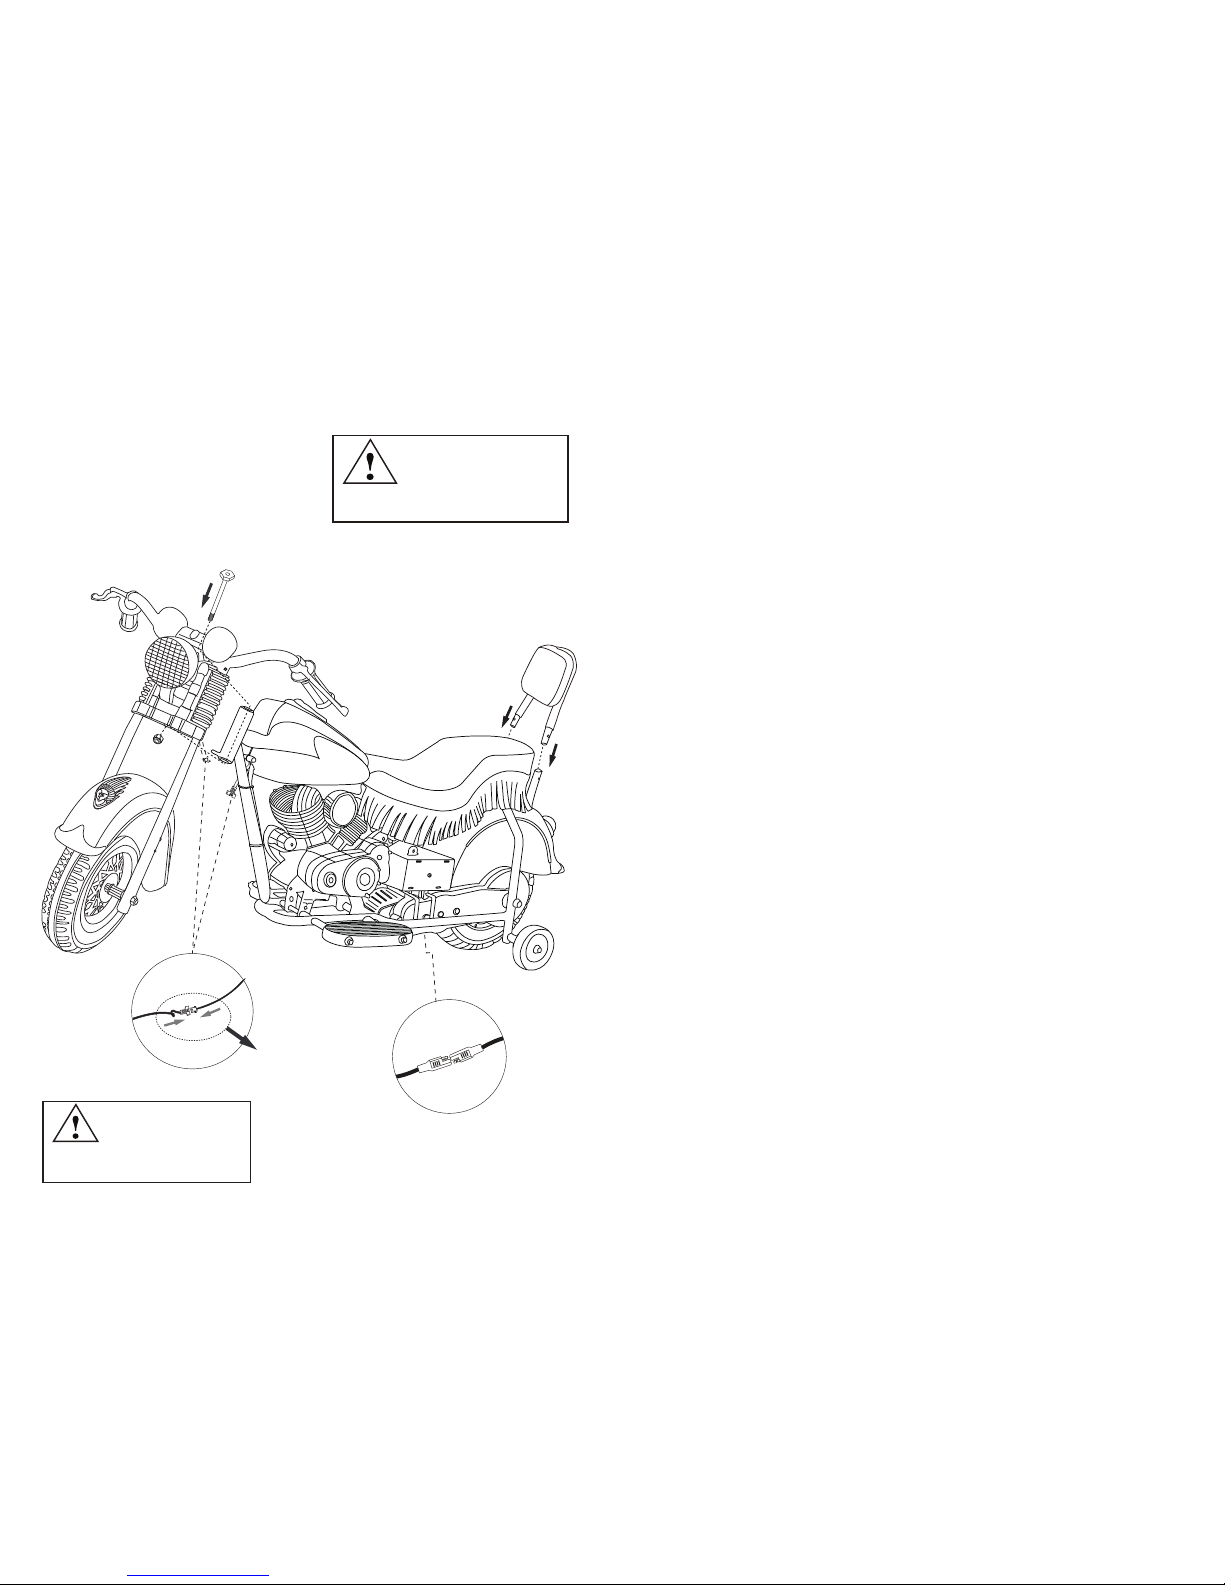
Step 4
1. Remove the steering rod and nut from the front fork assembly. Line up the holes on the
front fork assembly with the holes on the body,insert the steering rod and attach the nut.
Tighten the steering rod and nut with the hand.
2. Connect the two plugs for the headlight. Never forcely plug the wire.
3. Connect the two plugs for the power. The motorcycle is ready to run.
4. Insert the rear rest seat two poles into the holes of the metal fork at the back of the
vehicle body. Align the holes on the metal fork with the pins on poles of the rear rest
seat until they click into the holes tightly.
Step 1
Step 3
Step2
Battery
cover