4
GB
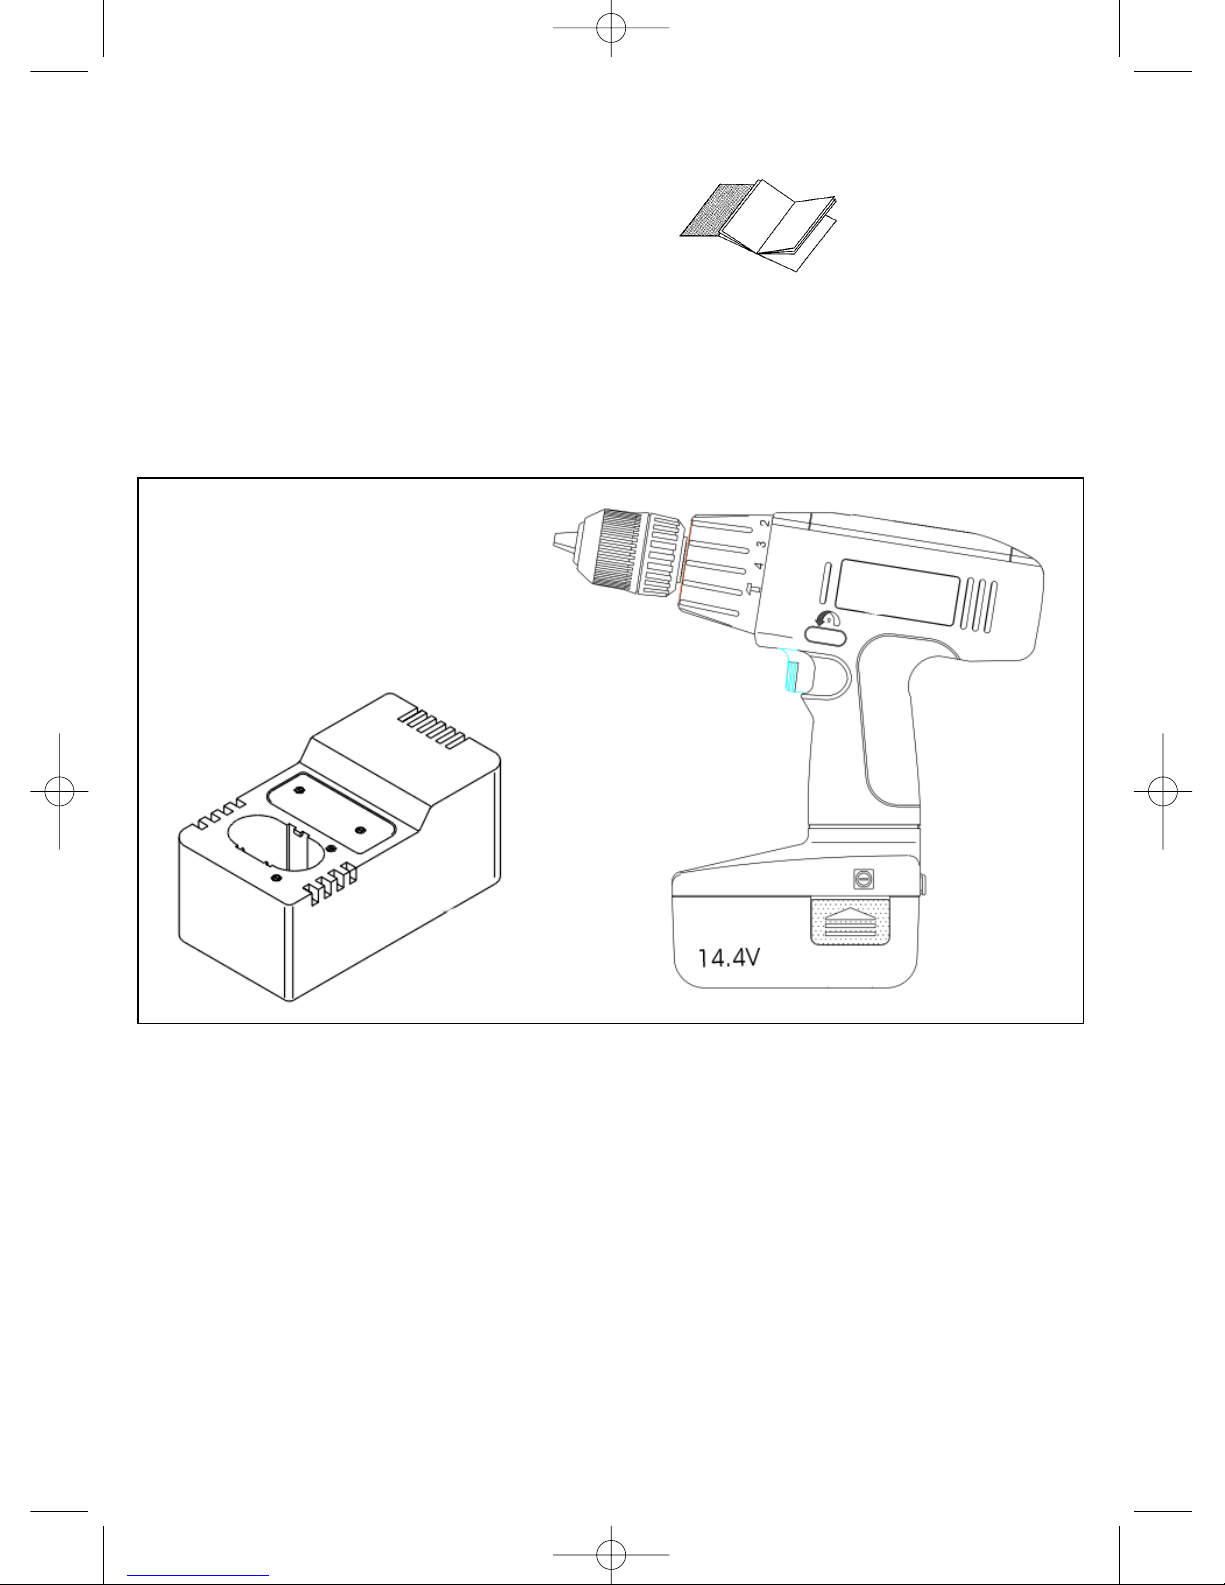
Tool illustration:
Figure 1: Torque adjustment facility
Figure 2: Bit holder
Figure 3: Forward / Reverse selector switch
Figure 4: On/Off switch
Figure 5: Removable battery pack; press both
clips to take out the battery pack
Important notes:
It is imperative to read these notes before putting
your cordless-hammer-drill/screwdriver into
operation:
1. The removable Ni-Cd battery pack supplied
with your cordless-hammer drill/screwdriver has
to be charged before you use the tool for the
first time.
2. Charge the battery pack with the supplied
charger. It takes approx. 1 hour to charge an
empty battery. Never use the supplied charger
to charge any other tools or appliances.
3. The battery pack reaches its maximum capacity
after approx. five discharge/charge cycles.
4. Ni-Cd batteries will also discharge when they
are not in use. It is recommended, therefore, to
charge the batteries regularly.
5. Please note the data quoted on the rating plate
of the battery charger. Operate the charger only
from the same mains voltage as that quoted on
the rating plate.
6. In periods of heavy duty the battery pack will
grow warm. Allow the battery pack to cool to
room temperature before starting to charge it.
Safety regulations:
1. Protect your cordless-hammer-drill/screwdriver
and charger from the damp and rain.
2. Keep the charger and cordless-hammer-drill/
screwdrive safe from children.
3. Use only sharp drill bits and undamaged,
properly fitting screwdriver bits.
4. Wear suitable working clothes and safety
goggles.
5. Never use the cordless-hammer-drill/
screwdriver and charger in the vicinity of
vapours and combustible liquids.
6. Look for concealed electric cables, gas pipes
and water pipes before drilling and screwdriving
in walls.
7. Never throw old batteries into an open fire. Risk
of explosion!
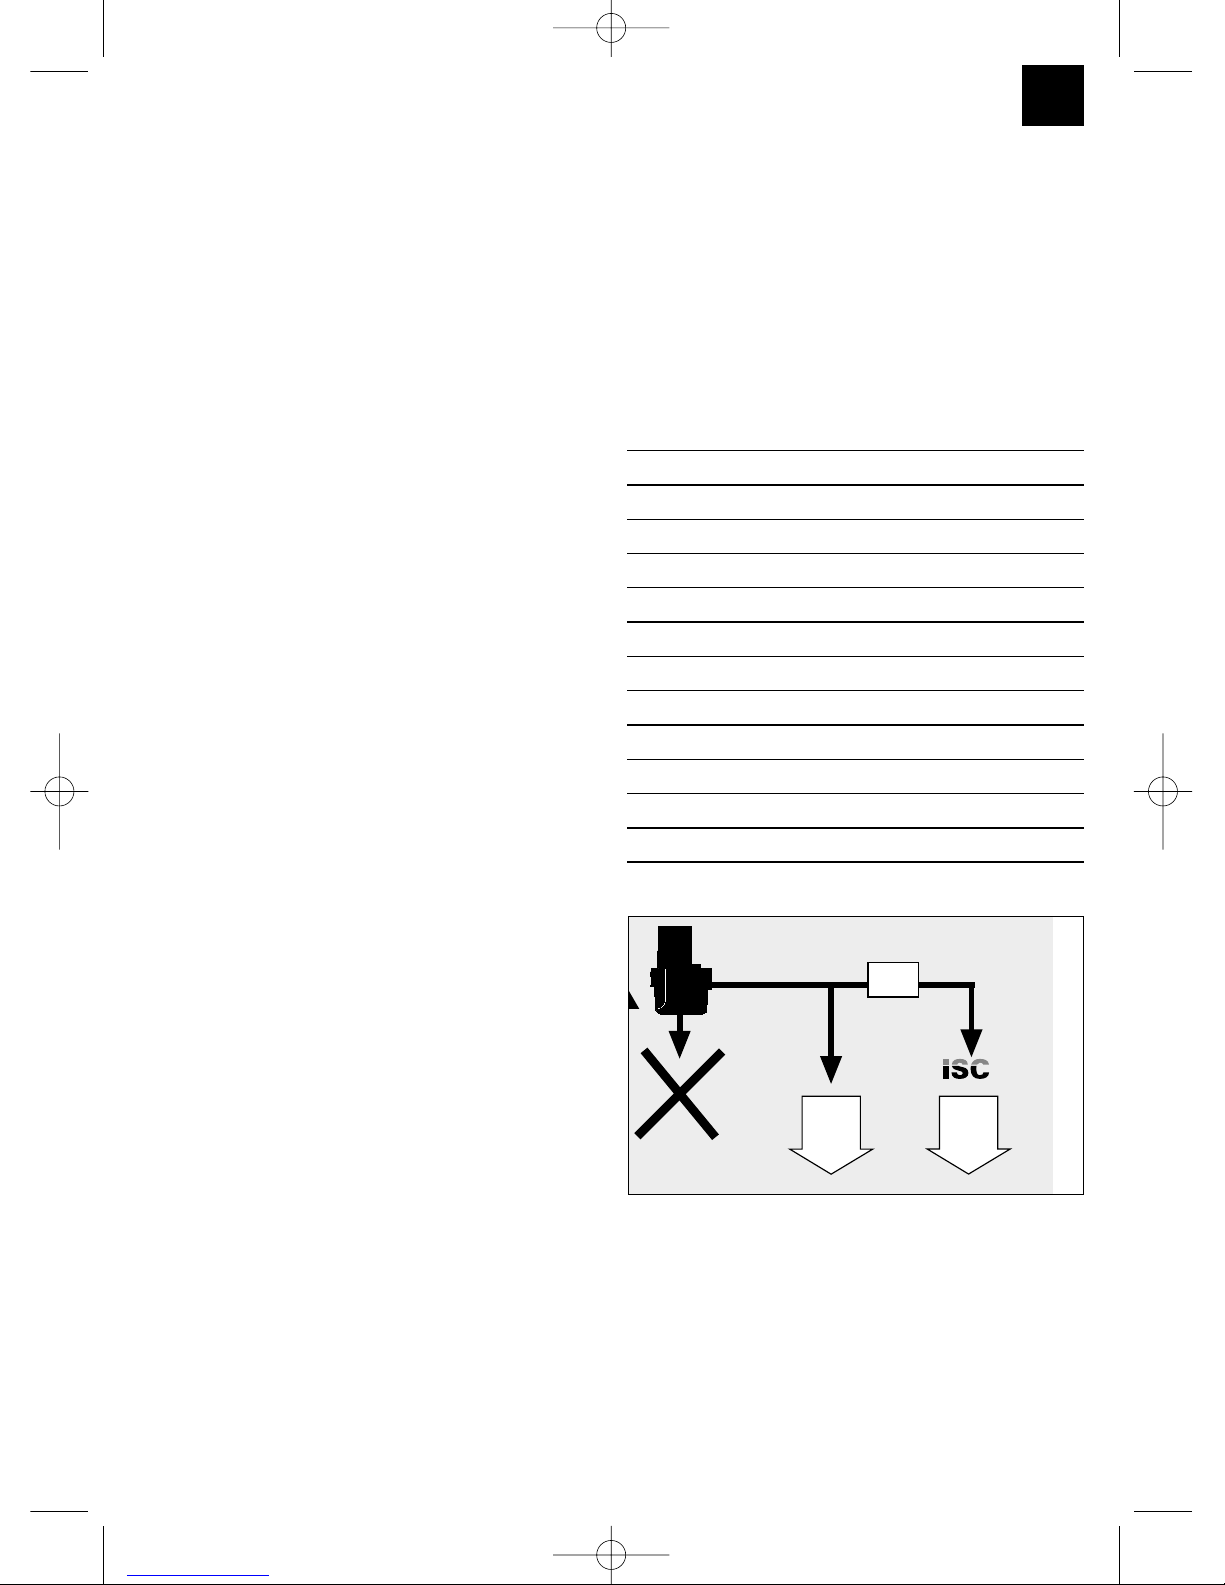
8. Old and defective batteries do not belong in the
refuse bin. Think of the environment! Cadmium
is toxic. For correct disposal, take them to your
local old battery depot. Ask at your town hall for
details of the old battery depots in your area.
9. Avoid contact with leaky batteries. Should
contact arise nevertheless, wash the affected
area of skin immediately with soap and water. If
battery acid gets in your eye, rinse the eye with
clear water for at least 10 minutes and consult
a doctor immediately.
10. Protect the charger and its cable from damage
and sharp edges. Damaged cables are to be
replaced immediately by an electrician.
11. Examine your tool for any signs of damage.
Have repairs carried out only by an electrician.
12. Make sure that the contacts of the Ni-Cd
battery pack do not touch other metallic objects,
e.g. nails and screws. Risk of short-circuiting!
Putting into operation:
Loading the Ni-Cd battery pack
1. Pull the battery pack out of the handle (Figure
5) by depressing the clips on the side.
2. Check that your mains voltage is the same as
that quoted on the rating plate. Insert the
plug in a socket-outlet.
3. Insert the battery pack in the charging adapter.
The red LED indicates that the battery pack is
being charged. It takes a maximum of 1 hour
to charge an empty battery. The green LED
indicates that the battery pack is fully charged.
The battery pack may grow warm while it is
being charged. This is normal.
If the battery pack fails to become charged, please
check
whether there is voltage at the socket-outlet
whether there is proper contact at the charging
contacts on the charger.
If the battery still fails to become charged, please
return
the charger
the battery pack
to our Customer Service Department.
Anleitung Powercraft CHD 14,4 06.11.2001 8:03 Uhr Seite 4