5
Built-in MIC: Built-in two omni-directional MIC pickups; with unique noise suppression algorithm, effective
pickup distance up to 6 meters.
Auto Framing: Employing superior face detection algorithm to intelligently and automatically frames
according to the number of people in the scene, and the characters are in the middle.
Wide FOV: 83°/100° wide angle and small distortion lens options.
Video output interface: Video output interface USB 3.0;
Multiple Audio/Video Compression Standard: Supports H.264, MJPG, YUY2, NV12 video compression, to
made video play smoothly.
Low Noise and High SNR: Super high SNR image is achieved with low noise CMOS. Even in the case of
ultra-low illumination, the picture remains clean and clear.
Multiple Installations: Standard equipped with mold clamp. Easy to install on any devices, such as LCD
screen, laptop, table and tripod.
Easy to Use: No need to download driver; USB 3.0 Plug and play;
Wide Applications: Personal video conferencing, enterprise video conferencing, collaboration meeting, etc.
2.3 Technical Parameter
1/2.8 inch high quality 4K CMOS sensor
:
1 Channel USB 3.0 output, Type B; Support audio signal output
:
3840*2160@30 /2560*1440@30 /1920*1080@30 /1600*896@30 /1280*720@30
/1024*576@30 /960*540@30 /800*600@30 /800*448@30 /720*576@30/
720*480@30 /640*480@30 /640*360@30 /480*270@30 /352*288@30 /320*240@30
H264
3840*2160@30 /2560*1440@30 /1920*1080@30 /1600*896@30 /1280*720@30
/1024*576@30 /960*540@30 /800*600@30 /800*448@30 /720*576@30/
720*480@30 /640*480@30 /640*360@30 /480*270@30 /352*288@30 /320*240@30
YUY2
1920*1080@30 /1280*720@30 /1024*576@30 /800*600@30 /800*448@30 /640*480@30
/640*360@30 /480*270@30 /320*180@30
NV12
1920*1080@15 /1280*720@30 /1024*576@30 /800*600@30 /800*448@30 /640*480@30
/640*360@30 /480*270@30 /320*180@30
(
)
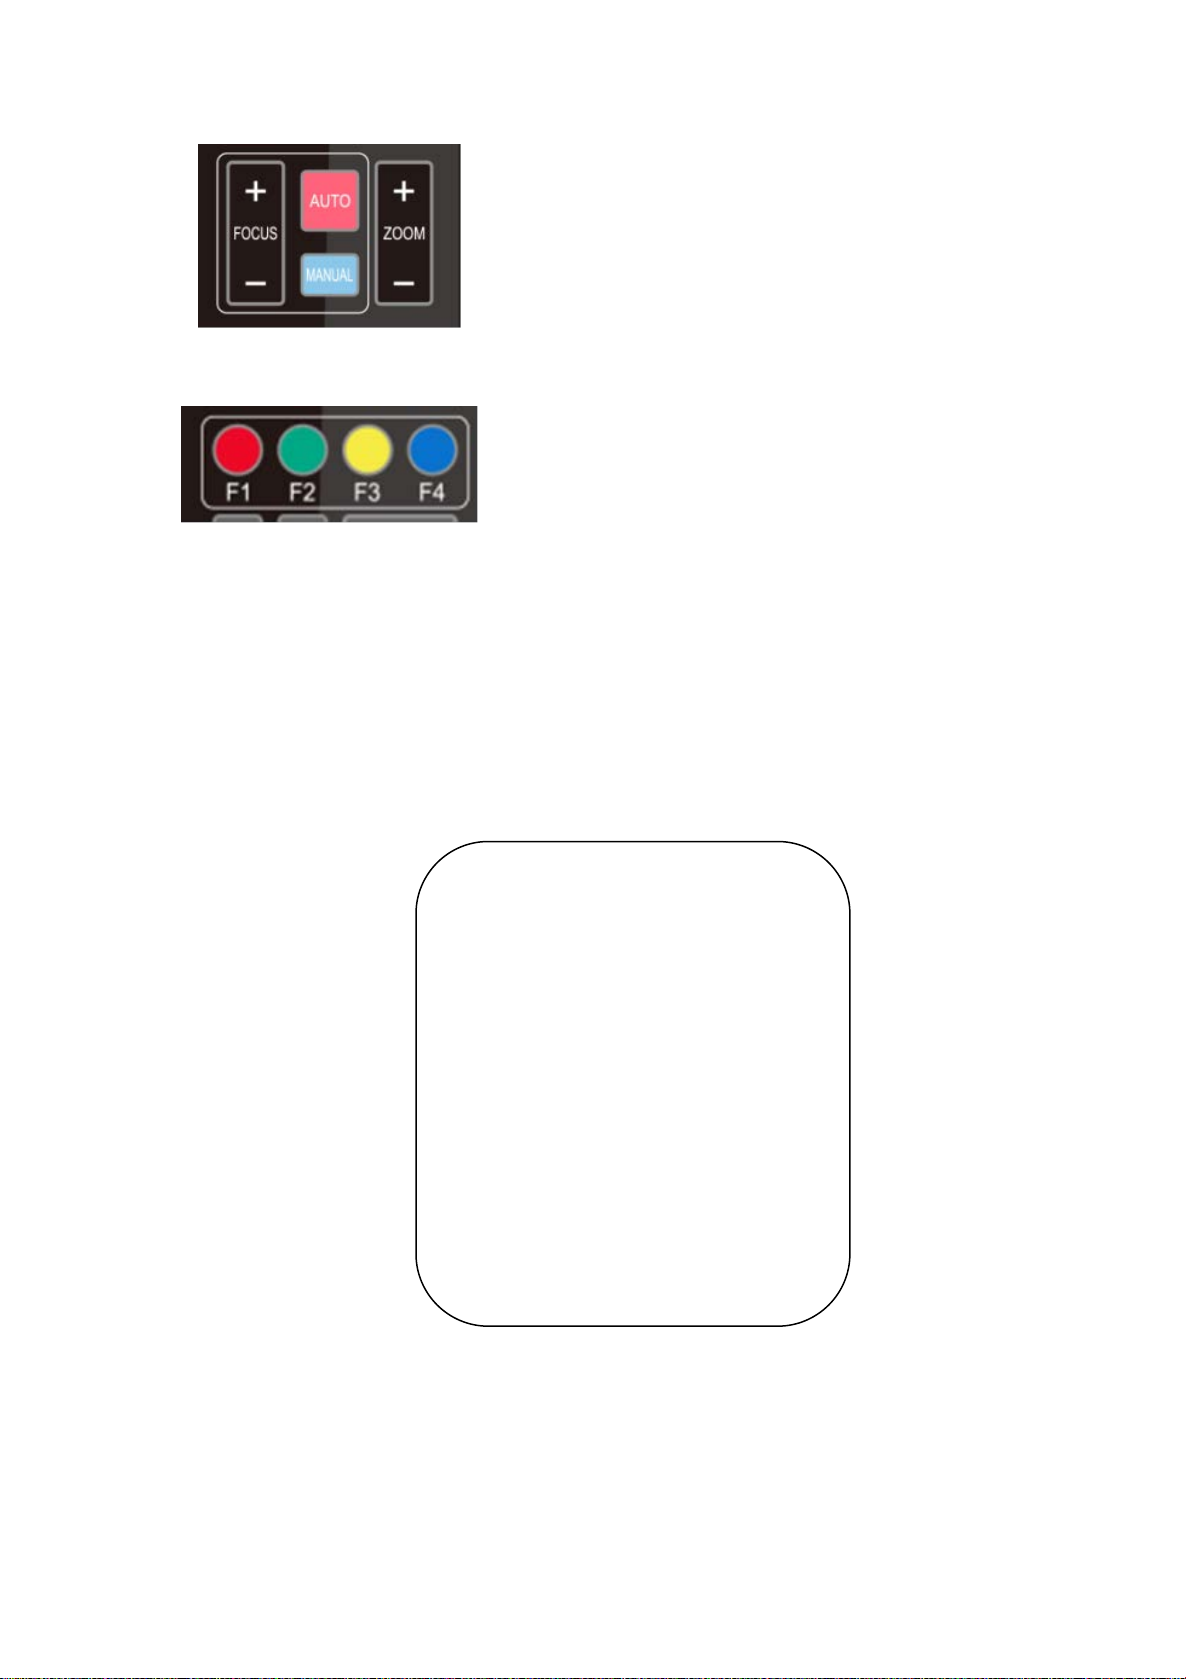
Digital Zoom 10X
Windows 7(1080p or lower), Windows 8.1, Windows 10 ; macOS™ 10.10 or higher; Android
;
Compression
YUY2, NV12, MJPG, H264