Read this Manual
Dear Customer,
Please read this User Information carefully
and keep it to refer to at a later date.
Pass it on to any subsequent owner of the
appliance.
This manual contains sections of Safety
Instructions, Operating Instructions, Installation
Instructions and Troubleshooting Tips, etc.
Carefully read it before using the dishwasher
will help you to use and maintain the
dishwasher properly.
Before Calling for Service
To review the section on Troubleshooting Tips
will help you to solve some common problems
by yourself and not need to ask for the help of
professional technicians.
NOTE:
The manufacturer, following a policy of
constant development and up-dating of
the product, may make modifications
without giving prior notice.
WARNING !
When using your dishwasher, follow the basic precautions including the following:
1
WARNING! HYDROGEN GAS IS EXPLOSIVE
Under certain conditions, Hydrogen gas may be produced in a hot-water system that has not been
used for two weeks or more. HYDROGEN GAS IS EXPLOSIVE. If the hot-water system has not
been used for such a period, before using the dishwasher turn on all hot-water faucets and let the
water flow from each for several minutes. This will release any accumulated hydrogen gas. As the
gas is flammable, do not smoke or use an open flame during this time.
WARNING! PROPER USE
Do not abuse, sit on, or stand on the door or dish basket of the dishwasher.
Do not touch the heating element during or immediately after use.
Do not operate your dishwasher unless all enclosure panels are properly in place. Open the door
very carefully if the dishwasher is operating. There is a risk of water squirting out.
Do not place any heavy objects or stand on the door when it is open. The appliance could tip
forward.
When loading items to be washed:
Locate sharp items so that they are not likely to damage the door seal;
Load sharp knives with the handles up to reduce the risk of cut-type injuries;
Warning: Knives and other utensils with sharp points must be loaded in the basket with their
points down or placed in a horizontal position.
When using your dishwasher, you should prevent plastic items from contacting with heating
element.
Check that the detergent receptacle is empty after completion of the wash cycle.
Do not wash plastic items unless they are marked dishwasher safe or the equivalent. For plastic
items not so marked, check the manufacturer's recommendations.
Use only detergent and rinse additives designed for an automatic dishwasher. Never use soap,
laundry detergent, or hand washing detergent in your dishwasher.
Other means for disconnection from the supply must be incorporated in the fixed wiring with at
least 3mm contact separation in all poles.
Keep children away from detergent and rinse aid, keep children away from the open door of the
dishwasher , there could still be some detergent left inside.
Young children should be supervised to ensure that they do not play with the appliance.
This product is not designed for use by persons (including children) who have reduced physical,
sensory or mental capacities or persons with no experience or knowledge, unless they are
instructed and supervised in the use of the appliance by a person responsible for their safety.
Dishwasher detergents are strongly alkaline. They can be extremely dangerous if swallowed.
Avoid contact with skin and eyes, and keep children away from the dishwasher when the door is
open.
The door should not be left in the open position since this could present a tripping hazard.
If the supply cord is damaged, it must be replaced by the manufacturer or its service agent or a
similarly qualified person in order to avoid a hazard.
Please dispose of packing materials properly.
1. Safety Information
1) Safety Information .............................1-2
2) Disposal ................................................2
3) Operation Instruction.........................3-4
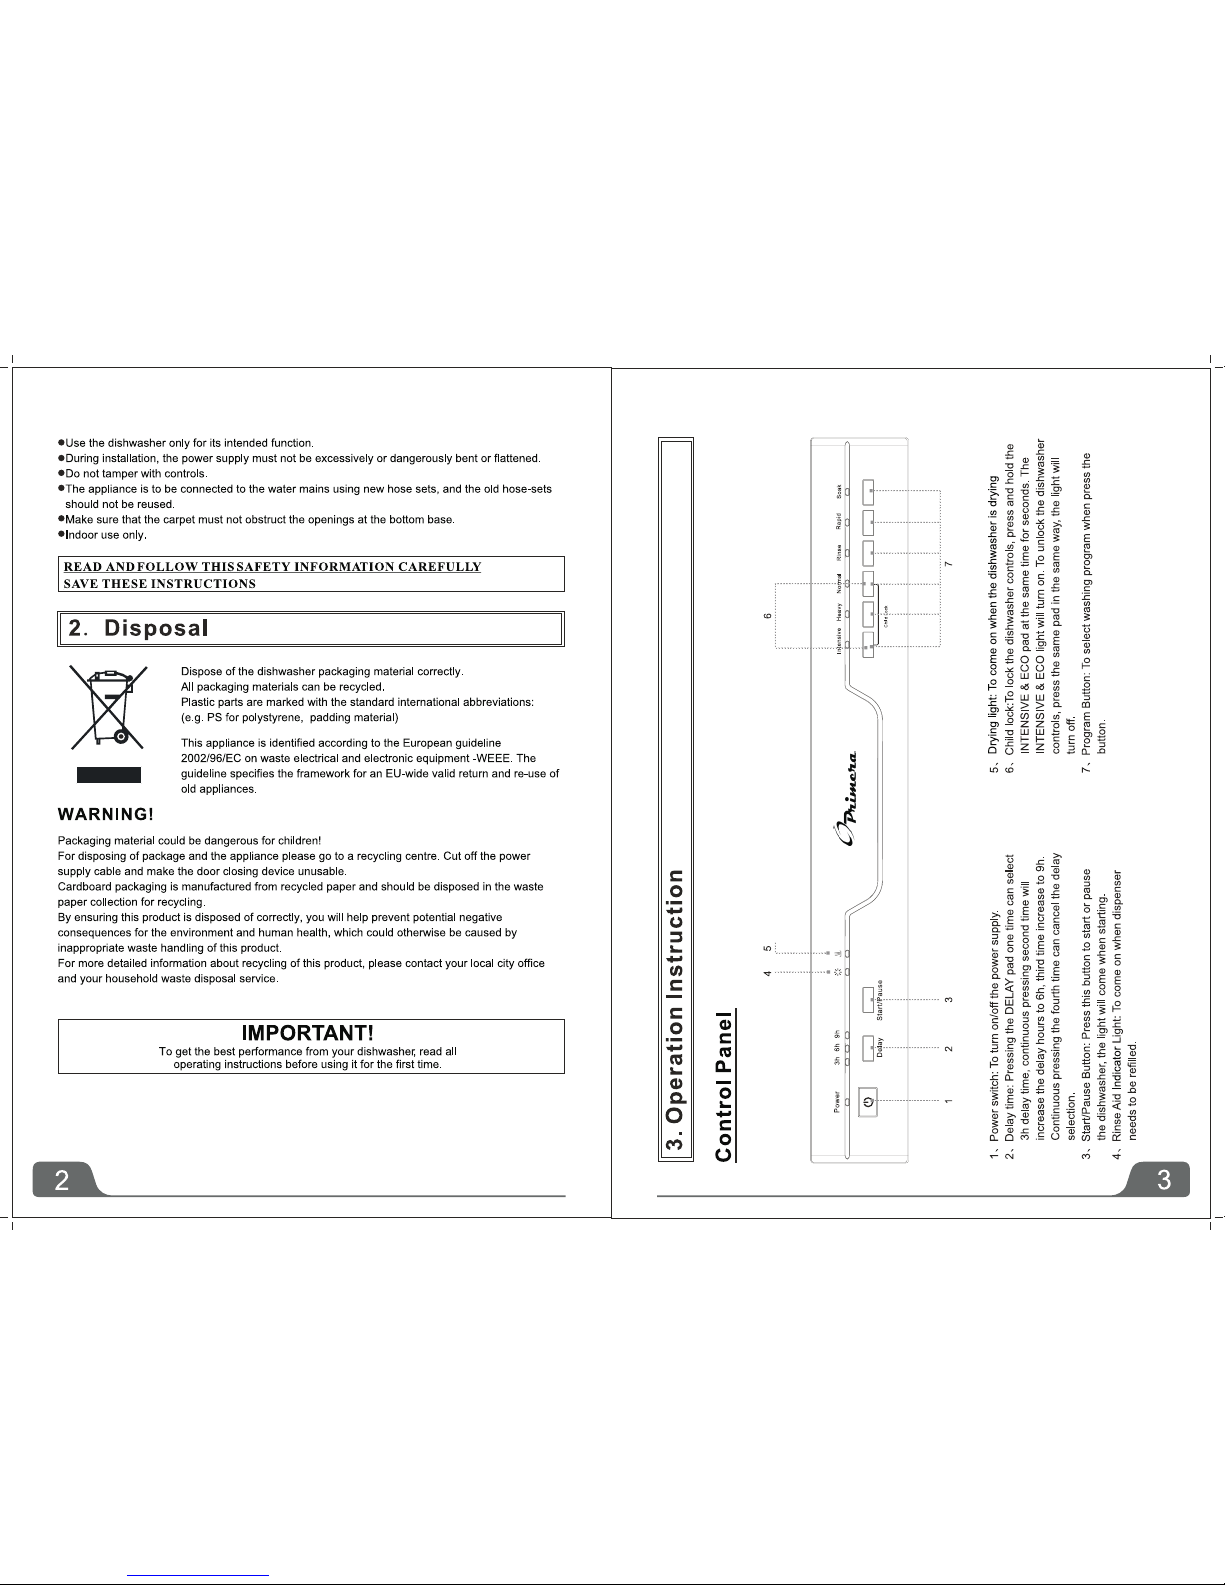
Control Panel ..............................................3
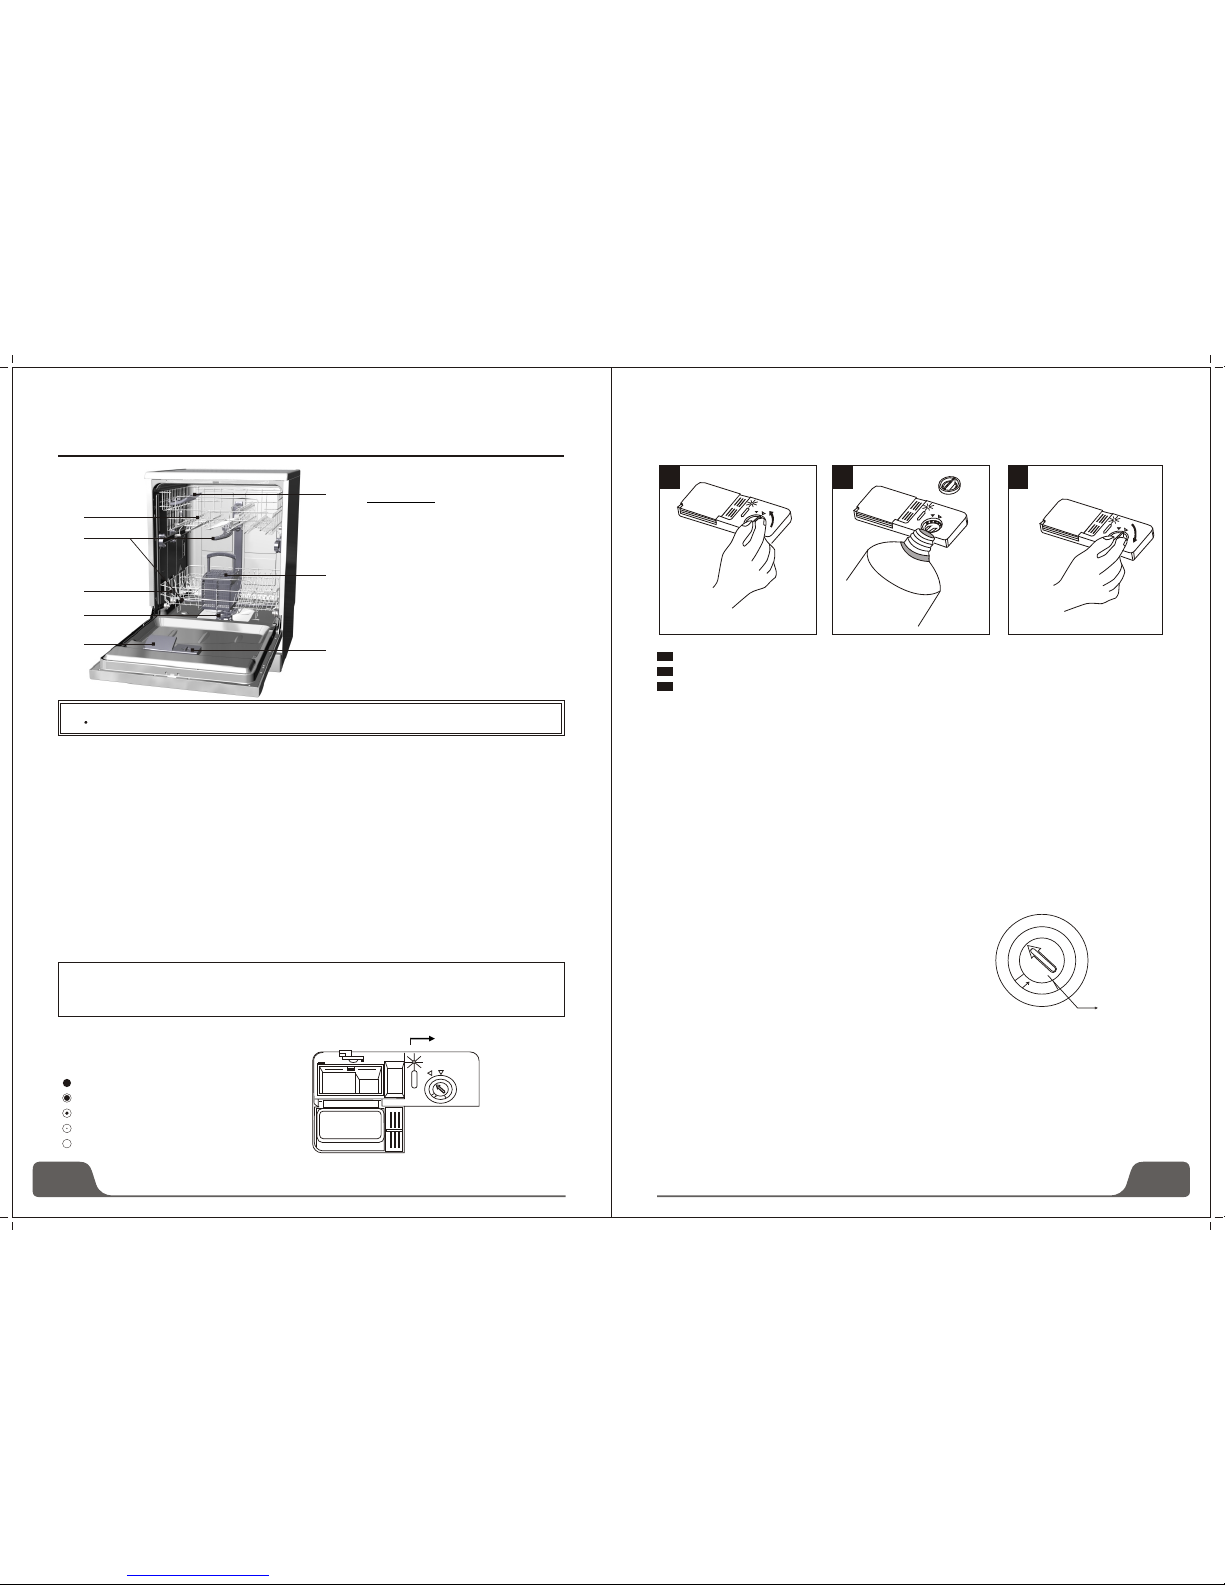
Dishwasher Features ..................................4
4) Prior using for the first time .............4-7
Fill the Rinse Aid Dispenser......................4-5
Function of Detergent ..............................5-7
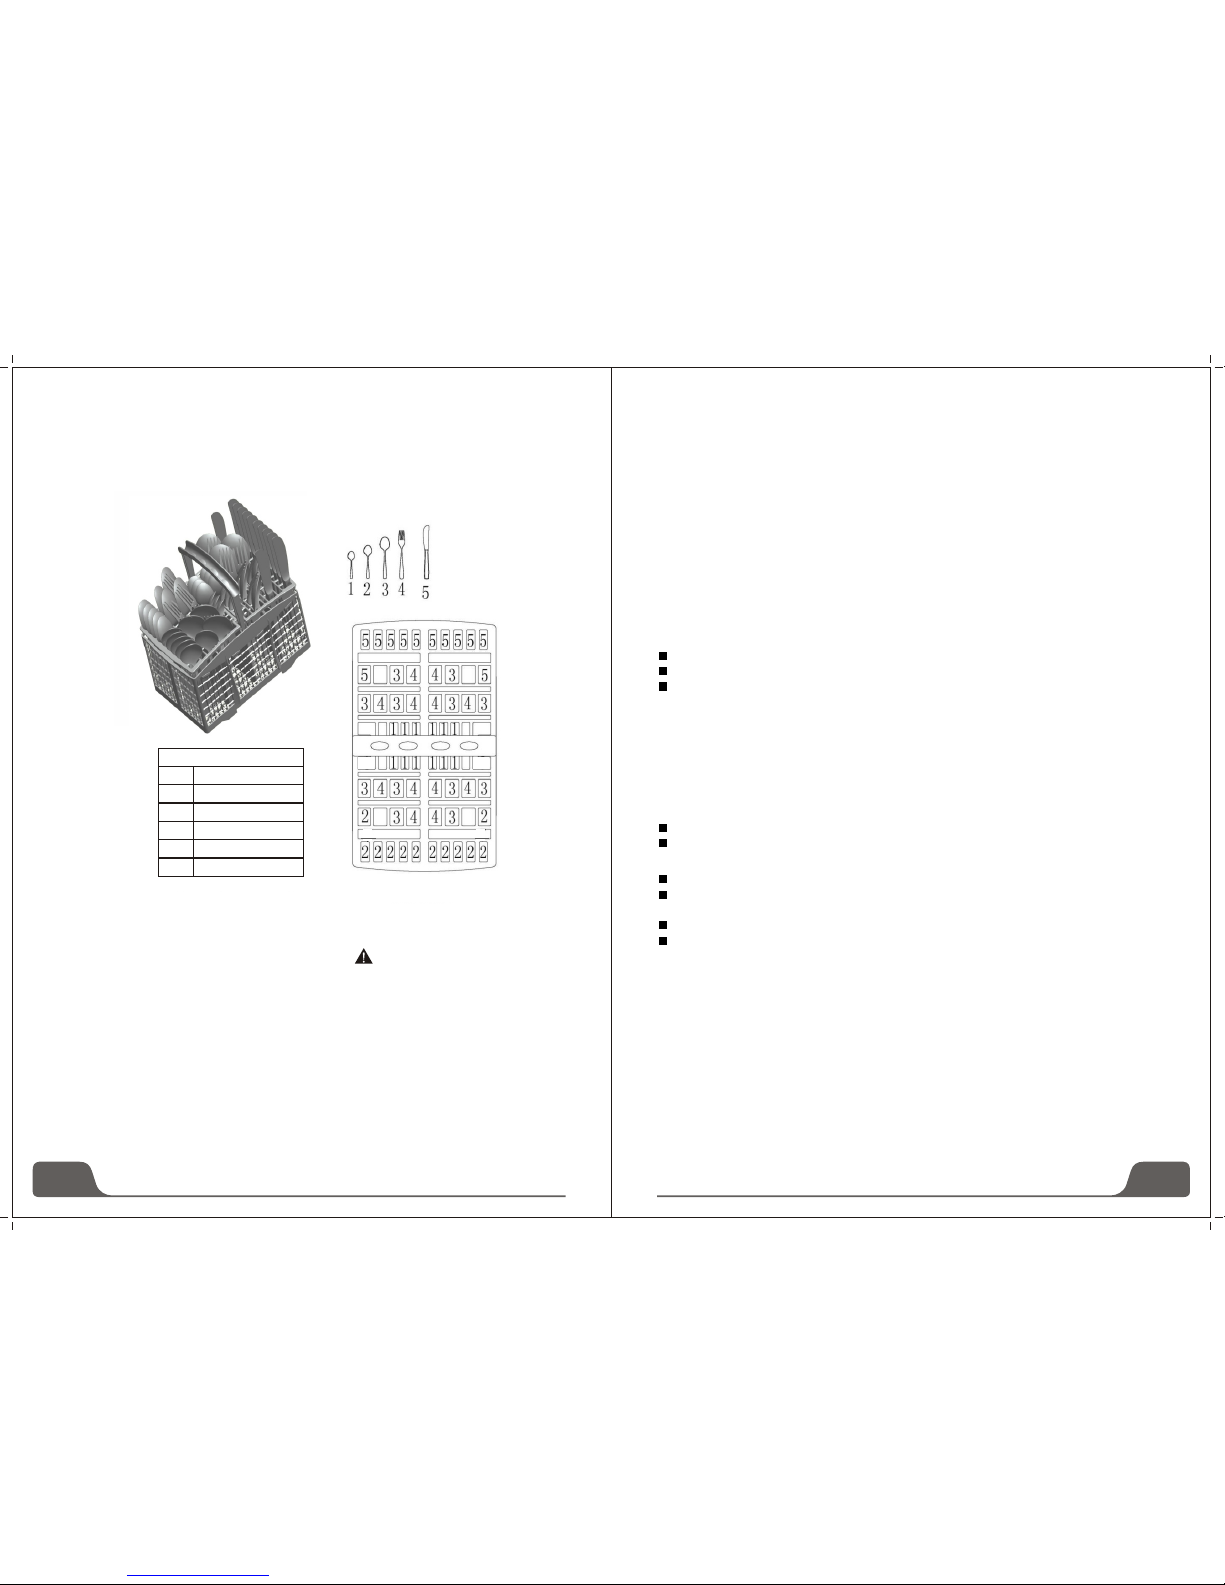
5) Loading the Dishwasher Baskets..8-11
6) Starting a washing programme ....12-13
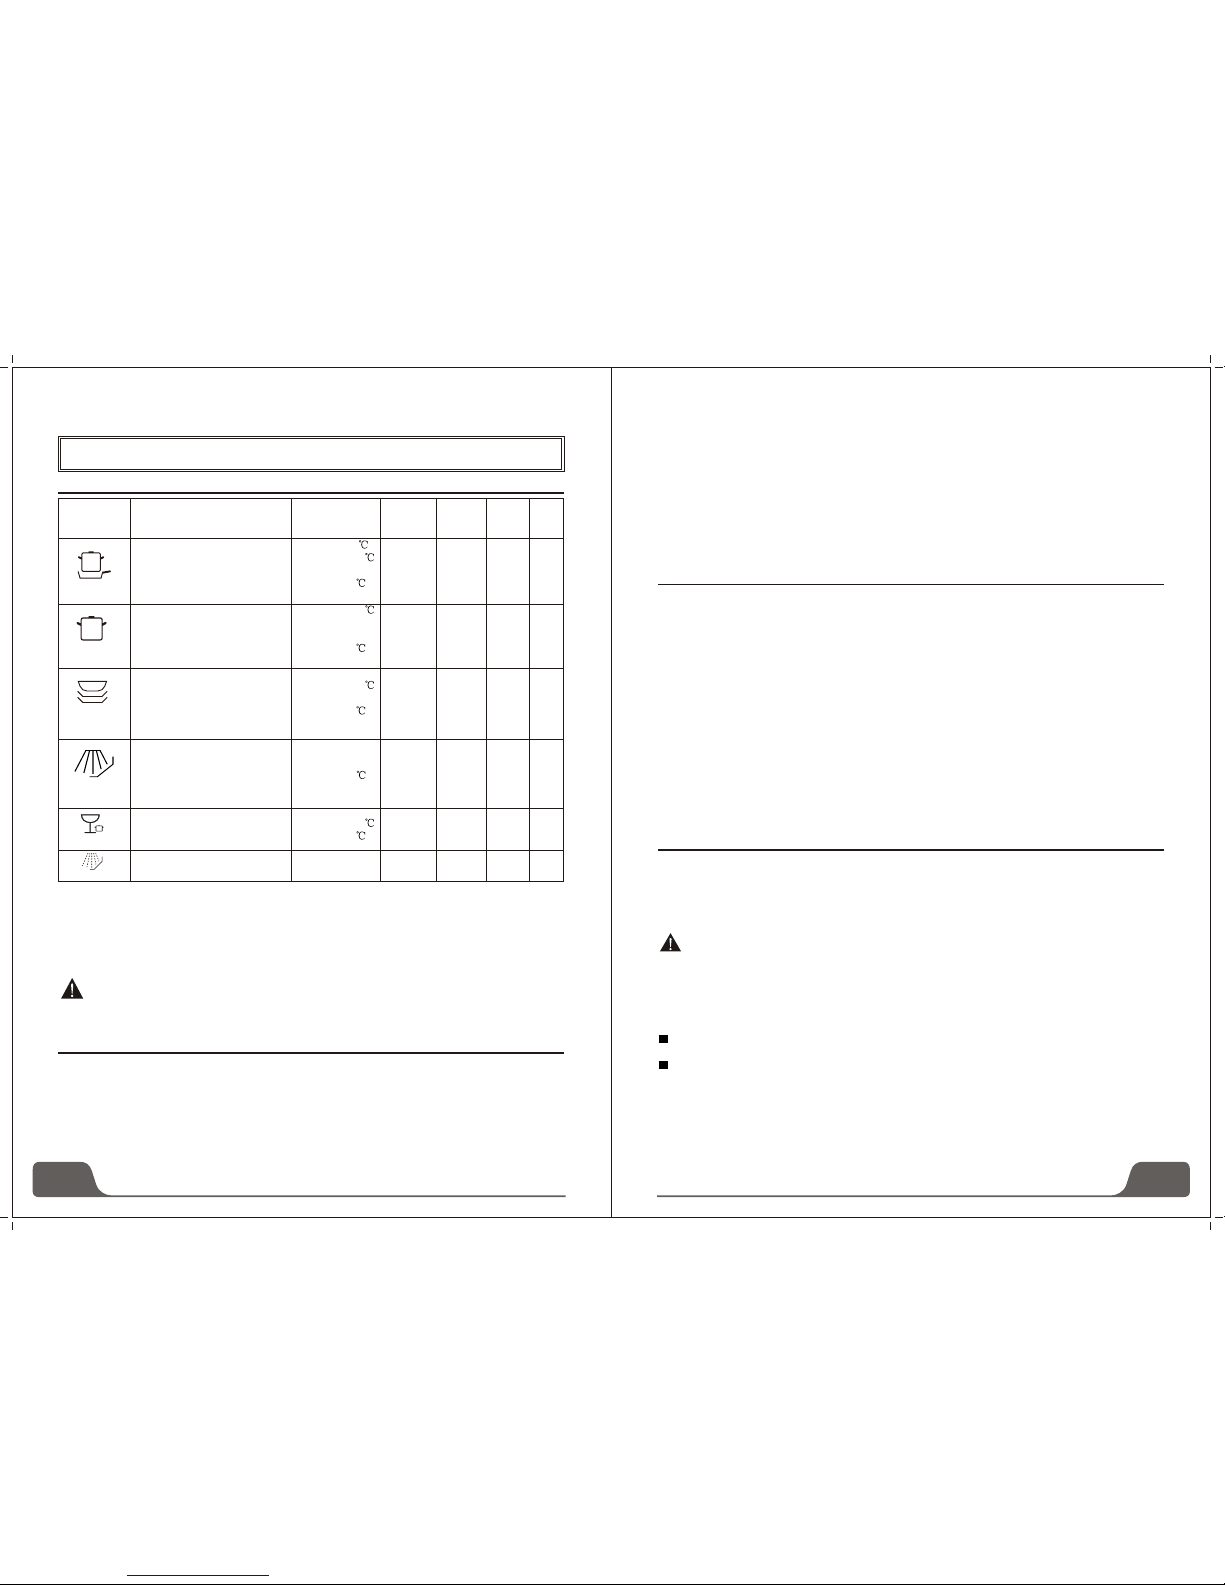
Wash Cycle Table ......................................12
Turning on the Appliance............................14
Change the Programme.............................13
Forget to Add Dish ...............................13
7) Maintenance and cleaning.............14-16
8) Installation .....................................16-19
Positioning and leveling .......................16-17
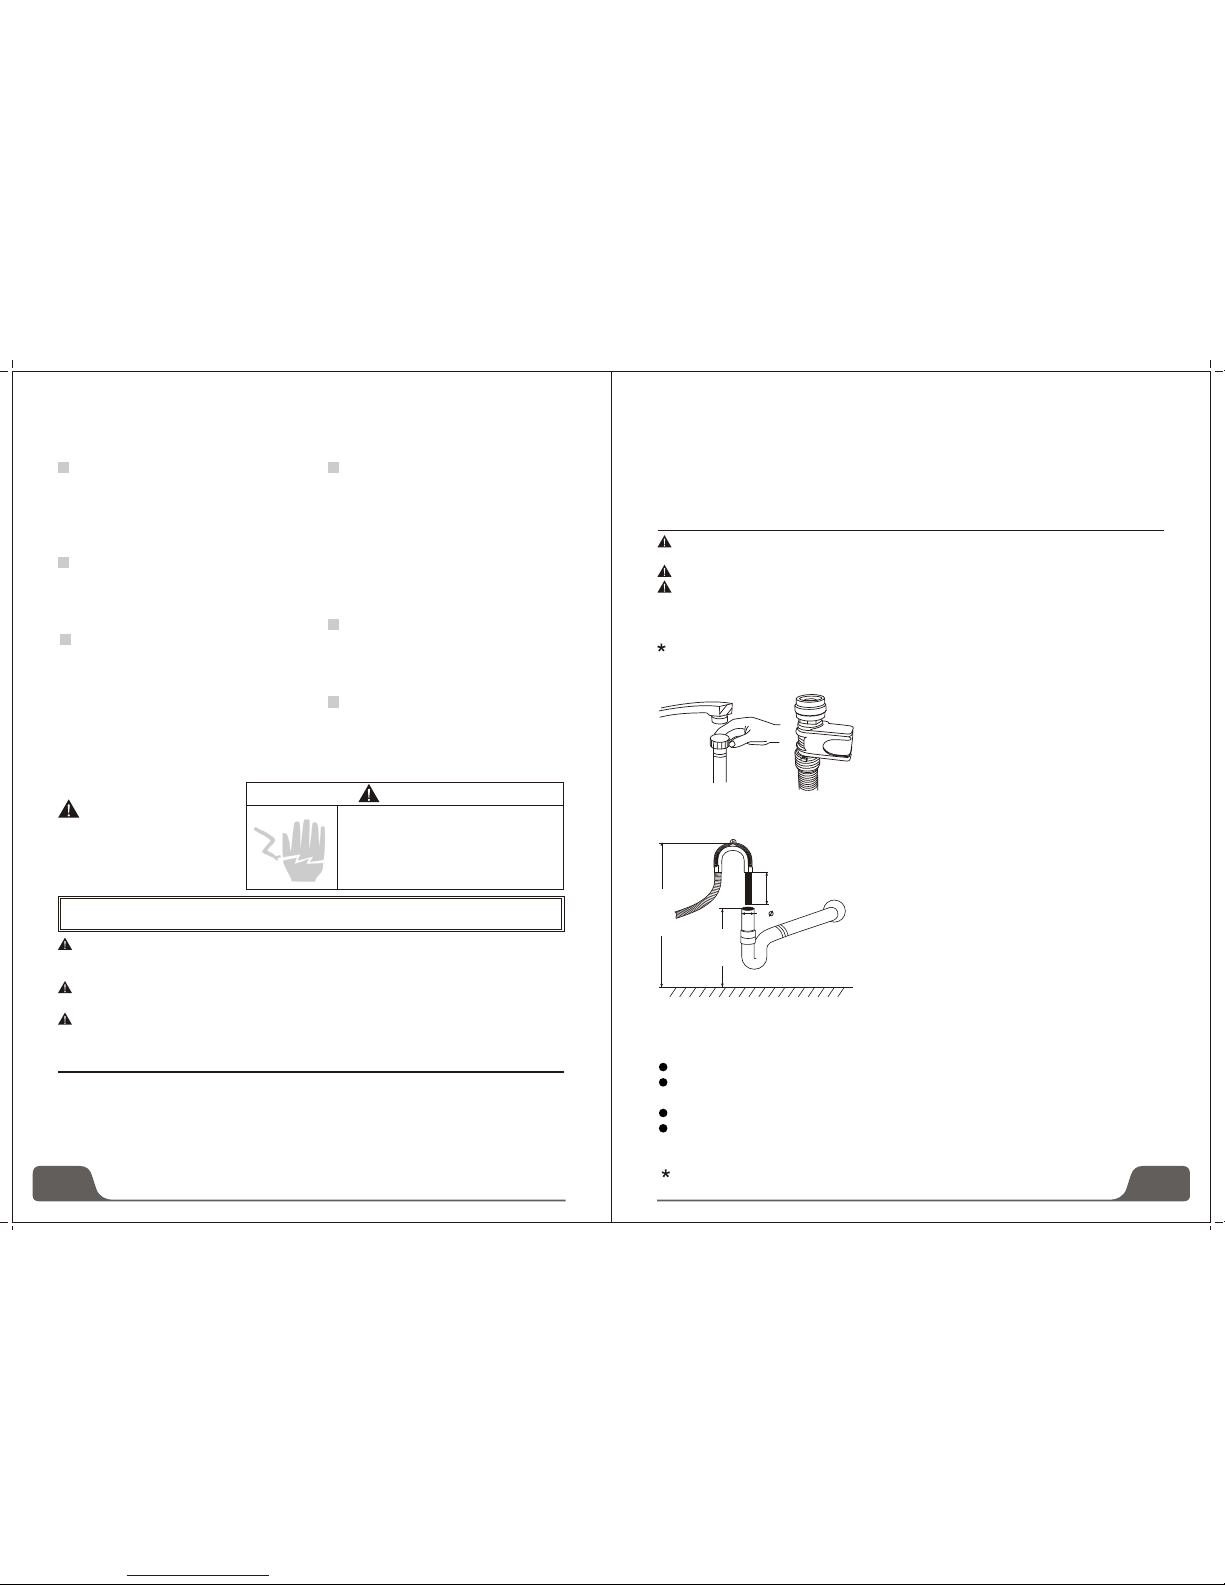
Connecting the water and electricity supplies
..............................................................17-19
9) Troubleshooting Tips.....................19-21
Error codes ...............................................19
Before calling for service .....................20-21
Technical information ................................21