manuals.online logo
Brands
  1. Home
  2. •
  3. Brands
  4. •
  5. Pro-Lift
  6. •
  7. Rack & Stand
  8. •
  9. Pro-Lift G4U-WM User manual

Pro-Lift G4U-WM User manual





ThankyouforpurchasingaPro‐LIFTG4U‐WM.ThePro‐LIFTproductlineisdesignedtoenhanceyour
interactivewhiteboardsandprojectors.Pleasefollowallassemblyinstructionscorrectlytoprovide
optimaluse.
OnlyaqualifiedcontractorshouldinstallthePro‐LIFTG4U‐WM.Ifyoudonotunderstandanyofthe
assemblyinstructions,pleasecontactyourlocalre‐sellerorvisitwww.proliftstand.com.
IMPROPERINSTALLATIONCANCAUSEDAMAGETOYOURPro‐LIFTANDLEADTOSERIOUSPHYSICAL
INJURY.JOROManufacturingcannottakeanyresponsibilityfordamageorinjuryresultingfrom
improperinstallation.
ThesuppliedmountinghardwareisforuseonthePro‐LIFTstandsonly.Ifyouencounteranyproblems
orinsufficienthardwareduringinstallation,pleasecontactyourlocalre‐seller.
2
Pro-LIFT G4U WM Assembly Sheet


OPEN BOX and IDENTIFY ALL PARTS!!

WallMountAngle
BoardMount
ControlPanel
ControlPanelArm
WallMountAngle
B – 6pcs
(M6x14mm lg.)D – 16pcs
(JORO Button – ¾ lg.
Thread Forming) J - 5mm Hex Key
1 pc
H - 5/32 Hex Key
1 pc
C – 6pcs
(M6x8mm lg.)
G – 6pcs
(Machine Screw
Insulator)
F – 6pcs
(Nylon Washer)
BottomProjectorMount
TopProjectorMount
PencilTrayMount
A – 12pcs
(#12x2 lg.)K – 4pcs
(SL-607 End Cap)
WallMountLeg
E – 2pcs
(1/4-20 x 3/8 lg.)
L – 4pcs
(SB-WM Backer)
3
Pro-LIFT G4U WM Assembly Sheet


STEP 1
Install Pencil Tray Mount Plate
(Requires4bolts,insulatorsandwashers)
Alignthecorrespondingholesonthepenciltraymountplatemountingbartothe
toptwoslotsorthebottomtwoslotsonthepenciltraymountthatsuityourboard.
Foreaseofinstallation,dothisstepwhilePro‐LIFTWallMountislyingdown.
BESURETONOTOVERTIGHTEN!
STEP 2
Install Pro-LIFT Wall Mount
(Requires6screwsperwallmountangle)
ThecombinedweightofthePro‐LIFTWallMount,boardandprojectorisapprox.150
lbs.(68kg).Ensureyourwalliscapableofsupportingthisweight.JOROrecommends
fasteninga¾”plywoodmountingsurfacetoexistingwalltodistributeweight.
Locatethestudsonthewallandfastentheangleusingthecorrespondingslots.
Besuretofastenthetopanglefirst.Repeataboveforthebottomangle!

STEP 3
Install Control Panel to Control Panel Arm
(Requires4bolts)
Locatethefourholesonthecontrolpanelplateandalignwiththefourholesonthe
controlpanelarm.Besurecounter‐boreholesarefacingawayfromcontrolpanel.
Fastencontrolpaneltocontrolpanelarmusingtheboltsasperdiagramabove.
BESURETONOTOVERTIGHTEN!
STEP 4
Install Control Panel Arm to Wall Mount
(Requires4bolts)
Locatethefourcounterboreholesonthecontrolpanelarmwhichextendthe
controlpaneloutenoughfortheusertoreachtheswitchandpowerbar.Alignthese
holeswiththefourholesonthePro‐LIFTWallMountandfastenasshownabove.
BESURETONOTOVERTIGHTEN!
A AA
Wall Mount An
g
le
C
C
Control Panel
Control Panel Ar
m
Wall Mount Leg
D
Control Panel Ar
m

Control Panel
G
Pencil Tray
Mount Plates
B
G
B
F
F
Wall Mount Leg
Pencil Tray
Mount Plate
Mounting Bar
4
Pro-LIFT G4U WM Assembly Sheet



STEP 5
Install Projector Mount End Caps
(Requires4EndCaps)
Aligntheendcapwiththeendoftheprojectormount.
Insertendcapintoendofprojectormountandgentlytapwithrubbermallet.
STEP 6
Install SMART Board Hanger
(Aspermanufacturer’sspecification)
For1Hanger/Requires3bolts‐For2Hangers/Requires6bolts
Useholeswhichcorrespondtomanufacturersrecommendedprojectortoimage
distance.Notetherearedrilled/tappedholesonthewallmountlegifloweringthe
boardisrequired.
BESURETONOTOVERTIGHTENIFLOWERINGBOARDMOUNT!

STEP 7
Install Projector
(Requires4/6screwsdependingonprojector)
Matchtheholestotheprojectionsysteminthediagramtotheright.
FastenyourprojectortothecorrespondingholesusingtheJORObutton
headscrewssuppliedbyJORO.
Note:Projectormountbarsmaynotbeexactlyasshown.
BESURETONOTOVERTIGHTEN!
STEP 8
Attach Cable Management Trough
(Requires2CableManagementTroughs)
JOROrecommendsattachingthetwocablemanagementtroughssupplied.
Removethefilmfromthedoublesidedtapeandattachoneonthebacksideofbothwallmountlegs.
K
K
K
KD
D
Wall Mount Le
g
Wall Mount
Leg
5
Pro-LIFT G4U WM Assembly Sheet





 

STEP 9
Attach SB-WM Backer
(Requires4SB‐WMBackers)
RemovethefilmfromdoublesidedtapeandattachtwoSB‐WMbackersapprox.1”
belowtheboardmountandtotheouteredgeofthewallmountleg.Attachthe
othertwoSB‐WMbackersapprox.1”abovethepenciltraymountplateandtothe
outeredgeofthewallmountleg.
STEP 10
Attach Safety Cable
(Requires1Cableand2bolts)
Iftheboardbeingusedpermitstheuseofthesafetycable,fastenoneendofthe
safetycableusingtheholeprovidedontheboard.Hangtheboardandthenpassthe
otherendofthesafetycablebehindandacrosstheboardmountandthenback
downtotheoppositehole.Fastentheotherend.BESURETONOTOVERTIGHTEN!


STEP 11
Fasten Pencil Tray
(Requires4EndCaps)
Alignthepenciltraymountsontheboardwiththecorrespondingholesonthepenciltraymountplate.FastenusingthefastenerssuppliedbyJORO,asshown.
Note:Dependingontheboardbeingused,theotherholesmayberequiredtofastenthepenciltraymount.Ifsideshiftingisrequiredtoalignholestopenciltray,loosen
itemBandshifttodesiredlocation.BESURETONOTOVERTIGHTEN!

To
p

Bottom
E
E
Board Moun
t
L
L
LL
Board Moun
t

Wall Mount Le
g

Wall Mount Le
g
Wall Mount Le
g
Wall Mount Le
g

Pencil Tray
Mount Plates
Safet
y
Cable
C
C
Pencil Tray
Mount Plate
B
B
6
7

Other Pro-Lift Rack & Stand manuals

Pro-Lift T-3101 Instructions for use

Pro-Lift

Pro-Lift T-3101 Instructions for use

Pro-Lift G5ZL User manual

Pro-Lift

Pro-Lift G5ZL User manual

Pro-Lift T-6902 Instructions for use

Pro-Lift

Pro-Lift T-6902 Instructions for use

Pro-Lift WMH Series User manual

Pro-Lift

Pro-Lift WMH Series User manual

Pro-Lift G4U-LCD User manual

Pro-Lift

Pro-Lift G4U-LCD User manual

Popular Rack & Stand manuals by other brands

Monoprice Commercial Series installation guide

Monoprice

Monoprice Commercial Series installation guide

MantelMount MM340 installation instructions

MantelMount

MantelMount MM340 installation instructions

Jotto Desk 425-5261 Installation

Jotto Desk

Jotto Desk 425-5261 Installation

ATEN VE-RMK2U User instructions

ATEN

ATEN VE-RMK2U User instructions

Salamander Designs FPS1XL/FH/CSP75/GG user manual

Salamander Designs

Salamander Designs FPS1XL/FH/CSP75/GG user manual

FONESTAR SVW-1064N instruction manual

FONESTAR

FONESTAR SVW-1064N instruction manual

Novus NVB-SD3000CB user manual

Novus

Novus NVB-SD3000CB user manual

Wen 4288 manual

Wen

Wen 4288 manual

Vivo STAND-V002C instruction manual

Vivo

Vivo STAND-V002C instruction manual

SCT RCM Series Application guide

SCT

SCT RCM Series Application guide

Speaka Professional FS18-44FF installation manual

Speaka Professional

Speaka Professional FS18-44FF installation manual

NCR SelfServ 90 Kit instructions

NCR

NCR SelfServ 90 Kit instructions

ShelterLogic FIREWOOD RACK-IN-A-BOX ULTRA-DUTY 90367EU quick start guide

ShelterLogic

ShelterLogic FIREWOOD RACK-IN-A-BOX ULTRA-DUTY 90367EU quick start guide

Adaptive SAS-500-WM installation guide

Adaptive

Adaptive SAS-500-WM installation guide

Chesapeake & Midlantic BMT-70T45 installation manual

Chesapeake & Midlantic

Chesapeake & Midlantic BMT-70T45 installation manual

HAGOR ScreenOut OH 75 Landscape installation manual

HAGOR

HAGOR ScreenOut OH 75 Landscape installation manual

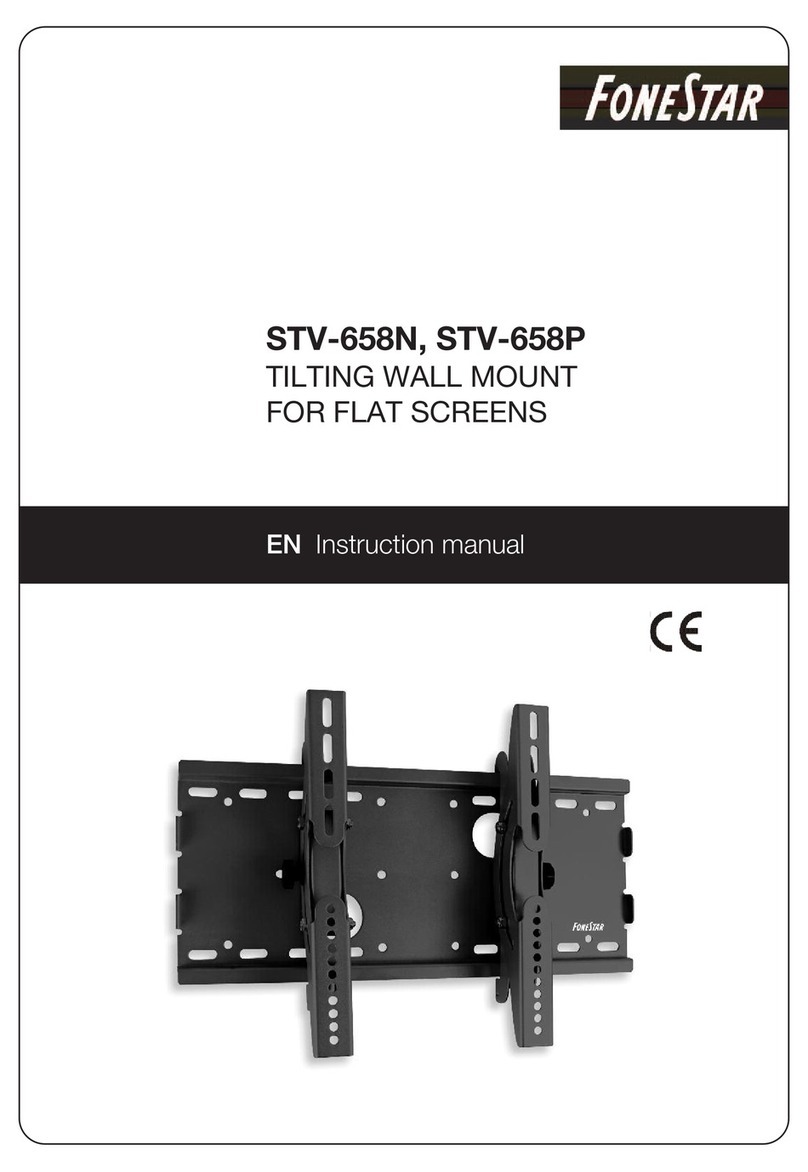
FONESTAR STV-658N instruction manual

FONESTAR

FONESTAR STV-658N instruction manual

Premier Mounts SCM-103 installation instructions

Premier Mounts

Premier Mounts SCM-103 installation instructions

manuals.online logo
manuals.online logoBrands
  • About & Mission
  • Contact us
  • Privacy Policy
  • Terms and Conditions

Copyright 2025 Manuals.Online. All Rights Reserved.