PROART A 5036A User manual

Overview
This keypad is programmed at the factory with a range of
selectable source descriptions. Each keypad has been preset
at the factory with the default zone number of 01 and all 8
source names have been assigned the name AUX.
Installation and set up.
The zone number MUST be set BEFORE the keypad is
installed in the wall and BEFORE any changes are made to
the source name. This will prevent accidentally erasing pro-
gramming on one keypad while changing the zone number
on another keypad.
An optional stereo audio source wall plate (eg 2 x RCA or
3.5mm plate) can be connected to the wall plate. To fit this
see fig. 3.
Connect the cat5e cable using standard T568A wiring format
(see Fig.1).
Switch on the power for the A 5030 control unit and press the
mute / power button on the keypad to turn it on. The unit will
display PWR-ON.
Press the zone button (see Fig2.) on the end of the wall plate
and the zone number will be displayed on the LCD screen.
Press and release the zone button again to increment the
zone number one by one until the required zone number is
displayed. There are 16 possible zone numbers. Numbers 1 -
6 only should be used for one A 5030 Proart control unit, and
numbers up to 12 where 2 Proart systems are used.
Once the zone numbers have been assigned the keypad can
be installed in the wall.
1. To enter the source name set up screen, press and hold
the source up button for approx 7sec. The text name
NAME-Y will appear for a moment and the IR indicator will
begin flashing.
2. The source number will now be displayed to the right of
the volume level numbers on the LCD display and corre-
sponds to the source input number on the back of the con-
troller. Note that the source number will be displayed for
about 10 seconds and will then disappear, but you can
continue to assign a source name to that source number
until you are ready to assign the next source.
3. Press volume up or volume down buttons to identify the
source number to be programmed.
4. Once source number 1 is displayed, use the source up
and source down buttons to scroll through the list of
source names until you select the source you require for
that input. See table 1.
5. Repeat steps 3 and 4 for each of the 8 sources.
Remember to select NA for any source input in which no
component source is connected or if you want to skip that
source in that zone.
6. Once all sources have been assigned a source name press
Enter to exit set up. Please note that after 10 - 15 seconds
of inactivity the keypad will also automatically exit set up,
saving your last setting.
The text NAME-N will appear for a moment and the IR indica-
tor will stop flashing once you exit set up.
(Note that if the IR indicator light remains lit after exiting set
up, power off the keypad and then power back on.)
Using the keypad
The keypad will enter sleep mode after approximately 20 sec-
onds of inactivity. To “wake up” the keypad simply press any
button.
Volume: These buttons increase and decrease the volume
with range from 00 - 99. The volume level is also displayed as
a 10 position bar graph.
Source: These buttons are used to scroll through the
sources available to the zone that you are in.
Mute / Power: Press this button to turn the keypad on. Once
powered on press the button to mute the speakers in that
zone. When muted the LCD will display “MUTE”. When
muted the speakers in that zone are still available for the
doorbell. Pressing and holding the MUTE/POWER button for
approximately 3 seconds will turn power to the keypad off.
When off the speakers in that zone are not available for the
doorbell.
www.altronics.com.au
Operating Instructions
Distributed by Altronic Distributors Pty. Ltd. Perth. Western Australia.
Phone: 1300 780 999 Fax: 1300 790 999
Internet: www.altronics.com.au
A 5036A
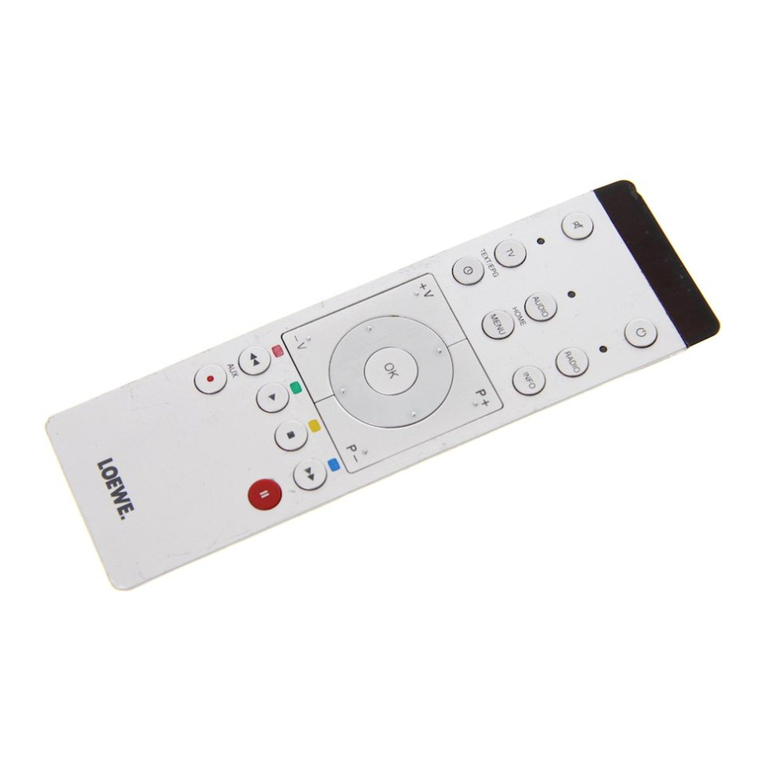
Remote Control Wallplate

All ON / OFF: It is possible to turn all of the zones in the sys-
tem on or off from any keypad. When turning all ON, every
keypad will turn on to its last setting prior to being turned off.
To turn all ON: Starting with a keypad that is powered off,
press and hold the power button for approximately 3 seconds
and this keypad will turn on. Continue holding for 4 seconds
and all keypads will power ON. Release the power button.
To turn all OFF: Starting with a keypad that is currently ON,
press and hold the power button for approximately 3 sec-
onds. Continue holding for another 4 seconds and all key-
pads will power OFF. Release the power button.
Using the remote control.
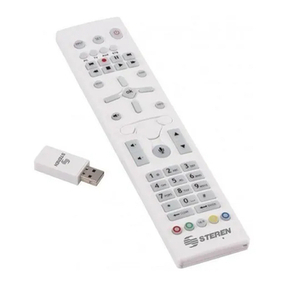
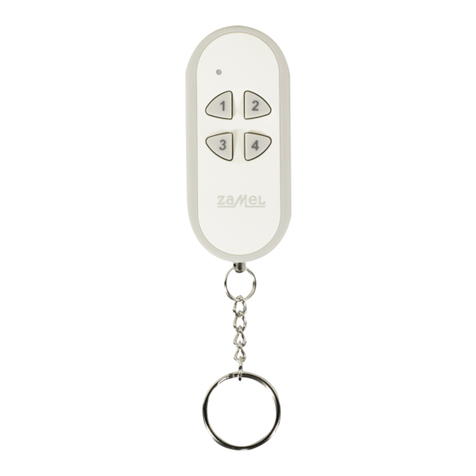
A simple infra red remote control is supplied that has the
same functionality as the keypad.
Using your own remote control.
You can use your own universal or learning remote control to
control the keypad functions as well as the functions of your
centralised components (eg CD, amplifier etc).
Troubleshooting.
No Sound: If there is no sound through the speakers check
and adjust the amplifier volume level to about half to three
quarters volume & adjust the wall plate to between 30 - 50.
www.altronics.com.au
Fig2. : Location of zone ID button.
Stereo Input Panel
L
R
Fig3. : If you connect a stereo input panel (available as an
additional item) to this keypad, you must first remove the
two shorting jumpers shown here. Use a non-metallic
object to push the jumpers up and out of the keypad.
IF YOU DO NOT PLAN TO CONNECT A SOURCE INPUT
PANEL TO THIS KEYPAD, LEAVE THE JUMPERS IN PLACE
TO ENSURE PROPER OPERATION.
WIRING DIAGRAM
8P8C PLUG
1
2
3
6
4
5
7
8
1 - White / Green
2 - Green
3 - White / Orange
6 - Orange
4 - Blue
5 - White / Blue
7 - White / Brown
8 - Brown
8P8C PLUG
Fig1. : T 568A standard Cat5e RJ45 wiring configuration.
Table 1. : Source names
TV Television
TV-2 Television
PHONE Typically used for mobile phones with
audio playback capability
MP3 MP3 player
POD iPod®, iPod®dock or similar
POD-2 iPod®, iPod®dock or similar
SERVR Media server
COMP Computer
CABLE Cable box
SATRD Satellite radio
SATTV Satelite TV
DVD DVD player
CD Compact disc player
CD-2 Compact disc player
RADIO Radio
TUNER Radio AM, FM or HD tuner
NA Not Available - Used to denote a source
input that has no component connected
to it or to identify a source component
that is not available in that zone.
BABY Baby monitor
AUX Auxiliary
AUX-2 Auxiliary
Table of contents
