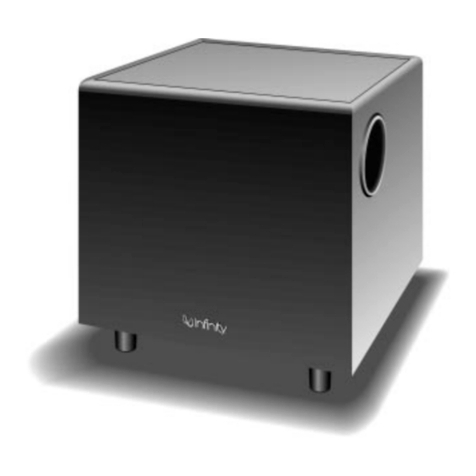
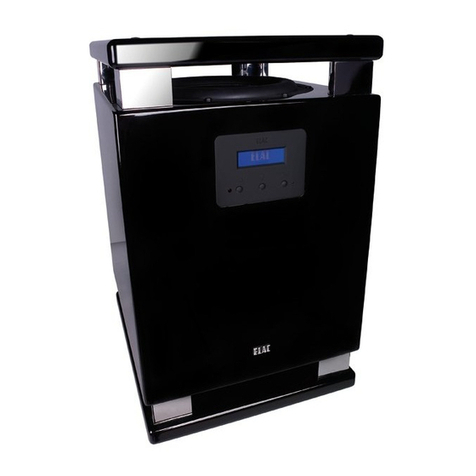
PROCELLA AUDIO PRELIMINARY P12 User manual

Copyright ©Procella Audio Sv AB Due to continuous R&D, specifications may change without prior notice. V1.2 Oct. 2014
PRELIMINARY
P12 User Guide
“Thank you for purchasing a Procella Audio Active Loudspeaker!”
We recommend that Procella loudspeakers be installed and tuned by a trained Procella technician. Please consult with your
dealer or Procella Audio for assistance with determining the proper speaker setting and positions in your room.
IMPORTANT SAFETY INSTRUCTIONS
CAUTION: TO REDUCE THE RISK OF ELECTRIC SHOCK, DO NOT REMOVE THE COVER. NO USER- SERVICEABLE
PARTS INSIDE. REFER SERVICING TO QUALIFIED SERVICE PERSONNEL.
WARNING: TO REDUCE THE RISK OF FIRE OR ELECTRIC SHOCK, DO NOT EXPOSE THIS APPARATUS TO RAIN OR
MOISTURE AND OBJECTS FILLED WITH LIQUIDS, SUCH AS VASES, SHOULD NOT BE PLACED ON THIS APPARATUS
TO COMPLETELY DISCONNECT THIS APPARATUS FROM THE AC MAINS, DISCONNECT THE POWER SUPPLY
CORD PLUG FROM THE AC RECEPTACLE.
•Con irm that the Voltage setting is correct or your country and that the included power cord is suitable.
•Make sure that the ventilation openings on top o the ampli ier module are ree and that the position o
the P12 enclosure allows air to circulate around the ampli ier module.
•
A single Procella P12 subwoo er should be positioned on the loor, against the ront wall between the
Center and either the Le t or Right screen speaker i no other instructions have been provided. We do not
typically recommend locating a single subwoo er on the centerline o the room. For placement o multiple
subwoo ers, contact your Procella dealer or the Procella actory.
•The Procella P12 ampli ier is a High-Power, Switched-mode Class-D ampli ier. Like any digital ampli ier,
proper mains, grounding and signal interconnections are essential or correct operation, to avoid hum and
buzz and to achieve the best possible signal to noise ratio.
The power line should be ree rom disturbances caused by other electrical appliances such as
motors, heaters and ovens, elevators, re rigerators or similar.
To minimize ground-loops, connect the Procella P12 to the same power outlet as the pre-
ampli ier or processor and run the signal cable in parallel with mains cable.
For the best possible per ormance, it is strongly recommended that the P12 ampli ier be
connected with a pro essional XLR-type, shielded 2-wire cable to a balanced output o the pre-
ampli ier. Pin1=Ground, Pin2=Normal polarity (“hot”) and Pin3=Inverted polarity (“cold”).
Package
contents:
-
Procella
P
12
active
subwoo er
-Power
cord
-
This
User
Guide

Copyright ©Procella Audio Sv AB Due to continuous R&D, specifications may change without prior notice. V1.2 Oct. 2014
Although the Procella P12 has a unbalanced Phono input, when it is used with a preamp or
processor that has an unbalanced output, we recommend that a shielded 2-wire cable with XLR
connectors be used, with an adapter at the pre-ampli ier end. This will produce the lowest noise
level and best sound quality.
The unbalanced Phono output connector o the Procella P12 should only be used or linking to
additional Procella P12 subwoo ers.
•The "Signal"LED is green when an input signal is detected. When the LED
switches to Red, the input signal is too high and the ampli ier is clipping.
CAUTION: Do not run the P12 subwoo er at clip level or extended periods!
•The “Gain” control should be used to set the level. When setting
subwoo er levels through a preamp or processor, the Gain control should
be adjusted so that the SUB output rom the processor matches the LCR
loudspeakers output.
•
The "Polarity" switch can be used to match the polarity o the Procella P12
to the L-C-R speakers at the listening postion. This is important because o
variables in the system such as the pre-ampli ier, crossover order and
room position o both the main speakers and the subwoo er.
•
The Procella P12 ampli ier has two user-selectable presets or room
positioning o the subwoo er:
WALL Positioned on the loor and against a wall.
CORNER Positioned on the loor, against a wall and close to a
corner.
•Without test equipment, the correct position can be determined by a
listener seated at the main listening position. With a partner at the
subwoo er, play music with prominent mid-bass content through the
system. While listening to the playback, the listener should instruct the
partner when to change the Polarity switch, care ully listening or changes
in the mid-bass level. The switch setting that produces the greatest bass
output is the correct setting.
•To calibrate the Auto Power On circuit, connect the subwoo er cable to the
Pre-amp or processor. Set the power switch on the Pre-amp or processor
to ON (or out o Standby), with no source playing. On the subwoo er, move
the switch to Set. The Standby LED will start blinking rapidly. When the LED
blinking rate slows down, move the switch to Auto.
•You can con irm that you have the correct setting by playing any disc and
veri ying that the Standby LED switches to Green when the material starts
playing. I the LED turns green without any source playing, check your
installation and cable routing or AC mains or signal inter erence.
The Procella P12 is designed or use with a 4th order Linkwitz-Riley, low pass crossover at 80-125Hz. The
proper requency depends on the main speakers used and the desired playback levels. I available, the ‘THX’
TM
setting in the processor will give the correct characteristics at a requency o 80Hz.
Email: sound@procella-audio.com, web site: www.procella-audio.com.
Table of contents
