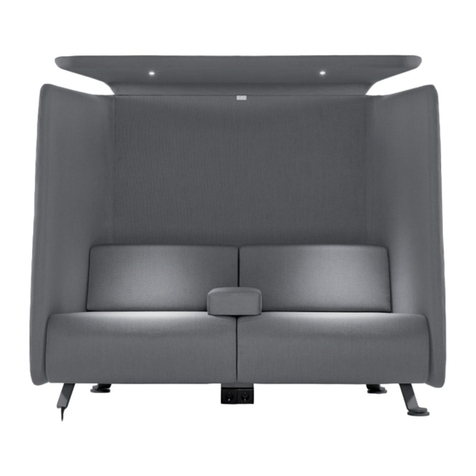
Prooff R16 User manual
Other Prooff Indoor Furnishing manuals
Popular Indoor Furnishing manuals by other brands
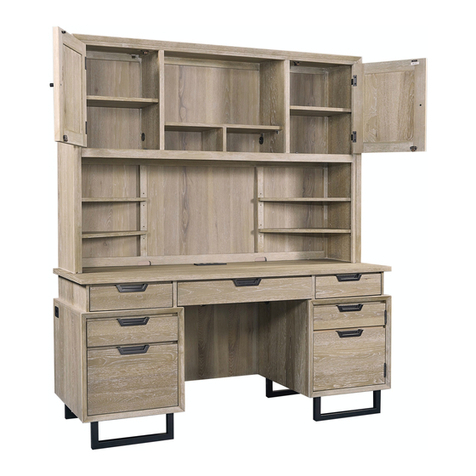
aspenhome
aspenhome IHP-316-KHA Assembly instructions
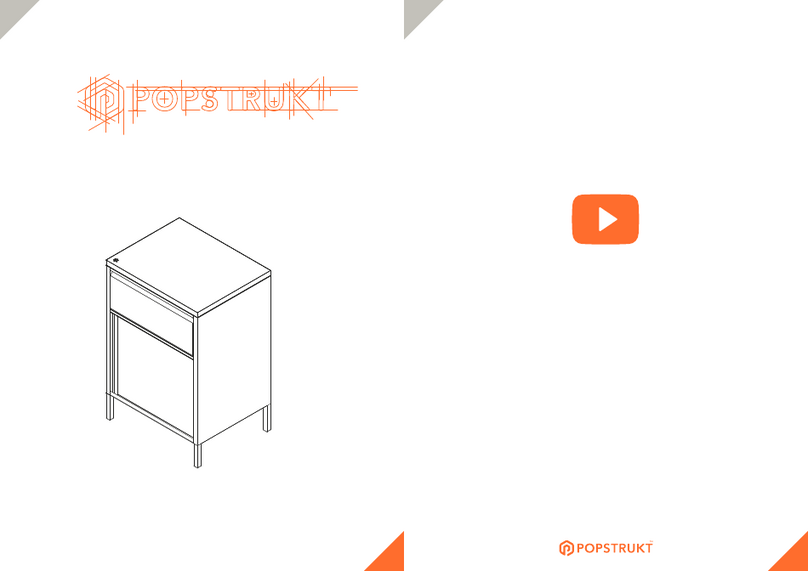
popstrukt
popstrukt BON BON BUDDY SIDE TABLE LD02B Assembly instructions

Night & Day Furniture
Night & Day Furniture Murphy Cube Assembly instructions

IKEA
IKEA KULLEN Assembly instruction
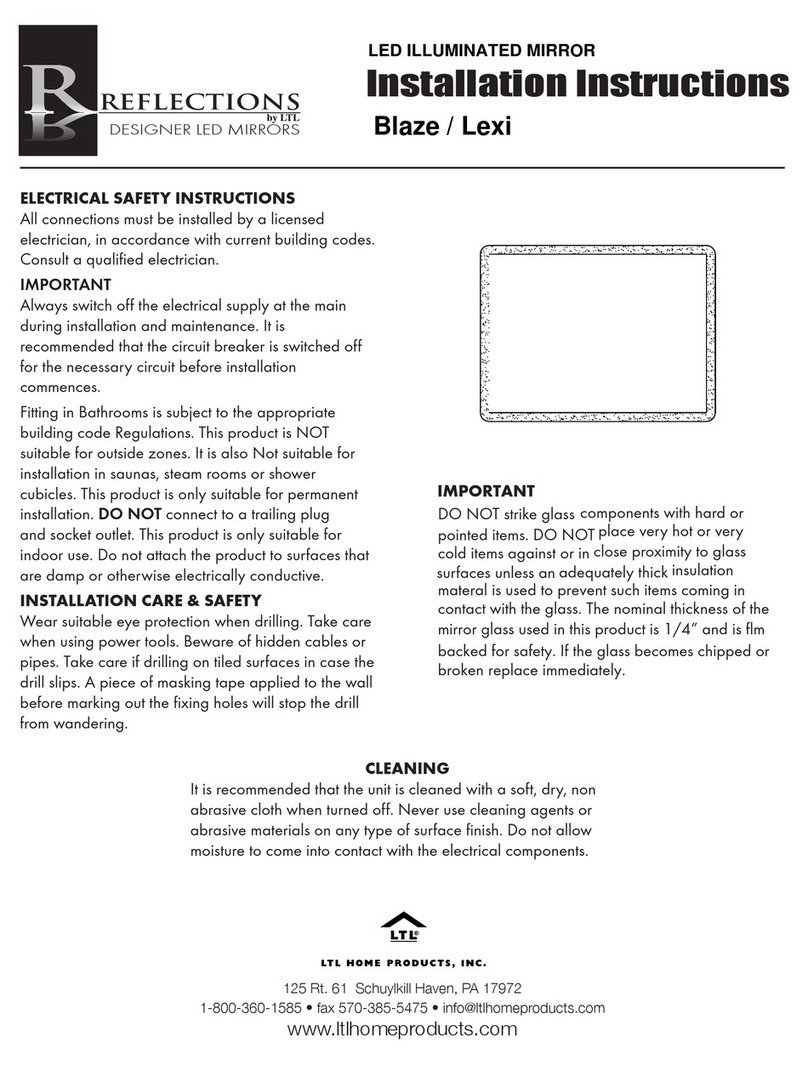
LTL Home Products
LTL Home Products Reflections Blaze installation instructions
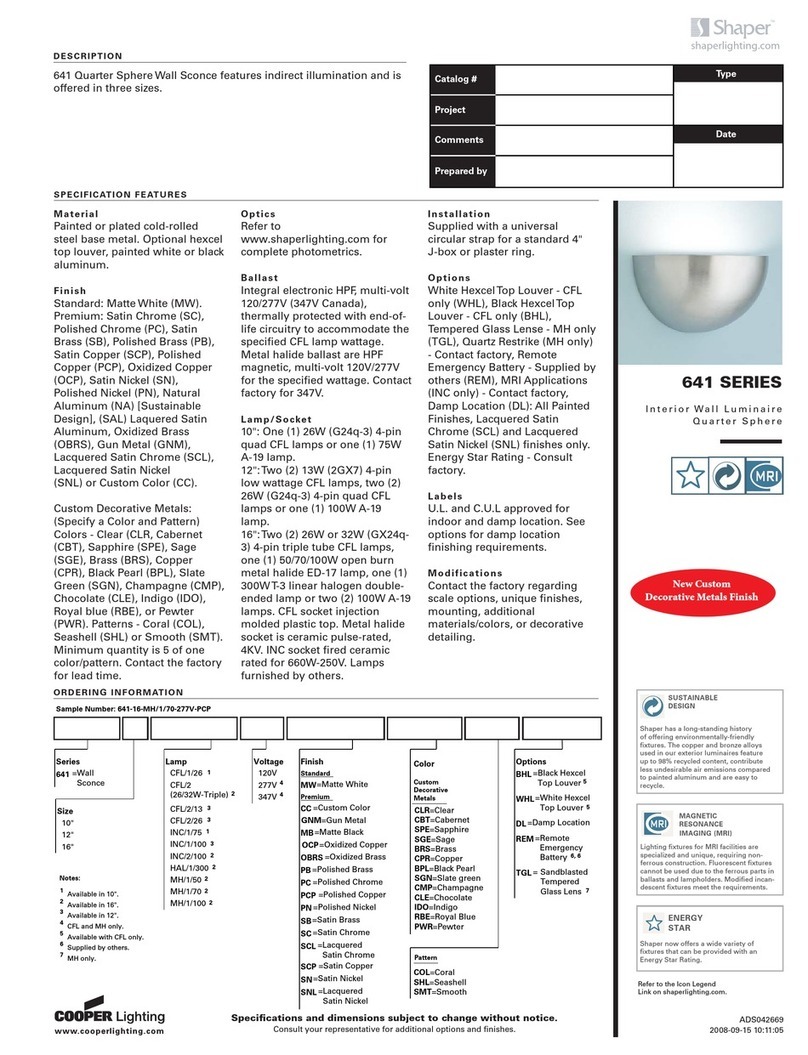
Cooper Lighting
Cooper Lighting 641 Series Specification sheet
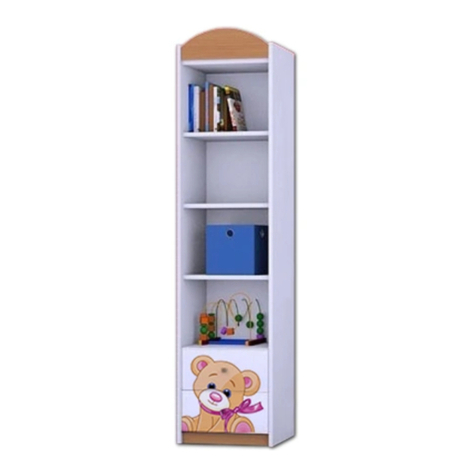
Happy Babies
Happy Babies HAPPY RW01 Assembly instructions
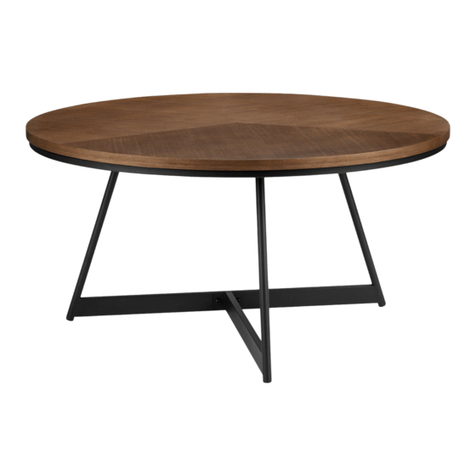
Bouclair
Bouclair 9400449 Assembly instructions

Argos
Argos Washington 425/8425 Assembly instructions
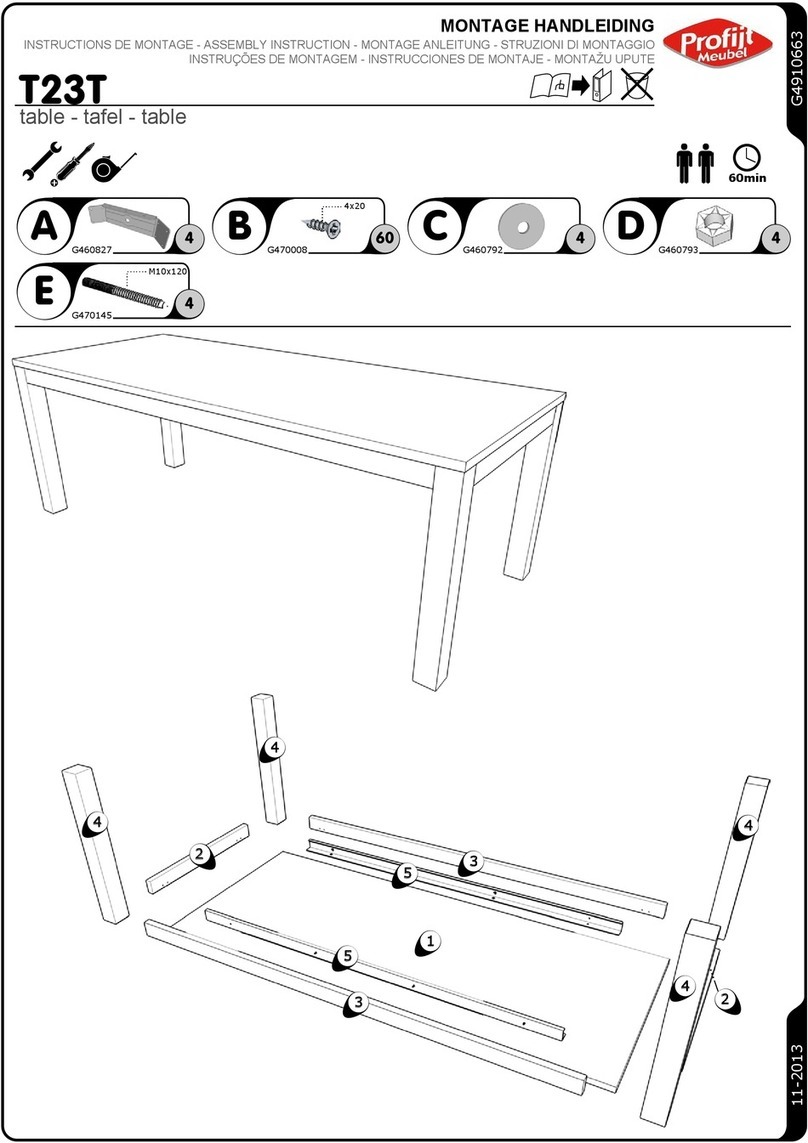
Profijt Meubel
Profijt Meubel T23T Assembly instruction

Hillsdale Furniture
Hillsdale Furniture LAUREN HUTCH 791-2275 quick start guide
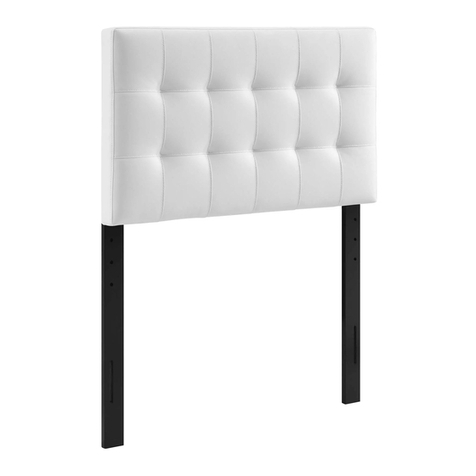
modway
modway 5149 Assembly instructions

Seconique Furniture
Seconique Furniture AMELIA 4'6" PLUS BED Aassembly Instructions

Sauder
Sauder worksense PALO ALTO 427795 manual

Forte
Forte STZT131B Assembling Instruction

Belnick
Belnick SB-1960-CH-CREAM-GG Assembly instructions
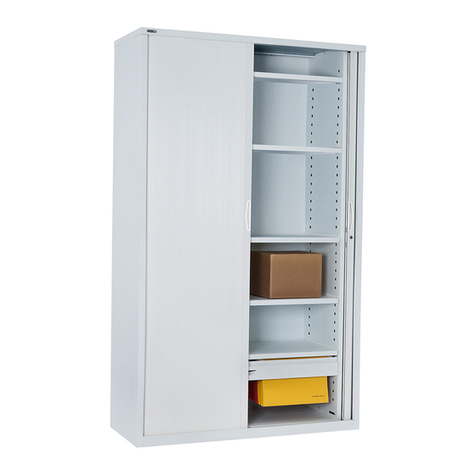
Rapidline
Rapidline GTDSHELF Assembly instructions
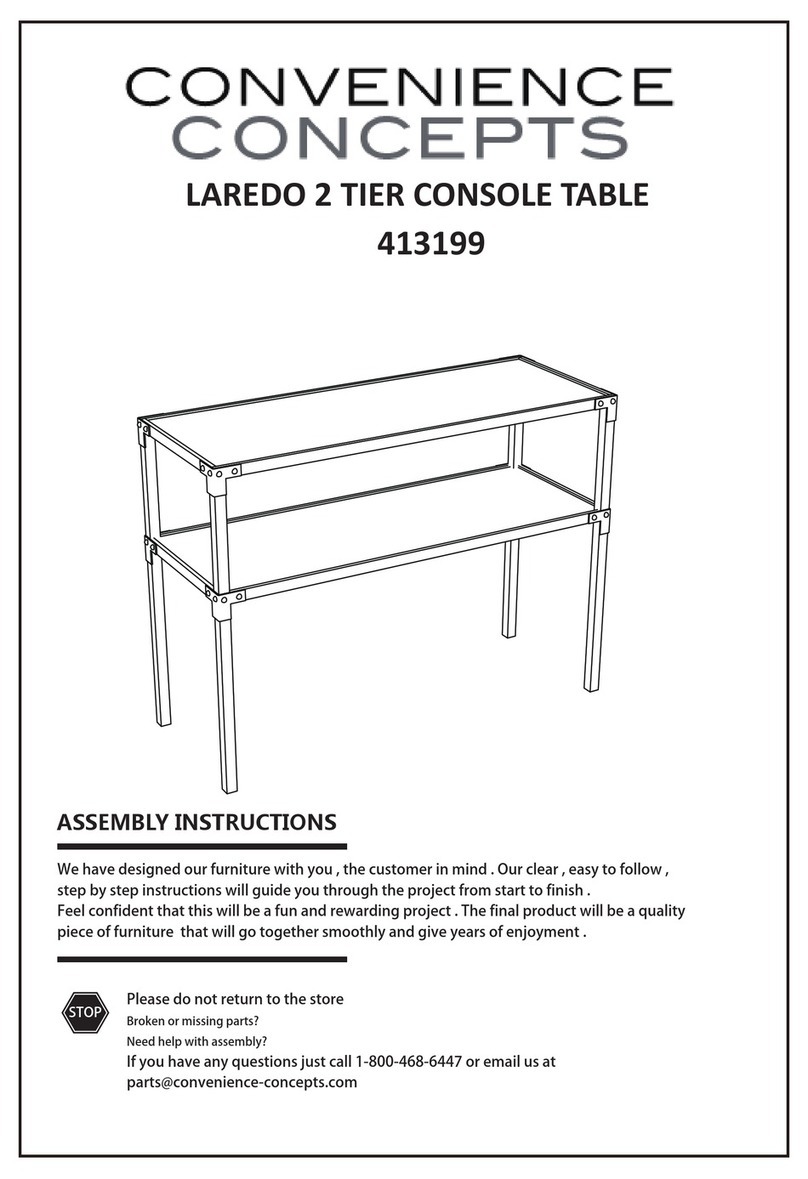
convenience concepts
convenience concepts LAREDO 413199 Assembly instructions


