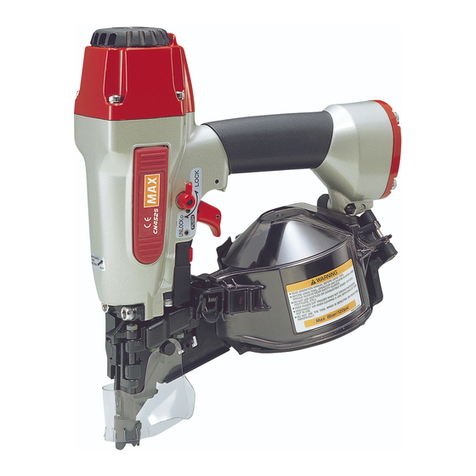
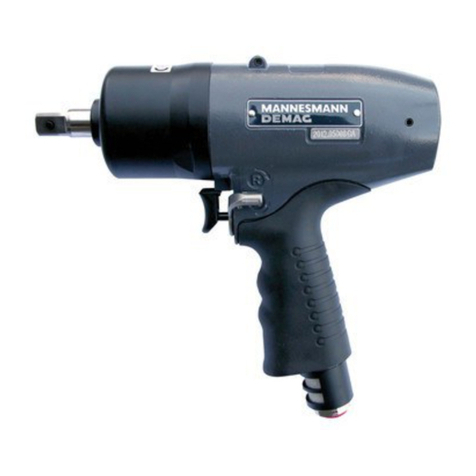
Figure 6 .
Using the tool for tightening (clockwise rotation)
After a full risk assessment has been carried out and all PPE is in place, you are ready to proceed
1. Select the correct tool direction shown in figure 7 using the forward and reverse buttons.
2. Set the torque by pressing the trigger on the wrench (figure 1 item 6) and adjust the air inlet
pressure on the FRL (Figure 2 item 1) to the pressure that corresponds to the required
torque output on the supplied torque chart.
3. Select the necessary socket to suit the nut or bolt and it is rated at the output of the tool.
4. Place the tool on the job and make sure that you have the reaction arm correctly positioned
in accordance to the direction the tool will be operating (figure 8).
5. Depress the trigger and tighten until the wrench stalls. Once the wrench stalls the set
torque requirements have been achieved
Figure 7.
