Using your PRS Amplifier
IMPORTANT: Before using your amplifier, refer to the IMPORTANT SAFETY
INSTRUCTIONS insert supplied with the product.
Powering Up:
1. Make sure your speaker cabinet is connected to the correct speaker output
impedance jack with a high quality speaker cable. Do not use guitar cords.
2. Make sure the power cord is connected to the correct grounded outlet.
3. Make sure there are at least 6 inches of clearance behind the amplifier to allow for
proper cooling. Never place the amplifier against a wall or other equipment, and
keep it clear of other heat sources, such as other amplifiers or stoves. Make sure
there are no flammable items, such as curtains, behind the amp. Do not drape items
over the amps that can prevent proper cooling. Do not set drinks or other liquids on
top of the amp that can spill into the amp.
4.To increase the life of the tubes, set the “Standby” switch to the STANDBY position
before powering on. Turn the POWER switch on and let the amplifier warm up for
2 minutes before seing the standby switch to “ON”. If this is the first time you are
turning on the amp, check to see if all of the tubes are glowing.
5. Plug in the guitar cable, turn the volume knob down, and turn the standby switch
on and wait a few seconds for the bias to sele. Bring the volume up and play some
tunes.
This equipment is capable of very high sound pressure levels. Prolonged exposure
may cause hearing damage.
This equipment contains no user-serviceable parts. Refer all repairs to qualified
service personnel.
Ensure that the mains plug is easily accessible to allow the unit to be switched o.
Only connect this unit to an earthed supply socket.
THIS UNIT IS CLASS 1 CONSTRUCTION AND MUST BE EARTHED!
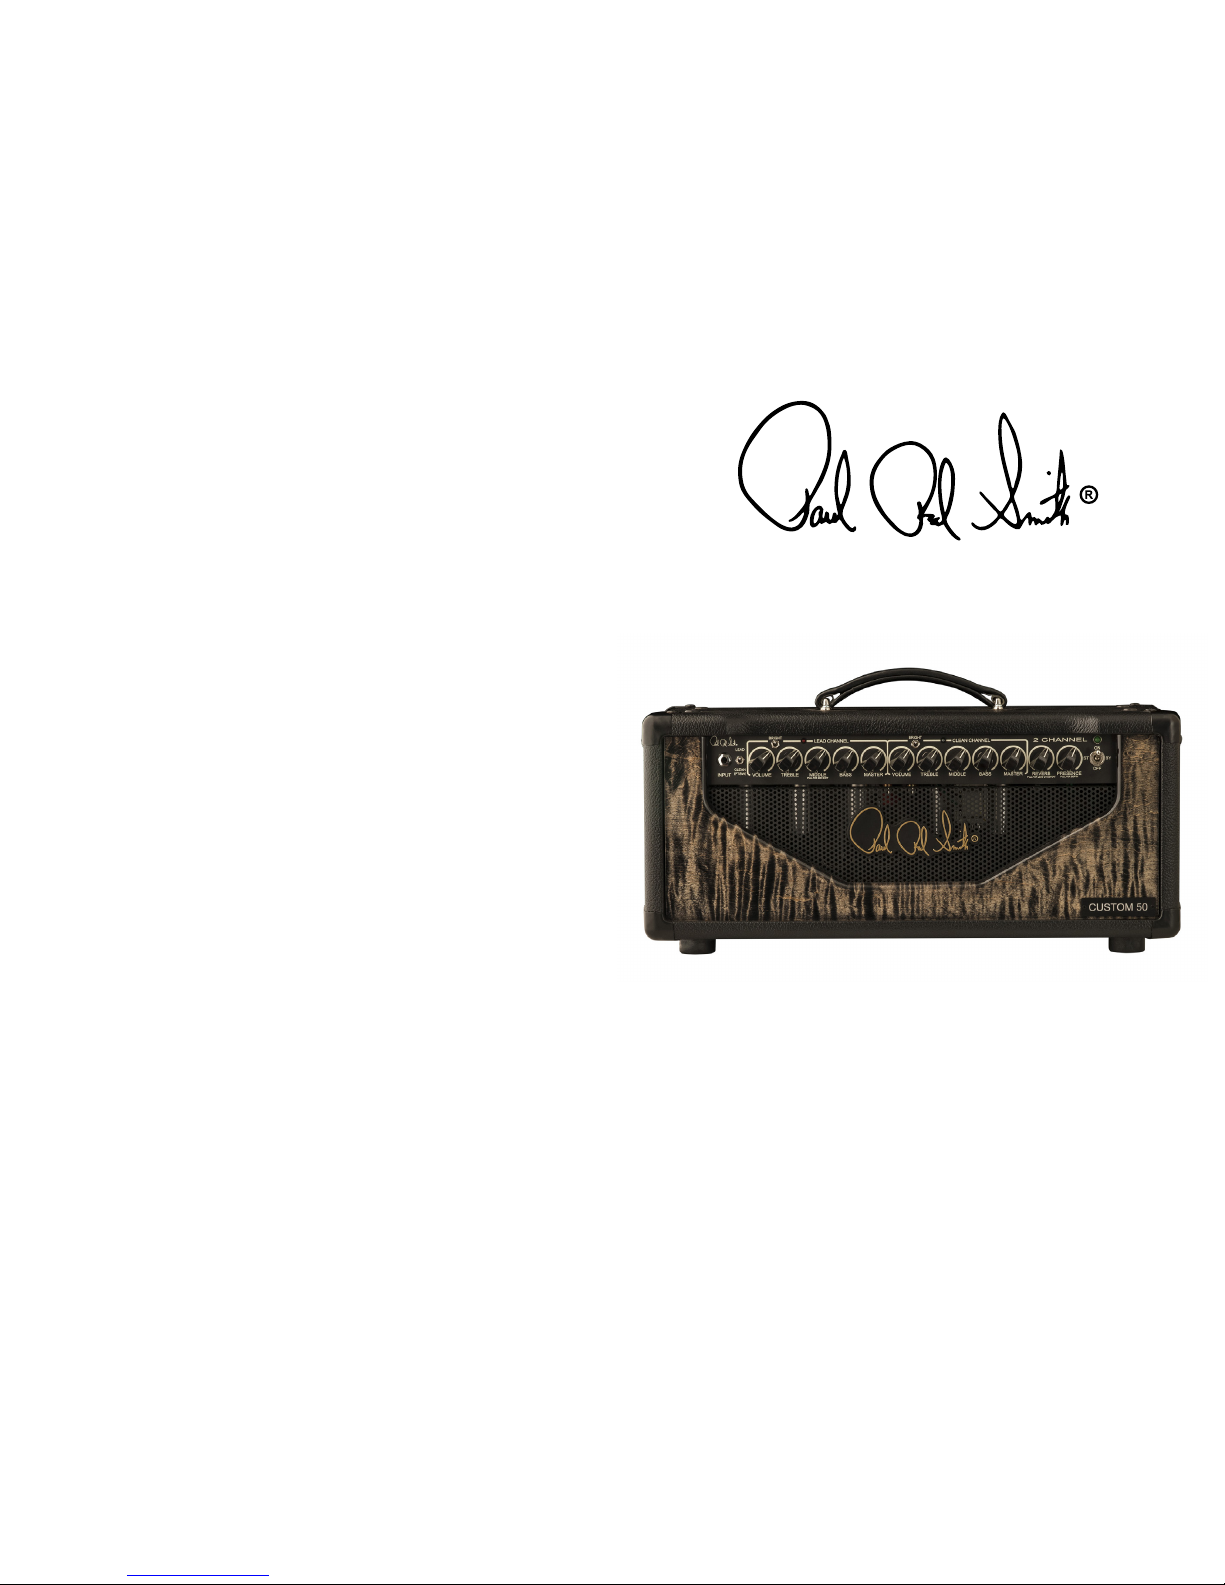
2 Channel Custom Amplifier Front Panel Controls
Input: ¼” Standard Mono Guitar Cable.
Lead/Clean Selector: Select your channels when not using your footswitch. When
footswitch operation is desired, select the clean channel for proper operation.
Channel Controls: Each channel is equipped with a Volume, Bright, Treble, Middle,
Bass, and Master control. Use the Volume control to adjust the level of preamp gain.
Use the Master control to adjust the overall channel volume. Adjust the tone
controls to taste.
Switchable Mid-Shift: This switch adjusts the mid-range frequency response.
Bright Switches: These switches allow you to set the overall brightness of each
channel.
Presence Control: The Presence control is global and aects both channels. Presence
aects the upper high-end. Pulling this control adds extra low-end thump.
Reverb: This knob controls the mix amount of reverb. Pull this control to disable
reverb on the lead channel only
On/Standby/O: When this switch is in STANDBY, the amplifier tubes are eectively
turned o, but are still being warmed by the filaments. Keep this switch set to
STANDBY when powering on the amplifier for at least 2 minutes to allow the tubes to
warm up. This also helps extend the life of the tubes. When set to ON, the tubes are
turned on and the amplifier can be used.
LED Indicator: Regularly check that when power is applied the mains indicator lights.
If the indicator fails, return the unit for servicing. It must not be used with a faulty
indicator.
Rear Panel Controls
Mains Socket: Always use the mains lead supplied. Your sales outlet can provide a
lead suitable for your country. Always disconnect the equipment from the mains and
ancillary units before moving.
Fuses: This amplifier is equipped with multiple accessible fuses. Replacement fuses
must be of the same type and rating as indicated. Failure to comply may result in
permanent damage to the product, and/or create a safety hazard. Always disconnect
the equipment from the mains supply before replacing a fuse.
Mains Fuses: These are located in the mains socket.
Filament Fuses/B+ Fuse: These are located on the top rear of the chassis and are
accessible via thumb-turn fuse holders.
Safety Symbols: The following symbols mean:
Warning: read instructions to understand possible hazard
Danger: electrical shock hazard
Eects Loop: This amplifier features a series eects loop that is integral to the overall
sound of the amp. Connect the Send jack with a ¼” mono instrument cable to the
input of your pedal(s). Connect your pedal(s) output to the Return jack also using a ¼”
mono instrument cable. Adjust the send and return levels via the controls.
Bias Jacks: These jacks measure the power tube current draw in mV. 1mV = 1mA. Review
the information on the back of this manual for guidance on replacing tubes. Biasing
and tube replacement should be performed only by a qualified technician.
Speaker Jacks: This is the main output for your speaker cabinet(s). Jacks are wired in
parallel. Only use a high quality speaker cable. Never use an instrument cable. Please
see “Impedance Selector” section below.
Impedance Selector: Use this switch to match the amp to the impedance of your
speaker cabinet(s). The total speaker impedance must be determined before
connecting to the amp. It is not recommended to exceed 2 total speaker cabinets. Be
sure to only use cabinets with the same impedance rating. Failure to do so can damage
the amp. The combined value of 2 matching cabinet impedances is half of the value of
one cabinet’s impedance. Examples: Two 8 ohm cabinets combine to create a 4 ohm
combined impedance. If using two 16 ohm cabinets, set the Impedance Selector to 8.
Note: Confirm the total impedance of your choice cabinets and adjust your Impedance
Selector accordingly. Failure to do so can cause arcs on the tube sockets, failure of
power tubes, or even failure of the amp.
Footswitch Jack: Connect the included footswitch to control channel switching, the
eects loop bypass function, and the solo boost feature. When using the footswitch
to control channel switching, select the clean channel on the amplifier front panel
for proper function. Only use the included footswitch. Connection of an improper
footswitch may result in damage to the amplifier.
Solo Boost: This feature is controlled by the footswitch. The boost may be individually
adjusted for each channel.