PTZOptics SDI User manual

PTZOptics SDI Camera Quick Start Guide
Step 1: When you first receive your PTZOptics SDI Camera, the first thing you should do is read
the included manual.
Step 2: Inside your box you will find your camera, the manual, the power supply, a remote
control, two AAA batteries and a serial
connection cable used for joystick controllers.
Step 3: Once you have read the manual, it is
helpful to select the video resolution and frame
rate you would like to use with your camera. The
camera's resolution is set by a yellow dial on the
back Interface board of the camera. You can
reference the available frame rates in your
manual or on a table printed on the bottom of
your camera.
NOTE: The default dial setting is “0” which is 1080p60fps. This is ideal for sports but you may
want to consider setting “6” for 1080p30fps for the classic natural video look depending your
application.

Step 4: Once you have set your resolution dial, can turn on your PTZOptics camera. If your
network switch provides PoE (Power over Ethernet), you will not need to use the included power
supply.
NOTE: Only PTZOptics SDI and NDI
cameras support PoE power. These
cameras support PoE 802.3af. The camera
via PoE consume between 12 - 13 Watts;
but at longer cable runs can require up to 15
Watts to accommodate for voltage drop.
Step 5: When you are first getting setup it is
helpful to connect your camera to an HDMI
monitor, but you can also use the SDI output
to view video from your camera as well.
Step 6: Once your camera is powered on and connected to the network you should determine
whether you will use a dynamic or static IP address. Each camera can have an IP address on
your network which is used to control the camera with your computer, smartphone or IP
connected joystick controller. This IP address is also used to stream video over your network
and much more. We highly suggest assigning your camera a static IP address for long term use.
Note: A dynamic IP address can change periodically
making it difficult to manage in the longer term. We
suggest setting up static ip addresses with sequential
IP addresses for tidy management of multiple
cameras.
NOTE: For most networks in order to connect to the
camera you must be in the same subnet of the LAN
(example – 192.168.1.123 & 192.168.1.111 belong to the same subnet; 192.168.1.123 &
192.168.0.125 do not).
Step7: Let’s put the included AAA batteries
inside our remote control and take a look at the
features. You can pan, tilt and zoom your
camera using the up/down/left/right arrow keys
on your remote. You can also, set a specific
PTZ camera preset by clicking the “preset”
button and than entering the number you want
to set. You can try moving the camera and
calling a preset quickly to test out the cameras
movement operations. If you find the default camera preset movements too fast, you can always

change the speed settings in the camera menu. You can access the OSD Menu which stands
for (On Screen Display) for this camera by pressing the “menu” button. This is where you can
navigate into the advanced features such as iris, shutter speed, gain, color balance, contrast,
luminance and much more with the arrow keys.
Tip: You can access the OSD menu remotely using the cameras IP address in any web browser
or with the IP joystick.
Tip: You can control up to 4 cameras with a single IR remote control. Use the shortcut *# and
the corresponding Function key to set up unique camera IDs on your IR remote. Example *#F2
would set a camera to ID 2 on your IR remote.
Step 8: You can use DHCP to dynamically assign an IP address for your camera. This is a
great way to temporarily assign an IP address to your camera. You can setup your camera with
DHCP by using the IR Remote and entering “# > * > 4”. Once the camera reboots, you can use
the IR remote to locate the dynamic IP address by pressing “* > # > 4”.
Step 9: You can assign a static IP address
to your camera using our Windows Only IP
address settings tool, or with any Mac or PC
computers web browser. Let’s use a web
browser. Enter the IP address of your
camera into your web-browser and press
enter. when prompted enter the default
username and password which is “admin /

admin”. You may want to consider changing this default password in the admin area.
Step 10: Navigate to the “Network” tab and choose “Fixed IP Address” from the very first drop
down menu. You can now enter the static IP address you wish the camera to use and press
“Apply.” You can now reboot your camera by clicking the “System” tab and clicking the “Reboot”
button.
Step 11: Now that your camera is all setup on the network consider downloading the free PTZ
camera applications available at http://PTZOptics.com/apps. You can quickly tweak your
camera's settings and color match multiple cameras with advanced settings. The new apps
available for both Mac and PC. When you first open the PTZOptics Control App you should click
the “Settings Tab” to enter your camera's name and IP Address. Once you have done this you
can click the camera name to select this camera. This application features multiple views
available in the view dropdown menu. Click the “advanced tab” to access controls such as
Shutter Speed, Iris, Brightness, luminance and much more. Finally, you can view your camera
by clicking the Window dropdown menu and clicking the “Preview Window” selection. You can
make this preview window full screen or snap the preview window to the controls. Now you can
view the cameras video from anywhere on your local area network. You can choose from
Stream 1 or Stream 2 (Stream 1 being HD and Stream 2 being SD and which is used for low
bandwidth environments). Let’s snap the video stream to the rest of our video controls.
Step 12: Before we leave this tool, let’s setup a couple PTZ presets. This can be done by
clicking the “Preset” radio button and entering in the name you would like to give your preset.
Once you have done this you can click any of the 9 buttons available and your preset will be

saved. You will notice that the program automatically enters “recall” mode. When you are in
recall mode, clicking these preset buttons will recall your saved pan, tilt and zoom presets.
Step 13: Let’s connect to the RTSP video stream from our camera with Open Broadcaster
Software also known as OBS. The follow steps will be very similar in video production software
such as vMix, Wirecast or xSplit. Open OBS and add a Scene. In this scene we can add a
source with the plus button in the area right next to scenes. Select “Media Source” and name
the input. In the Properties of this media source we will uncheck the first two boxes: Local File
and Restart Playback when source becomes active. Now we simply need to enter our RTSP
information into the input text field which is the following
“RTSP://YOUR-CAMERA-IP-ADDRESS/1”. The last “Slash 1 or Slash 2” represents the two
available RTSP streams you can pull from each camera. Stream 1 is your High Definition
Stream and Stream 2 is your standard definition stream.
Step 14: To add audio into our RTSP stream we will use a Rode Microphone with a line level
output and plug it into the 3.5mm audio input on the back of our camera. The 3.5mm audio input
will provide audio embedded into our IP stream and HDMI output.
Step 15: You can configure your cameras RTSP Settings in the Video Tab of the network
interface. You have the ability to tweak your cameras RTSP settings to deliver reliable high
quality video over IP. Let’s quickly review our recommended settings used for streaming RTSP
video over your network.
Resolution
Frame Rate
Bitrate
Encoding Protocol
1080p
60fps
12288
h.264
1080p
30fps
8192
h.264
720p
60fps
6144
h.264
NOTE: PTZOptics cameras also support MJPEG and H.265 HEVC encode protocols. If you
would like to customize your RTSP Settings we highly recommend reviewing our “PTZOptics
Streaming Settings Guide” available at ptzoptics.com/downloads.
Step 16: You camera is now setup and your have learned how to access the cameras video
over IP. Your cameras can also output high definition video through SDI and HDMI
simultaneously to fulfill even more advanced video production workflows. Consider joining our
PTZOptics User Group at facebook.com/groups/ptzopticspals and if you have any follow up
questions do not hesitate to reach out. If you encounter any issues during this setup process
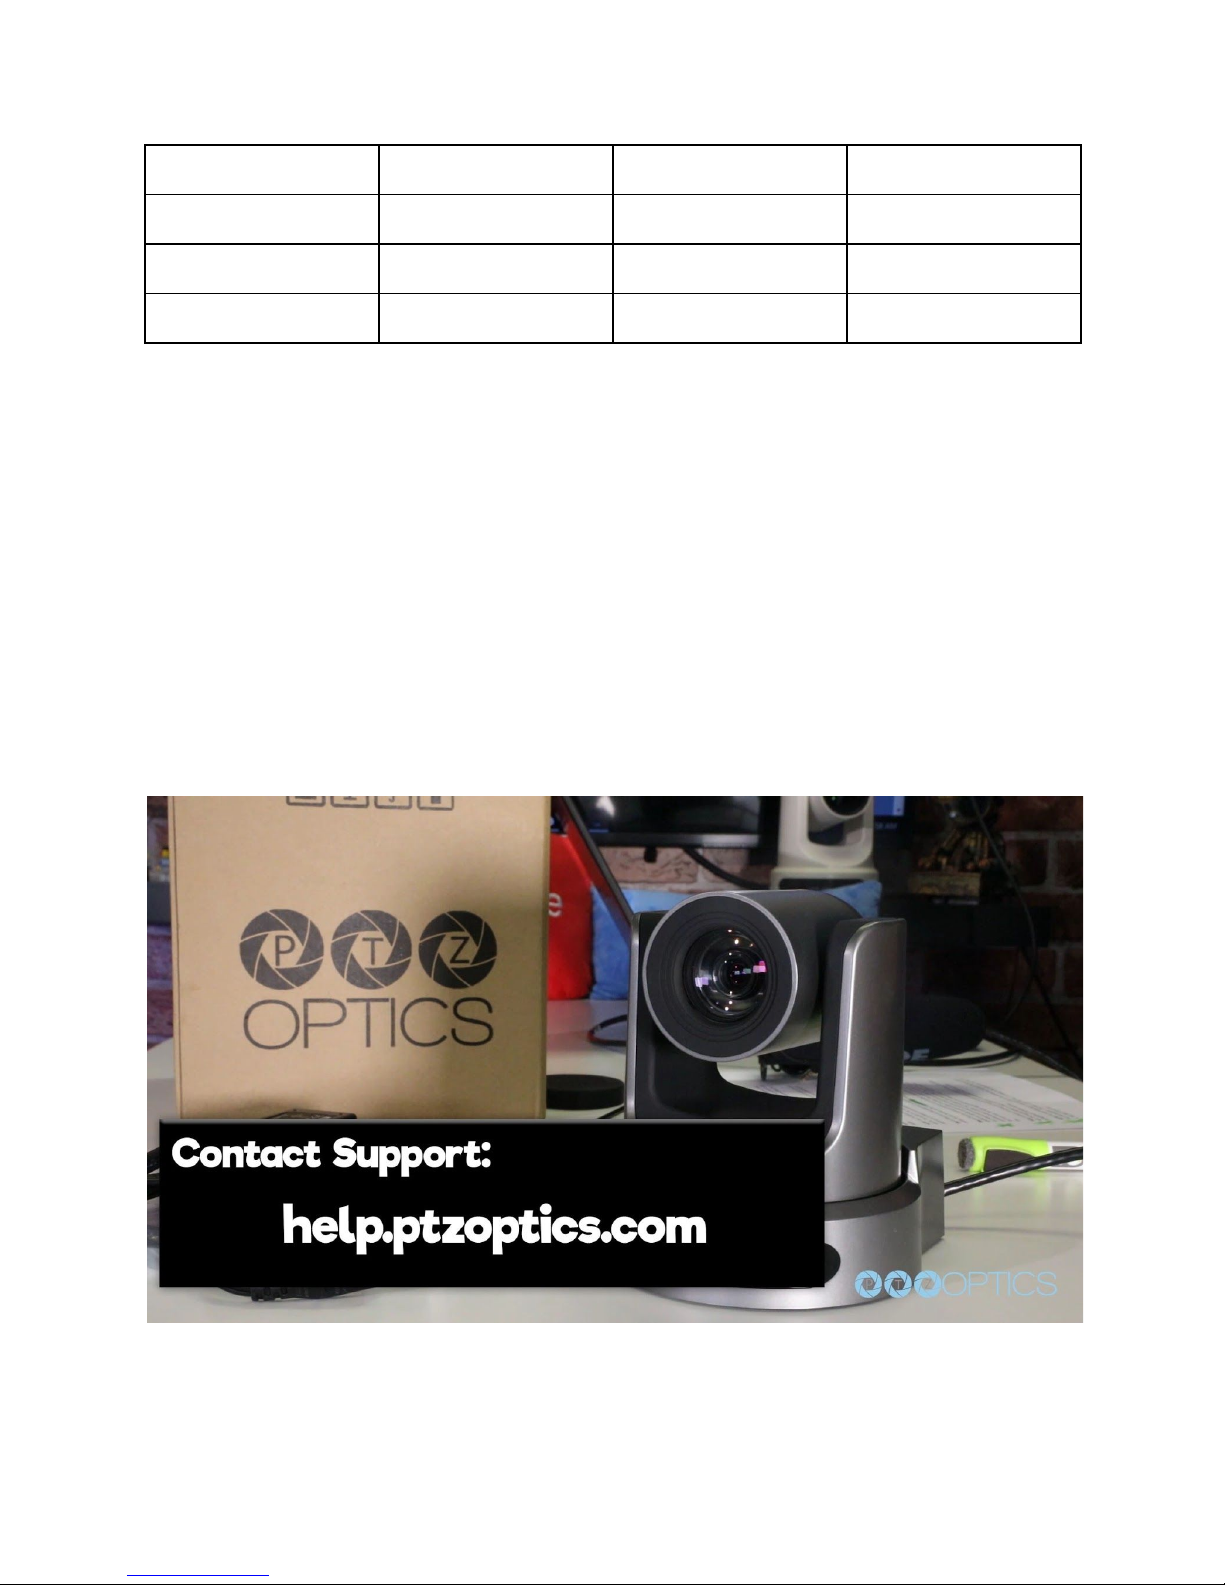
feel free to submit a support ticket at help.ptzoptics.com or simply call the phone number listed
on our website. Enjoy!
Table of contents
Other PTZOptics Camcorder manuals


