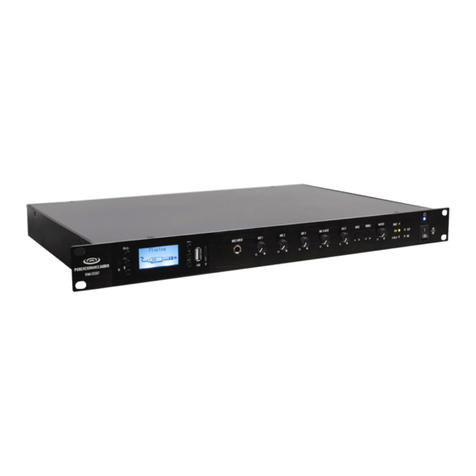
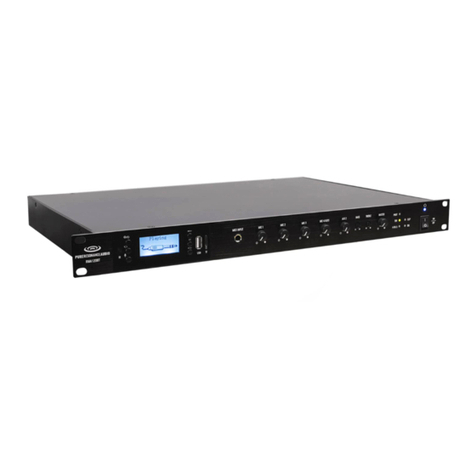
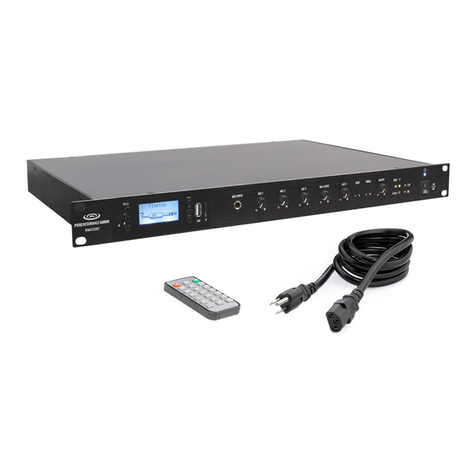
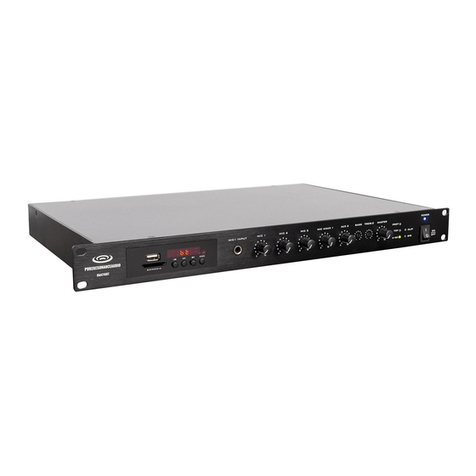
Pure Resonance Audio MA30BT User manual

INSTALLATION AND OPERATION MANUAL
Caution: Please read this manual carefully before operating.
Damage caused by misuse is not covered by the warranty.

SAFETY WARNINGS
1. Read and keep these instructions.
2. Heed all warnings and follow all instructions.
3. Do not use this device near water.
4. Do not block any ventilation openings. Install in accordance with the manufacturer’s instructions.
5. Do not install near any heat sources such as radiators, heat registers, stoves, or other equipment that
produces heat.
6. Do not defeat the safety purpose of the polarized or grounding type plug. A polarized plug has two blades
with one wider than the other. A grounding type plug has two blades and a third grounding prong. The wide
blade or the third prong is provided for your safety. If the provided plug does not fit into your outlet, consult
an electrician for replacement of the obsolete outlet.
7. Protect the power cord from being walked on or pinched, particularly near the plugs, convenience
receptacles, and the point where the cord exits from the device.
8. Only use attachments/accessories that are specified by the manufacturer.
9. Only use with the cart, stand, tripod, bracket, or table specified by the manufacturer, or sold with the
device. When a cart is used, use caution when moving the cart-device combination to avoid injury from
tip-over.
10. Unplug this device during lightning storms or when unused for long periods of time.
11. Refer all servicing to qualified service personnel. Servicing is required when the device has been
damaged in any way, such as the power-supply cord or plug is damaged, liquid has been spilled or objects
have fallen into the device, the device has been exposed to rain or moisture, does not operate normally, or
has been dropped.
12. This device should not be exposed to dripping or splashing water, and no object filled with liquid, such
as a vase, should be placed on, or near the device.
14. In order to disconnect the device from the AC power, the power cord should be completely removed
from the outlet.
15. WARNING: To reduce the risk of fire or electric shock, do not expose this device to rain or moisture.
16. A device with a protective ground terminal should be connected to an electrical outlet with a protective
grounding connection.
WARNING!
TO PREVENT FIRE OR SHOCK HAZARD, DO NOT USE THE PLUG WITH
AN EXTENSION CORD, RECEPTACLE OR OTHER OUTLET UNLESS THE BLADES CAN BE FULLY
INSERTED. TO PREVENT BLADE EXPOSURE AND REDUCE THE RISK OF FIRE OR ELECTRIC SHOCK,
DO NOT EXPOSE THIS DEVICE TO RAIN OR MOISTURE, MATCH WIDE BLADE PLUG TO WIDE SLOT,
AND FULLY INSERT.

INTRODUCTION
DESCRIPTION
This 7-channel mixer-amplifier from Pure Resonance Audio with built-in 70V/100V transformer technology
provides a simple to operate and reliable 6-input solution with a built in Bluetooth media player for
installation in commercial applications. Balanced and unbalanced inputs 70 Volt, 100 Volt, 8 ohm or 4 ohm
outputs, and a compact size and interface are all combined to make this mixer-amp an easy choice for any
application in need of background music and general announcements. It is perfect for use in restaurants,
retail stores, offices, schools, hospitality, etc. and is equipped with paging and MOH (Music On Hold).
The on-board plug-in play MP3 player accepts SD cards and USB thumb drives that can be plugged in on
the front panel. The unit includes RCA inputs and RCA line level outputs, a telephone input with VOX priority
and a MOH (Music on Hold) output, as well as an XLR input with phantom power. The IR remote for MP3, FM
Radio and Bluetooth provides freedom and flexibility allowing full control, even from across the room.
This compact public address amplifier also supports playback from Bluetooth-enabled devices such as PCs,
iPads, tablets or mobile phones, enabling anyone to walk-in and link up with their Bluetooth Wireless
Connection to instantly play music or any sound source file.
FEATURES
• 7-channel powered mixer amplifier (6 inputs + Bluetooth Media Player)
• Volume Controls for Mic 1-3, Line 1-2, MP3/FM Radio, Bass, Treble and Master
• MP3 Player, FM Radio & Bluetooth (with IR remote control)
• USB and SD inputs on front panel
• Power output rating 30 Watts
• Built-in 70V/100V transformer
• Speaker outputs: 70V, 100V, 4, 8 and 16 Ohms
• Mic 1 of balanced XLR input (with phantom power)
• Mic 2-3 microphone or line switchable
• Line 1-2 input of RCA inputs
• DIP switches for Mic/Line, phantom power and microphone priority
• Unbalanced 6.3 mm phone jack input
• One RCA line output (0.775 line level 0 dBV)
• Telephone input (600 Ohm/100mV) with VOX priority and MOH (Music on Hold) (600 Ohm 1 Volt)
• LED indicators for power clip, protect signal, Mic 1-3, Line 1-2 and telephone inputs
• Short-circuit, clip, overload and high temp protection
• 24 VDC Emergency backup supply
• 115V 60 Hz & 24V DC both operation system
FRONT PANEL
1. Mp3/FM/Bluetooth Media Player
Module
2. Power Indicator
3. Protection Indicator
4. Clip Indicator
5. Output Level Meters
6. AC Power Switch
7. Mic1 Attenuator
8. Mic/Line Input 2 Attenuator
9. Mic/Line Input 3 Attenuator
10. Line Input 1 Attenuator
11. Line Input 2 Attenuator
12. Tel Input Attenuator
13. Bass
14. Treble
15. Master Volume Control
REAR PANEL
1. AC Power
2. AC Fuse
3. FM Antenna
4. 24V DC Battery Input
5. Speaker Output COM
6. Speaker Output 4 Ohms (+)
7. Speaker Output 8 Ohms (+)
8. Speaker Output 16 Ohms (+)
9. Speaker Output 70V (+)
10. Speaker Output 100V (+)
11. Tel Input COM (-)
12. Tel Input HOT (+), 600 Ohms, 1 Volt
13. MOH Output COM (-)
14. MOH Output HOT (+)
15. Input 2 Mic/Line Selector
16. Input 3 Mic/Line Selector
17. Dipswitch for MIC/LINE Selector, Phantom
Power and Microphone Priority
18. Microphone 1 Input
19. Line 3 Input
20. Line 4 Input
21. Line Output

AMPLIFIER OPERATION GUIDE
70V LINE SYSTEM
For 70V systems, connect the amplifier to the first speaker in the system using speaker wire which has
adequate current rating to handle the total wattage output of the amplifier.
Connect the speaker wire to the “70V” output terminal on the amplifier. Then, connect the positive (+)
connection to the positive connection on the speaker and “COM” connection to the negative (-) connection
on the speaker. Connect the subsequent speakers in parallel to the first speaker - positive to positive and
negative to negative - as shown below.
SPEAKER TERMINALS
The MA30BT offers 3 low impedance outputs: 4Ω, 8Ω, 16Ω. 70V/100V, commercial outputs are also
available.
PLEASE NOTE: ONLY ONE WIRE SHOULD BE CONNECTED TO THE “COM” SCREW TERMINAL AND ONE
WIRE TO THE SELECTED IMPEDANCE OR VOLTAGE SCREW TERMINAL. MULTIPLE COMBINATIONS
CANNOT BE DONE AT THE SAME TIME.
The low impedance section, 4Ω, 8Ω, and 16Ω, is designed for use with low impedance speakers. The
70V/100V section is designed for multiple speaker distribution. When using the 70V/100V output, the
speakers have to be equipped with a 70V/100V transformer. The maximum amount of speakers to be placed
on your distribution line is in relation to the power allocated to each speaker. The total wattage (number of
speakers x transformer wattage tap) must not exceed the maximum RMS output power of 30W. Failure to do
so may cause permanent damage to the amplifier.

OPERATION STEPS
STARTUP GUIDE
• When all connections to the amplifier have been made, turn all volume knobs down. Then, turn the power
switch to the on position and the power “ON” LED will illuminate. Turn the “BASS” and “TREBLE” controls to
the 12 o’clock position (pointing straight up) and turn the “MASTER” volume knob up slowly.
• Make sure a signal is being sent to channels 1, 2, 3, 4 or 5 and gradually increase the volume control for
that channel until the output is heard through the speakers. Turn up the “MASTER” to the maximum required
volume level and reduce the channel volume control if necessary.
• If a microphone is connected to “MIC1” input, make sure it is switched on and, if it requires phantom
power, make sure this feature is enabled. Gradually increase its volume control while speaking into the
microphone until the required volume level is reached.
• If the “Microphone Priority” feature is enabled, audio playback volume through channels 2-5 will be auto-
matically reduced when speaking into the microphone.
• In addition to the channel and the “MASTER” volume controls, there are “BASS” and “TREBLE” EQ
controls to adjust the tone of the overall output. At the 12 o’clock position, these controls are applying no
effect to the signal (no boost or cut). Moving the BASS control clockwise boosts low frequencies, moving it
counter clockwise will cut low frequencies. Likewise, moving the TREBLE control clockwise boosts the high
frequencies, moving it counter clockwise will cut high frequencies.
USB/SD PLAYBACK
• Push a USB pen drive into the USB port and/or an SD card into the SD card input.
• Press the “CD/USB/SD” button to ensure that the player is set to play from the required memory device.
• Press the “PLAY/PAUSE” button to play the current track and press again to pause as needed.
• Searching and playback of tracks is the same as described above for the CD player.
FM TUNER
Press the FM select button to switch to the FM tuner function. Use the PREVIOUS or NEXT buttons to select
a stored channel.
Tuning and Storing Stations
• Use the “FORWARD/REVERSE” seek buttons to manually select the station.
• Alternatively, press and hold the “FORWARD/REVERSE” seek buttons to auto search for available stations.
• Upon finding a station, the auto search will stop, giving the option to store this station.
• At this point, pressing the “PLAY/PAUSE” button will flash a “00” channel number in the display.
• Use the “PREVIOUS/NEXT” buttons to select an appropriate channel memory.
• Press “PLAY/PAUSE” again to confirm and store the station into the selected channel memory.
• Auto search can be stopped at any time by pressing the “FORWARD/REVERSE” seek buttons.
MUTE ON/OFF
• Pressing the “MUTE ON/OFF” button will mute the output of the audio player.
• Pressing and holding the “MUTE ON/OFF” button will put the audio player in standby mode.
• Press this button again to restore functions from standby mode.

OPERATION STEPS (CONTINUED)
SPECIFICATIONS
MUSIC ON HOLD
The “MOH OUTPUT” will feed music on your telephone system or PABX. A dedicated input should be
available on your telephone system. Please refer to a qualified technician if you cannot identify this input.
Outgoing signal should be connected to “COM” and “HOT”.
TELEPHONE PAGING INPUT
This special “TEL INPUT” will allow you to page into the audio system using a telephone or PABX system. At
the end of the announcement, the system will return to its normal operation. The telephone paging input has
priority over all other inputs, except for the EMC (fire alarm) input.
Final volume adjustment will be made with the “TEL” volume control located on the front panel of the
amplifier.

SERVICE
Ensure the problem is not related to operator error, or system devices that are external to this unit. Informa-
tion provided in the troubleshooting portion of this manual may help with this process. Once it is certain that
the problem is related to the product contact your warranty provider as described in the warranty section of
this manual.
WARRANTY
Limited one year warranty. The term and warranty may vary by country and may not be the same for all
products. Terms and conditions of warranty for a given product may be determined first by locating the
appropriate country, which the product was purchased in, then by locating the product type.
PURE RESONANCE AUDIO
(866) 676-7804
sales@pureresonanceaudio.com
www.PureResonanceAudio.com
Specifications may change without notice.
Table of contents
Other Pure Resonance Audio Amplifier manuals

Pure Resonance Audio
Pure Resonance Audio DA2500 User manual

Pure Resonance Audio
Pure Resonance Audio RMA120BT User manual

Pure Resonance Audio
Pure Resonance Audio MA60BT User manual

Pure Resonance Audio
Pure Resonance Audio RMA120BT User manual

Pure Resonance Audio
Pure Resonance Audio RZMA120BT User manual

Pure Resonance Audio
Pure Resonance Audio RZMA240BT User manual

Pure Resonance Audio
Pure Resonance Audio RMA500BT User manual

Pure Resonance Audio
Pure Resonance Audio RMA350BT User manual

Pure Resonance Audio
Pure Resonance Audio DA2240 User manual

Pure Resonance Audio
Pure Resonance Audio MA120BT User manual