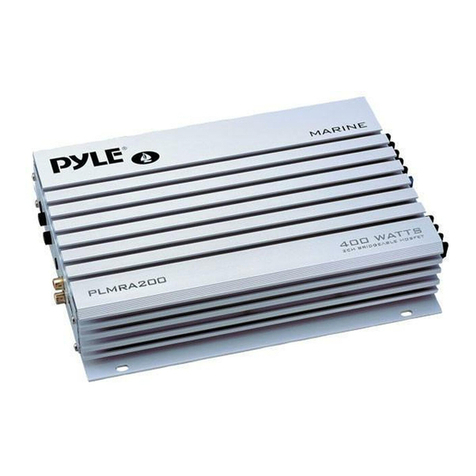
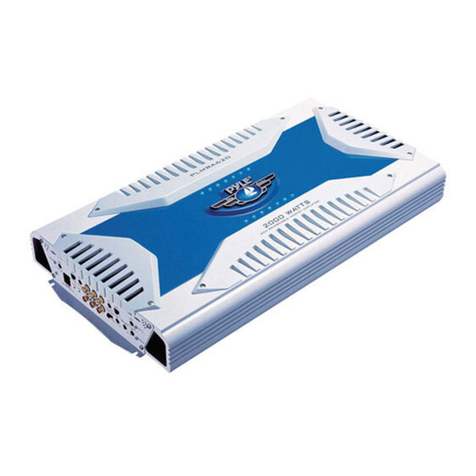
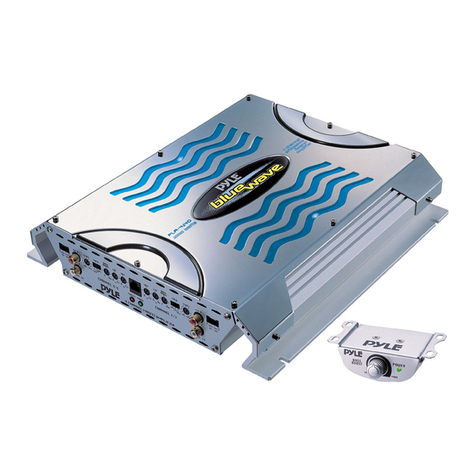
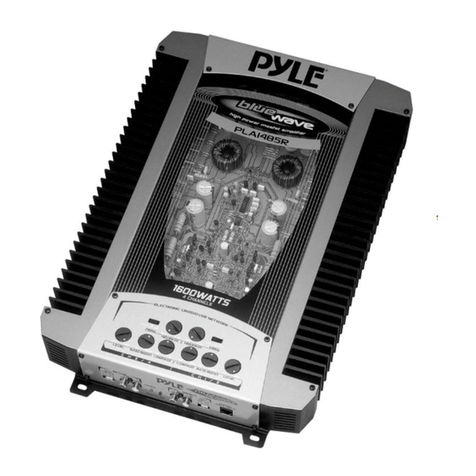
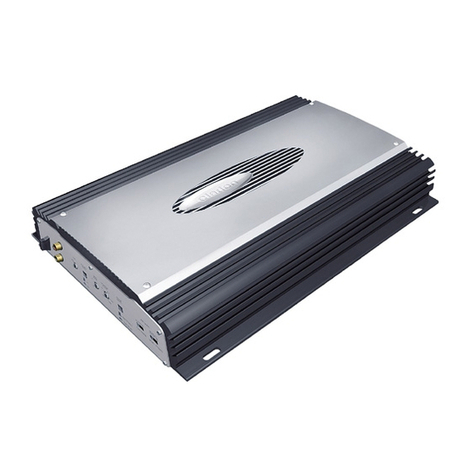
Pyle PLTA180 User manual


TRBL.E
OF
C:ONTENTS
TRBL.E
OF
C:ONTENTS
INTRODUCTION
&
FEATURES
...........................................................
1
FEATU
RES
&
CONTROLS
.......................................................
3
SPECIFICATION
.................................................................................
4
CONTROLS
&
FUNCTIONS
.......................................................
5
SYSTEM
WIRING
........................................................................
6-8
TROUBLESHOOTING
,
....................................................................
9
WI
RI
NG
.....................................................................................................
10
-1-

INTROCUC:TION
Ii:
FERTURES
INTROCUC:TION
Congratulations on your purchase
of
a PYLE amplifier. You have
purchased a qualityproduct designed and engineered to give you
manyyears
of
un
compromised musical service. PYLE amplifiers
are designed with the latesttechnology available, incorporating
a
DC
to DC Switching Power Supply, which provides headroom
for
even the most demanding peaks and dynamic ranges found on
modern CD's and recordings.
FERTURES
• MOSFETswitches maintain rated powerovera wide range
of
batteryvoltages
• PWM(Pulse-Width-Modulated) System.
• 2 Ohm Stable Stereooperation
• Stereo, Bridge Mode and Tri-Mode SystemApplication Compatible
• Variable input level controls
for
each pair
of
channels
• Variable high and low pass crossovercontrols
• Thermal and speaker short protection circuitry
• Powerand Protection LED indicators
• Bass Boost Circuitry
• Nickel plated power,
RCAand
speakerconnectors
• High-efficiency, heavy aluminum heatsink
• Bass Boost Remote control
•
Air
induction fan cooled.
•
DC
Power at 24V
DC
-32V DC opertions
-2-

PLTA180/580
SUN SONIC FILTER
When
Crossover
Mode
Selector
is
in
High
Pass
Mode,
this
control limits
the
frequencies
which
will
be
distributed
to
the
speakers
to
those
above
the
value
to
which
this
is
set
within
the
range
20
Hz
fIXed
6~
SonIc
.1lI!
High
~
_
c-p
___
~
!III
••••
...
~ I
L..,.
--
....
-.,
.... -
POWER& PROTECTION
INDICATORS
Provide
instant
information
on
status
of
amplifier,
including
short-circuit
and
thermal
overload
alerts.
INPUT LEVEL CONTROL
Enables
the
matching
of
input
levels
to
the
output
levels
from
the
head
unit(or
other
signal
source).
HIGH PASS FILTER
----'
When
Crossover
Mode
L-
____
BASS BOOST CONTROL
Increases
sound
level
in
lower
frequencies by 18dB
Selector
is
in
High
Pass
Mode. this control limits
the
frequencies
which
will
be
distributed
to
the
speakers
to
those
above
L-
______
Low
PASS FILTER
the
value
to
which
this
is
set
within
the
range
50
Hz-750
Hz
CROSSOVER
MODE
SELECTOR
Determines
the
mode
of
built-in
crossover:
low pass(permits only low frequency signals
to
pass
to
speakers). high pass (pennits only high
frequency
signals
to
pass
to
speakers),
or
flat.
-3-
When
Crossover
Mode
Selector
is
in
Low
Pass
Mode,
this
control
limits
the
frequencies
which
will
be
distributed
to
the
speakers
to
those
below
the
value
to
which
this
is
set
within
the
range
50
Hz-120
Hz

SPECIFICRTION
SPECIFICRTION
PLTA180 PLTA580
RMSat4
Ohms
200Wx2
500Wx2
MAXat4
Ohms
400Wx2
1000Wx2
At
4 Ohms Bridged
800Wx
I
2000Wx
I
RMSat2
Ohms
350Wx2
1000Wx2
Min. Speaker Impedance
20hm 20hm
T.H.D 0.04% 0.04%
Frequency Response 10Hz
-35kHz.
-I
dB 10Hz
-35kHz.
-I
dB
Input Sensitivity
200mV-8V 200mV-8V
SIN Ratio >IOOdB >IOOdB
Channel Separation >60dB >60dB
Low Pass Filter
50Hz-120Hz 50Hz-120Hz
High Pass Filter
50Hz-750Hz 50Hz-750Hz
Sub Sonic Filter
20
Hz
fixed
20
Hz
fixed
Bass Boost Control o
-+18dB
o
-+18dB
Dimensions(inches} 11.39" x 2.8" x 15.75" 11.39" x 2.8" x 21.7"
Fuse(s)
IOAx4
20Ax4
-4-

INSTRL.L.RTION
Ii:
P"'EC:RUTIONS
INSTRL.L.RTION
1.
Find a suitable location in the vehicle to mount the amplifier.
2. Make sure there is sufficient
air
flow around the intended mounting location.
3. Bolt the amplifierto the mounting surface.
4. Connect the powerground terminal to the nearest pointon the chassis
of
the car.
Keep this ground wire less than one meter(39")
in
length. Use 8 gauge wire.
5. Connect the remote terminal to the remote output
of
the head unit using
14 gauge wire.
6. Connectan empty fuse holderwithin
300
mm
(12")
of
the batteryand run 8 gauge
or
larger high qualitycable from this fuse to the amplifierlocation.
7. Make sure there is no fuse in this fuse holder. Then make the connection to the
"BATT"connection on the amplifier.
8. If multiple amplifiers are being used, use cables (each with it's own fuse atthe
battery)ora # 0
or
#2 cable from the fuse holderatthe battery to a distribution
blockat
or
nearthe amplifier's location.
9. Connectall line inputs and outputs using high-quality RCA-RCAcables.
10. Insertfusees)
at
the batteryfuse holder(s).
11.
Recheck all connections before powering up.
12. Setall level controls to their least sensitive positions and set all crossover
controls, switches, etc.
To
the desired frequency
or
position.
13. Once the system is powered up, set the volume control on the head unitto about
the 2 O'clock position, and then setall the amplifiers' level controls
for
maximum
output level.
14. Furtherfine tuning
of
the various controls may be mlnecessaryto obtain
the desired results.
P"'EC:RUTIONS
1.
Before you drill
or
cut any holes, investigate your car's layoutvery carefully.
Take care when uwork nearthe gas tank, fuel lines, hydraulic lines and electrical
wiring
..
2. Do notoperate the amplifierwhen it is unmounted. Attach all audio system
components securelywithin the automobile to prevent damage, especially in an
accident
3. Do not mountthis amplifierso that the wire connections are unprotected
or
in a
pinched condition,
or
likelyto be damaged by nearby objects. Be sure to select a
location inside
your
vehicle which has adequate ventilation
..
4. Before making
or
breaking powerconnections in
your
system, disconnectthe
vehicle battery. Confirm
that
your
head unit
or
otherequipment is turned
off
while
connecting the input
jacks
and speakerterminals.
5. Ifyou need to replace the powerfuse,
only
replace itwith a fuse identical to
that
supplied with the system. Using a fuse fo a differenttype
or
rating may result in
damage to your system which isn'tcovered bythe manufacturer's warranty.
-5-

S'r'STEM
WIRING
PLTA180/580
2 channel stereoconfiguration
FRONT
SubSonic
.1lI!
C-r
~~
I>:
=-
LWIII
I......t U
..
aut
~~_.
• • •
@-!;~
"l.
g
=-......
_,-
......
==
==
==
TO OUTPUT FROM HEAT UNIT
REAR
==
==
==
TO
BATTER~+}--------~
SELECT
SPEAKER
IMPEDANCE
2-40HM
REMOTE SWITCH LEFT
SPEAKER
RIGHT
SPEAKER
Fuse
Rating
----o"""'M"'O'=D'=E=-L
__
----o~FU~S~E~So_-1
Pita 180
10AX4
Pita 580
20AX4
-6-

S'r'STEM
WIRING
PLTA180/580
2 channel bridgedmodeconfiguration
FRONT
SubSonic
C-r
~~
I>:
=-
LWIII I......t U
..
aut
011 011
• • • •
@-!;~
"l.
g
--' L
...
-'
I
Lc-
""
""
=-......
_,-
......
==
==
==
TO OUTPUT FROM HEAT UNIT
REAR
==
==
==
Ii+
REM
GND
o
=
=
=
TO
BATTER~+}--------~
SELECT
REMOTE SWITCH
Fuse
Rating
----="'M~O'='DE~L=-----~F"'U,=:SE~S=_-I
Pita 180
10AX4
Pita580
20AX4
-7-
SPEAKER
IMPEDANCE
4-8
OHM

S'r'STEM
WIRING
PLTA180/580
2 channel tri-modeconfiguration
FRONT
SubSonic
C-r
~~
I>:
=-
LWIII I......t U
..
aut
011 011
• • • •
@-!;~
"l.
g
--' L
...
-'
I
Lc-
""
""
=-......
_,-
......
==
==
==
TO OUTPUT FROM HEAT UNIT
REAR
==
==
==
TO
BATTER~+}--------~
SELECT
REMOTE SWITCH LEFT
SPEAKER
Fuse
Rating
----="'M~O'='DE~L=-----~F"'U,=:SE~S=_-I
Pita 180
10AX4
Pita 580
20AX4
-8-
RIGHT
SPEAKER
SPEAKER
IMPEDANCE
4-80HM

TROUBL.ESHOOTING
TROUBL.ESHOOTING
Amplifier
will
not
power
up.
• Check
for
good ground connection.
• Checkthat remote DC terminal has at least 3V DC.
• Checkthat there is battery power
on
the + terminal.
• Check all fuses.
• Checkthat Protection LED is notlit.
If
it is lit, shut
off
amplifierbrieflyand
then
repower it.
High
hiss
or
engine
noise
(alternator
whine)
in
speakers.
• Disconnectall RCAinputs to the amplifier(s)-ifhiss/noise disappears, then
plug in the component driving the amplifierand unplug it's inputs. If
hissl
noisedisappears, go on until the faulty/noisy component is found.
• It is best to set the amplifier's input level as low as possible.
The best subjective SIN ratio is obtainable this way. Try to drive as high
a signal level from the head unitas possible.
Protection
LED
comes
on
when
the
amplifier
Is
powered
up.
• Check
for
shortson speaker leads.
• Checkthat the volume control
on
the head unitis turned down low.
• Remove speakerleads, and resetthe amplifier.
If
the Protection LED still
comes on, then the amplifier is faulty.
Amplifier(s)
gets
very
hot.
• Checkthat the minimum speaker impedance
for
that model is correct.
• Check
for
speakershorts.
• Checkthat there is good airflow around the amplifier.
In
some applications,
an external cooling fan many be required.
Distorted
Sound
• Checkthat the Level control(s) is set to match the signal level
olthe
head unit.
• Checkthat all crossoverfrequencies have been properly set.
• Check
for
shortson the speakerleads.
High
squeal
noise
from
speakers.
• This is almost always caused by a poorly-grounded RCA patch cord.
-9-

WI"'ING
2-channalAmplifier _
(Operating In Stereo) +
YES!
Two 4-ohm speakers, wired in stereo,
will presenta 4 ohm load to each
channel
of
the amplifier. Mosttwo-
channel
amplifiers
will
work
well
in
this
configuration.
'---------'+
r~
(@
2-chennel
Amplifier
(Operetlng In
Bridged Mono)
............
,
L@J
-10-
NO!
Two 4-ohm speakers, wired in parallel
to a bridged two-channel amplifier,
will presenta 2-ohm mono load
to
the
amplifier. MOSTTWO-CHANNEL
AMPLIFIERS DO NOT SUPPORT
2·0HM
MONO OPERATIONIAMPLIFIER DAMAGE
COULD RESULTI

This manual suits for next models
1
Table of contents
Other Pyle Car Amplifier manuals

Pyle
Pyle Chopper PLA-2260 User manual

Pyle
Pyle Elite PLA3000D User manual

Pyle
Pyle PDGA440 User manual

Pyle
Pyle PLMRA620 User manual

Pyle
Pyle PLA-2200 User manual

Pyle
Pyle PLA2988 User manual

Pyle
Pyle PLMRA200 User manual

Pyle
Pyle PLAM1200 User manual

Pyle
Pyle PLA1085 User manual

Pyle
Pyle PLMRA420 User manual

Pyle
Pyle Blue Wave PLA2240 User manual

Pyle
Pyle P L A 2 1 7 User manual

Pyle
Pyle PDA 3000 User manual

Pyle
Pyle PLXR2 Instruction Manual

Pyle
Pyle PLBA330FRD User manual

Pyle
Pyle PLA-2200 User manual

Pyle
Pyle PLAM1000 User manual

Pyle
Pyle PLMRA1000D User manual

Pyle
Pyle PLAM2001D User manual

Pyle
Pyle PLA2180 User manual