QPS TECHNICAL SUPPORT
Our Customer Support staff are ready to assist you with any problem you may have with
your QPS Product.
There are many ways to contact QPS Technical Support.
World Wide Web: http://www.qps-inc.com
Technical Support: (714) 692-3588
Technical FAX: (714) 692-5516
COPYRIGHT STATEMENT
Copyright © 1998-2001 QPS Professional Solutions. All rights reserved. No part of this
publication may be reproduced or transmitted in any form by any means for any purpose
without the prior written permission of QPS Inc.
Windows is a trademark of Microsoft Corporation.
Apple, Mac OS are trademarks of Apple Computer Inc.
All other brand and product names are trademarks or
registered trademarks of their respective owners.
COPYRIGHT PROTECTION NOTICE
Replicating copyrighted material without the permission of the publisher may be unlawful.
QPS does not condone, support, or encourage the violation of copyright laws. Please obtain
proper authorization prior to replicating copyright protected material.
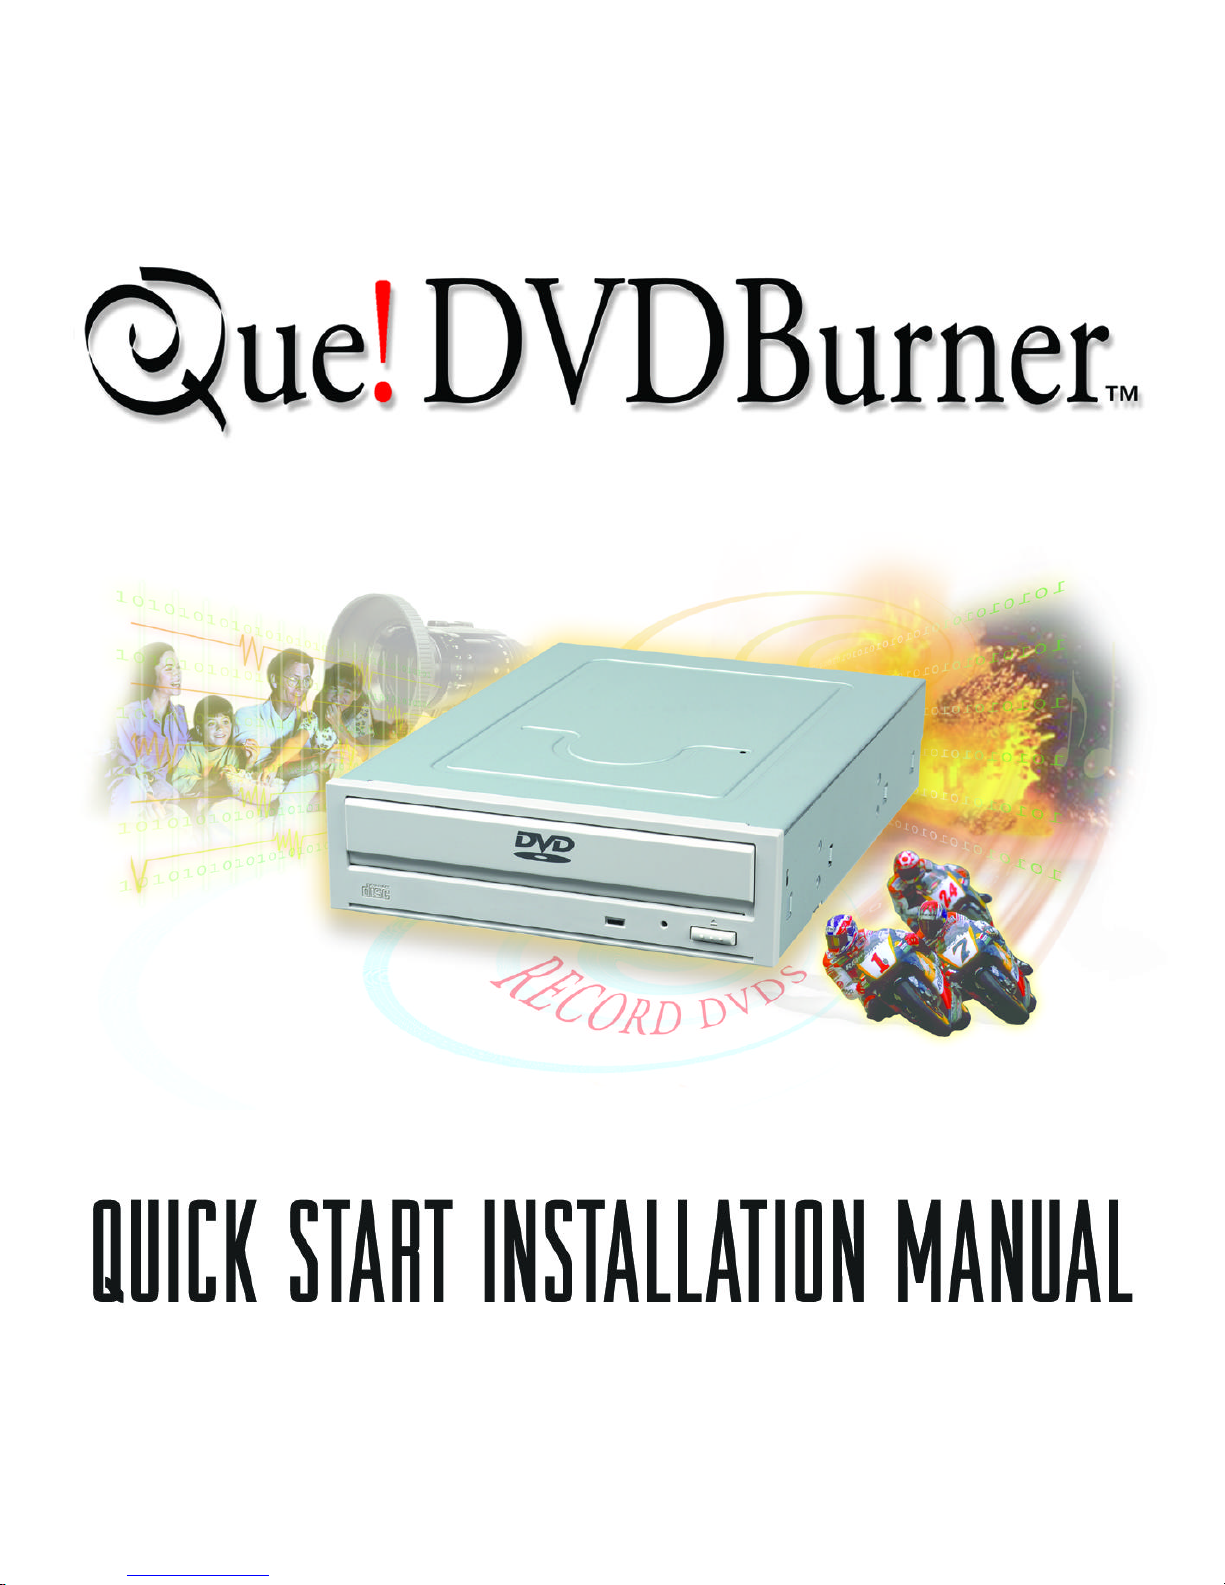
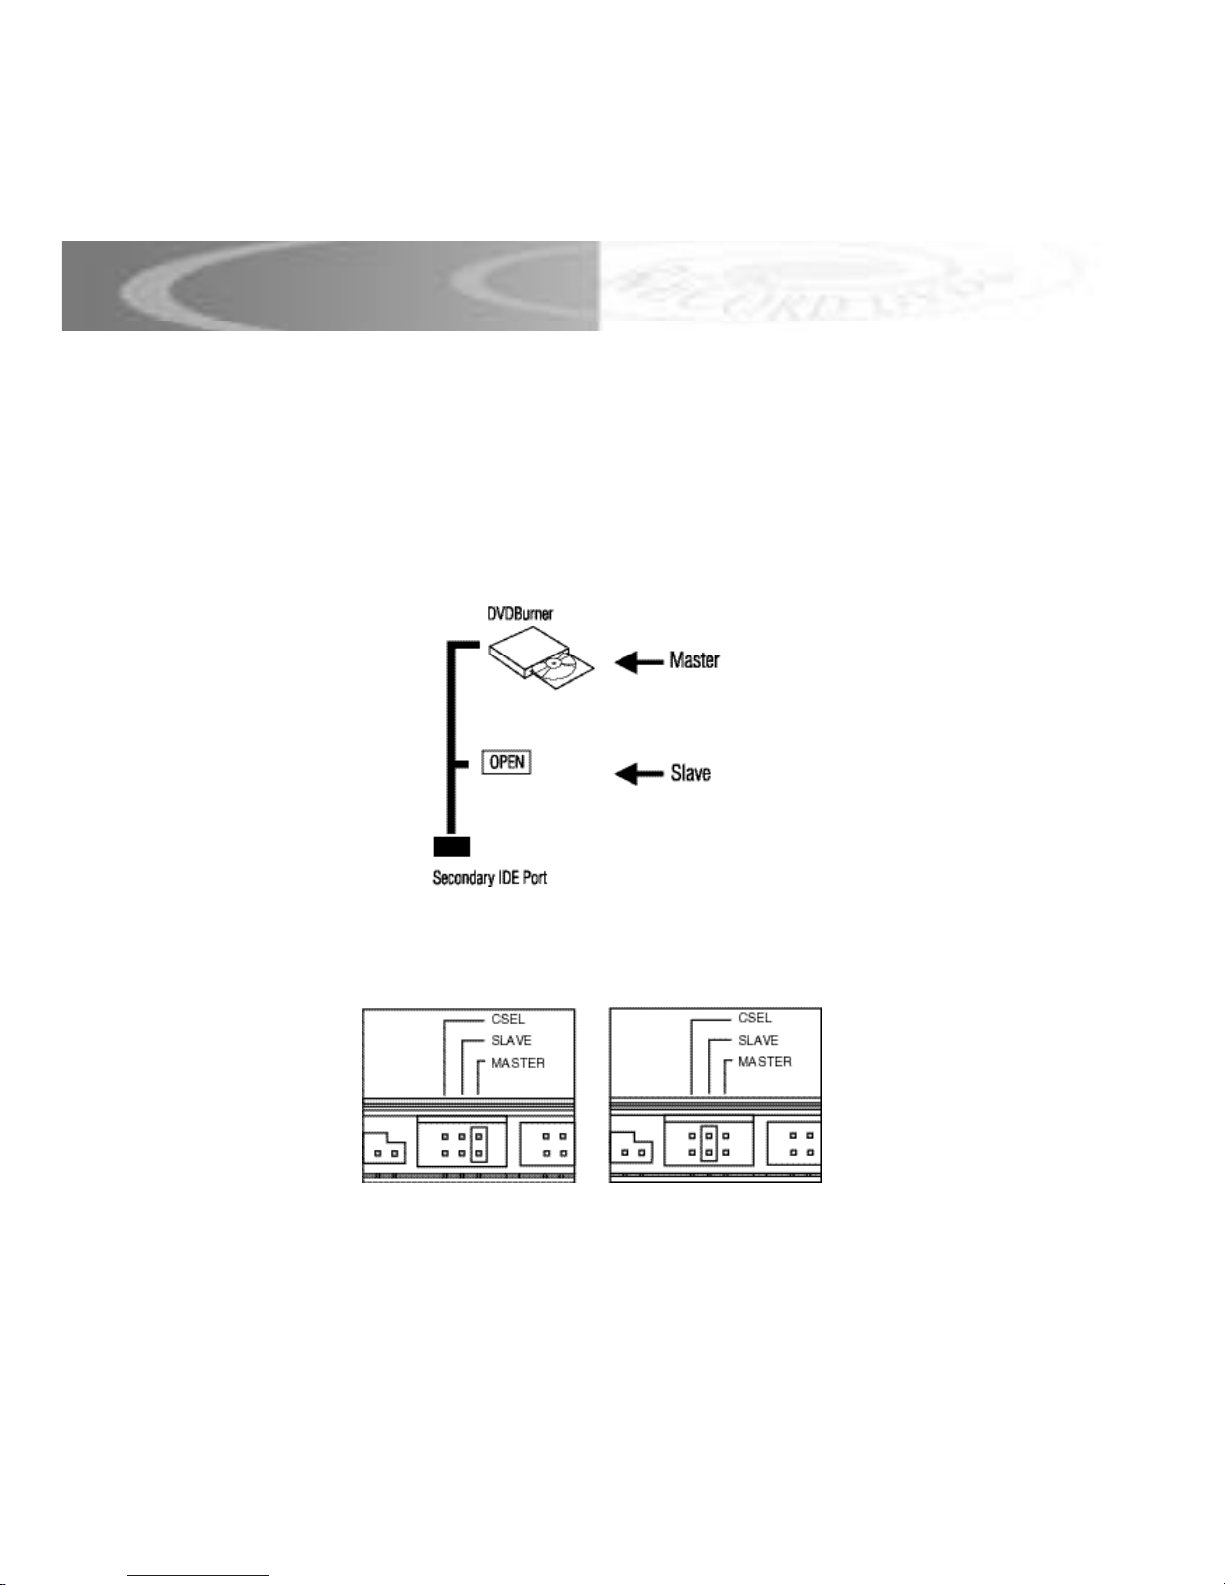
Note: Please refer to Que! Internal DVDBurner Installation Manual CD for complete installation version.
TECHNICAL SUPPORT