Storing telephone numbers
… the desired telephone number is displayed (see above).
… press. Select SAVE TO PB and press . Enter the name and
press . Edit the telephone number if necessary. Press briefly for
deleting the last character or press and hold for deleting the whole
number. You can enter a dialling pause (approx. 3 s) by pressing
… press. Select a melody for the entry using
… press to store the entry.
Deleting telephone numbers
… the desired telephone number is displayed (see above).
… press. Select DELETE or DELETE ALL if necessary and press .
The entry or all entries will be deleted.
Call list
☞Your handset saves the numbers of the last 20 incoming calls in the call list.
Saving can only take place if the function “Phone number transmission (CLIP)” is
available at your connection and caller ID is not suppressed by the caller or was
not transmitted for any other reason. If the list is empty, EMPTY is shown on the
display. New calls are signalled with the flashing icon .
Viewing/dialling telephone numbers
The handset is in idle state.
Open the call list. The name (if entry in the phonebook) or the telephone
number of the very last call is displayed. For numbers longer than 12
digits press to display the hidden digits.
Press to view date and time of the call (only if available at your
connection).
… press repeated, to get to other entries.
… the displayed telephone number is being dialled.
Deleting telephone numbers
… the desired telephone number is displayed (see above).
… press. Select DELETE or DELETE ALL if necessary and press
The entry or all entries will be deleted.
Storing telephone numbers
… the desired telephone number is displayed (see above).
… press. Select SAVE TO PB and press . Enter the name and
press . Edit the telephone number if necessary.
/
6
OK
OK
OK
OK
OK
OK OK
OK OK
OK
OK
OK
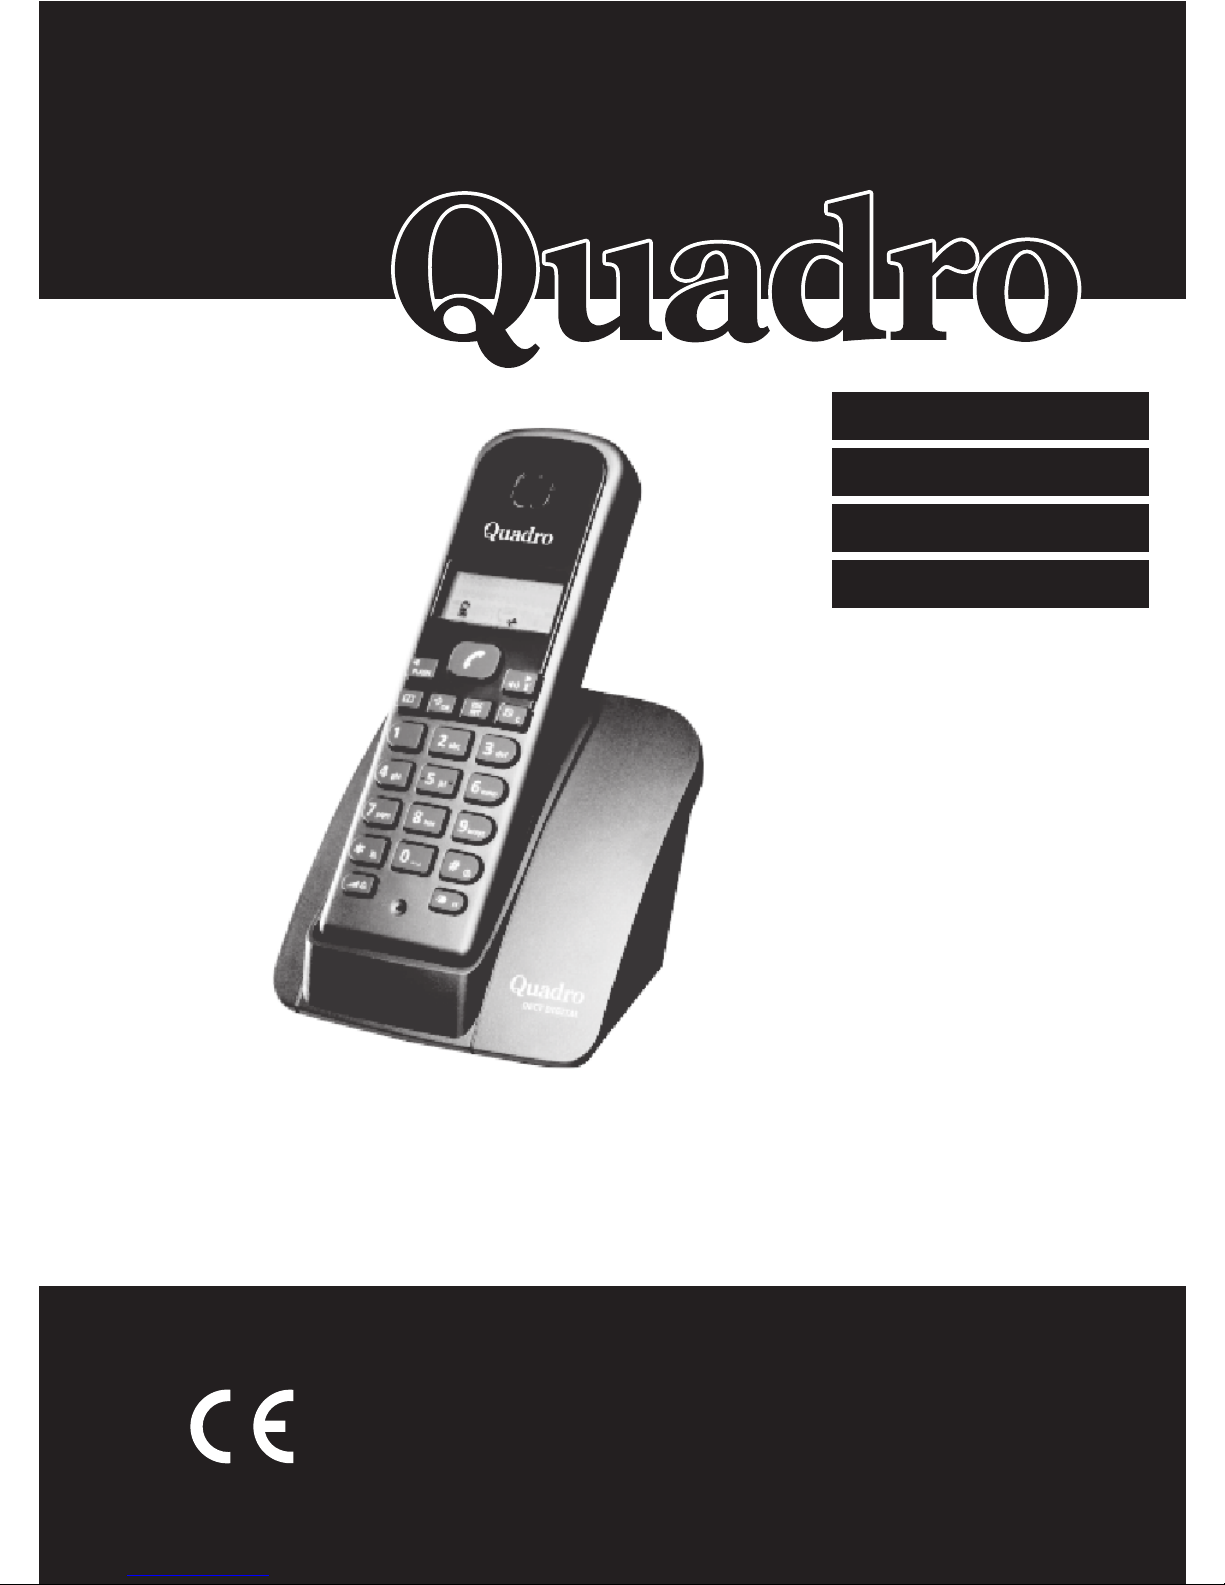
ENGLISH