Connect the USB2 Camera with the supplied USB2 cable into a USB2 port on your
computer.
Your computer will recognise the new USB device and may need to install
additional drivers to ensure the USB2 port
the internet at this stage, to obtain the latest Microsoft drivers for the
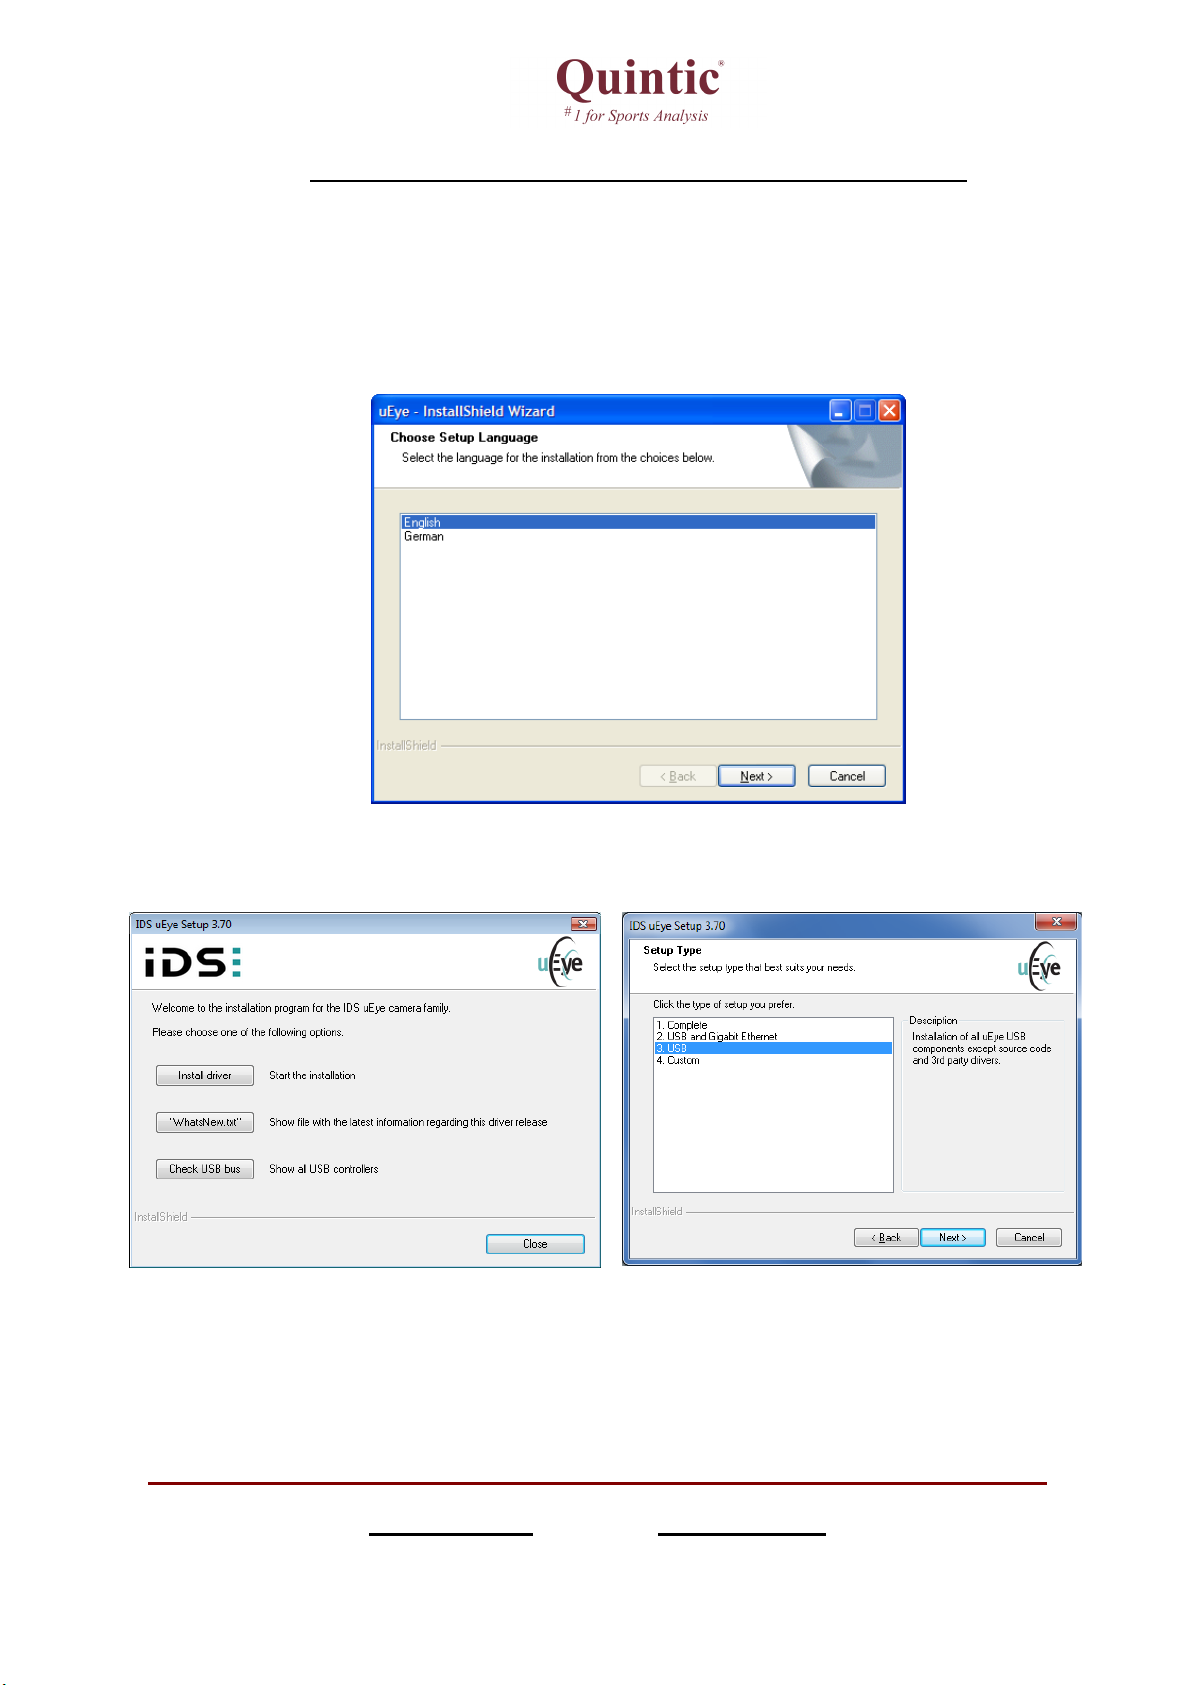
lternatively, you can search the CD Rom supplied for the necessary USB2 driver for your
Windows
Operating System (XP, Vista or Seven).
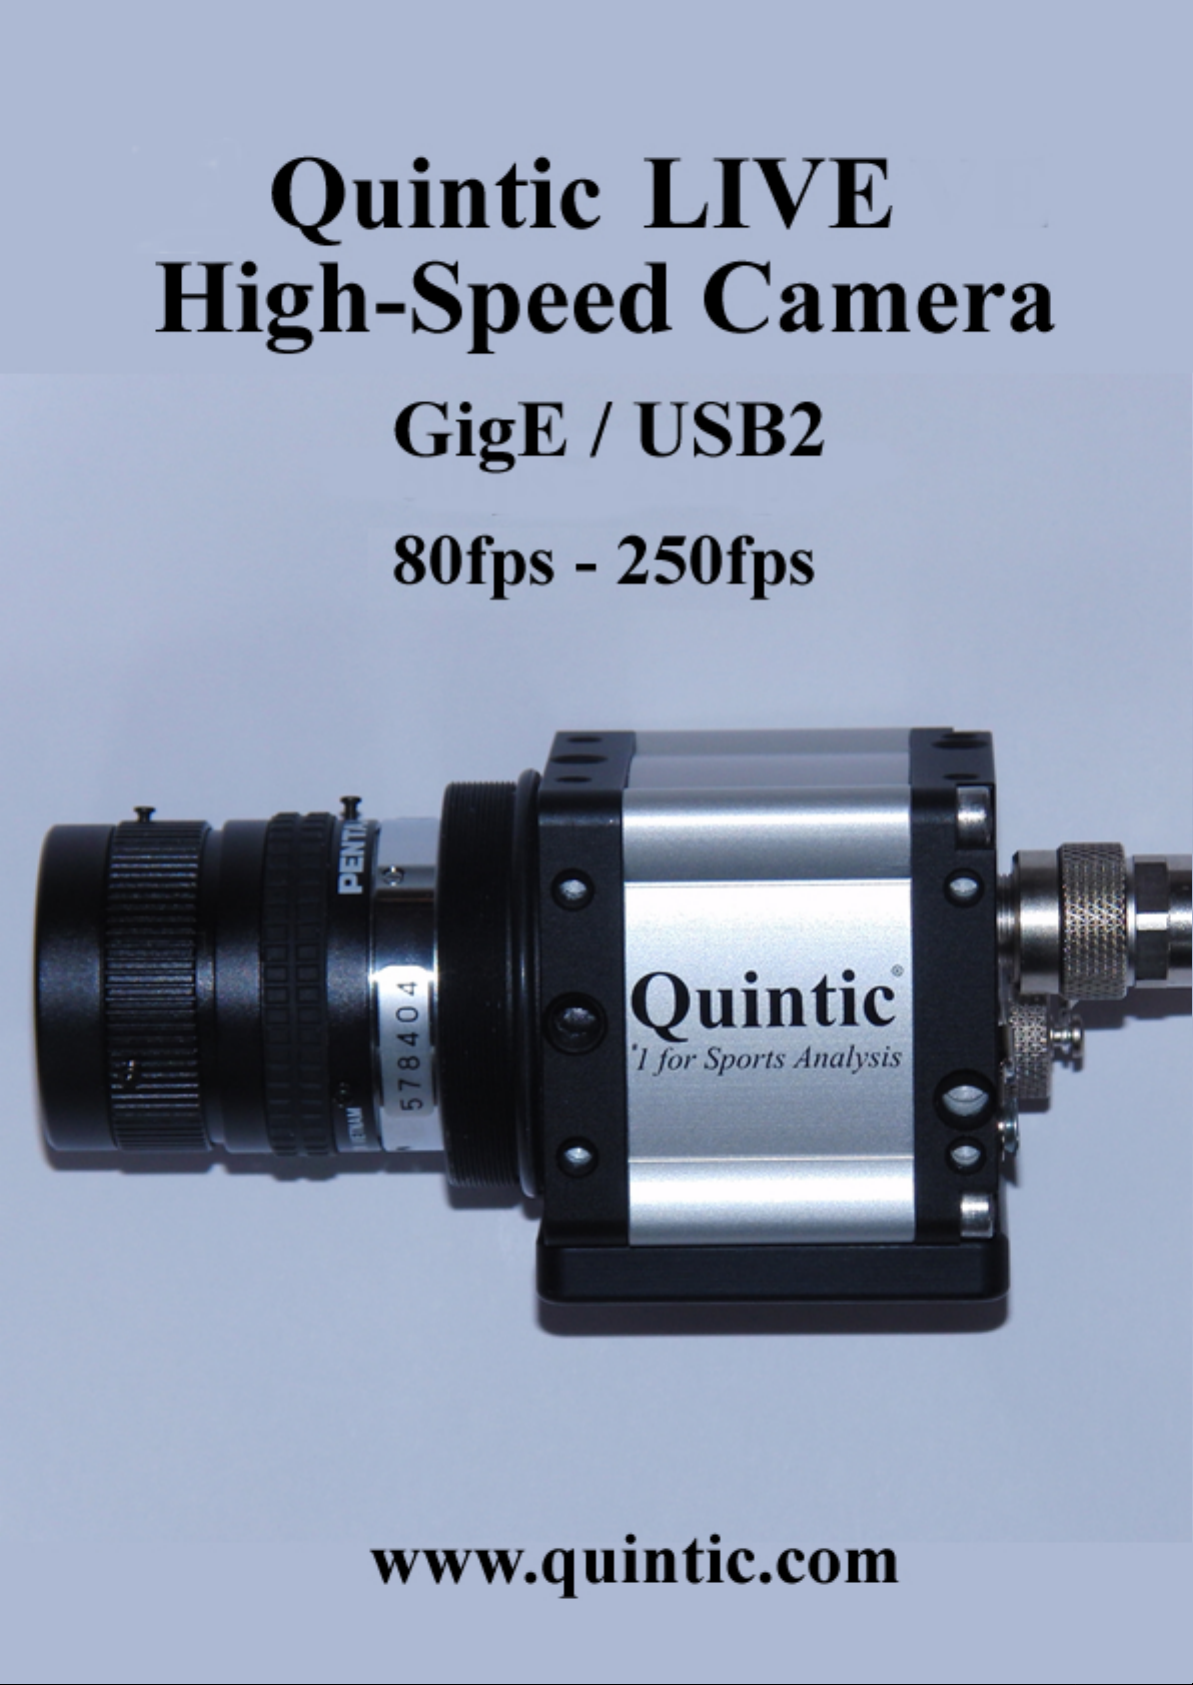
the Quintic Camera.
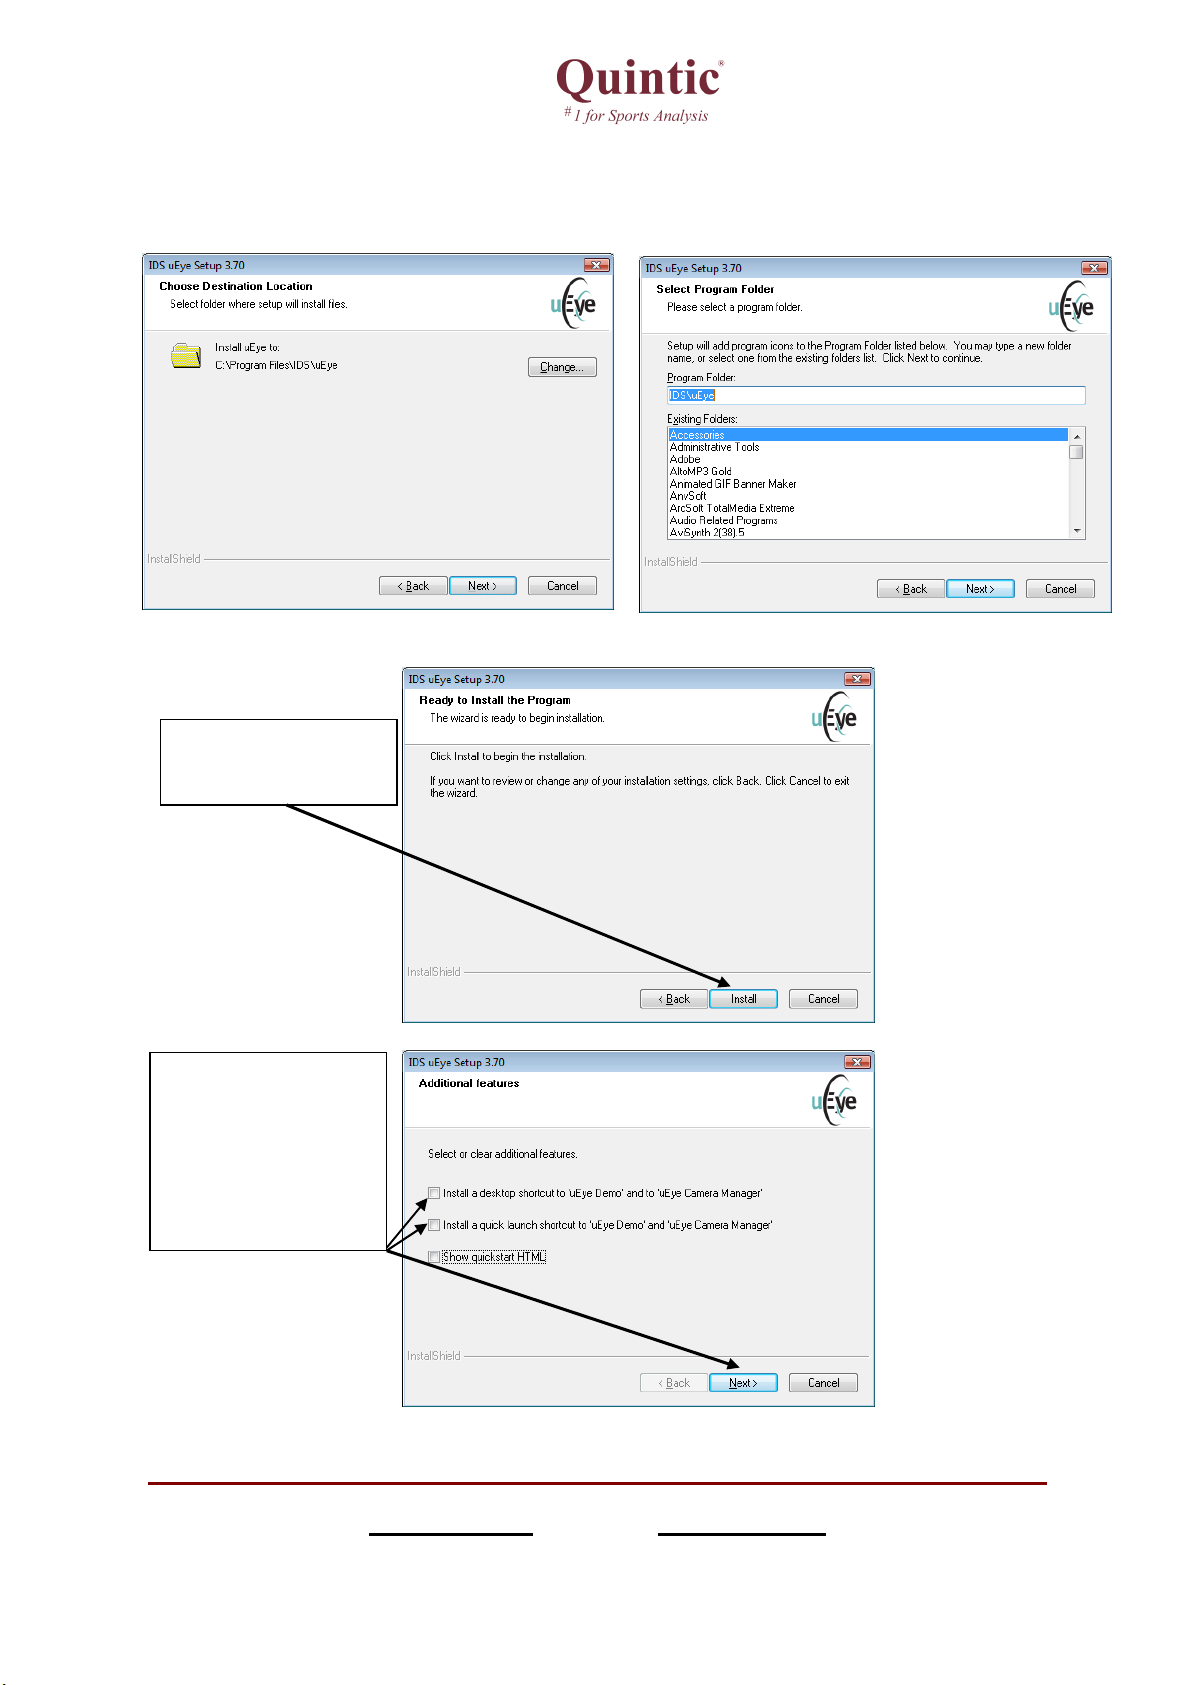
Follow any further on screen instructions as further Microsoft drivers for
the USB2 port and device may be required
by the computer the camera can be opened via yo
To view detailed instructions on using the camera, within Quintic Sports, Coaching and
Biomechanics please see the
Quintic Tutorial Download page
http://www.quintic.com/tutorials_v
Connect the USB2 Camera with the supplied USB2 cable into a USB2 port on your
Your computer will recognise the new USB device and may need to install
additional drivers to ensure the USB2 port
functions correctly. It is advisable to conne
the internet at this stage, to obtain the latest Microsoft drivers for the
lternatively, you can search the CD Rom supplied for the necessary USB2 driver for your
Operating System (XP, Vista or Seven).
ALWAYS use t
Follow any further on screen instructions as further Microsoft drivers for
the USB2 port and device may be required
Once the camera has been connected / recognised
by the computer the camera can be opened via yo
ur Quintic Software.
To view detailed instructions on using the camera, within Quintic Sports, Coaching and
Quintic Tutorial Download page
http://www.quintic.com/tutorials_v
21.htm.
Connect the USB2 Camera with the supplied USB2 cable into a USB2 port on your
Your computer will recognise the new USB device and may need to install
functions correctly. It is advisable to conne
ct to
lternatively, you can search the CD Rom supplied for the necessary USB2 driver for your
Follow any further on screen instructions as further Microsoft drivers for
Once the camera has been connected / recognised
To view detailed instructions on using the camera, within Quintic Sports, Coaching and