Quuppa LD-6L User manual

Quuppa LD-6L
Installation Guide and Safety
Information
1

Contents
For your safety...............................................................................................3
1.Introduction................................................................................................4
About this document..................................................................................4
2.Get started.................................................................................................5
Parts............................................................................................................5
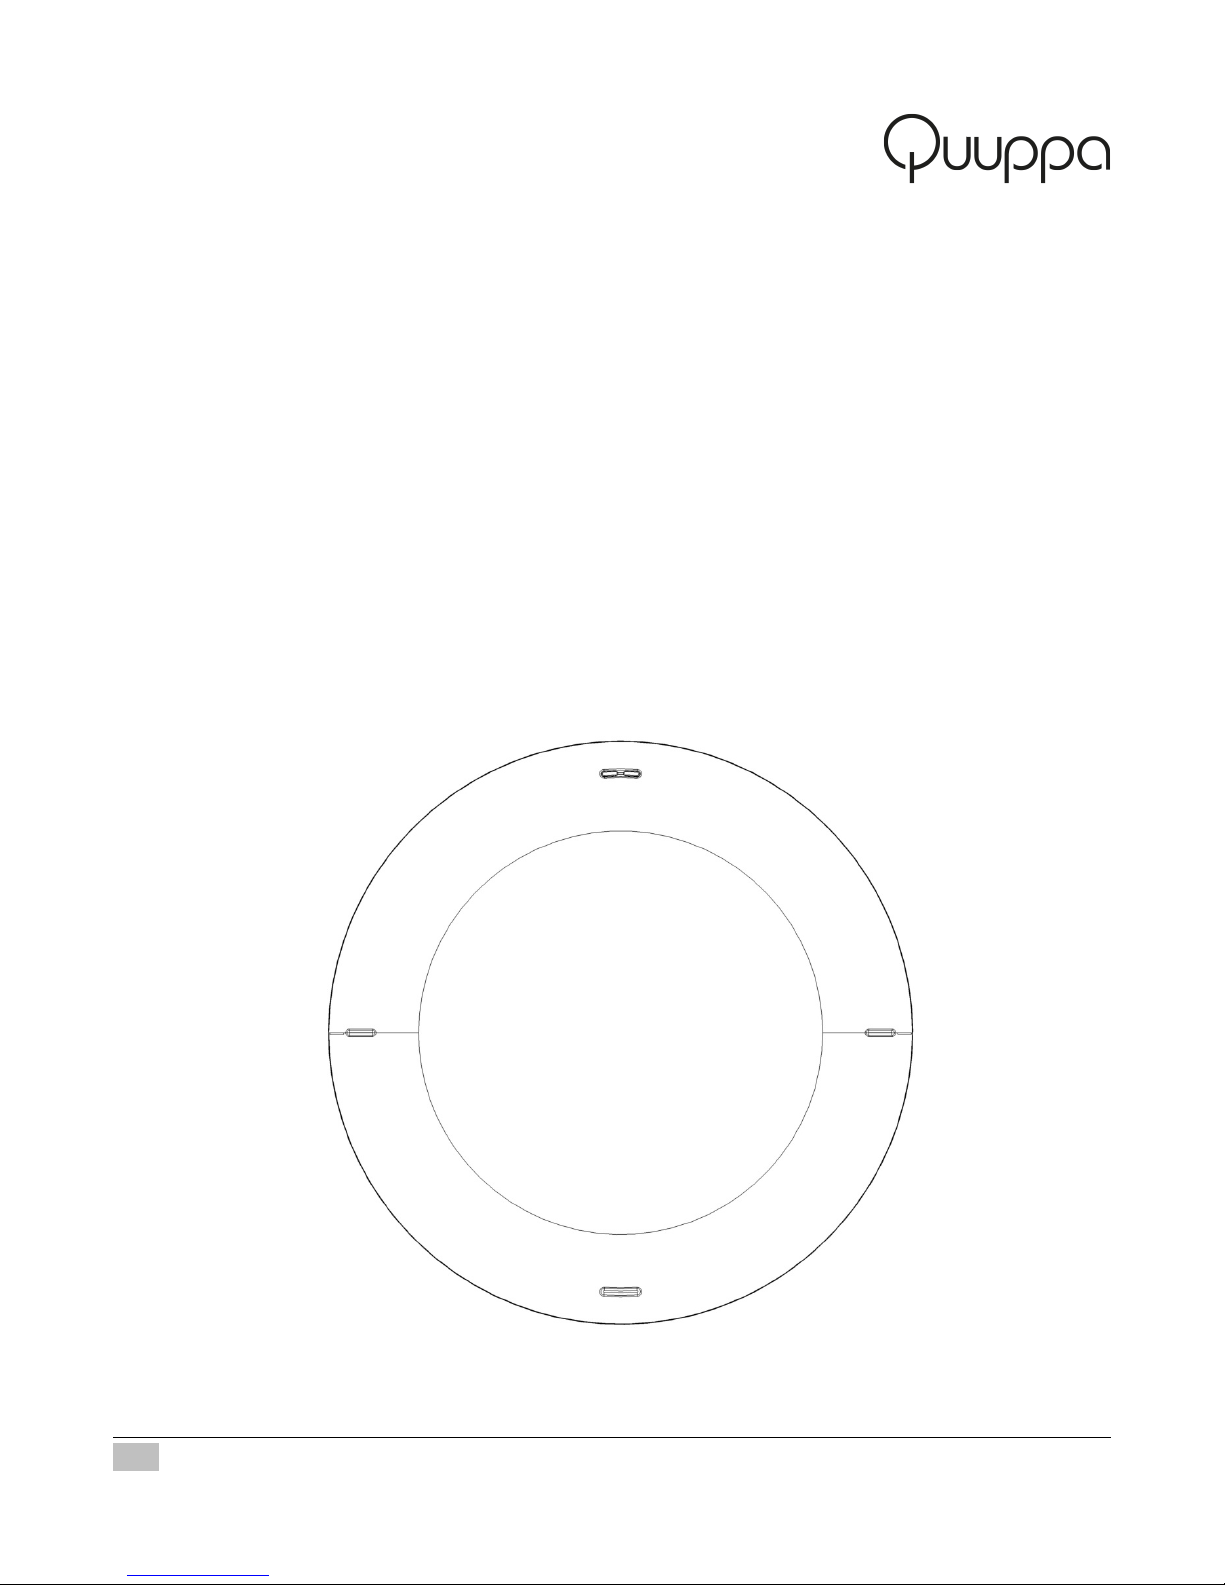
Quuppa L -6L main unit...................................................................................6
Mounting Bracket.............................................................................................7
Connect to power supply............................................................................8
Option 1: Use Power over Ethernet (PoE).........................................................8
Option 2: Use separate 12V C power supply..................................................8
Connect to HAIP network............................................................................8
Reset factory settings.................................................................................9
3.Installation.................................................................................................9
Safety Information......................................................................................9
Installing Quuppa L -6L ...........................................................................10
Install mounting bracket to the ceiling/wall....................................................10
Install Quuppa L -6L main unit to the mounting bracket...............................11
4.Product information..................................................................................13
5.Care and Maintenance.............................................................................14
Recycle.....................................................................................................14
6.Copyright and other notices.....................................................................15
2 Quuppa L -6L Installation Guide and Safety Information © 2013 Quuppa

For your safety
Read these simple guidelines. Not following them may be dangerous
or illegal. Read the complete installation guide for further information.
SWITCH ON SAFETY
Do not switch the device on when the use of wireless devices is
prohibited of when it ay cause interference or danger
INTERFERENCE
All wireless devices ay be susceptible to interference, which could
affect perfor ance
QUALIFIED SERVICE
Only qualified personnel ay install, configure, or repair this product
ACCESSORIES
Use only approved accessories. Do not connect inco patible
products
When connecting to any other device, read its user guide for detailed
safety instructions. o not connect incompatible products.
3 Quuppa L -6L Installation Guide and Safety Information © 2013 Quuppa

1. Introduction
Quuppa L -6L (HAIP Locator) is a part of the Quuppa HAIP System.
Other parts of the Quuppa HAIP system are Quuppa L -6T (HAIP Tag)
and Quuppa Positioning Engine software. The Quuppa HAIP System
allows you to locate and track any objects equipped with HAIP Tags in
an environment equipped with HAIP Locators.
Read this guide carefully before having the Quuppa L -6L
professionally installed. Also, watch the Quuppa Site Planner and
Quuppa eployment tutorial videos before starting to use the HAIP
system. For the latest guides, additional information, and downloads
related to your Quuppa product, go to www.quuppa.com/support.
This product may contain small parts. Keep them out of reach of small
children.
About this document
Main features and first use of the Quuppa L -6L are described in “Get
started”, page 5. Installation to an indoor space is described in
“Installation”, page 9. Quuppa L -6L should only be installed by a
qualified service technician using the original Quuppa parts supplied
in the sales package.
4 Quuppa L -6L Installation Guide and Safety Information © 2013 Quuppa

2. Get started
Parts
Quuppa L -6L contains the following parts:
1. Quuppa L -6L main unit
2. Quuppa L -6L mounting bracket
5 Quuppa L -6L Installation Guide and Safety Information © 2013 Quuppa

Quuppa L -6L main unit
1. Bracket mounting pins
2. Reset button
3. 12V C connector
4. Ethernet connector
5. Indicator lights
6 Quuppa L -6L Installation Guide and Safety Information © 2013 Quuppa

Mounting Bracket
1. Holes for ceiling/wall mounting screws
2. Holes for mounting bracket mounting pins
3. Safety lock
4. Orientation indicator
7 Quuppa L -6L Installation Guide and Safety Information © 2013 Quuppa

Connect to power supply
Option 1: Use Power over Ethernet (PoE)
Quuppa L -6L supports the use of standard PoE (Power over
Ethernet) components, e.g. PoE switch or power injector, as its
power source. Only use standard certified PoE devices.
When using PoE, a separate C power supply is not required.
Option 2: Use separate 12V C power supply
If you are not using PoE components, connect Quuppa L -6L to
an approved C power supply using the C connector. Only use
compatible power supplies. Contact Quuppa in case of any
uncertainty regarding compatible power supplies.
When the power supply is connected Quuppa L -6L automatically
switches on. The blue indicator light flashes once, after which the red
indicator light turns constantly on, until Quuppa L -6L is connected to
the HAIP System.
Connect to HAIP network
Connect Quuppa L -6L to the HAIP System with Ethernet CAT5 UTP
cable using the RJ-45 Ethernet socket. For your safety and to prevent
any damage to Quuppa L -6L, only connect Quuppa L -6L to standard
certified network components.
The red indicator light is flashing when Quuppa L -6L is properly
connected to the HAIP System but not activated by the HAIP
Positioning Engine software.
Follow the Quuppa eployment tutorial video to configure your
Quuppa L -6L. The blue indicator light is flashing or constantly lit
8 Quuppa L -6L Installation Guide and Safety Information © 2013 Quuppa

when Quuppa L -6L is activated by the HAIP system.
Reset factory settings
To reset factory settings, press the reset button while connecting
power supply and keep it pressed for approximately three seconds
until the red indicator light stops flashing. After that the Quuppa L -6L
switches on normally with the default factory settings.
3. Installation
Safety Information
Observe the following safety guidelines when installing Quuppa L -6L.
•Only a qualified service technician should install or service
Quuppa L -6L using the approved original Quuppa parts supplied
in the sales package. Faulty installation or service may be
dangerous and may invalidate any warranty which may apply to
Quuppa L -6L.
•End users should remember that Quuppa L -6L comprises of
complex technical equipment that requires professional
installation using special tools and expert know-how.
•Instructions given in this guide are general guidelines that apply
to the installation of Quuppa L -6L in an indoor environment.
However, due to the wide variety of indoor environments and
mounting surfaces, this guide cannot consider the individual
technical requirements relevant for any particular installation.
Consult Quuppa in case you are uncertain about installation in a
specific indoor environment.
•Quuppa L -6L is designed to operate either with a compatible
12V C power supply, or by using a standard PoE (Power over
Ethernet) compatible network component connected at the
9 Quuppa L -6L Installation Guide and Safety Information © 2013 Quuppa

Ethernet socket.
•For your safety, and to prevent any damage to Quuppa L -6L,
only use a compatible power supply. Contact Quuppa in case of
any uncertainty regarding compatible power supplies. When
using a PoE compatible network component as a power source,
only use standard certified network components.
•Quuppa L -6L has in-built protection for over voltage, but a
connection using the wrong polarity might damage the unit.
•When installing Quuppa L -6L, make sure the installation surface
can safely carry the weight of the equipment.
•Your service technician or dealer may be able to provide you with
information on alternatives for mounting the equipment suitably
in different types of indoor environments.
•o not smoke when installing the equipment. Make sure there is
no source of fire or flame nearby.
•Make sure cables are placed so that they will not be subject to
mechanical wear and tear.
Installing Quuppa L -6L
This section describes how to install the Quuppa L -6L onto a ceiling
or wall of an indoor environment. The parts are described in “Parts”,
p.5.
Install mounting bracket to the ceiling/wall
The installation begins with the installation of the mounting bracket.
TIPS: the mounting bracket has several holes for mounting screws. Use at
least 60mm spacing between the holes to ensure a stable installation.
10 Quuppa L -6L Installation Guide and Safety Information © 2013 Quuppa

The orientation indicator in the mounting bracket (p.7) may be used to
align Quuppa L -6L according to a defined orientation in the
environment.
WARNING: Never attach, mount, or connect the mounting bracket to hot
surfaces. Always make sure that the surface can carry the weight of the
equipment before installation.
Not following general safety regulation can cause amage to objects or
injuries to people. Rely on qualifie personnel for carrying out the
installation of Quuppa LD-6L.
Install Quuppa L -6L main unit to the mounting bracket
1. Align Quuppa L -6L main unit with the bracket by ensuring the
orientation mark in the mounting bracket is aligned with the
indicator lights on the Quuppa L -6L main unit.
2. Lift Quuppa L -6L main unit so that the mounting pins go
through the holes in the bracket (1).
3. Rotate the Quuppa L -6L main unit (2) until you hear a ‘click’ (3).
4. Bend the safety lock down with a tip of a screwdriver to prevent
Quuppa L -6L main unit being accidentally detached (4).
11 Quuppa L -6L Installation Guide and Safety Information © 2013 Quuppa

12 Quuppa L -6L Installation Guide and Safety Information © 2013 Quuppa

4. Product information
•Operating frequency range: 2400…2483 MHz
•Maximum transmit power: +4 dBm EIRP
•Operating temperature range: 0°C…+60°C
•Storage temperature range: –10°C…+70°C
•Input rating when using C power supply: 12 V / 500 mA C
•Operating voltage when using PoE: 48 V
•Typical power consumption: 2 W
•imensions Locator main unit: Ø: 202 mm, h: 40 mm
•imensions Locator mounting bracket: Ø: 120 mm, h: 5 mm
•Weight: 500g
13 Quuppa L -6L Installation Guide and Safety Information © 2013 Quuppa

5. Care and Maintenance
Your Quuppa L -6L is a product of superior design and craftsmanship
and should be treated with care. The following suggestions will help
you protect your warranty coverage.
•Keep Quuppa L -6L dry. Precipitation, humidity and all types of
liquids or moisture can contain minerals that will corrode
electronic circuits.
•o not use or store Quuppa L -6L in dusty, dirty areas. Its
moving parts and electronic components can be damaged.
•o not attempt to open the Quuppa L -6L.
•o not use harsh chemicals, cleaning solvents, or strong
detergents to clean the locator. Only use a soft, clean, dry cloth
to clean the surface of Quuppa L -6L.
•o not paint Quuppa L -6L.
Recycle
Always return your used electronic products, batteries, and packaging
materials to dedicated collection points. This way you help prevent
uncontrolled waste disposal and promote the recycling of materials.
The crossed-out wheeled-bin symbol on your product, battery,
literature, or packaging reminds you that all electrical and
electronic products, batteries, and accumulators must be
taken to separate collection at the end of their working life.
This requirement applies in the European Union. o not
dispose of these products as unsorted municipal waste.
14 Quuppa L -6L Installation Guide and Safety Information © 2013 Quuppa

6. Copyright and other notices
ECLARATION OF CONFORMITY
Hereby, Quuppa Oy declares that this Quuppa L -6L product is in
compliance with the essential requirements and other relevant
provisions of irective 1999/5/EC. A copy of the eclaration of
Conformity can be found at
http://www.quuppa.com/declaration-of-conformity
© 2013 Quuppa. All rights reserved.
FCC NOTICE
This device complies with Part 15 of the FCC Rules. Operation is
subject to the following two conditions: 1. This device may not cause
harmful interference; and 2. This device must accept any interference
received, including interference that may cause undesired operation.
This equipment has been tested and found to comply with the limits
for a Class B digital device, pursuant to Part 15 of the FCC Rules.
These limits are designed to provide reasonable protection against
harmful interference in a residential installation. This equipment
generates uses and can radiate radio frequency energy and, if not
installed and used in accordance with the instructions, may cause
harmful interference to radio communications. However, there is no
guarantee that interference will not occur in a particular installation. If
this equipment does cause harmful interference to radio or television
reception, which can be determined by turning the equipment off and
on, the user is encouraged to try to correct the interference by one or
more of the following measures: Reorient or relocate the receiving
antenna. Increase the separation between the equipment and
receiver. Connect the equipment into an outlet on a circuit different
15 Quuppa L -6L Installation Guide and Safety Information © 2013 Quuppa

from that to which the receiver is connected. Consult the dealer or an
experienced radio/TV technician for help. NOTE: FCC Radiation
Exposure Statement: This equipment complies with FCC radiation
exposure limits set forth for an uncontrolled environment. This
transmitter must not be co-located or operating in conjunction with
any other antenna or transmitter. NOTE: Changes or modifications not
expressly approved by Quuppa could void the user's authority to
operate the equipment.
Reproduction, transfer, distribution, or storage of part or all of the
contents in this document in any form without the prior written
permission of Quuppa is prohibited. Quuppa operates a policy of
continuous development. Quuppa reserves the right to make changes
and improvements to any of the products described in this document
without prior notice.
TO THE MAXIMUM EXTENT PERMITTE BY APPLICABLE LAW, UN ER
NO CIRCUMSTANCES SHALL QUUPPA OR ANY OF ITS LICENSORS BE
RESPONSIBLE FOR ANY LOSS OF ATA OR INCOME OR ANY SPECIAL,
INCI ENTAL, CONSEQUENTIAL OR IN IRECT AMAGES HOWSOEVER
CAUSE .
THE CONTENTS OF THIS OCUMENT ARE PROVI E "AS IS". EXCEPT
AS REQUIRE BY APPLICABLE LAW, NO WARRANTIES OF ANY KIN ,
EITHER EXPRESS OR IMPLIE , INCLU ING, BUT NOT LIMITE TO, THE
IMPLIE WARRANTIES OF MERCHANTABILITY AN FITNESS FOR A
PARTICULAR PURPOSE, ARE MA E IN RELATION TO THE ACCURACY,
RELIABILITY OR CONTENTS OF THIS OCUMENT. QUUPPA RESERVES
THE RIGHT TO REVISE THIS OCUMENT OR WITH RAW IT AT ANY TIME
WITHOUT PRIOR NOTICE.
The availability of particular products may vary by region. Please
check with your Quuppa dealer for details. This device may contain
commodities, technology or software subject to export laws and
regulations from the US and other countries. iversion contrary to law
is prohibited.
16 Quuppa L -6L Installation Guide and Safety Information © 2013 Quuppa
Table of contents
Other Quuppa GPS manuals