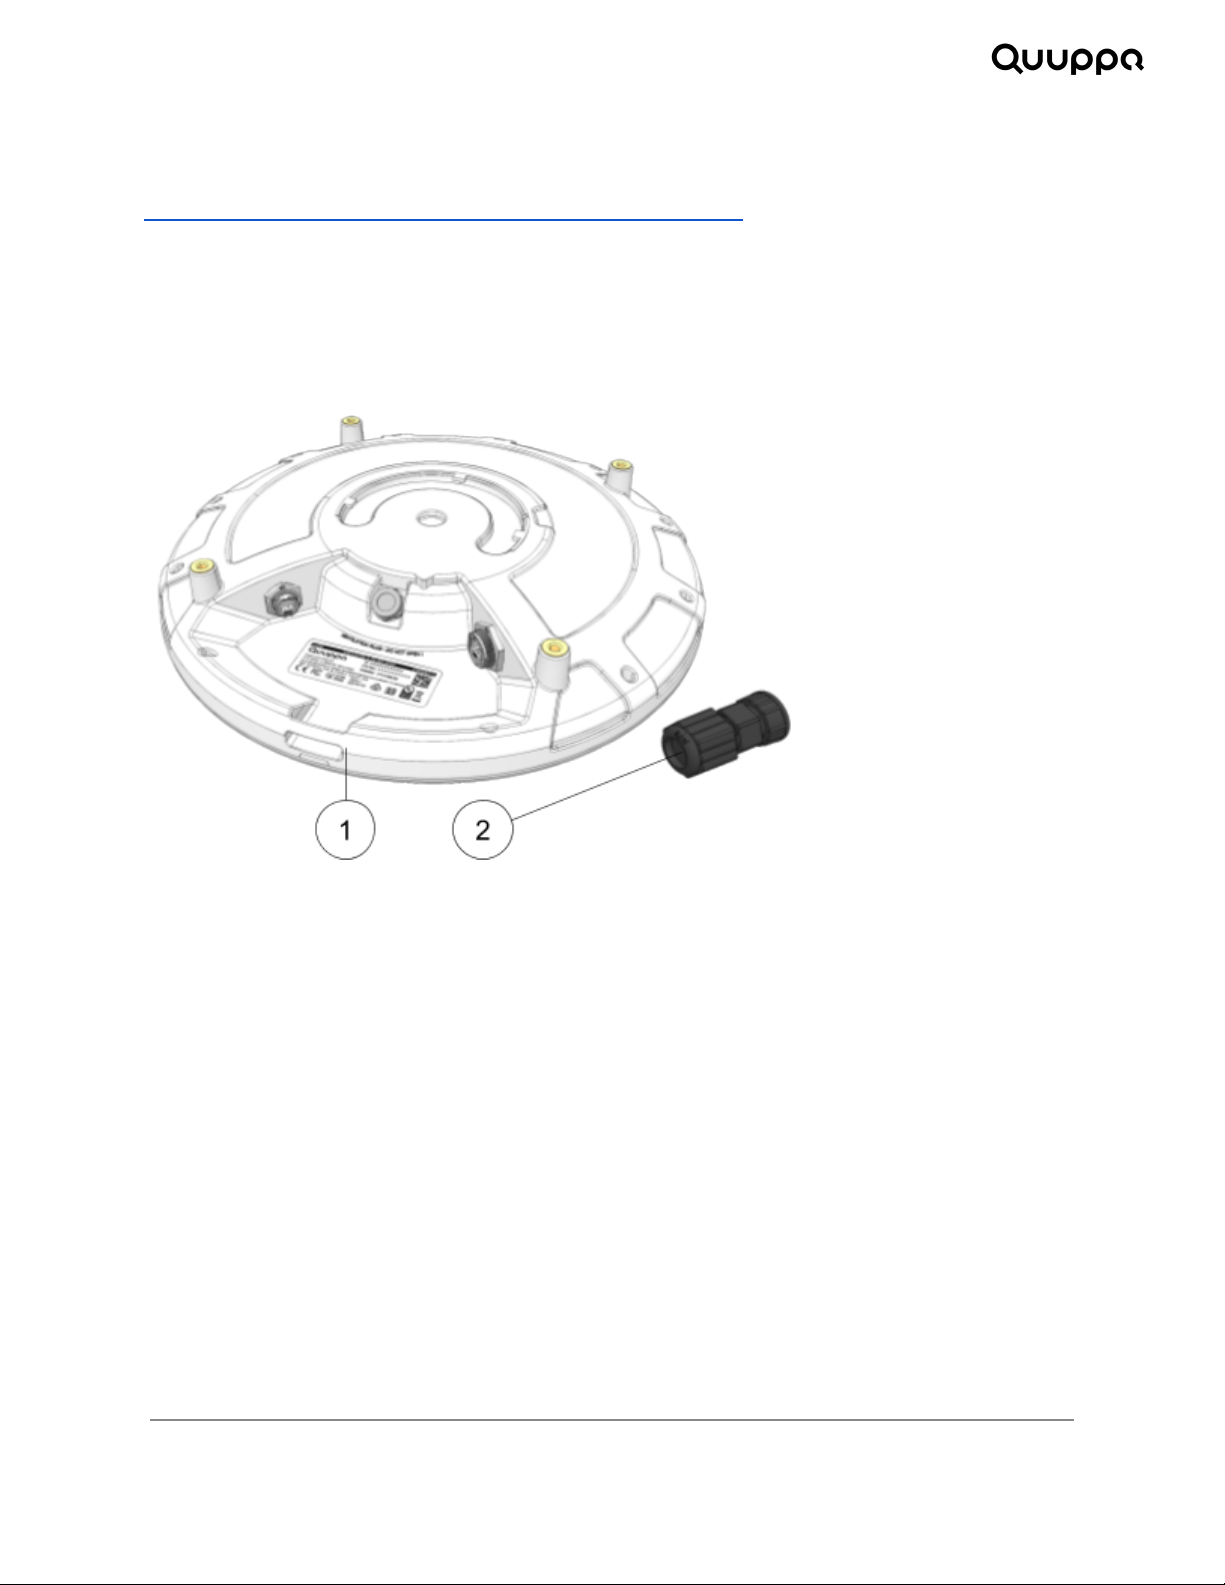
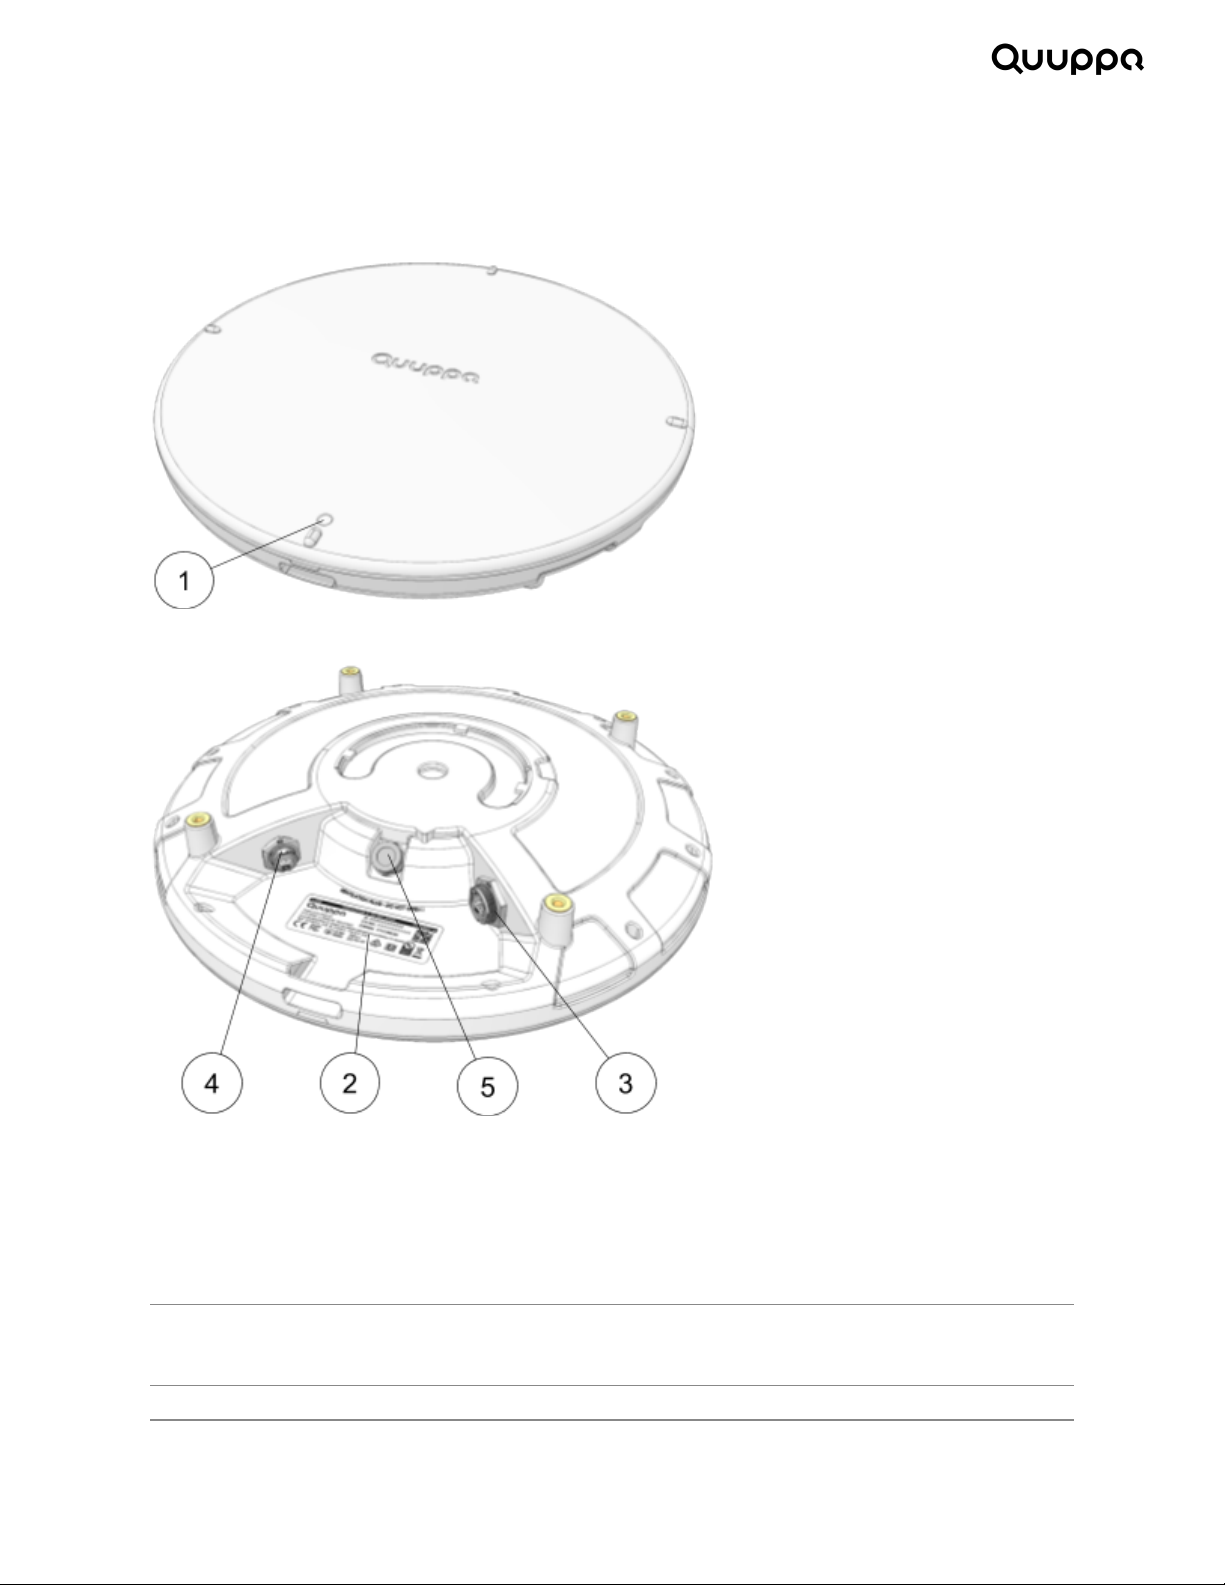
1. Attach the Ethernet cable and Micro USB cable (if used). Use Ethernet cables and connectors
designed for outdoor use, even in indoor installations, to prevent water, moisture and dust from
getting into the device. The Ethernet socket of the Q35 is Amphenol-LTW
RCP-5SPFFP-TCU7BXX and it accepts 3 point lock bayonet (-TL and -TR type) waterproof
Ethernet connectors from Amphenol-LTW. For example, you can use the Amphenol-LTW
RCP-00BMMS-TLM7001 field installable connector, which is included with the package. The
preferred RJ45 connector type for cables used with the field installable RCP-00BMMS-TLM7001
connector is the crimped connector shown below, but also small overmolded connectors can be
used. Please verify the compatibility of your cabling before proceeding with the installation.
Also, make sure to use a waterproof USB cable connector or keep the protective cap on the USB
connector. The USB socket of the Q35 is USBFirewire RR-11A200-0P-XX and it accepts
USBFirewire RR-11B220-05-XX series waterproof USB cables.
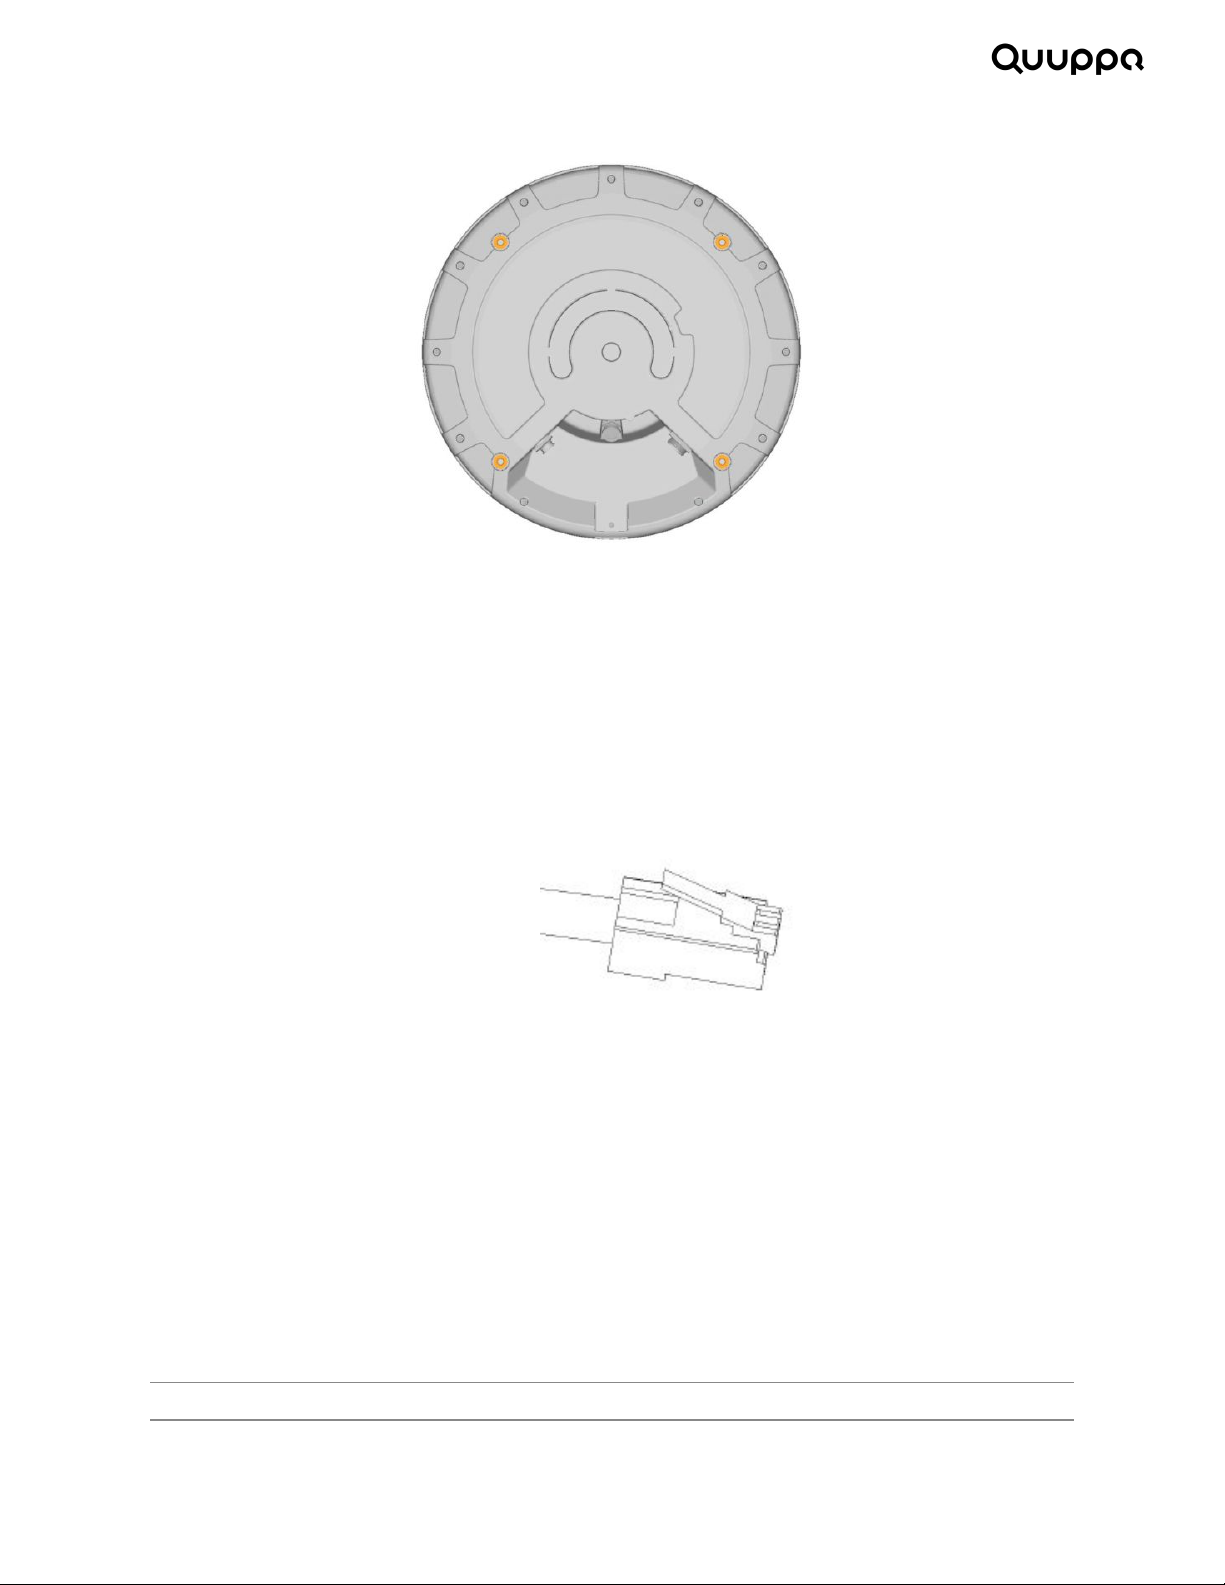
2. Attach the Q35 to the mounting bracket with four screws (marked in the picture above). Use M6
bolts and assembly torque of 2 Nm (max allowed torque is 2.5 Nm).
With a thin bracket, an M6 screw of 10 mm length can be used. With thicker brackets, please
check the suitable screw length. It is very important to use the right size screws in order not to
break the product. Maximum length of the screw to be used is 10mm + thickness of the used
VESA mount.
3. Attach the VESA mounting bracket to the wall, ceiling, or mast.
4. Aim the Q35 towards the intended coverage area and tighten all fasteners.
5. Make sure the other end of the Ethernet cable is connected to a device that is connected to the
Quuppa system.