manuals.online logo
Brands
  1. Home
  2. •
  3. Brands
  4. •
  5. Radial Engineering
  6. •
  7. Music Pedal
  8. •
  9. Radial Engineering North Star User manual

Radial Engineering North Star User manual

www.radialeng.com
True to the Music
Radial Engineering Ltd.
®
®True to the Music
USER GUIDE
Radial Engineering Ltd. North-Star™North-Star™
FEATURES
RADIAL ENGINEERING 3 YEAR
TRANSFERABLE LIMITED WARRANTY
RADIAL ENGINEERING LTD. (“Radial”) warrants this product to be free from defects in
material and workmanship and will remedy any such defects free of charge according to the
terms of this warranty. Radial will repair or replace (at its option) any defective component(s)
of this product (excluding nish and wear and tear on components under normal use) for
a period of three (3) years from the original date of purchase. In the event that a particular
product is no longer available, Radial reserves the right to replace the product with a similar
product of equal or greater value. In the unlikely event that a defect is uncovered, please call
604-942-1001 or email [email protected] to obtain an RA number (ReturnAuthorization
number) before the 3 year warranty period expires. The product must be returned prepaid
in the original shipping container (or equivalent) to Radial or to an authorized Radial repair
center and you must assume the risk of loss or damage.A copy of the original invoice showing
date of purchase and the dealer name must accompany any request for work to be performed
under this limited and transferable warranty. This warranty shall not apply if the product has
been damaged due to abuse, misuse, misapplication, accident or as a result of service or
modication by any other than an authorized Radial repair center.
THERE ARE NO EXPRESSED WARRANTIES OTHER THAN THOSE ON THE FACE
HEREOF AND DESCRIBED ABOVE. NO WARRANTIES WHETHER EXPRESSED
OR IMPLIED, INCLUDING BUT NOT LIMITED TO, ANY IMPLIED WARRANTIES OF
MERCHANTABILITY OR FITNESS FOR A PARTICULAR PURPOSE SHALL EXTEND
BEYOND THE RESPECTIVE WARRANTY PERIOD DESCRIBED ABOVE OF THREE
YEARS. RADIAL SHALL NOT BE RESPONSIBLE OR LIABLE FOR ANY SPECIAL,
INCIDENTAL OR CONSEQUENTIAL DAMAGES OR LOSS ARISING FROM THE USE OF
THIS PRODUCT. THIS WARRANTY GIVES YOU SPECIFIC LEGAL RIGHTS AND YOU
MAY ALSO HAVE OTHER RIGHTS, WHICH MAY VARY DEPENDING ON WHERE YOU
LIVE AND WHERE THE PRODUCT WAS PURCHASED.
North-Star™User Guide - Part# R870 1001 00 / 11-2016 All rights reserved.
Specications and appearance are subject to change without notice.
Radial Engineering Ltd.
1588 Kebet Way, Port Coquitlam BC V3C 5M5
tel: 604-942-1001 • fax: 604-942-1010
[email protected] • www.radialeng.com
Circuit Type: .......................................................................... Class-A discrete
Frequency Response: .......................Adjustable via tone and range controls
Gain – Boost: .................................................... Variable from +3dB to +24dB
Gain – Overdrive: .............................................Variable from +3dB to +30dB
Footswitch - Drive: ...................................Latching switch engages overdrive
Footswitch - Boost: ..............Latching switch engages boost and effects loop
Effects Loop: ....Send & return jacks for additional pedals before boost stage
Power: .................................................................9VDC, adapter not included
Radial Classic Specications
OVERDRIVE & BOOST PEDAL
1. INPUT: High-Z ¼” connection from your instrument.
2. EFX LOOP: Send and return ¼” jacks used to connect effect
pedals.
3. OUTPUT: ¼” connection to your amplier.
4. 9VDC POWER: Connection for 9 volt (center-pin negative)
power adapter. Includes a cable clamp to prevent accidental
power disconnection.
5. LEVEL: Used to set the output volume level for the Overdrive.
6. TONE: Brightens or darkens the Overdrive circuit to suit your
guitar and amp setups.
7. DRIVE: Used to adjust the overall amount of distortion
introduced in the Overdrive circuit.
8. RANGE: 3-position switch used to boost or cut high frequencies
to suit your guitar and amp setup.
9. DRIVE FOOTSWITCH: Used to activate the Overdrive circuit.
10. BOOST FOOTSWITCH: Activates the power booster and the
effects loop.
11. BOOST GAIN: Variable Class-A power booster – 100% discrete
with up to +24dB of clean gain.
11
10 9
7
8
34 2 1
5
6
Radial Engineering Ltd. Radial Engineering Ltd. Radial Engineering Ltd.
North-Star™North-Star™North-Star™
OVERVIEW
Thank you for purchasing the North-Star, an exciting new pedal that provides
a power booster along with an Overdrive capable of a variety of musical styles;
whether you play country, rock or something in between, the North-Star will
provide harmonically rich overdrive tones to suit your style. One listen and
we’re sure you will agree.
Before you start playing with the North-Star, please take a look through this
short user guide, which outlines the various features and possibilities available
with this pedal. For more information such as frequently asked questions,
updates and sound clips, please visit the Radial website. Should you nd
yourself still in need of answers, send us an email at [email protected]
and we will do our best to respond in short order.
MAkING CONNECTIONS
Before you connect to the North-Star, make sure to turn your guitar amp
down or off to avoid loud turn-on transients that can cause damage to your
amplier. There is no power switch on the device, you simply connect to a
9V supply and the unit will turn on. You can check that it is receiving power
by depressing one of the footswitches to see if the LED illuminates. The
North-Star does not come with a power supply as most players will use a
multi-pedal power brick on their pedalboard. You can use a standard Boss®
style 9V adapter for power, with a 2.1mm barrel connector wired for center-
pin negative polarity. The power cable can be afxed to the pedal using the
cable lock provided, preventing accidental disconnection. Use a hex key to
unscrew the cable lock, pass the cable through the cavity and then retighten.
THE OVERDRIVE
Start with the LEVEL and TONE controls at 12 o’clock and the DRIVE control set
to 9 o’clock. Next, turn your amp on and the volume up and depress the DRIVE
footswitch. Test out different settings on the LEVEL control to get an idea of the
range of the Overdrive, as it can provide a lot of gain to your signal. Now you can
experiment with the TONE and DRIVE settings. The TONE control will add more
high frequency content as you turn it clockwise. All three of these controls interact,
so increasing the DRIVE will also increase the overall output level.
THE RANGE
The 3-position RANGE switch has three settings: Low, Normal and High. This will
adjust the high frequency output of the Overdrive, allowing you to compensate
for overly bright or dark ampliers. Use in conjunction with the TONE control to
ne tune your sound.
THE BOOSTER
Start with the BOOST level down at 7 o’clock. Turn off the Overdrive, engage the
BOOST footswitch and listen as you increase the volume. You can use the Boost
function for high-output soloing, or to push the front end of your amp harder. When
the Boost is activated, it will also engage the effects loop, bringing your effects
pedals into the signal chain after the Overdrive section and before the Boost.
INPUT
DRIVE TONE LEVEL
F/X LOOP
SND RTN
Normal
HIGH
LOW
OVERDRIVE
RANGE
TRUE BYPASS SWITCHING
POWER BOOSTER
GAIN
OUTPUT
TRUE BYPASS SWITCHING
Class-A 1) Connecting a tuner
You can connect a tuner to the effects SEND jack and when the Boost is
engaged, it will shut off the signal going to the amp for quiet on-stage tuning.
2) Connecting a second amp
You can also connect a second guitar amp using the effects send. However,
as this output is not isolated, you may experience a ground loop. To minimize
the possibility of noise, make sure both amps are connected to the same
electrical circuit using a power bar. Also, make sure both amps have a proper
U-ground attached for safety.
3) Connecting a second guitar
You can connect a second guitar to the North-Star by using the effects
RETURN jack. This will bypass the Overdrive circuit and feed directly into
the Booster when activated.
THE EFFECTS LOOP
The built-in effects loop allows you to
connect a series of pedals that are
brought into the signal chain when you
engage the BOOST footswitch. This
allows you to simultaneously activate
the Booster and a delay or chorus
pedal, giving you a more streamlined
and professional transition for soloing.
The effects loop employs standard ¼”
guitar cable connections.
ALTERNATIVE EFFECT LOOP SET-UPS

Other Radial Engineering Music Pedal manuals

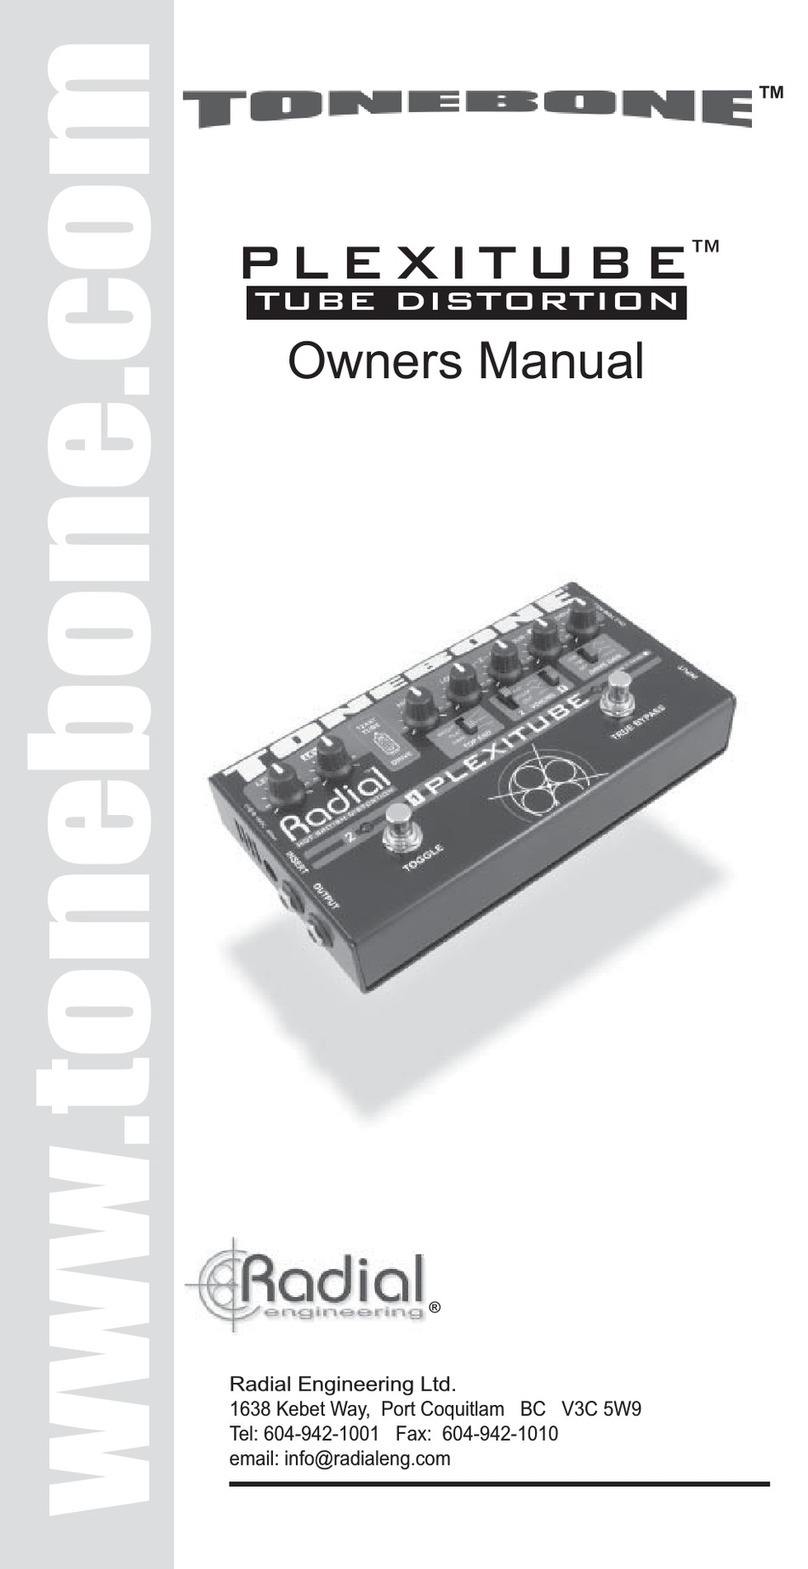
Radial Engineering Tonebone User manual

Radial Engineering

Radial Engineering Tonebone User manual

Radial Engineering TONEBONE PLEXITUBE User manual

Radial Engineering

Radial Engineering TONEBONE PLEXITUBE User manual

Radial Engineering Tonebone User manual

Radial Engineering

Radial Engineering Tonebone User manual

Radial Engineering Voco-Loco User manual

Radial Engineering

Radial Engineering Voco-Loco User manual

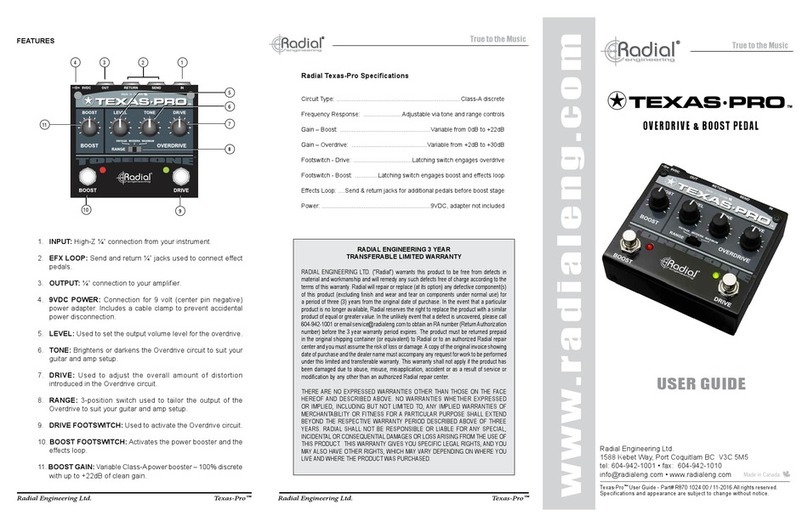
Radial Engineering Texas Pro User manual

Radial Engineering

Radial Engineering Texas Pro User manual

Radial Engineering R800 7071 00 User manual

Radial Engineering

Radial Engineering R800 7071 00 User manual

Radial Engineering PhaseQ 500 User manual

Radial Engineering

Radial Engineering PhaseQ 500 User manual

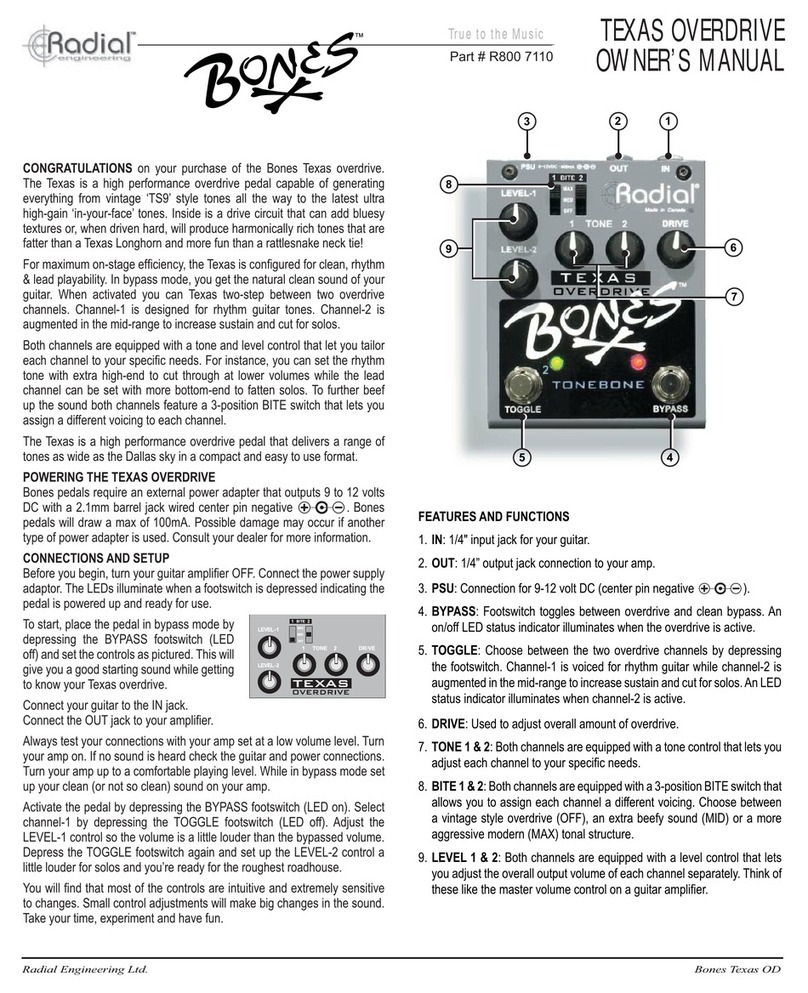
Radial Engineering Bones TEXAS OVERDRIVE User manual

Radial Engineering

Radial Engineering Bones TEXAS OVERDRIVE User manual

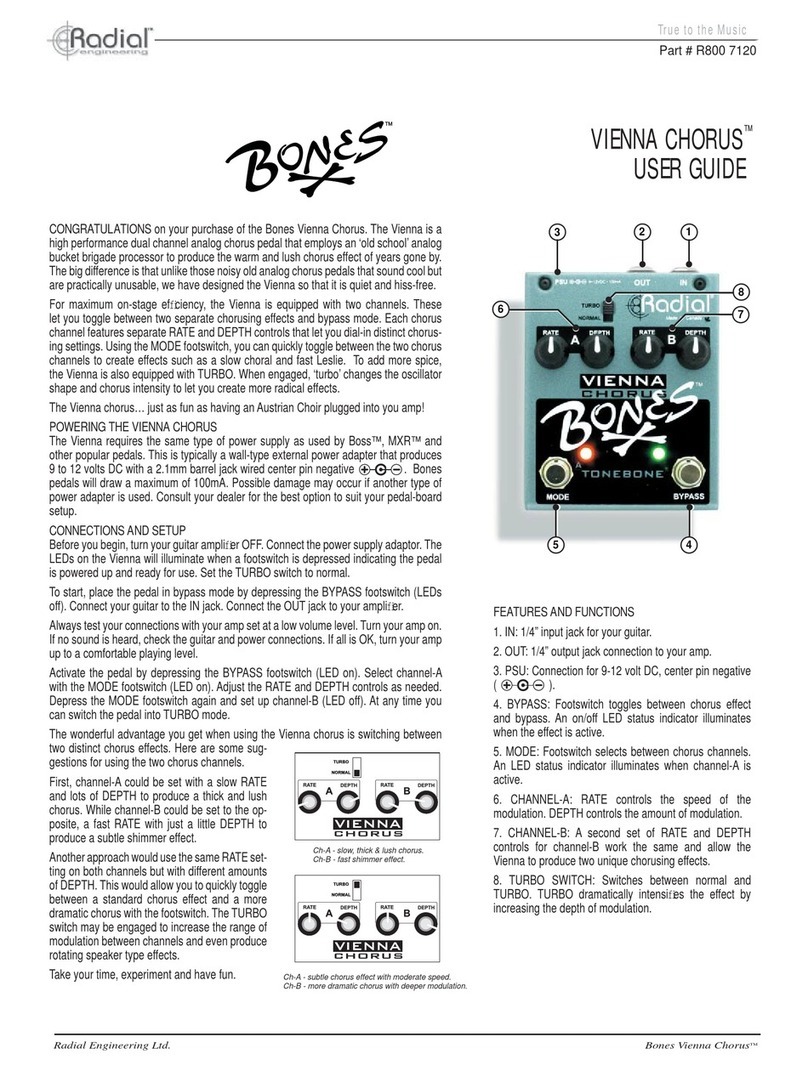
Radial Engineering VIENNA CHORUS User manual

Radial Engineering

Radial Engineering VIENNA CHORUS User manual

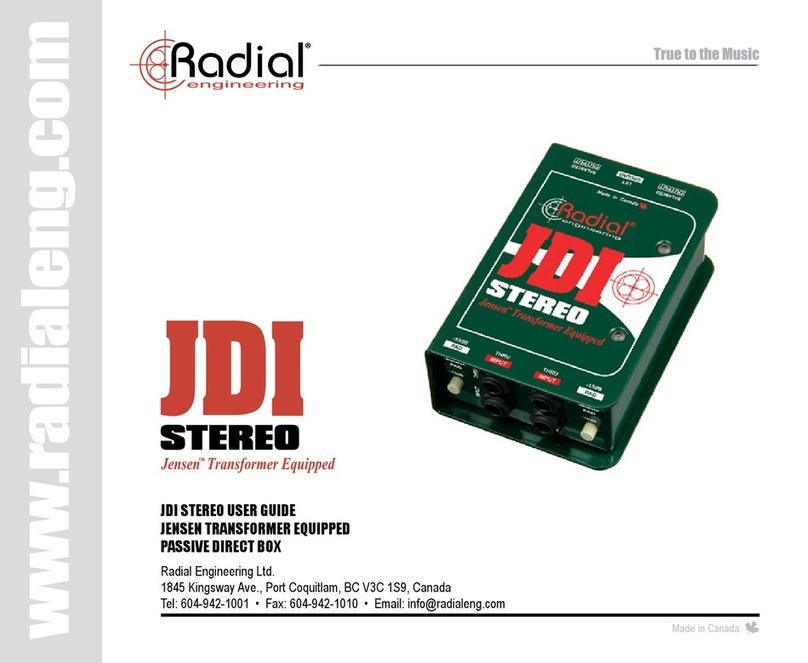
Radial Engineering JDI User manual

Radial Engineering

Radial Engineering JDI User manual

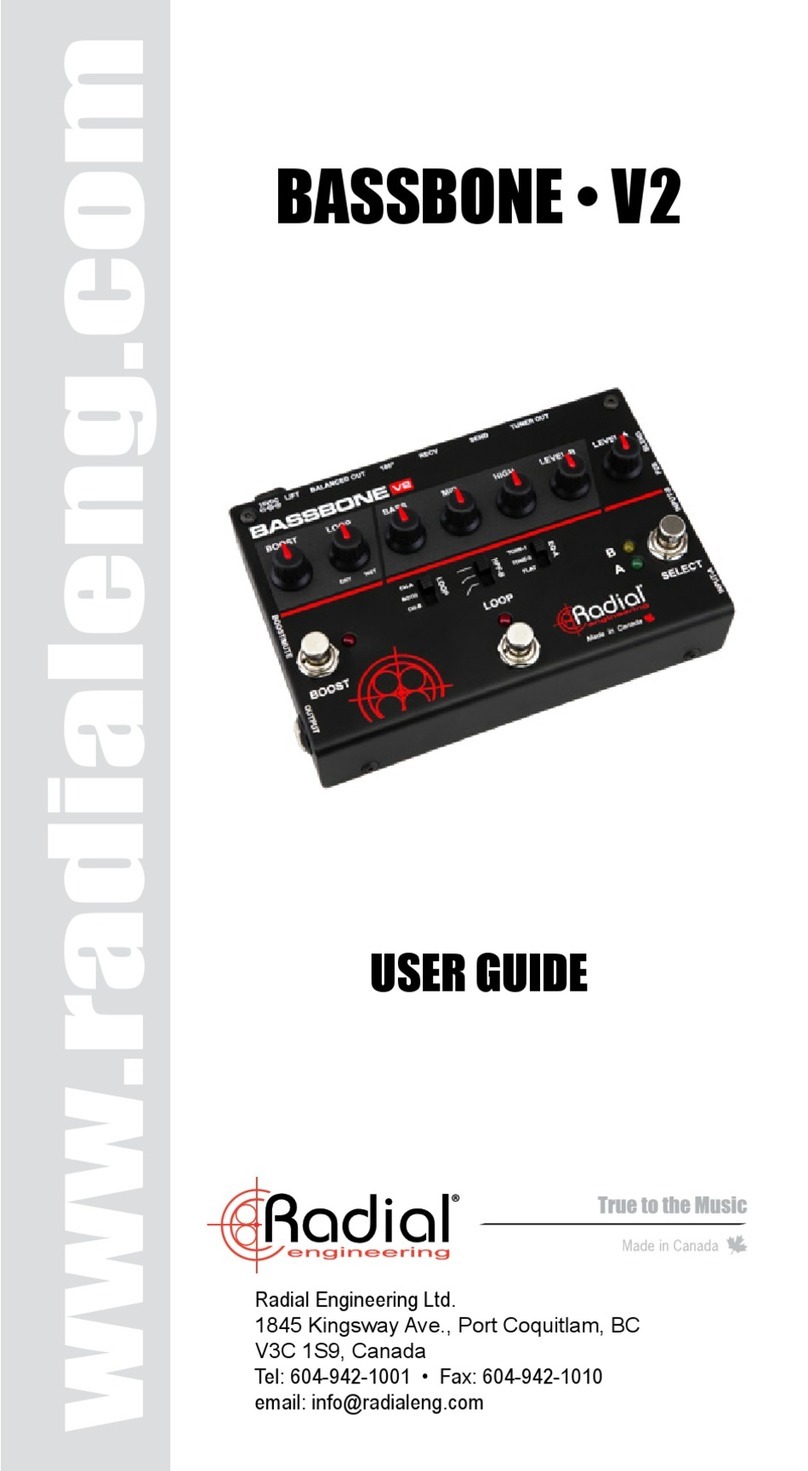
Radial Engineering Tonebone Bassbone V2 User manual

Radial Engineering

Radial Engineering Tonebone Bassbone V2 User manual

Radial Engineering REGENCY User manual

Radial Engineering

Radial Engineering REGENCY User manual

Radial Engineering Hot-British V9 User manual

Radial Engineering

Radial Engineering Hot-British V9 User manual

Radial Engineering CLASSIC V9 User manual

Radial Engineering

Radial Engineering CLASSIC V9 User manual

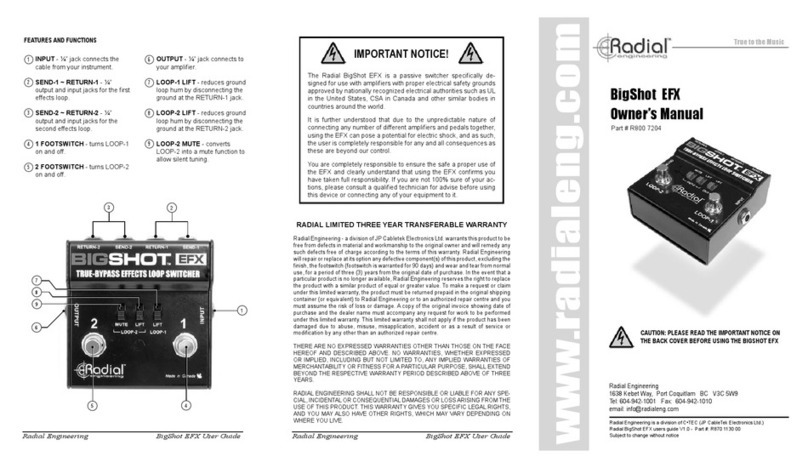
Radial Engineering BigShot EFX User manual

Radial Engineering

Radial Engineering BigShot EFX User manual

Radial Engineering HotShot DM1 User manual

Radial Engineering

Radial Engineering HotShot DM1 User manual

Radial Engineering Bones Holywood User manual

Radial Engineering

Radial Engineering Bones Holywood User manual

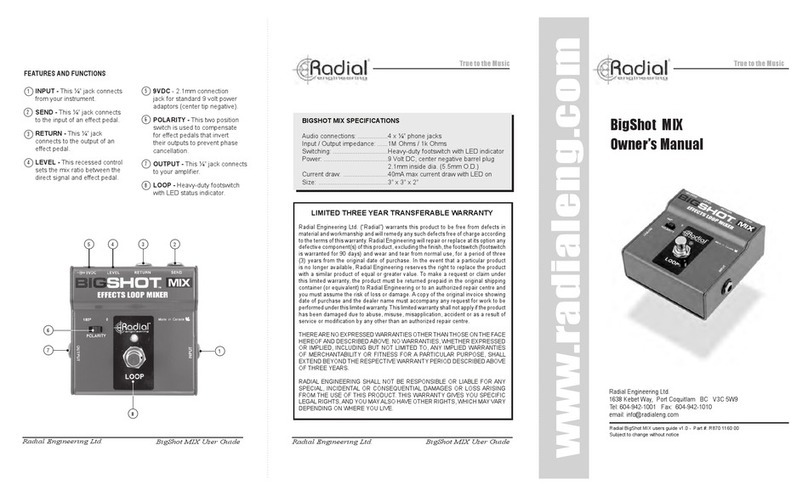
Radial Engineering BigShot MIX User manual

Radial Engineering

Radial Engineering BigShot MIX User manual

Popular Music Pedal manuals by other brands

Demonic Machines Hulk Booster manual

Demonic Machines

Demonic Machines Hulk Booster manual

Ethos Overdrive user manual

Ethos

Ethos Overdrive user manual

Hammond XPK-100 Quick features guide

Hammond

Hammond XPK-100 Quick features guide

Eventide Space user guide

Eventide

Eventide Space user guide

Source Audio True Spring Reverb user guide

Source Audio

Source Audio True Spring Reverb user guide

Rocktron HUSH 2X instruction manual

Rocktron

Rocktron HUSH 2X instruction manual

Donner EMO-AMP Controller owner's manual

Donner

Donner EMO-AMP Controller owner's manual

Carl Martin Classic Chorus user manual

Carl Martin

Carl Martin Classic Chorus user manual

Mooer Red Kid owner's manual

Mooer

Mooer Red Kid owner's manual

Electro-Harmonix Super Pulsar quick start guide

Electro-Harmonix

Electro-Harmonix Super Pulsar quick start guide

Yamaha VP-50ST Operation manual

Yamaha

Yamaha VP-50ST Operation manual

Ibanez Tone-Lok TS7 TubeScreamer owner's manual

Ibanez

Ibanez Tone-Lok TS7 TubeScreamer owner's manual

Universal Audio Golden Reverberator quick start guide

Universal Audio

Universal Audio Golden Reverberator quick start guide

Electro-Harmonix Wailer Wah quick start guide

Electro-Harmonix

Electro-Harmonix Wailer Wah quick start guide

MORLEY DFB2 manual

MORLEY

MORLEY DFB2 manual

Servus Pedale SERVUS! roots user manual

Servus Pedale

Servus Pedale SERVUS! roots user manual

Illuston Verb'8 manual

Illuston

Illuston Verb'8 manual

Chunk Systems Agent 00Funk Mark II manual

Chunk Systems

Chunk Systems Agent 00Funk Mark II manual

manuals.online logo
manuals.online logoBrands
  • About & Mission
  • Contact us
  • Privacy Policy
  • Terms and Conditions

Copyright 2025 Manuals.Online. All Rights Reserved.