Recharge Mower G1-RM10 Quick start guide

1
Electric Riding Lawn Mower
Safety & Operating Instructions
Recharge Mower®G1-RM10
Important:
READ SAFETY RULES AND INSTRUCTIONS
CAREFULLY BEFORE OPERATING EQUIPMENT.

2
Introduction
Thank you for Purchasing the RECHARGE MOWER®.
We appreciate having you as a customer and wish you many years of safe and satisfied
use of this machine using clean and green electric power.
Using your Operator’s Manual
This manual is an important part of your electric lawn mower and should remain with the
machine for quick reference.
Reading the operator’s manual will help you and others avoid personal injury or damage
to the machine. Information located in this manual will provide the operator with the
safest and most effective use of the machine.
You can use this manual to answer any specific operating or service question.
Important Message
Please read all the information in this manual in
order to avoid injury and machine damage.

3
PRODUCT IDENTIFICATION
For Replacement Parts –please contact:
www.rechargemower.com
DATE OF PURCHASE:
PURCHASED FROM:
PRODUCT IDENTIFICATION NUMBER:

4
SAFETY LABELS

5
General Safety Operation of the RECHARGE MOWER®
Read, understand, and follow all instructions on the RECHARGE MOWER®machine and
manual(s) before attempting to assemble and operate.
1. Be familiar with all controls and the proper operation.
2. When not using the mower turn off the ignition key and REMOVE for safety.
3. Charge the batteries immediately…avoid running them until empty.
4. When batteries are fully charged remove the battery charger.
5. When the lawn mower is not being used the batteries should be charged every two
months, otherwise the battery could be damaged.
6. Never allow children under 16 years old to operate this machine. Children over 16
years old should be trained and supervised by an adult.
7. Keep bystanders, children and pets at least 50 feet from the machine while in
operation.
8. Thoroughly inspect the area where the equipment is to be used. Remove all material
such as stones, sticks, toys, and other materials which could be picked up, and
thrown by the blades.
9. Plan your mowing pattern to avoid discharge of materials toward bystanders roads
and sidewalks.
10. Always wear safety glasses or safety goggles during operation. This will prevent
injury if objects ricochet back toward the operator.
11. Loose fitting clothes and jewelry can be caught in movable parts. Never operate this
machine in bare feet or sandals. Wear rough-soled work shoes and close fitting slacks
and shirts.
12. Do not put hands or feet near rotating parts or under the cutting deck. Contact
with the blades can amputate hands and feet.
13. Stop the blades when crossing gravel drives, walks, or roads and while not cutting
grass.
14. This machine is not intended for use on any public roadway. Watch for traffic when
operating near or crossing roadways.
15. Do not operate the RECHARGE MOWER®while under the influence of alcohol or
drugs.
16. Mow only in daylight.
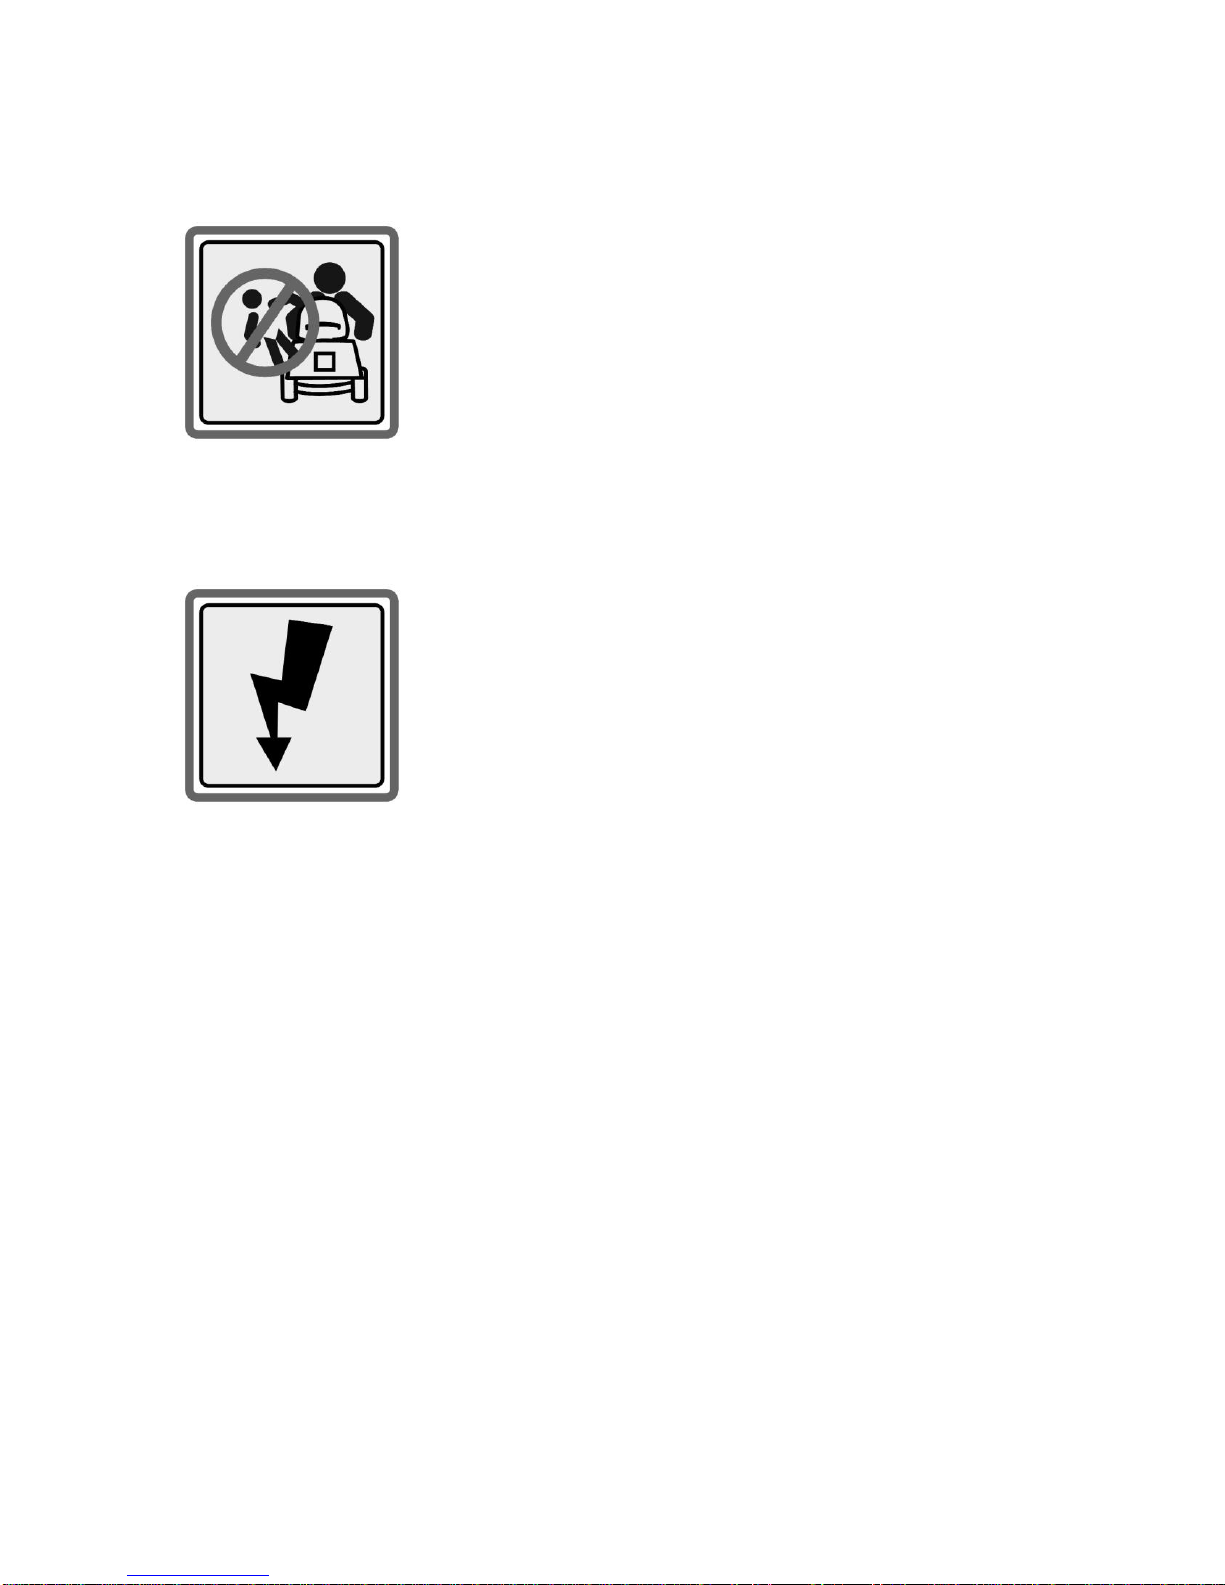
17. Never carry passengers.
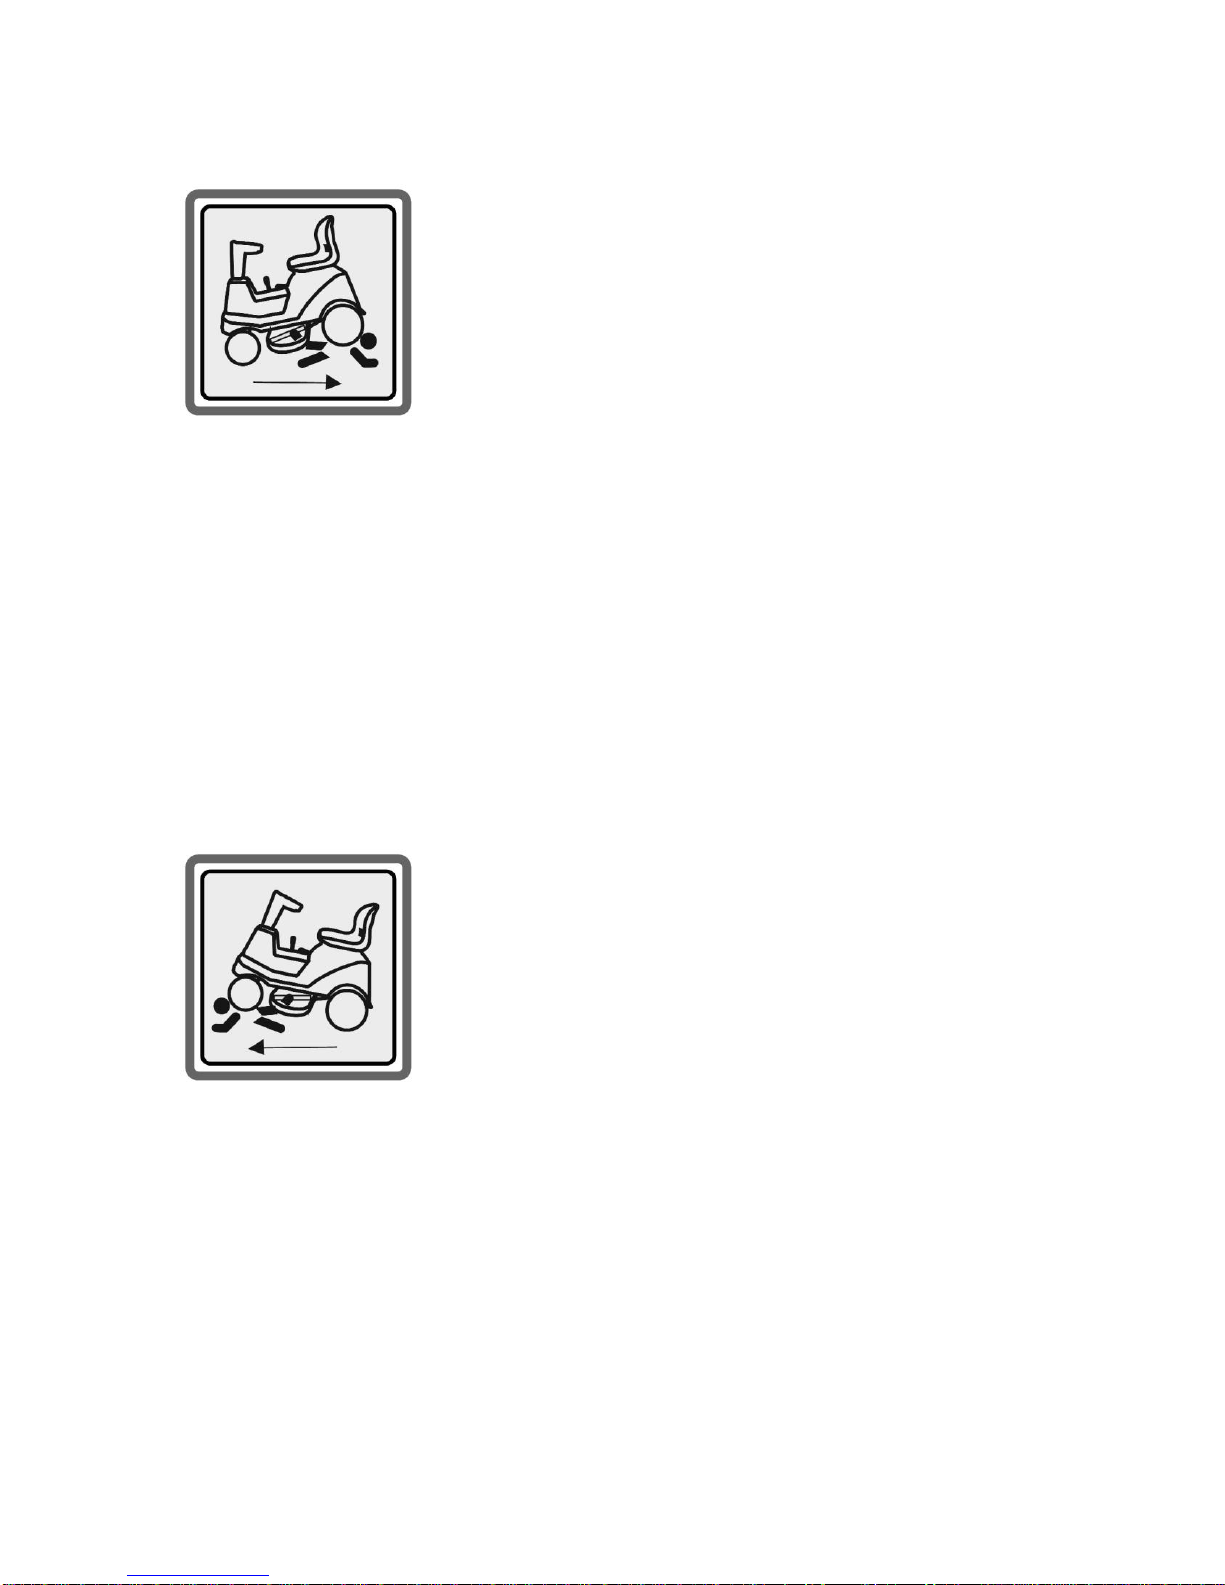
18. Slow down before turning. Operate the machine smoothly. Avoid erratic operation.
19. Always look down and behind before backing to avoid a back-over accident.
20. Never leave a running machine unattended. Always turn off blades. Stop engine and
remove key before dismounting.
21. This unit should not be driven up or down ramps, because the unit could tip over,
causing serious personal injury. The unit must be pushed manually on ramps to load
or unload properly.
22. This machine is designed to cut normal residential grass of a height no more than 6”.
Do not attempt to mow through unusually tall, dry or wet grass.
23. If situations occur which are not covered in this manual, use care and good judgment.
Contact your customer service representative for assistance.

6
SAFETY LABELS
WARNING
READ MANUAL
This lawn cutting machine is capable of amputating hands and feet.
Read and follow Operating Instructions before operating machine.
Be familiar with all controls and their proper operation. Know how to
stop the machine and disengage them quickly.
DANGER
ROTATING BLADES
Rotating blades can cut off legs and arms, as well capable of throwing
objects. Failure to observe safety instructions could result in serious
injury or death.
Do not put hands or feet under or into mower when engine is running.
This machine will disengage from cutting when in reverse.
Shut off blades when not mowing.
Park machine safely before leaving the operating station.
Be alert and turn machine off if a child or other enters the area.

7
DANGER
THROWN OBJECTS
Before mowing, clear area of objects that may be thrown by blade.
Keep people and pets out of mowing area.
Slow down when you travel over rough ground.
WARNING
AVOID SERIOUS INJURY OR DEATH
Drive up and down slopes, not across.
Avoid sudden turns.
If machine stops going up hill, stop blades and back down slowly.
Do not mow on inclines with a slope in excess of 15 degrees (a rise of
approximately 2 ½ feet every 10 feet).
Use extra care with attachments. They can change the stability of the
machine.
Avoid starting or stopping on a slope.
Keep all movement on the slopes slow and gradual.
Do not make sudden changes in speed or direction.
Do not try to stabilize machine by putting foot on the ground.
Keep safety devices (guards, shields, and switches) in place and working.
Remove objects that could be thrown by blades.
Read operator’s manual.
When leaving machine:
-Stop engine
-Set park brake
-Remove key

8
DANGER
PROTECT PEOPLE AND PETS
ROTATING BLADES CUT OFF ARMS AND LEGS
Do not mow when children or other people including pets are around.
Do not mow in reverse. The unit is designed NOT to mow in reverse.
Look down and behind before and while backing.
Keep children indoors, out of mowing area, and always in the
watchful eye of a responsible adult.
Stay alert at all times
DANGER
PROTECT PEOPLE AND PETS
Do not mow when children or other people including pets are around.
Look down and around you when in forward motion.
Keep children indoors, out of mowing area, and always in the
watchful eye of a responsible adult.
Stay alert at all times

9
DANGER
KEEP RIDERS OFF
Never carry passengers.
Never allow children or others in or on towed equipment.
WARNING
BATTERY PACKS
Do not attempt to alter or open the battery
When service or repair is required contact our customer service
number 1-866-393-3968 or help@awsglobal.net

10
WARNING
BATTERY
Always charge the Battery indoors in a garage or other covered area where
the machine is protected from the weather.
If the Motor will not run after you have fully charged the Battery
make sure the breaker under the seat is in the “ON” position or
contact us at: 1-866-393-3968 or help@awsglobal.net
Do not mow your lawn in the rain.
Do not mow wet grass.
WARNING
PINCH POINT
Keep hands and body out of hitch area
Park machine safely
Lock the park brake
Try to push machine safely
Attach hitch to hitch area

11
ASSEMBLY-How To Set Up:
Before you open the carton of your New Recharge Mower, please review the following:
WE RECOMMEND YOU HAVE A SECOND PERSON ASSISTING-BEFORE YOU BEGIN
The unit is virtually ready to go when received.
Carefully CUT the straps that secure the over shipper carton to the base-remove
the straps and dispose.
Remove the over shipper carton by lifting straight up and over the enclosed metal
frame that houses and protects the unit.
You will find that there are a few items that need to be installed. DO NOT
assemble until you remove the metal frame portion-this is done using a Philips
(star) head screwdriver and pliers or adjustable wrench.
Remove the nuts and bolts-they are NOT reused.
Once the nuts and bolts are removed-lift off the metal frame. Again-this is NOT
reused. Finish un-assembling the frame.
NOW-Lift the Steering wheel section-it is prewired-so handle
with care. Remove any packaging and dispose.
The steering wheel will then be inserted into the steering wheel sleeve
on the unit. It is designed to fit in 1 (one) direction-please take your time and
slide the steering wheel into the shaft (Step 2).
Install the bolt to secure the steering wheel to the shaft (Step 3).
Step 1 Step 2 Step 3
ENSURE THAT THE WIRES HAVE BEEN SLIDE DOWN
ALONG THE SHAFT TO PREVENT DAMAGE!

12
SEAT-Remove all packaging
Carefully remove the left cotter pin. While sliding the seat bar out-ENSURE you
collect the washers that will be installed.
Have your assistant position the seat. |The front of the seat should be positioned
over the metal bars protruding from the base.
Ensure 1 (one) washer is on the bar and to the far right. The cotter pin will keep it
from falling off.
Insert the seat bar through the base of the seat AND then the bar protruding
through the frame-you will need the larger washer.
Grass Catcher- Remove all packaging
Carefully open bag
Position bars to position holders
Place plates over rod and tighten screws supplied
Washer

13
OPERATING CONTROL
Fig 1.0
Drive Control
Switch-
FORWARD
Neutral
REVERSE
Battery Power
Indicator Panel –
How much power
the unit has
Accelerator
Control –
Squeezing
Handle controls
increase of speed
to MAX
4.2 mph/7 kmph
Blade Motors
Operators Handle
–Squeeze to
Engage
Blade Motors
Safety Switch –
Must press
BEFORE
engaging Blade
motors
Speed Control Switch
Slow/Fast

14
BREAK LEVER
Fig 1.1
Lock the park brake, lever location is up
Unlock the park brake, lever location is down
Result: Park brake must prevent machine from moving, If machine moves,
Parking brake needs to be adjusted.
Using key Switch
Fig 1.2
Sit on seat.
Lock the park brake.
Check starting conditions.
Turn key to start position
If engine does not start, check battery level.
If engine does not start, make sure breaker located under seat is in the
“ON” position.

15
Charging the Battery
Fig 1.3
Make sure the ignition key is in the off position
Plug the charger’s round plug into the Mating Plug on the machine
Plug the charger into a wall outlet. The RED light on the Battery charger will light
up indicating a connection between the Battery and Charger.
NOTE: A full charge takes at least twelve (12) hours, and up to sixteen (16) hours.
When battery is fully charged the RED light on the charger will switch to GREEN.
Disconnecting the Charger
Remember to disconnect the charger from the machine using the sequence:
1. Pull the plug from the charger out of the wall outlet.
2. Disconnect the charger from the machine.
Warning!
ALWAYS DISCONNECT THE CHARGER FROM THE ELECTRICAL
(WALL) OUTLET FIRST, AND THEN DISCONNECT THE ROUND
CHARGER PLUG FROM THE MACHINE. IF YOU REMOVE THE ROUND
CHARGER PLUG FIRST, THE EXPOSED CONNECTOR COULD BE
ACCIDENTALLY SHORT-CIRCUITED BY FOREIGN MATERIAL, WHICH
MIGHT CAUSE A FIRE.
RECHARGING AFTER EACH USE OF THE MOWER
Always fully charge the battery after each use during off peak hours. This is
important in order to maintain maximum Mower performance and extend
the useful life of the Battery.

16
Headlight
Fig 1.4 Fig 1.5
Replacing Headlight Bulb
1. Ensure machine is off.
2. Park machine safely by applying hand break.
3. Reach under machine just behind headlight.
4. Locate light bulb socket.
5. Turn bulb socket ¼ turn counterclockwise to remove.
6. Replace defective bulb with a new bulb.
7. Insert bulb socket into housing, and turn clockwise to install.
TIRES
WARNING: Never exceed the maximum inflation
pressure shown on the sidewall of tire.
Checking Tire Pressure
1. Always check tires for damage.
2. Check tire pressure with proper tool.
The recommended operating tire pressure is:
Approximately 20 psi for the tire inflation.
Headlight-
ON/OFF switch

17
OPERATING CONTROL
- Adjust mower deck level
- make sure machine is on a flat, level service
- Lower mower deck to the desired cutting
Height position
Fig 1.6
-
- Park brake must prevent machine from moving
-If machine moves, parking break needs to be adjusted
CUTTING HEIGHT CONTROL –
This allows the cutting head –
featuring 2 Cutting Motors and
Blades –to be raised and lowered to
the preferred height of the finished
grass…
PARKING BRAKE –
Prevents unit from moving –
when engaged –an internal
control switch –disengages
power to the drive motor for
ADDED safety,
= ON
= OFF
FOOT BREAK PEDDLE-
Stops unit from moving-when pressed-
an internal control switch-disengages
power to the drive motor .

18
Blade Replacement:
Before making an attempt to replace the DUAL blades,
order genuine replacement parts for your Recharge
Mower™ by contacting:
www.rechargemower.com
Note: The left and right blades have specific orientation.
Never exchange blades and only use genuine
replacement parts.
Fig 1.7
CAUTION: Avoid injury! Rotating blades are dangerous. Before replacing blades:
Turn unit OFF and remove key.
Always wear gloves when handling mower blades.
Block mower blade with a piece of wood to prevent it from spinning.

19
Grass Catcher –Maintenance
In order to ensure proper non-restricted operation of your Recharge
Mower® you should empty the Grass Catcher regularly. This unit is
designed to cut grass ONLY with the Grass Catcher in place and or the
grass deflector. Once you have dismounted the unit and ensure that the
blades have come to a complete stop, remove and empty the Grass
Catcher or remove the grass deflector . With the grass catcher unit
removed or grass deflector –always check to ensure that the Chute is
clear before returning the grass catcher/grass deflector into place.
Fig 1.8
How to Operate:
REVIEW THIS CAREFULLY TO ENSURE SAFE AND LASTING OPERATION
Please ensure that the mower has been fully charged before beginning. That
involves connecting the specially designed end to the connector on the steering wheel
section Fig 1.3 . This is designed to fit in only one position. Then plug the other end
into a standard 110v wall outlet. Full charge is usually achieved overnight. The
charger will automatically shut off and the indicator will turn GREEN when the
unit I fully charged.
1. Always follow the safety rules.
2. To prepare for use-adjust the cutting height by shifting the blade adjustment
arm either up or down until desired height is achieved. Fig 1.6.
3. Ensure that the parking brake is applied by pulling up to the top Fig 1.6.
4. Install the rear grass catcher making certain that both the upper connections
and the bottom corner catchers are in place fully, or install the grass
deflector again making certain that both the upper connections and the
bottom corner catchers are in place fully.
Grass removal unit- Always use the
safety grass removal unit when clearing
the chute

20
5. NOTE: The Recharge Mower® includes safety switches to prevent the unit
from operating without the grass catcher in place Fig 1.11. , or without the
grass deflector Fig 1.112.
Fig 1.11
6. Lift the seat forward by pivoting. Check to ensure that the breaker switch is
flipped to the “ON” position Fig 1.12. Return the seat to the ready position.
Fig 1.12
7. Mount the Recharge Mower® and position yourself comfortably in the seat.
8. You MUST remain seated for the mower to operate. The unit includes an
Operator Presence Switch that requires the operator to be seated properly. If you
are not seated –the unit will not operate.
SAFETY SWITCH
BREAKER
Fig 1.112
Table of contents
Languages:
Other Recharge Mower Lawn Mower manuals