Reliance 25-148-RXV4 User manual

E-Z-GO RXV Li Battery Kit
(fits E-Z-GO RXV with FOUR 12V Batteries)
Part # 25-148-RXV4
This battery is inteded only for use in golf carts. Use for other applications may void battery warranty.
Only use provided battery charger.
When state of charge reaches zero, stop driving immediately and charge the battery as soon as possible.
Battery may shut down immediately due to faults including but not limited to:
under-voltage, over-current, short circuit across the terminals and over- or under-temperature.
High voltage. Risk of shock - do not
touch uninsulated terminasl or
connectors. Always ensure battery is
powered o before servicing vehicle
Do not expose battery to temperatures
higher than 140°F (60°C).
Do not store or operate at
temperatures below -4°F (-20°C).
Never allow metallic or otherwise
conductive objects to short across the
battery terminals.
WARNING
Do not attempt to disassemble, modify,
or service battery internals. Improper
reassembly can result in re or
electrical shock. Disassembling battery
will void all remaining warranty.
Keep open ames and sparks away
from battery. Do not smoke near
battery.
Keep out of reach of children. Never
allow children to operate battery or
vehicle.

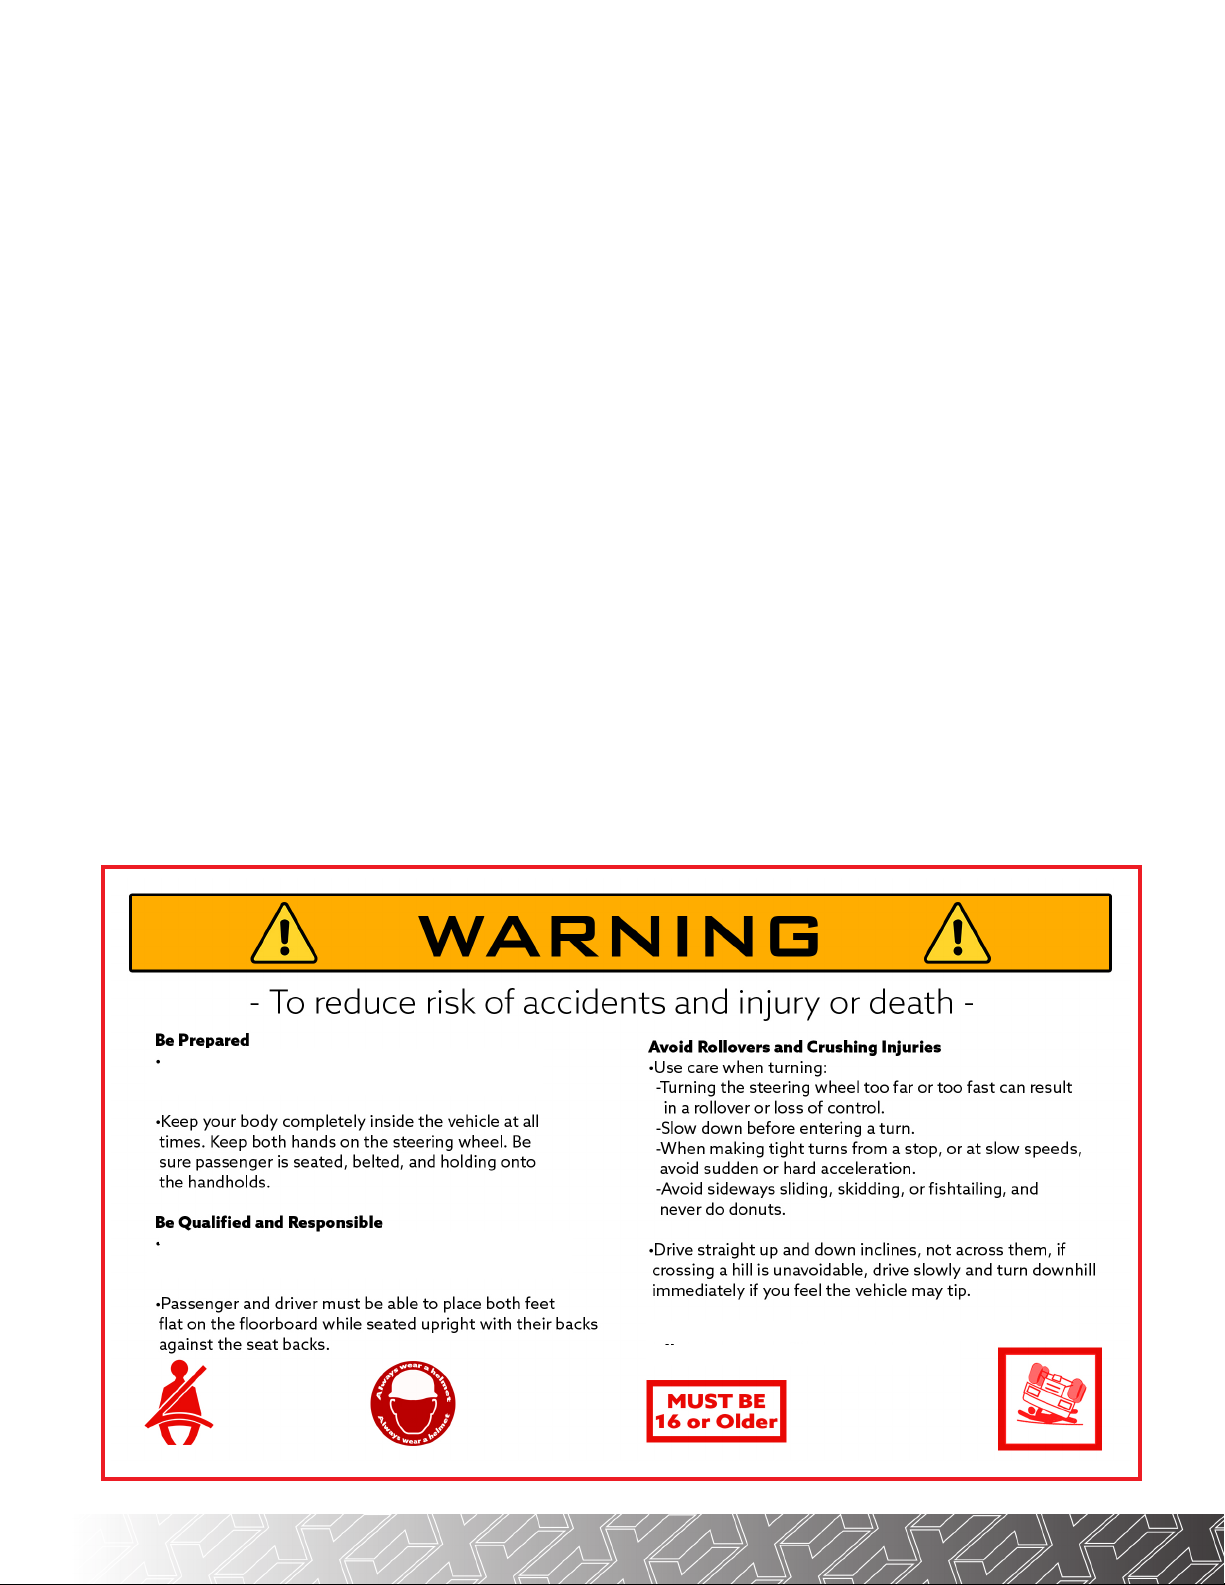
This vehicle is intended for use only by an operator 16 years
or older with a valid motor vehicle license.
Abrupt maneuvers or aggressive driving have caused roll-
overs - even on flat, open areas.
Wear seatbelt, motorcycle helmet, eye protection, and
protective gear.
DANGER - RISK OF ELECTRIC SHOCK
• Always disconnect the charger handle from the vehicle and unplug
the AC power before servicing the vehicle. By only turning o the
charger, there is still risk of electric shock.
• Never touch the uninsulated portion of the AC or DC connectors or
uninsulated battery terminals
• Ensure all electrical connectors are in good working condition. Use
of damaged, cracked, or corroded connectors can result in electric
shock and/or overheating.
• Do not attempt to disassemble, modify, or service charger. Contact
techincal support is the charge is not working properly. Attempting to
disassemble the charger will void all remaining warranty.
• Always connect to a properly grounded, 3-wire outlet. Never modify
the AC cord. If needed have a proper 3-wire outlet installed by a qual-
ified electrician.
• Extension cords are not recommended. However, if an extension
cord is needed, it must be a 3-wire, grounded cord of at least 14AWG
and no more than 25ft long. Improper extension cords may result in
electrical shock or fire.

ITEMS INCLUDED TOOLS NEEDED
• 10mm Wrench
• 1/2" Wrench
• 10mm Socket
• 13mm Socket
• T30 Torx
• T40 Torx
• 3/8" Drill Bit
• 7/8" Drill Bit
• Adjustable Wrench
• Flat Screwdriver
• Phillips Screwdriver
• Permenant Marker
• Rotary Cutter
• Ratchet
• Drill
25-125 Reliance Lithium Battery Kit
• 48V - 105Ah Lithium Battery
• Low Voltage Buzzer with Harness
• Lithium Dash Harness with Power
Switch and SOC Meter
• Mounting Clips
• Mounting J-bolts with Hardware
25-142 RXV 4x12 Lithium Mounting Kit
• RXV 4x12 Mounting Brackets
• Charge Port Adapter Plate
• RXV 4x12 Mounting Hardware Kit
07-012 Lithium Charger Kit
• Lithium Charger
• Charge Receptacle
• AC Power Cord
• Charger Mounting Bracket
• Charger Mounting Hardware Kit

Using the charge port adapter plate as a template,
line up the two top and the bottom left holes with the
existing mounting holes on the body.
Mark and drill a new bottom right mounting hole
with a 3/8" drill bit.
The mounting clip for the bottom right hole will need
to be reloacted to the new mounting hole
3/8" Drill Bit
Remove the front seat bottom. Switch the car into
"TOW"
Disconnect the battery cables.
Remove the battery hold downs and the batteries.
Clean out any debris from the empty battery tray as
needed.
9/16" Insulated Wrench
STEP 1
STEP 3
Remove the screws mounting the charge port to
the kick panel and remove the charge port from the
vehicle.
T27 Torx
STEP 2

Remove the rocker panels and roll the floor mat
back to access the harness channel in the floor
board.
The single plug end of the dash harness will
go under the rear body and into the battery
comparntment.
The dash harness will go under the harness cover
in the floorboard and up through the access hole
under the cup holder.
T4 5 To rx
Install Lithium Charge Port through the adapter
plate and secure using four (4) flat head screws,
lock washers, and acorn nuts. The nuts will be on
the front side as shown and the screw heads should
be flush with the back of the adapter plate.
#2 Phillips
8mm Socket
STEP 4
STEP 6
Install the charge port adapter plate to the vehicle
using the stock screws removed in Step 2.
T27 Torx
STEP 5

Remove and retainthe four (4) screws holding the
upper dash panel to the front cowl and pull the dash
rearward to gain access to the back of the dash
panel.
The dash does not need to be fully removed from
the vehicle.
Retain teh four screws.
10mm Socket
STEP 7
STEP 9
Remove two (2) nuts from the bottom of the cup
holders.
Pull up and out on the top of the cup holders to free it
from the instrument panel.
Unplug any USB or other electrical accessories
installed into the cup holder.
Retain the cup holder and hardware.
STEP 8
7/8" Drill Bit
Locate an appropriate position for the lithium power
button on the cup holder or the dash. Be sure there
is enough room behind the selected location for the
switch and harness.
Drill a 7/8" hole in the selected location.
T27 Torx

Locate an appropriate position for the lithium
charge meter on the cup holder or the dash. Be sure
there is enough room behind the selected location
for the switch and harness.
Mark a rectangle in the selected locatioin that
measures 22mm x 46mm (0.86" x 1.81"). The
rectangle can be oriented horizontally or vertically
as space allows.
Adjustable Wrench
STEP 10
STEP 12
STEP 11
Install the power button into the hole. Be sure the
button is straight before fully tightening the retaining
nut on the back of the panel.
Flat Screwdriver
Use a rotary cutting tool or razor blade to carefully
cut out the hole for the state of charge meter.
The meter can then be pressed into the hole from
the front.

Plug the charge meter into the dash harness as
shown.
Organize the harnesses behind the cup holder.
Then reassemble cup holder and dash panels to
the vehicle using the hardware retained in Steps 4
and 5.
T3 0 Torx
STEP 13
STEP 15
Plug the dash harness into the back of the power
buton.
NOTE: The clip on the harness plug should engage
with the small tab on the side of the button as
shown.
T40 To rx
STEP 14
Route the wiring through the access hole behind
the dash and down to the area behind the cup
holder.

Assemble two (2) M8 threaded clips onto the
battery mounting bracket as shown.
The threaded portion of the clip will be on the top of
the bracket.
Set the battery in place on the mounting bracket.
The electrical connections must face the
passenger's side of the vehicle. The battery will be
up against the front step-up of the mounting bracket
Install the mounting bracket to the stock battery tray
using the two drain holes as shown. Secure using
two (2) M8x20 hex head bolts from the bottom.
M10 Socket
STEP 16
STEP 18
STEP 17

Find a suitable location for the charger mounting
bracket on the drivers's side of the battery tray.
Ensure there is enough room to easily access the
plugs and cables on the end of the charger.
Using the bracket as a template, mark and drill the
mounting holes into the battery tray using a 3/8" drill
bit.
12mm SOCKET
Install a J-hook into the base bracket as shown. Be
sure that the J-hook mounting hole is below the
corresponding retaining bracket on the battery
case.
Holding the J-hook in place, install the retaining
bracket and M8 Nylock nut onto the J-hook.
When complete, the retaining bracket will be
hooked over the corresponding slot on the battery
case as shown.
Repeat for the remaining two retaining points.
Marker
3/8" Drill Bit
STEP 19
STEP 21
STEP 20

Install the charger to its mounting bracket using four
(4) M6x20mm bolts and M6 nuts.
10mm Socket
10mm Wrench
Set the charger mounting bracket back in place and
secure to the battery tray using two (2) M8x20mm
bolts from the bottom.
Install two (2) threaded clips to the base of the
mounting tray. The threaded portion of the clips will
be on the top.
10mm Socket
STEP 22
STEP 24
STEP 23

If desired, find a suitable panel in which to mount the
charge status indicator.
Use a 7/8" drill bit to drill a hole for the charge
indicator.
Feed the indicator through the hole and secure to
the panel using the included plastic washer and nut.
7/8" Drill Bit
Plug the charge indictaor into the white plug from
the charger.
Plug the charger interlock cable from the vehicle
harness into the plug coming from the charger.
Plug the charge port cord into the appropriate plug
coming from the onboard charger.
STEP 25
STEP 27
STEP 26

Plug the dash harness into the outlet labeled "KEY/
CAN" on the battery case.
Plug the new charge port cable to the plug coming
from the charger.
Plug the cord from the charger into the outlet
labeled "CHARGE" on the battery case.
Plug the Low Battery Buzzer harness into the outlet
labeled "BUZZER GAUGE" on the battery case.
STEP 28
STEP 30
STEP 29

Locate the ground cable which was removed from
the main negative terminal of the original battery
pack. Install this cable to the black (-) terminal on the
battery case.
Locate the positive cable which was removed from
the main positive terminal of the original battery
pack. Install this cable to the red (+) terminal on the
battery case.
13mm Insulated Wrench
Locate a suitable panel on which to place the
buzzer. Clean the area with rubbing alcohol, remove
the adhesive backing, and press the buzzer in place.
Coil any excess harness or cable together and
secure with a zip tie inside the battery tray area.
STEP 31
STEP 33
STEP 32

Switch the vehicle back to RUN mode.
STEP 34
INSTALLATION COMPLETE

CHARGE PORT HARDWARE
QTY HARDWARE
4 M5-0.8x12mm Countersunk Screw
4 M5-0.8x15mm Buttonhead Screw
8 M5 Flat Washer
8 M5 Lock Washer
4 M5-0.8 Acorn Nut
4 M5-0.8 Hex Nut
BATTERY BRACKET HARDWARE
QTY HARDWARE
2 M8-1.25x20mm Hex Flange Bolt
2 M8-1.25 Clip Nut
CHARGER MOUNTING HARDWARE
QTY HARDWARE
2 M8-1.25x20mm Hex Flange Bolt
2 M8-1.25 Clip Nut
4 M6-1.0x20 Hex Flange Bolt
4 M6-1.0 Nylock Nut
4 M6 Flat Washer
BATTERY RETENTION HARDWARE
QTY HARDWARE
3 M8-1.25 Flange Nut
WARRANTY PARTS
QTY PN DESCRIPTION
1 25-142 RXV 4X12V Lithium Battery Mounting Kit w/ Charge Port Adapter Hardware
1 07-012 Reliance Lithium Charger w/ Charge Port and AC Cord
1 25-147 Reliance Lithium Charger Mounting Bracket w/ Hardware
1 25-125 Reliance Lithium Battery Li48-105
3 25-137 Lithium Battery Retaining Bracket
3 25-138 Lithium Battery Retention J-Hook
1 25-133-1 Lithium Battery Low Voltage Buzzer
1 25-144 Reliance Lithium Switch/SOC Harness Assembly
1 25-133-2 Reliance Switch/SOC Harness
1 25-133-4 Reliance Lithium Power Switch
1 25-133-5 Reliance Lithium Charge Meter
Table of contents
Popular Golf Car manuals by other brands

Cricket
Cricket Grasshopper Owner's manual, safety guide, and warranty information

Ezgo
Ezgo TXT 2002 Owner's manual & service guide

Cart-Tek
Cart-Tek GRX-1200-R user manual

ACG
ACG T-SPORT NEV 2016 owner's manual

Yamaha
Yamaha DRIVE 2 DR2 PTV QUIETECH 2021 Owner's/operator's manual

Club Car
Club Car IntelliTach Carryall 295 Maintenance and service manual