Renesas RX23W Series User manual
Other Renesas Computer Hardware manuals

Renesas
Renesas H8S/2100 Series User manual
Renesas
Renesas SIMPLE DEMO User manual
Renesas
Renesas M61323SP/FP User manual

Renesas
Renesas REG10J0052-0200 User manual
Renesas
Renesas Converter Board M3T-F160-80NSD User manual
Renesas
Renesas RAA306012 User manual
Renesas
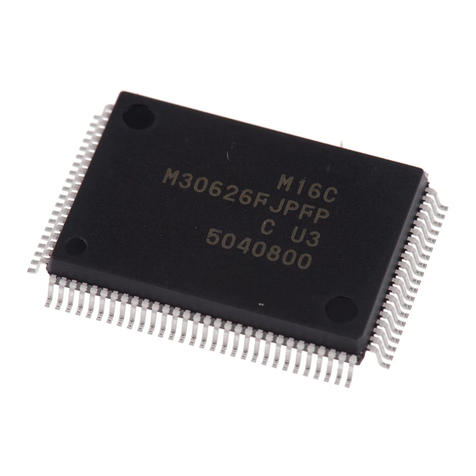
Renesas F-ZTAT H8 Series User manual
Renesas
Renesas M16C/62P Series User manual
Renesas
Renesas Converter Board R0E5212BACFK00 User manual
Renesas
Renesas E200F User manual
Renesas
Renesas R0E521000CPE00 User manual
Renesas
Renesas Converter Board R0E5212L4CFG00 User manual
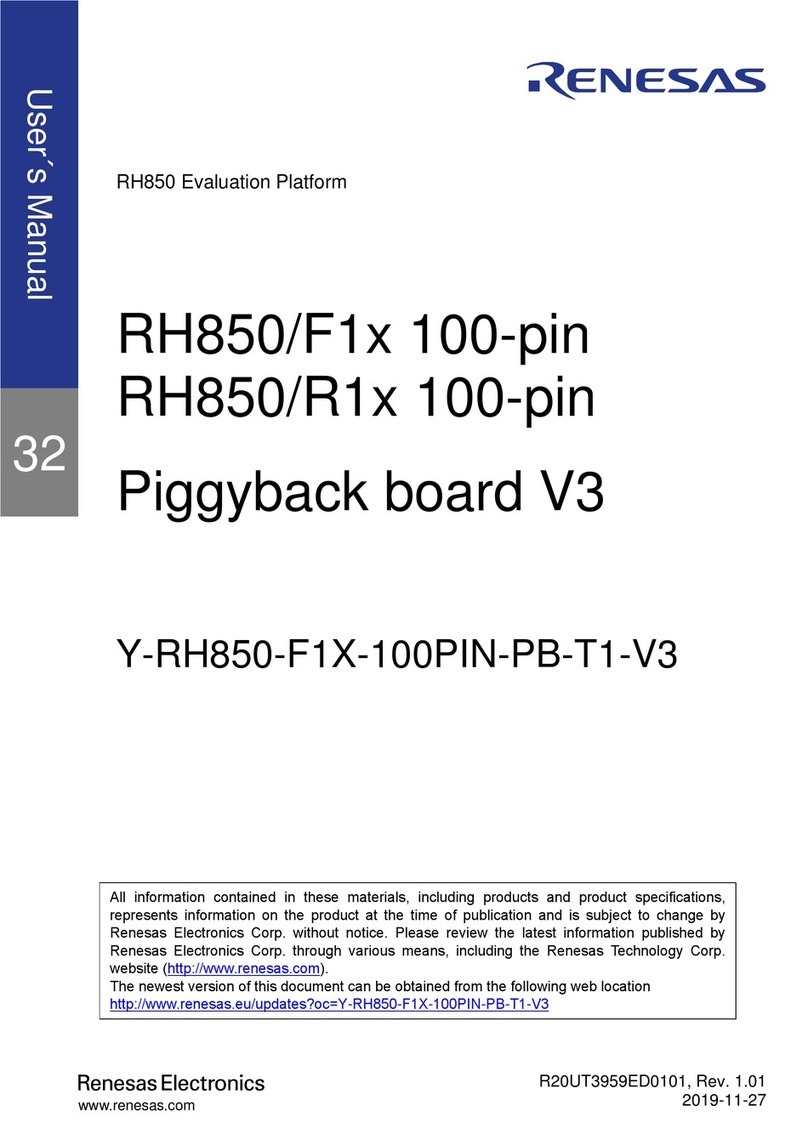
Renesas
Renesas RH850/F1 Series User manual
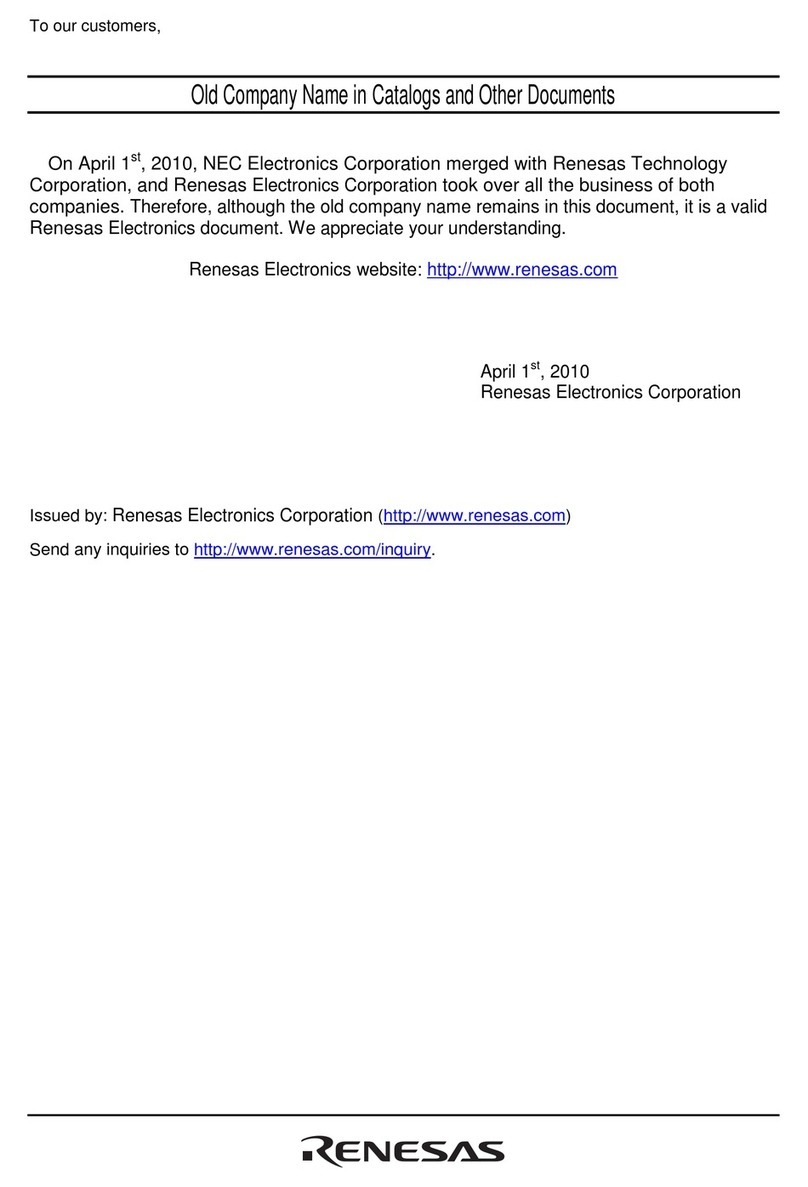
Renesas
Renesas M3S-UFLA32R User manual
Renesas
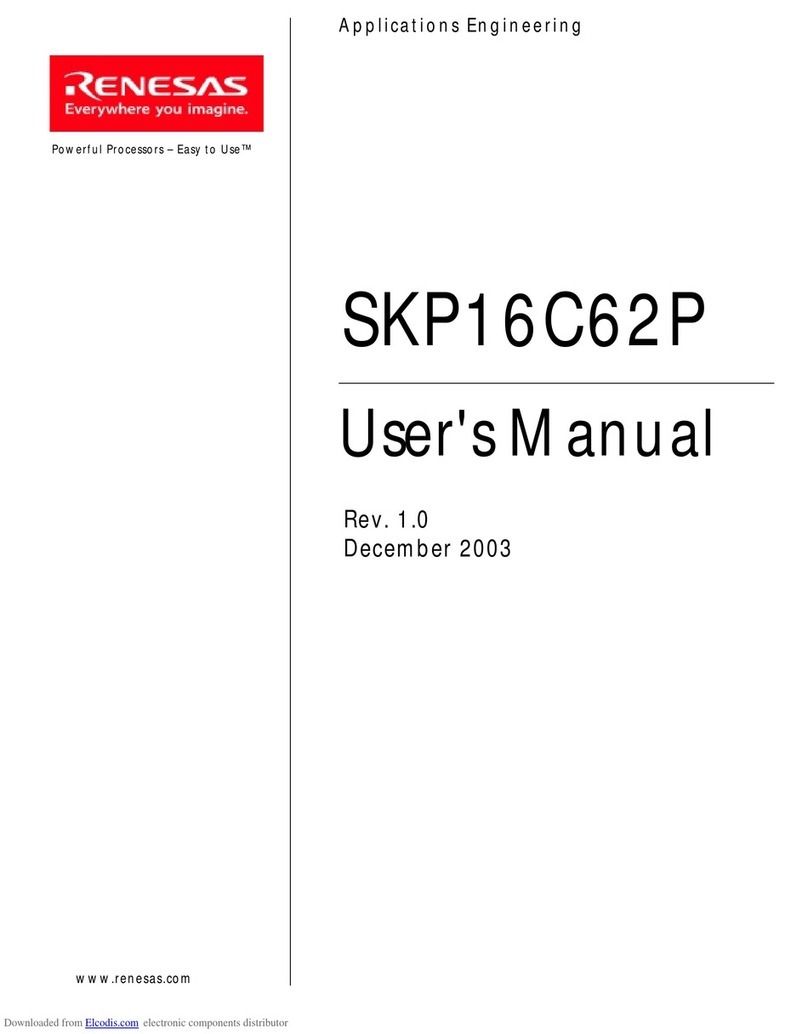
Renesas SKP16C62P User manual
Renesas
Renesas H8/3802 Group FP-64E User manual
Renesas
Renesas R0E436640CFG20 User manual
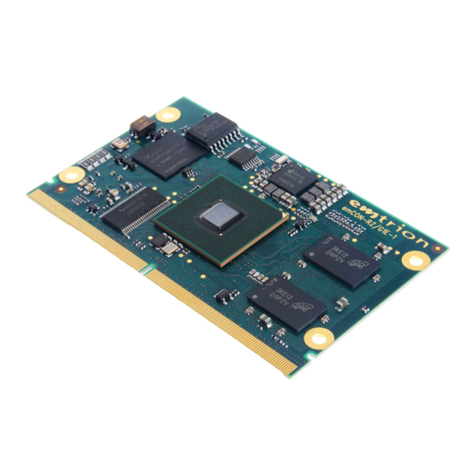
Renesas
Renesas RZ/G1E User manual
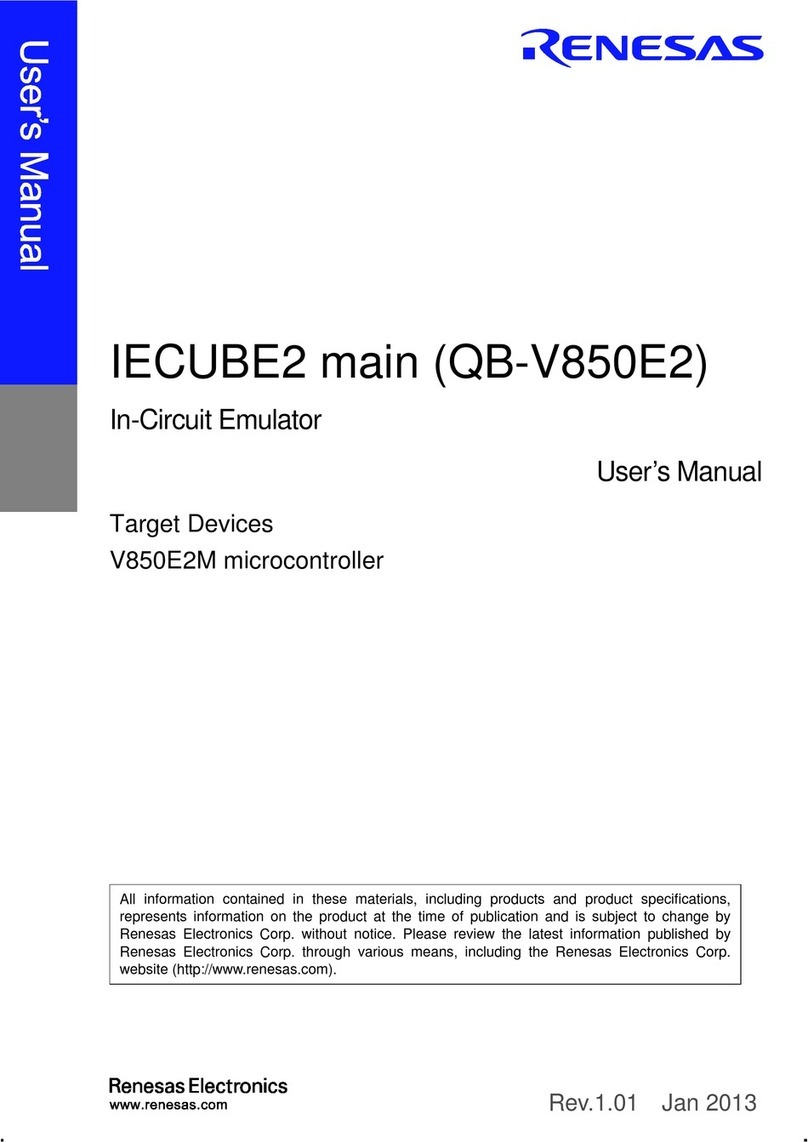
Renesas
Renesas IECUBE2 User manual
Renesas
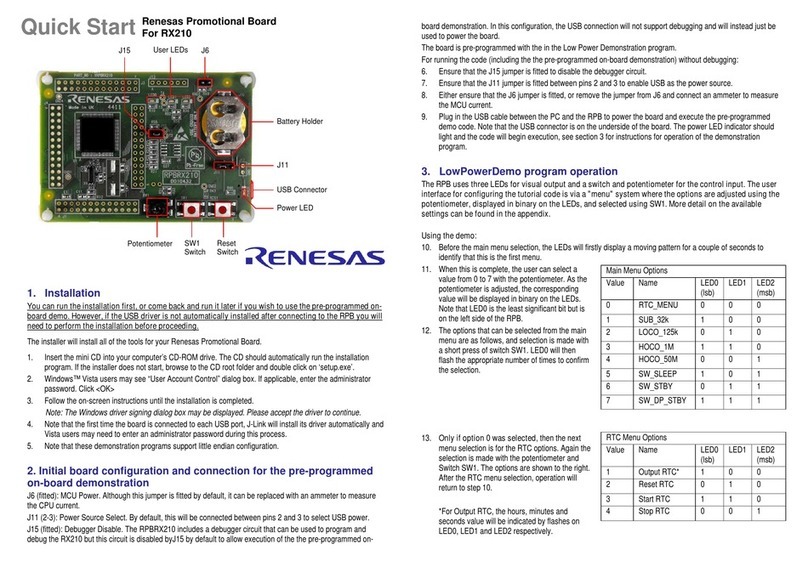
Renesas Promotional board User manual
Popular Computer Hardware manuals by other brands

EMC2
EMC2 VNX Series Hardware Information Guide

Panasonic
Panasonic DV0PM20105 Operation manual

Mitsubishi Electric
Mitsubishi Electric Q81BD-J61BT11 user manual

Gigabyte
Gigabyte B660M DS3H AX DDR4 user manual

Raidon
Raidon iT2300 Quick installation guide

National Instruments
National Instruments PXI-8186 user manual
