01
Table of Contents
Important Safety Information .......................................................................................................02
Symbols Used .........................................................................................................................02
General Safety Information .....................................................................................................02
Introduction
Remote Control App Download and Connect
..................................................................................................................................05
Key Features
.............................................................................................................................
05
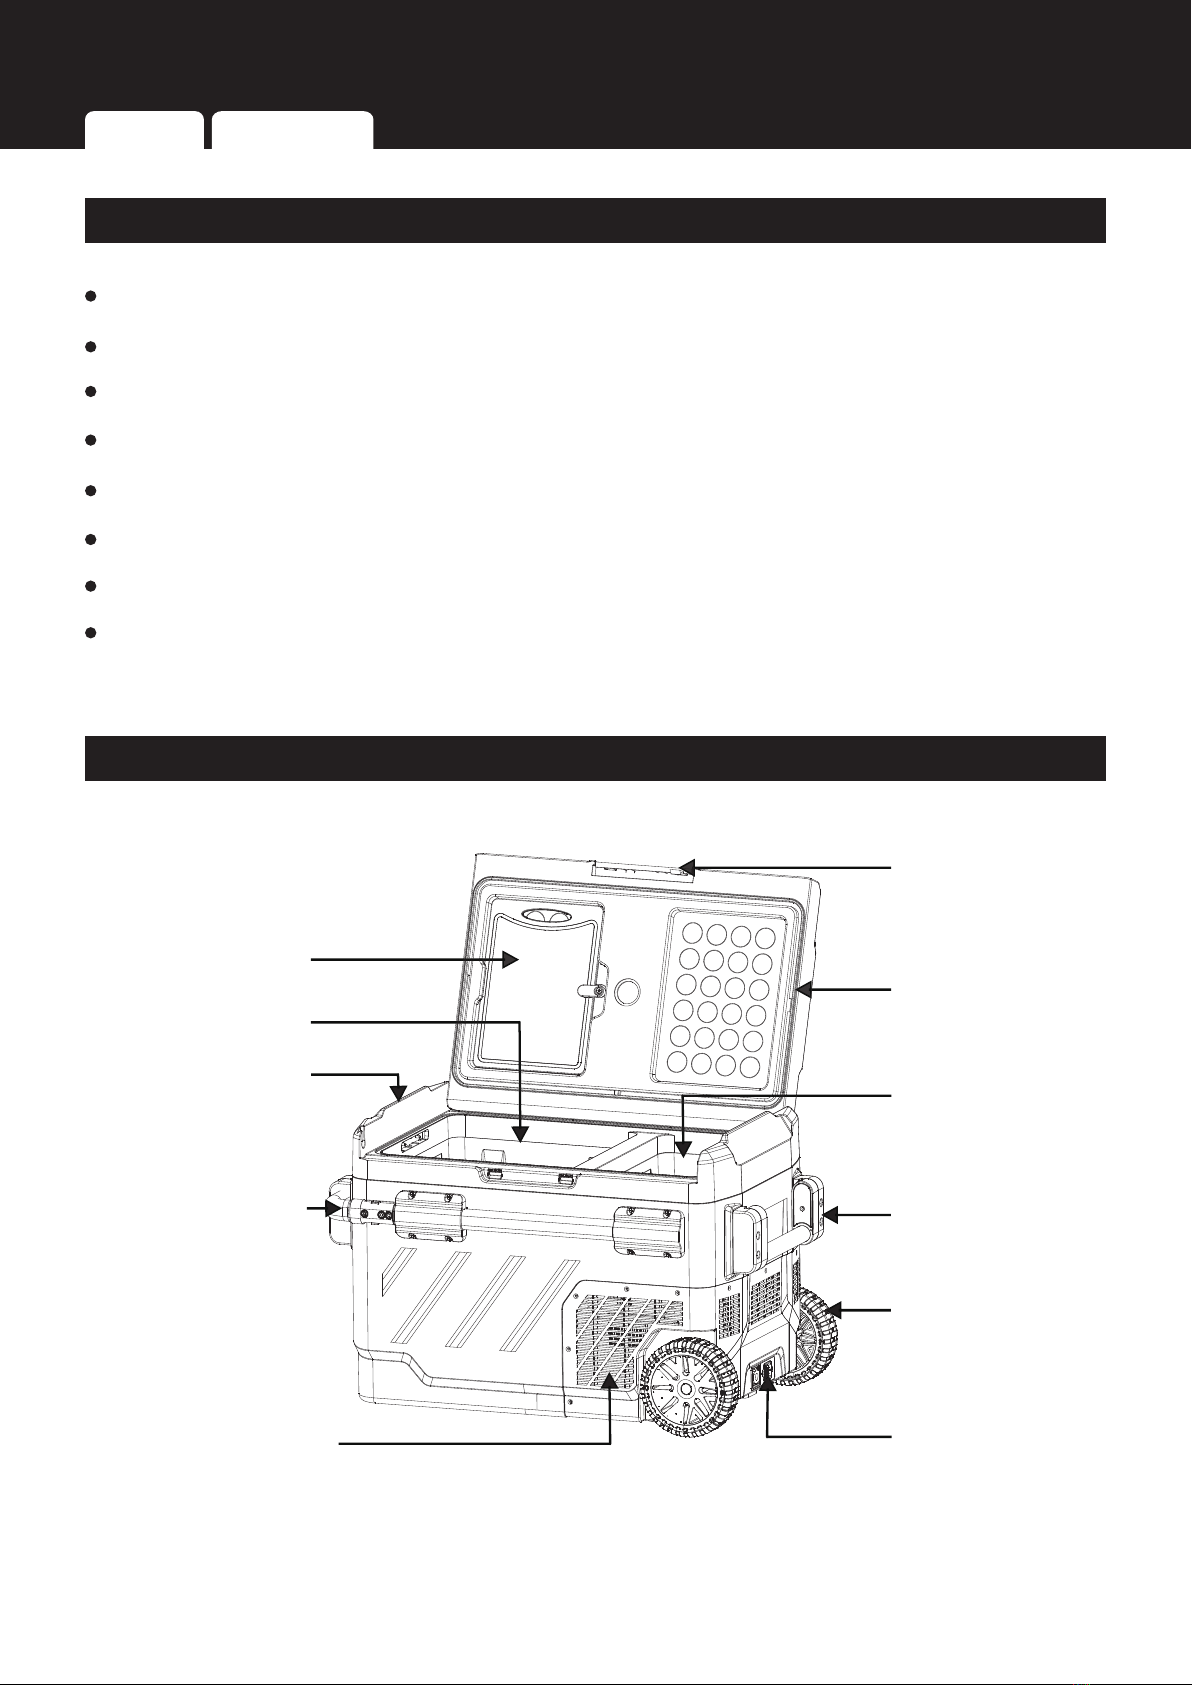
Product Overview
Package Contents
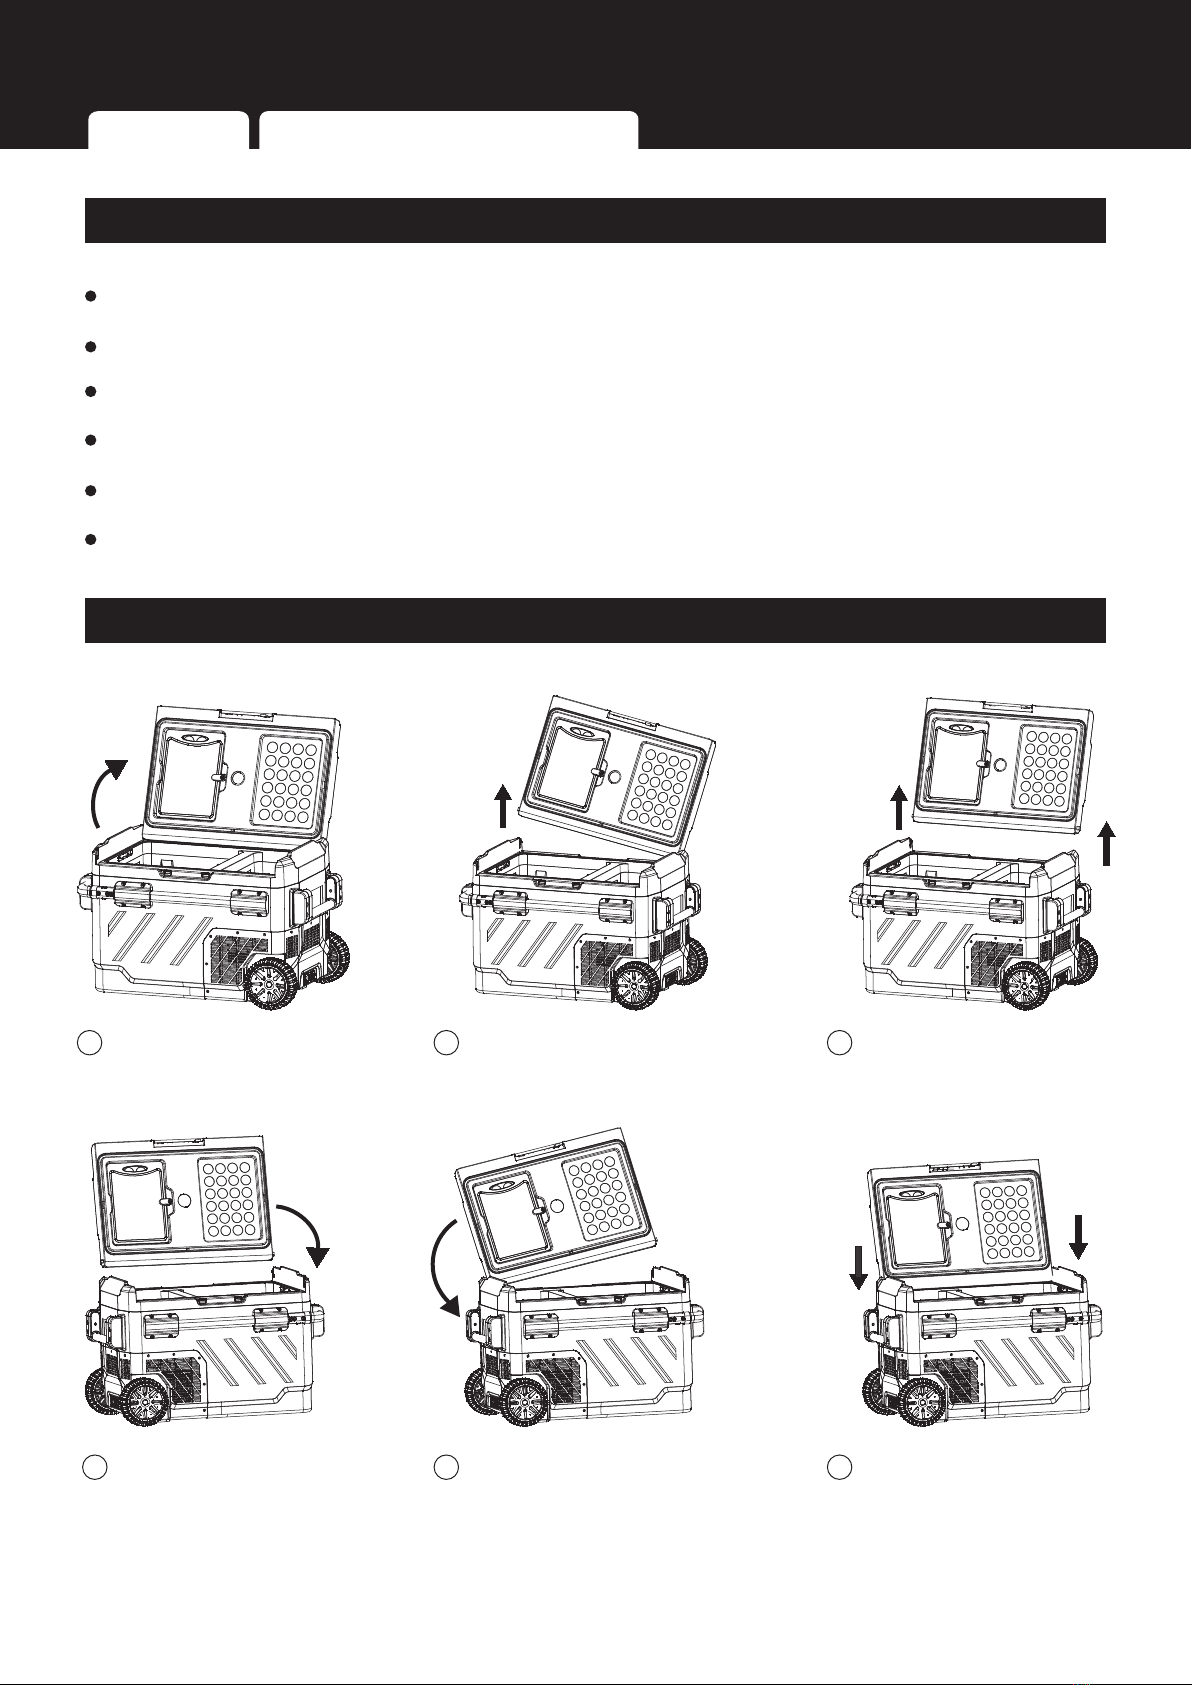
How to Reverse the Door Opening Direction
...........................................................................................................................
06
.......................................................................................................................
06
........................................................................................................................
07
............................................................................................................................
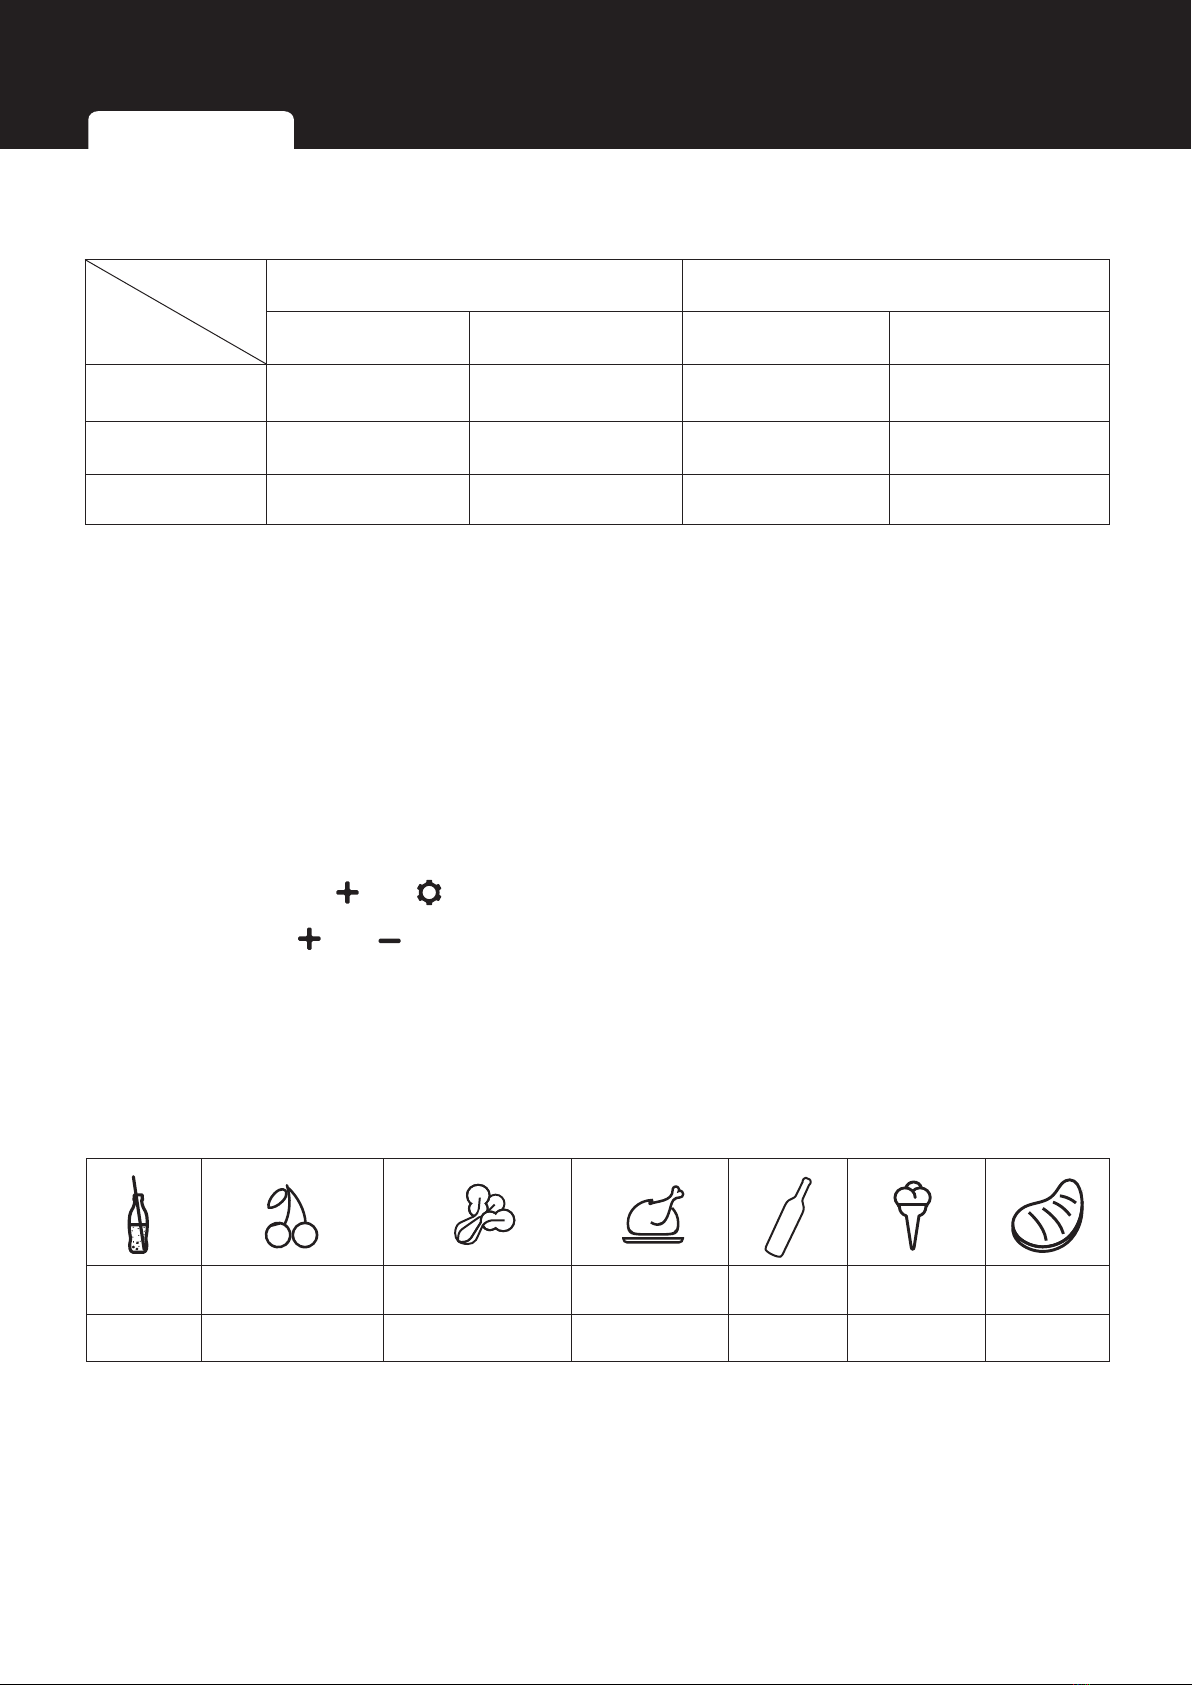
08Function and Operation
...........................................................................................................
10
Download the App
.........................................................................................................................
10
How to Connect and Pair
...................................................................................................................................
10
Main Interface
................................................................................................................................
11
Care and Maintenance
Specifications and Troubleshooting
............................................................................................................................
12
Cleaning
...............................................................................................................................
12
Storage
.................................................................................................................................
12
Defrosting
.......................................................................................................................
12
...........................................................................................................
13
.........................................................................................................................
13Technical Specifications
............................................................................................................................
13
Warranty
Troubleshooting
...................................................................................................
15
Warranty Information
Warranty Exclusions
.........................................................................................
15
.................................................................................................................................
15
Technical Support
......................................................................................................................
15
Recommended Portable/Back-up Battery
..............................................................................................................................
16