Controls / Inputs / Outputs
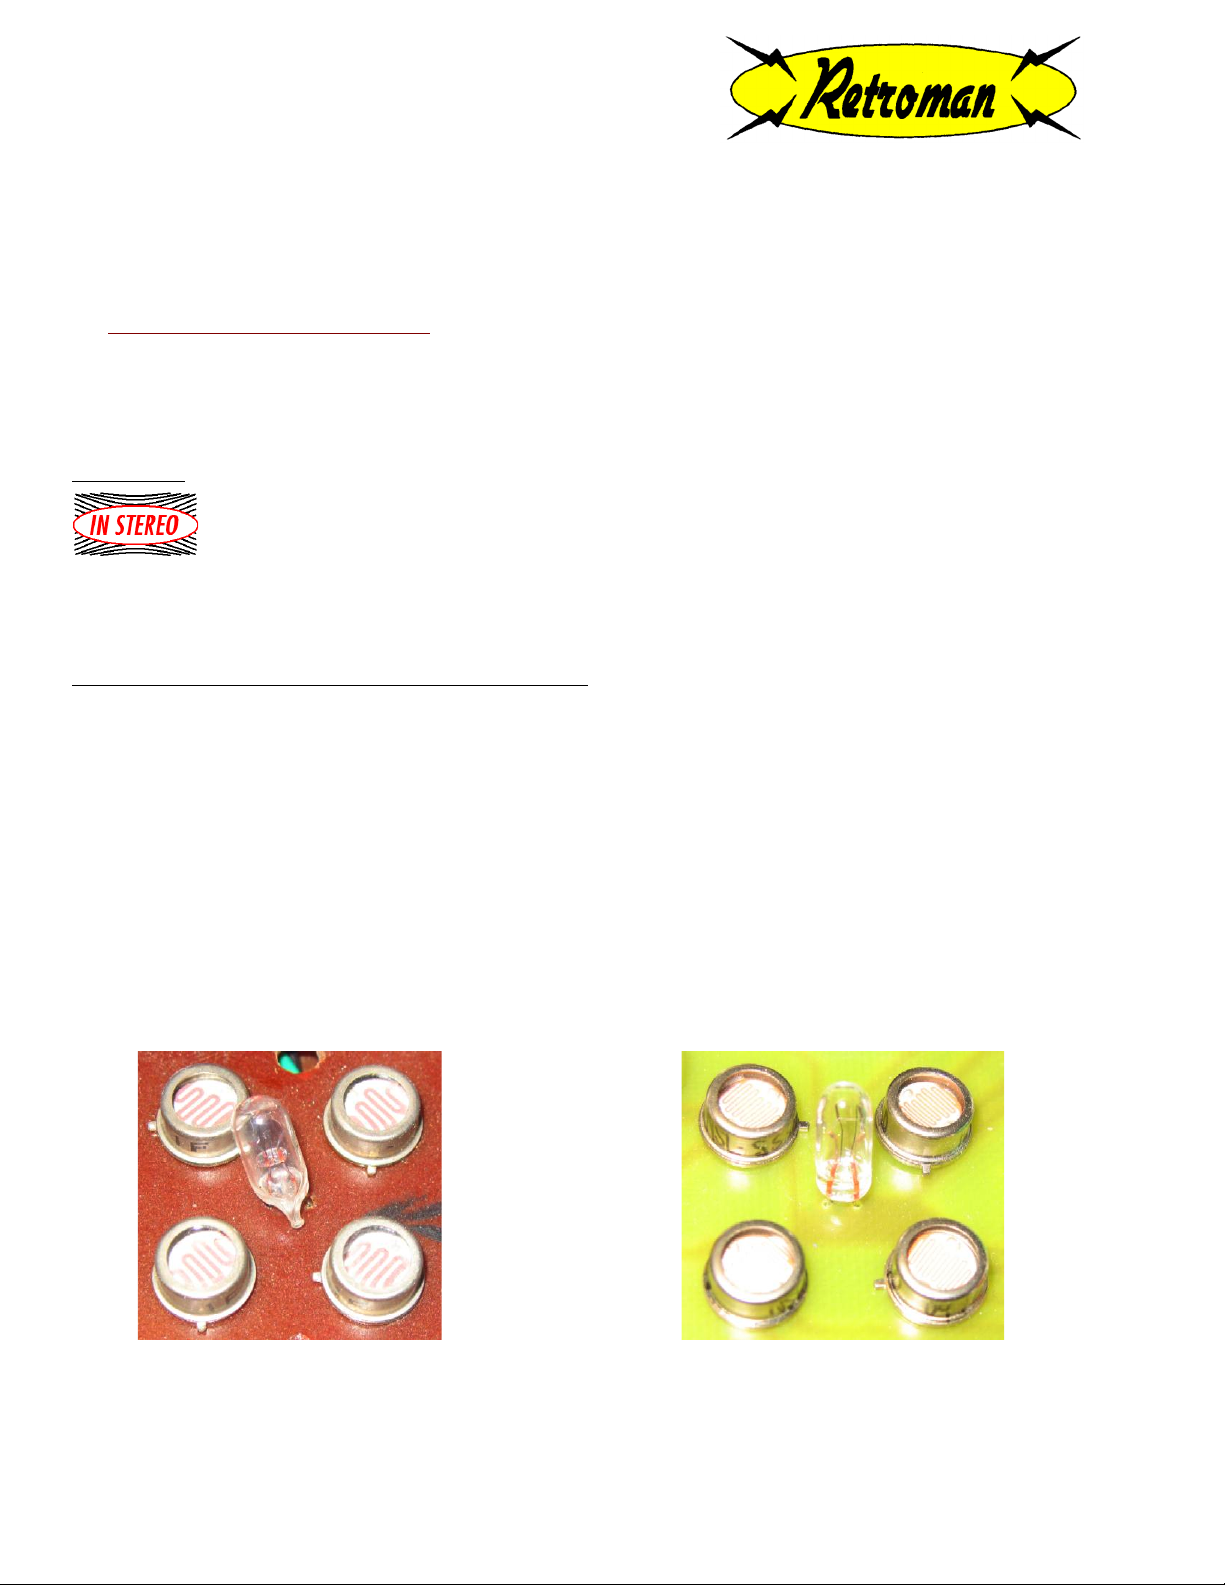
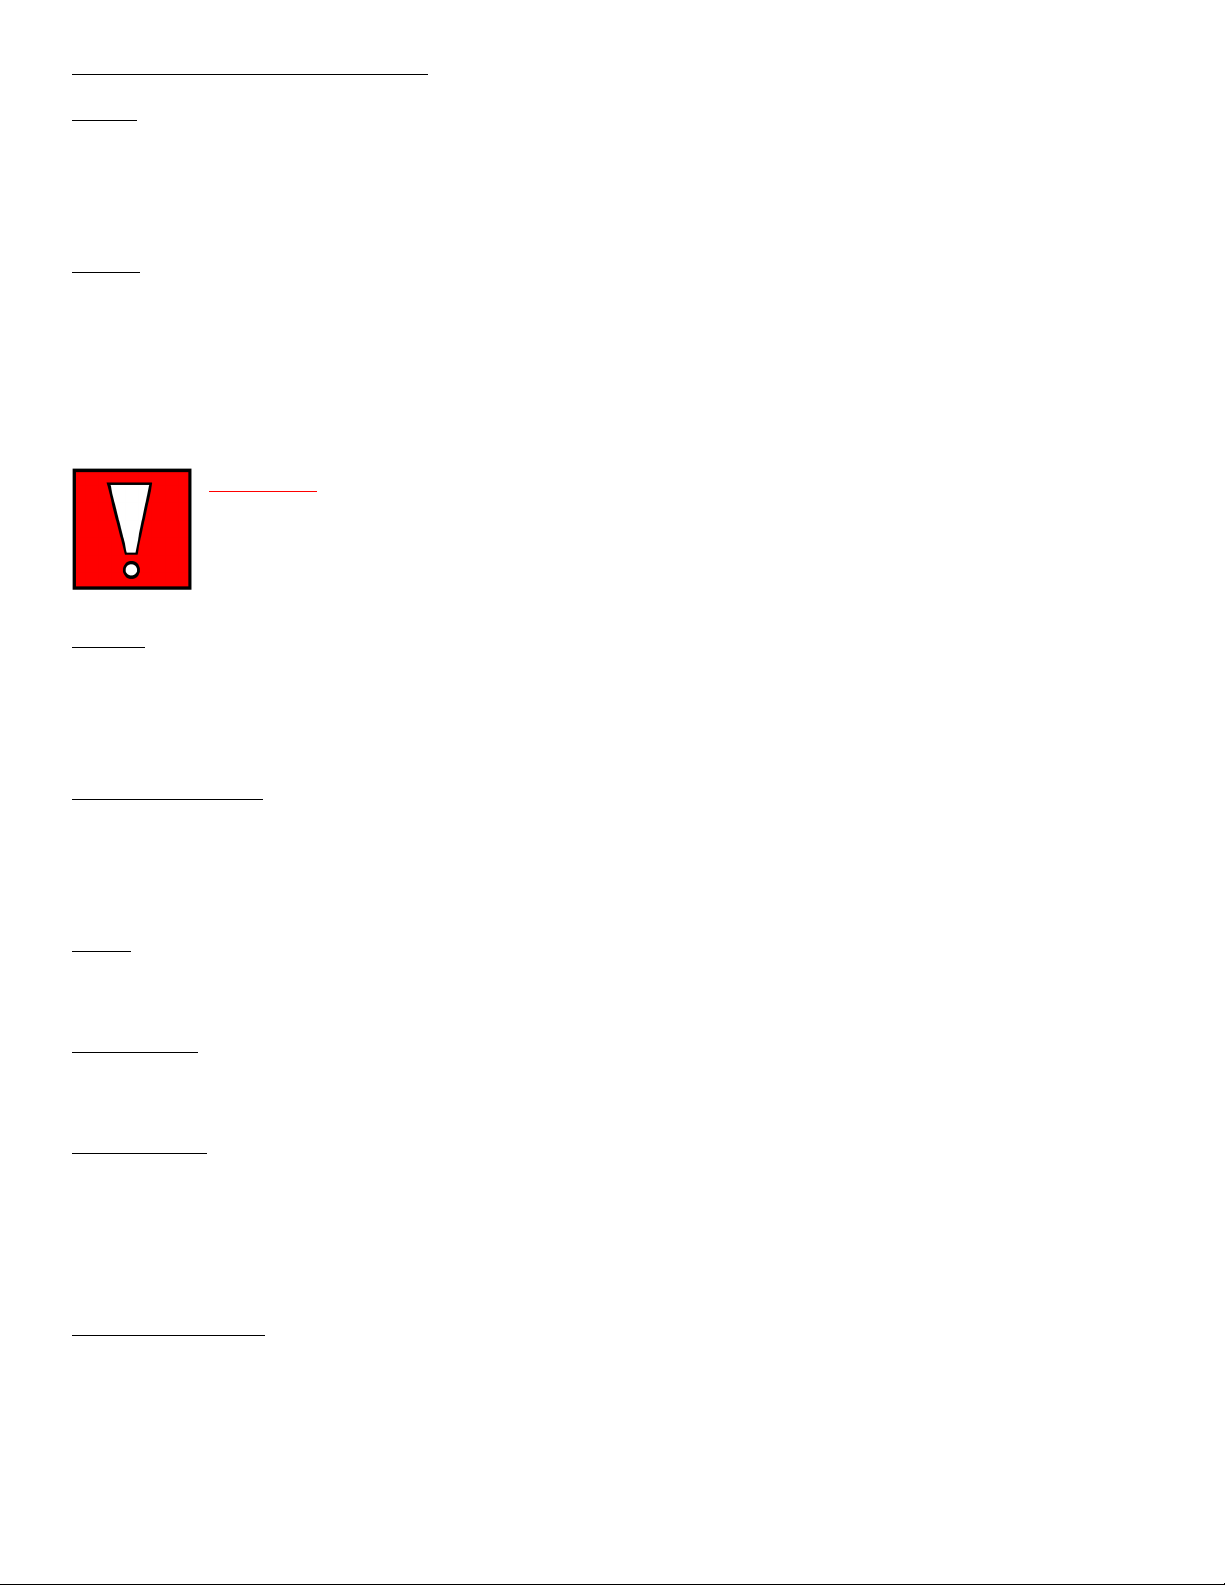
Depth
This increases the intensity of the effect, by juicing the incandescent lamp. Lowest levels will produce no noticeable effect
…. highest levels can induce seasickness. I have designed the range to be much greater than the original, to allow for
deeper slow sweeps, if desired. Because of this added range, you may hear a “thump” if the Depth is set high (higher
than 1:00) with a medium to high Speed setting …. You will know when you get into the danger zone.
Speed
The UberVibe was designed with you in mind. No special pedals required – No funky adaptors - Simplicity.
The Speed (Rate) control is side mounted for your convenience. Roll the large wheel toward you for an increased rate ….
Roll it away from you for slower speeds.
If preferred, the side-mounted control can be bypassed by plugging a suitable expression pedal into the Bypass jack
(located on the side opposite the Speed knob - on the side of the case). I highly recommend the Roland EV-5 expression
pedal – be sure to set the “pre-volume” control (small grey knob on left side of EV-5) to zero for widest range.
WARNING! Do n ot insert or re move a plug fr o m th e Remote C ontr ol Jack unle ss t he U ber Vibe i s
OFF. If the Speed La mp is flashing, the Uber Vibe is receiving power - DO NO T insta ll or re move a
remote pe dal plu g. Turn the De pth control full anti-clock w ise until it clicks “off” and unpl ug the
DC a da ptor pl ug before i nsertin g or removing an expression pedal plug. Fa ilure t o fol low thi s
instru ction can sev erely da ma ge the Uber Vi be.
Filters
Subtle. Simple. Effective. These pots taper and shape the flavor of each stage in the UberVibe. Twist and find various
levels of fluidity and “wow”. No marks on the knobs for a reason – trust your ears! Play. Experiment. Enjoy. If you can’t
live without a pointer, note that the set screw on each knob is 180 degrees (opposite) from where a pointer would be …
so, when the knobs are at 12:00, the set screws will be pointing to 6:00.
“Accent” Control
NOS Military pot – Cold War Era (mid 1950’s). Located on the rear panel, between the input and output jacks - small
screwdriver adjustment – lock nut to keep your setting. There is quite a noticeable range of tones as you shift the
trimmer through its travel - from a choppy throb to a smoother (more full) wave. Between this adjustment, the depth
control and the filters, the complete gamut of original UniVibe flavors (and more) are available.
Input
Looking at the rear panel, this is the single jack on the left (below the “Depth” control). Plug cable from guitar into this
jack.
JFET Buffer
Below the Input jack is a small toggle switch. Toggle upward (toward the input jack) to engage the buffer. Toggle
downward to bypass the buffer.
Power Input
The UberVibe has an internal power pump to increase the system voltage to an optimal level – but allows you the
convenience of using your pedal board power supply (assuming heavily filtered and isolated outputs … for lowest noise).
Positive Sleeve, Negative Pin. Use the supplied power transformer (tested in operation for low noise) or clean power from
an appropriate power supply. 12 -15 Volt (100mA) power to the input is ideal – lower voltages might work, but may not
provide the necessary voltage to drive the primary regulation/filter circuitry.
Outputs (Stereo)
The two jacks side-by-side on the rear panel. Plug into either jack for mono – note: each has a unique voice (due to the
stereo splitting and inversion). No doubt, you will find a tone you love! Using both jacks provides you with a true stereo
spread – one side is peaking as the other falls into a valley – beautiful! The output level of each channel can be controlled
by the individual Volume knob in line with that jack.
Retroman Music
w ww .r et roma n -mu s ic .c o m